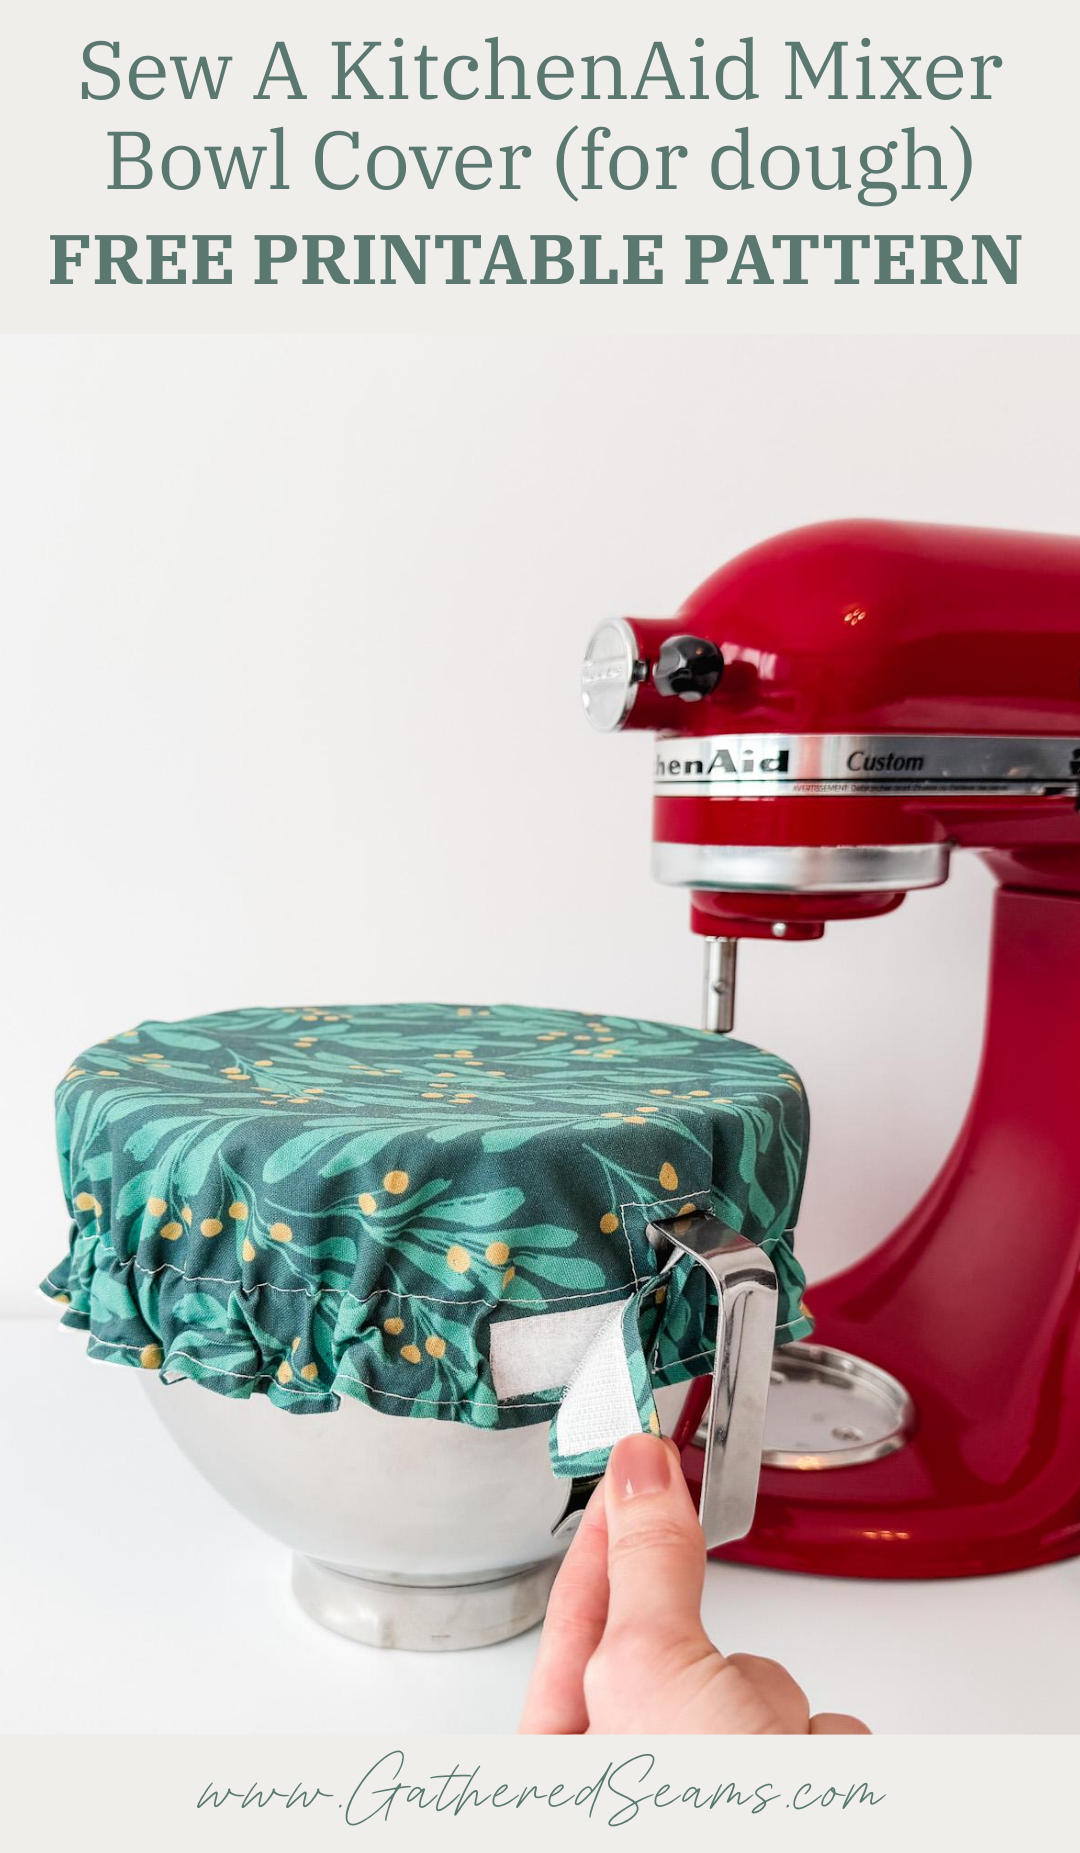
How To Sew a KitchenAid Mixer Bowl Cover
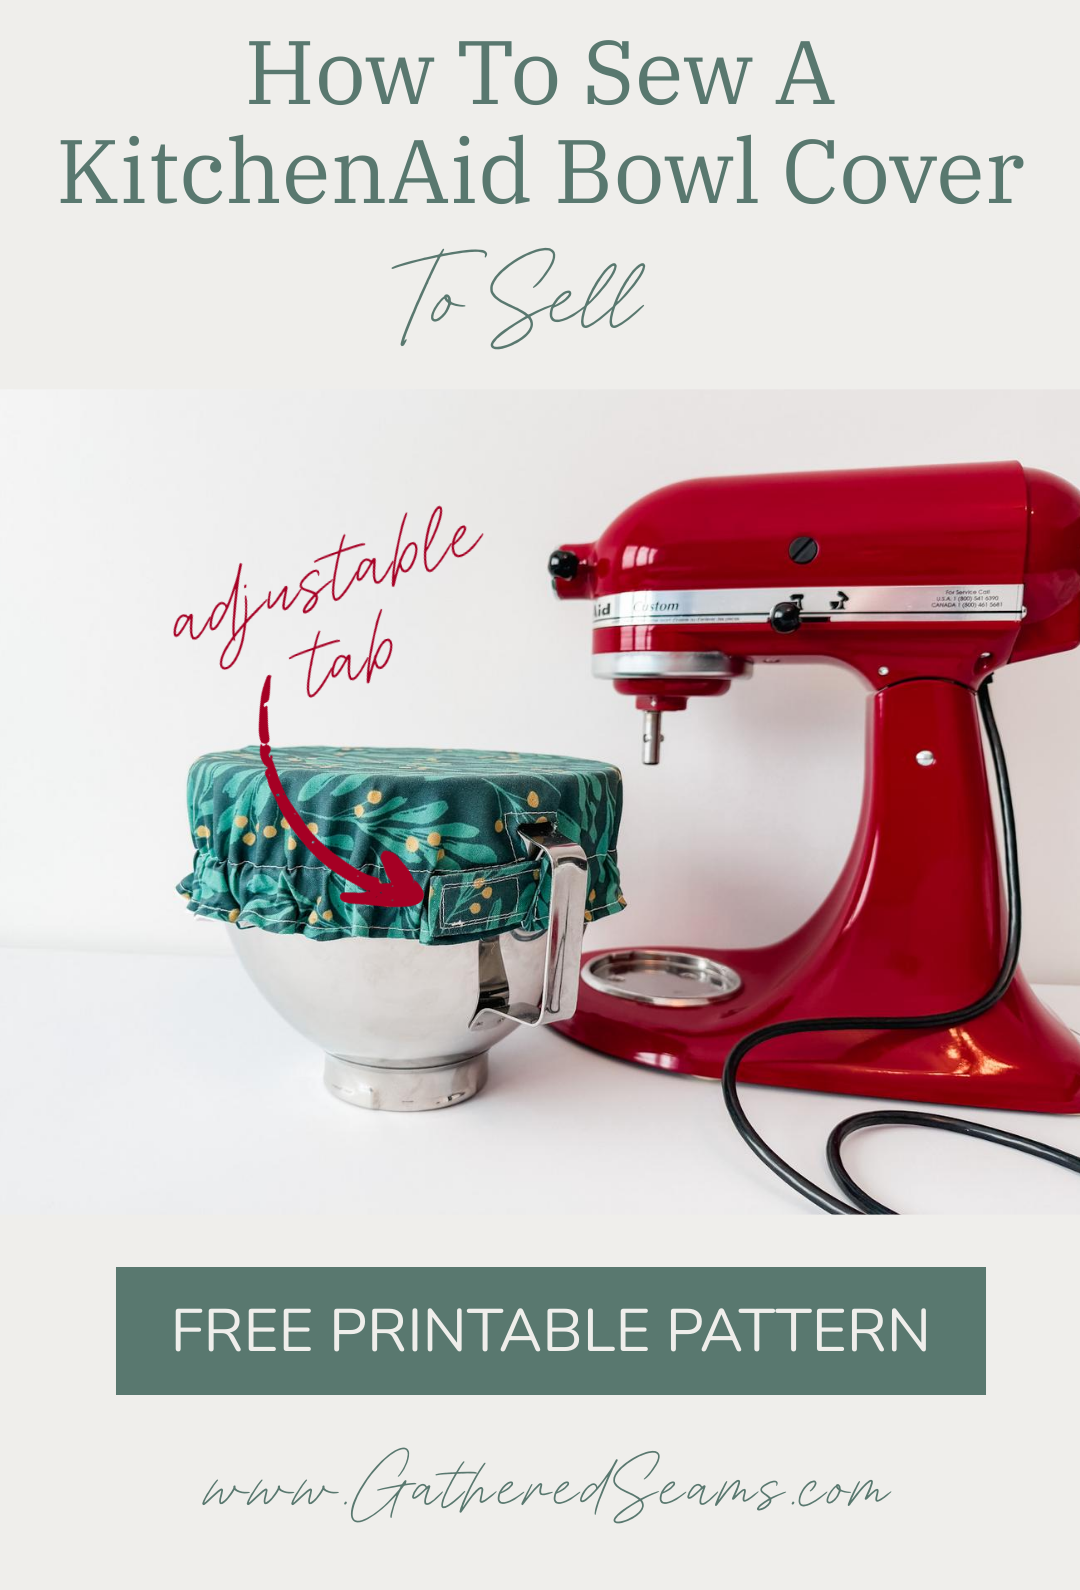
A KitchenAid Mixer bowl cover is ideal for storing dough in the bowl while it chills or rises. It also keeps the dust out of the bowl when storing it between uses.
This pattern is a little different than the others out there. Here are a few points about it:
- Size – I own a 4.5-quart KitchenAid Mixer bowl (which is approximately 8.75” in diameter). This bowl cover fits it, with room to spare. The larger mixer bowl (for the bowl-lift stand) is 5 – 7 quarts and approximately 9.25” in diameter. This cover is designed to fit a bowl that is up to 9.5” in diameter.
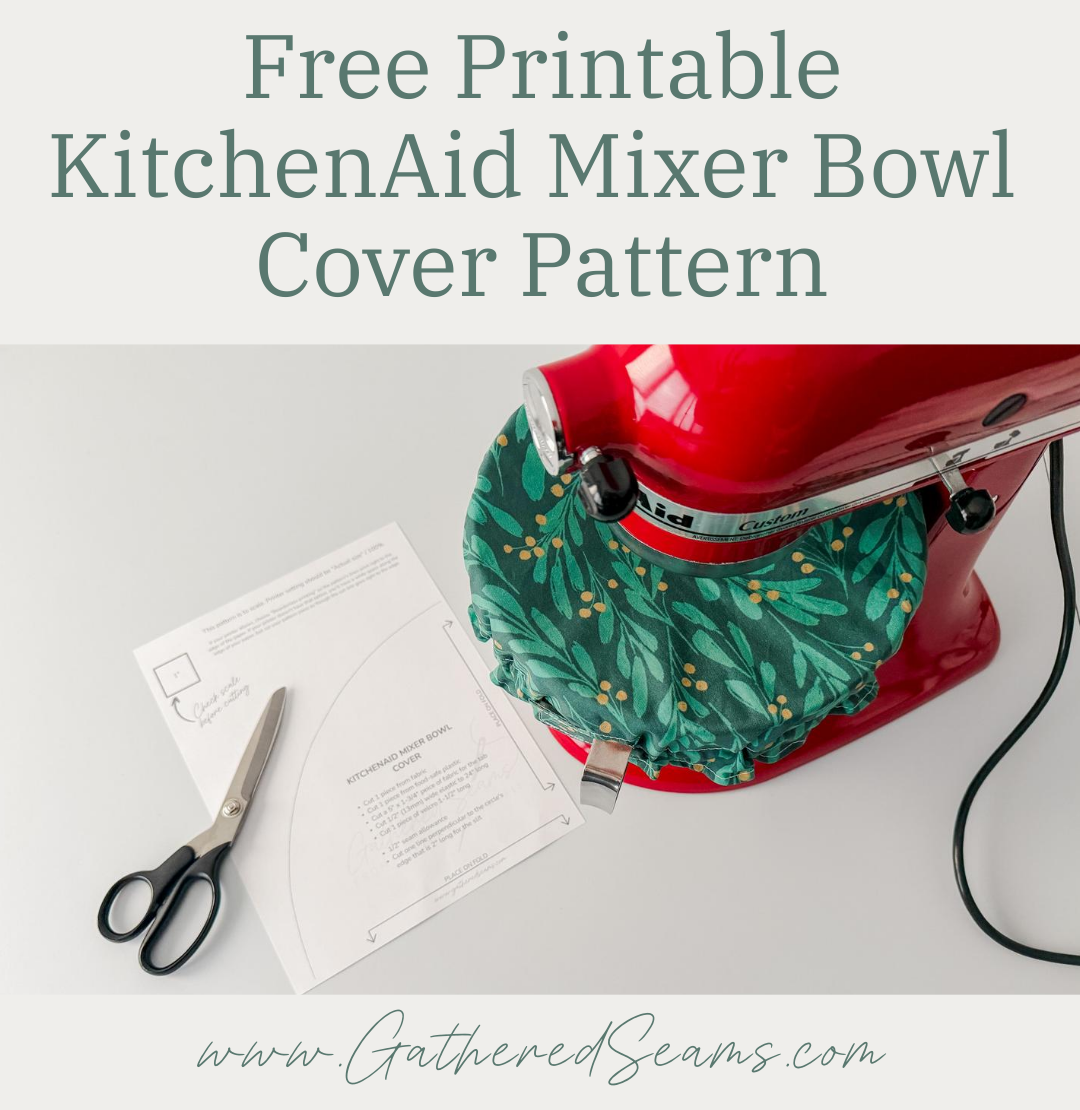
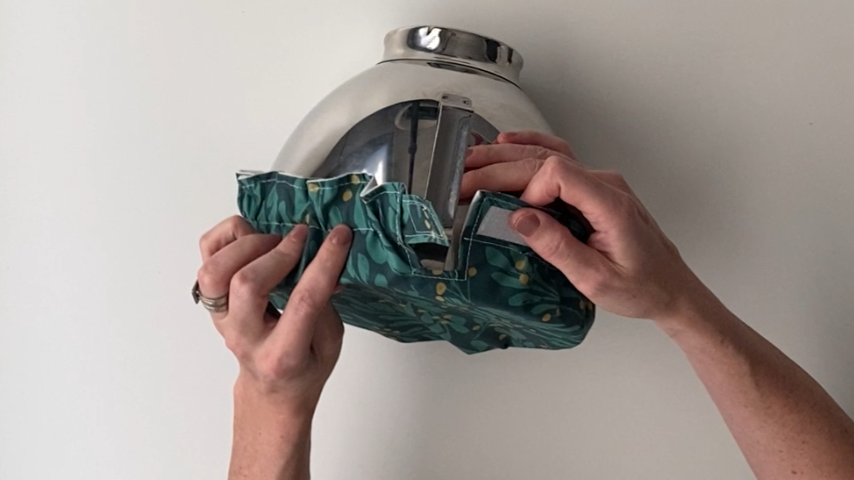
- Handle – this pattern accounts for the handle on a mixer bowl and has a slit so the cover wraps around and under the handle.
- Adjustable – The velcro strap that allows the cover to wrap under the handle makes it adjustable and creates a tighter or looser fit. You can use a longer piece of Velcro on the one side to allow the cover to fit even smaller bowls.
- Waterproof – because most people will be storing dough in their mixer bowls, I suggest using a food-safe waterproof fabric for the lining, which will make this reusable cover act more like plastic wrap, trapping moisture inside.
Sewing KitchenAid Mixer Bowl Covers to sell
Here are a few things to consider when making a KitchenAid Mixer bowl cover to sell.
- Add-ons – if someone is buying a KitchenAid Mixer bowl cover, they may also be interested in other KitchenAid Mixer accessories, such as a cord keeper or cover.
- Demand – at craft shows, it’s unlikely this will be a big seller, as a smaller portion of your target market will own KitchenAid Mixers. It may be a more popular item online, as “KitchenAid bowl cover” (and variations of that search term) are fairly common. Start small and expand if the sales are there.
- Functionality (selling point) – one of the selling points of this bowl cover is that the adjustable velcro strap makes this cover easier to fit over a bowl (which is ideal for people who deal with arthritis or mobility issues with their hands). Tighter elastic covers can be difficult to get on the bowl.
- Versatile (selling point) – you can make the Velcro strip longer on the one side, so the tab can be pulled tighter to fit bowls in a variety of sizes. This would be a selling point to share with shoppers as it allows them to get more use out of the item.
- Storing dough (selling point & USP) – most of the KitchenAid Mixer bowl covers on Etsy are not waterproof, which means they won’t trap moisture in the bowl. Although the food-safe plastic lining adds extra costs and raises the price, it’s an important feature, and one that will set your covers apart. Most people will be storing dough in the bowl, which you don’t want to dry out. The plastic lining will keep moisture in the bowl.
You’ll find more information at the bottom of this article on pricing and getting set up for success when sewing these to sell.

Materials
As an Amazon Associate, I earn from qualifying purchases.
- Fabric – a natural fibre such as cotton or linen is ideal
- Food-safe waterproof fabric
- Velcro
- Thread
Tools
- Sewing machine
- Iron
- Point turner
- Scissors
- Pins or clips
- Safety pin
How to sew a KitchenAid Mixer bowl cover
Step 1
Print your free pattern and cut pattern pieces, as well as:
- Elastic 24″ long (I used 1/2″ wide elastic)
- Velcro strip 1.5″ long
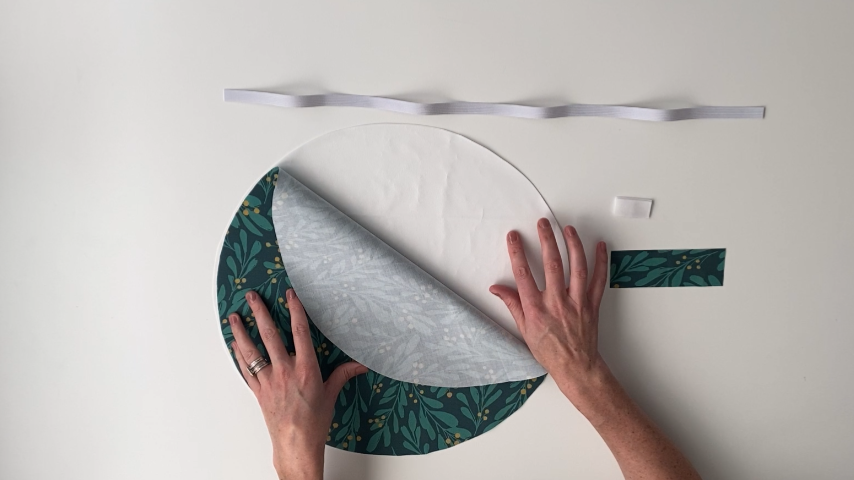
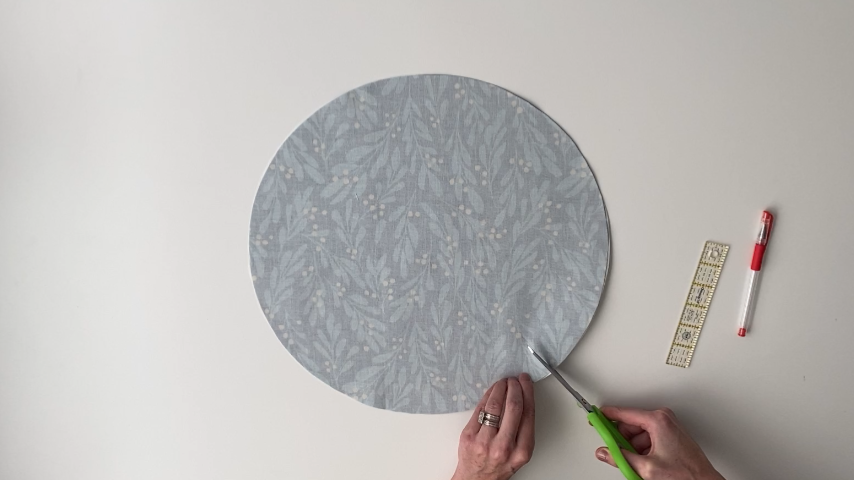
Step 2
To make an opening for the KitchenAid mixer bowl handle, we need to cut a slit.
Place your two circles, right sides together, lining up the edges.
Use a ruler to mark a line 2” perpendicular to the edge of the circle. Cut along that line.
Step 3
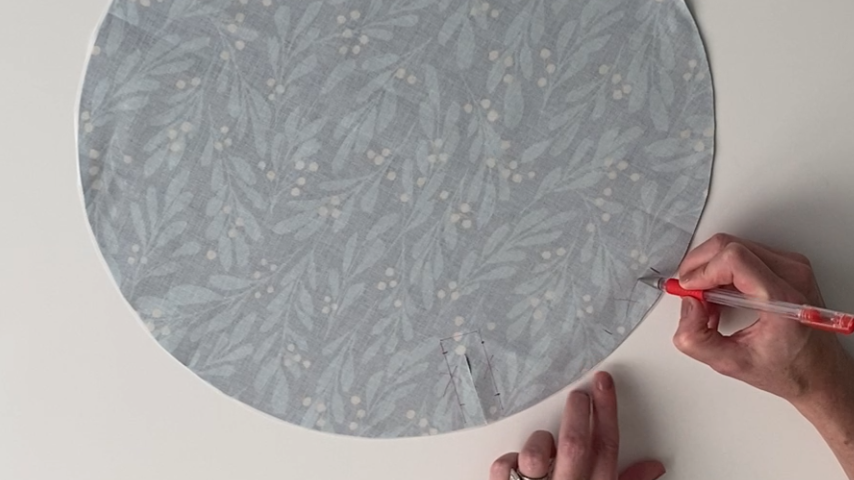
Start by marking your seam allowance around the slit using a temporary fabric marker:
- Draw a line 1/2″ away from the slit on either side
- Draw a line 1/2″ above the top of the slit
This line will make it easier to sew around your slit and to know where to pivot your material at each corner.
Create your stop and start sewing marks:
- On either side of the slit, mark 3/4” up from the bottom. Then mark another line 1.5” up from that. You won’t sew between these lines.
- Along one edge of the circle, mark 2 lines about 2″ – 3″ away from each other (which will be the opening to turn your cover right side out).
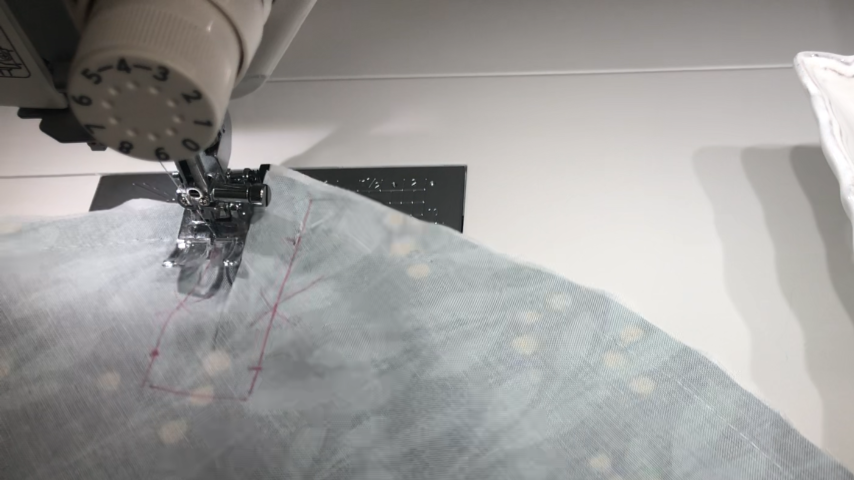
Using 1/2″ seam allowance, sew all the way around your circle and slit, leaving 3 openings between the lines.
Step 4
Clip the corners at the bottoms of each side of your slit.
Then make two snips at the top of your slit going towards each corner.
Cut down your seam allowance.
Stay 1/4″ away from your stitching.

Step 5
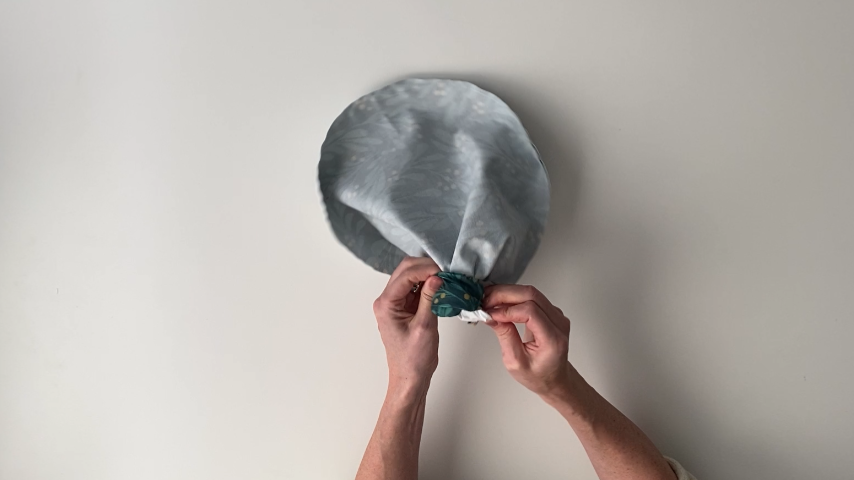
Using one of the openings, turn your cover right side out.
Use a point turner to push the corners of your slit out.
Step 6
With your iron on a lower setting, and with the cotton side up, roll the edges out and press along them, being careful not to hold the iron in one spot too long, as you don’t want to melt the plastic (test on a scrap piece of plastic and cotton first, to be sure your iron won’t damage the plastic).
Step 7
To create a channel for your elastic, sew a line all around the edge of the circle, 1-1/4” away from the edge, starting and stopping at the slit.
Sew a second line of stitching around the edge of the circle, 1/4” away from the edge, starting and stopping at the slit.

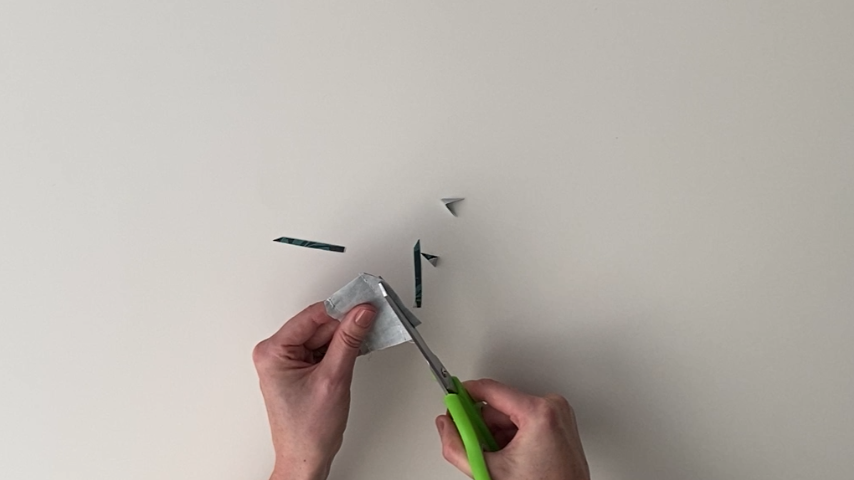
Step 8
Fold your tab in half lengthwise, with right sides together.
Sew along each side using 1/2” seam allowance (don’t sew along top or bottom).
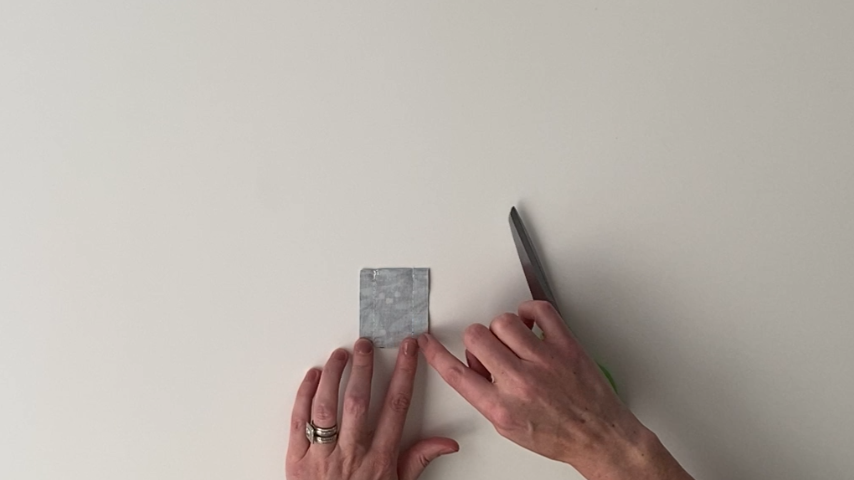
Clip the corners on the folded end and trim seam allowance, cutting about 1/4″ away from the stitching.
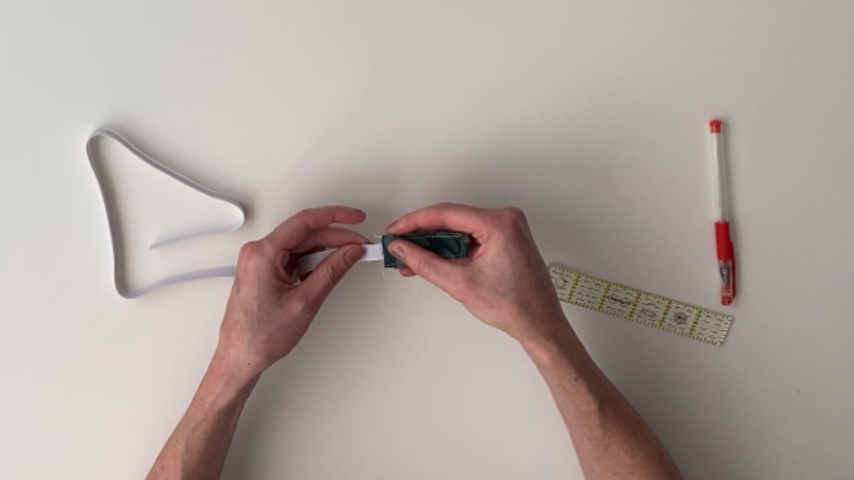
Step 9
Turn the tab right side out then top stitch about 1/4” away from the edge up one side, along the folded edge, then back down the other side.
Step 10
Place 1/2” of one end of the elastic in the opening of the tab and stitch along the open end to secure the elastic in place.
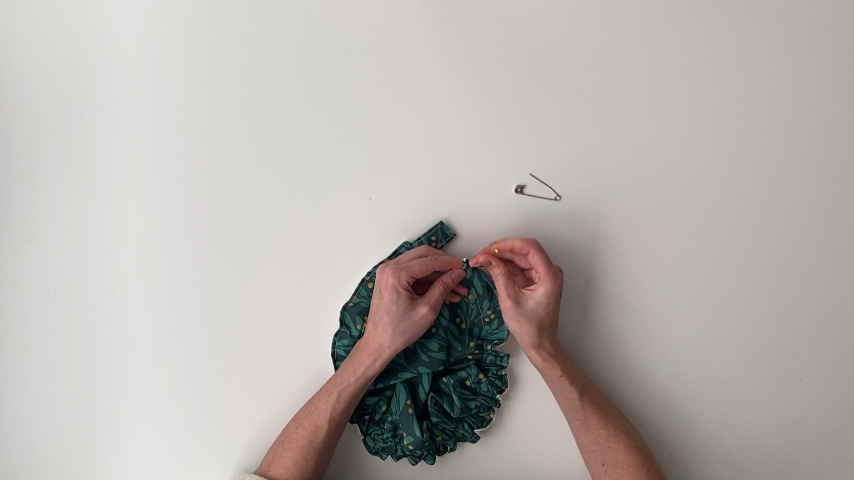
Step 11
Attach a safety pin to the end of the elastic without the tab.
Then feed the safety pin and elastic through the channel.
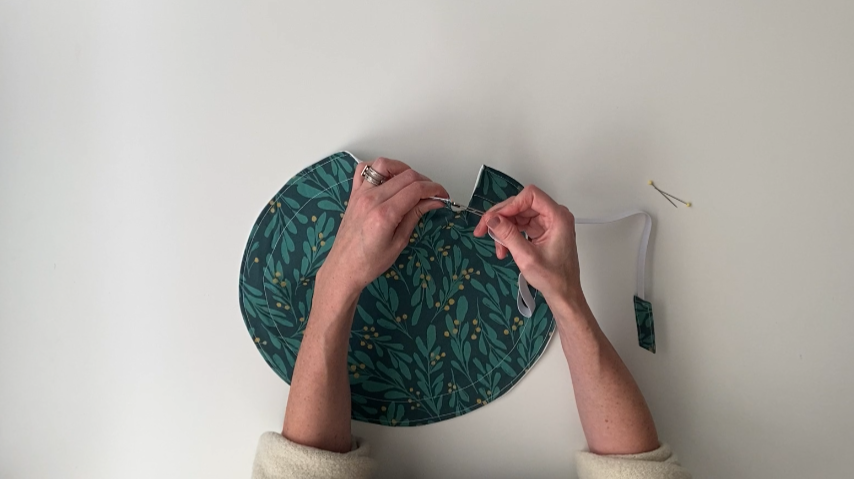
Once the elastic is fed through the channel, tuck the end without the tab under the seam allowance of the slit and pin into place.
Then work the tab into the other end so it’s about 1/2″ inside the channel.
Stitch around the slit to close the openings and secure the ends of the elastic into place.

Step 12
Sew one side of the velcro to the backside of the tab and the other side of the velcro to the other side of the slit.


Your KitchenAid bowl cover is complete.
Now it’s time to sell your KitchenAid Bowl Covers!
If you’re planning to sell these at craft shows or online, there are a few things to determine first.
1 – Pricing
First, you must ensure you can profit.
Using this pattern, pricing based on the sourcing below, and the basic pricing formula (Production costs x 2 = Wholesale price x 2 = Retail price), I would calculate the following:
- Cotton – $4.99/yard
- Food-safe PUL – $6.50/yard
- Sew-on Velcro – $0.58/yard
- https://www.industrialwebbing.com/velcro-brand-sew-on-tape-3-4-x-25-yards/
Material costs for one KitchenAid Mixer bowl cover
Cotton = $1.25 each (I can make 4 from one yard that’s 44″ wide)
Food-safe PUL = $1.63 each (I can make 4 from one yard that’s 44″ wide)
Velcro = $0.05 each
Total = $2.93
Wages = $15/hour
When making these in bulk, I could probably create 4/hour
Production wages = $3.75/each
Total production costs = $6.68
Pricing Calculation
$6.68 x 2 = $13.36 (wholesale price) x 2 = $26.72 (retail price)
Pricing these at $26.72 per cover would cover my costs, wages, and provide profits.
This price is higher than most KitchenAid Mixer bowl covers on Etsy. However, I couldn’t find any that were waterproof/had a plastic lining (I’m sure there are some out there, but they didn’t appear in top results). This is an important feature (which raises the price) because the majority of people will be storing dough in their mixer bowls, which will need the plastic lining to prevent it from drying out.
At the higher price point, it will be essential to point out the waterproof/moisture sealing/dough storing feature of that lining, so consumers understand why your price is slightly higher.
You should also point out the Velcro tab, which is an added feature that other KitchenAid Mixer bowl covers on the market don’t have. The Velcro tab allows the bowl cover to fit a variety of bowl sizes, to secure the cover under the handle (most covers on the market only sit above the handle), and makes the cover easier to get on and off.
2 – Additional Products
It’s important to offer products that customers can add to their order or come back to purchase.
One could build a successful business focusing on a variety of bowl and food covers. For example:
You could also offer other KitchenAid Mixer accessories, such as:
- KitchenAid Mixer cord keeper
- KitchenAid Mixer cover
Or you could venture into other kitchen items, such as:
- Hot pads and handles
- Cozies
Follow the links for free printable patterns and instructions to make.
Check out this article: Product Line Glossary to ensure you’re building a well-rounded product line.
3 – Stand Out
If I were sewing KitchenAid Mixer accessories to sell, I would focus on colors and prints that work with the KitchenAid Mixer colors and match its classic vintage style.
I would start with the most common colors (red, black, silver, almond cream), and if my covers and other accessories turned out to be a popular product, I would expand into other colors. For example, currently on KitchenAid’s website, they have the mixer in a “beetroot” and “hibiscus” color. Launching a collection to work with those new colors could be successful (again, only if sales stats prove my KitchenAid accessories sell).
Most of the KitchenAid Mixer covers on the market are made from fabrics that use bold colors and prints. So choosing an aesthetic that aligns with the mixers could help my products stand out.
Also highlighting that my covers use a food-safe plastic, which is ideal for storing dough (which I imagine most bakers would be storing in their mixer bowls).
I would try to incorporate “dough proofing” or “dough cover” into my product name and descriptions.
Find more details on making your business stand out here.
If you can profit, build a product line, and find a way to stand out, you have a good start to a business.
Then you can look into the steps you must take in your area to get your business set up and start selling at local craft shows or online.