Spa Face Washing Set To Sew | Free Pattern & Tags
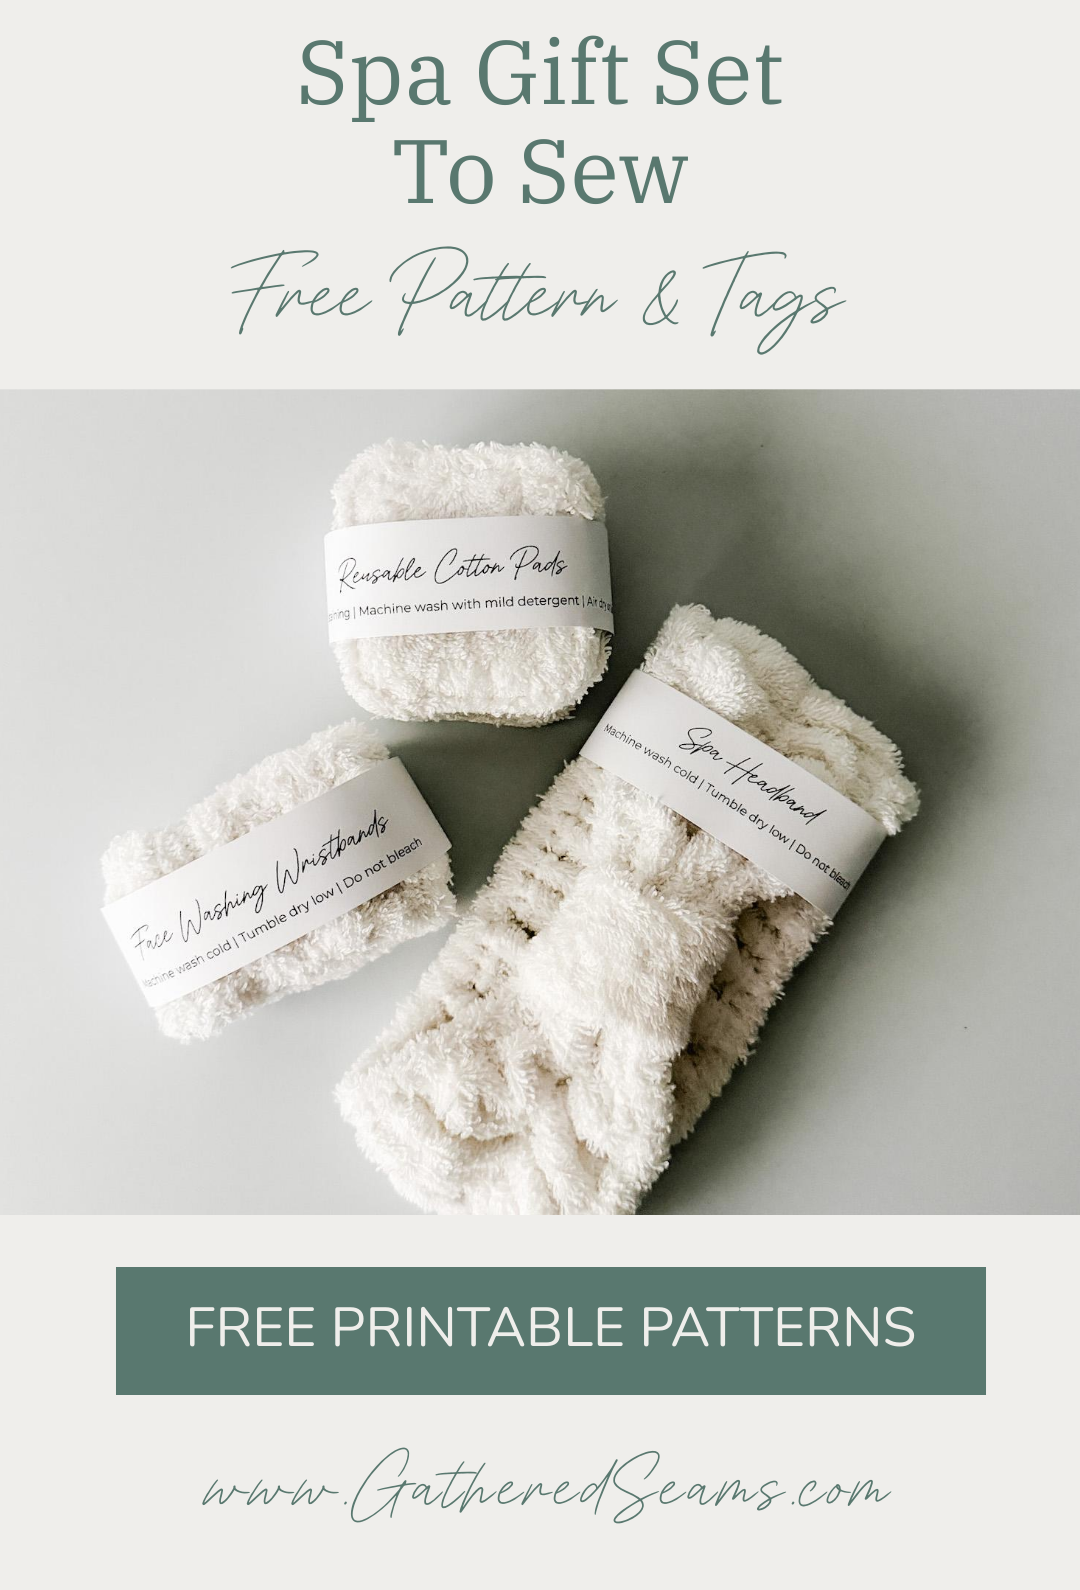
This set of items makes a perfect gift (for someone or to make for yourself).
I received a spa headband and face-washing wristbands last Christmas and I use them every day.
- The headband keeps your hair out of the way while washing your face or applying products.
- The wristbands stop water from dripping down your arms or getting your sleeves wet when washing your face.
The reusable cotton pads are a good addition to these products and great for the environment 🙂
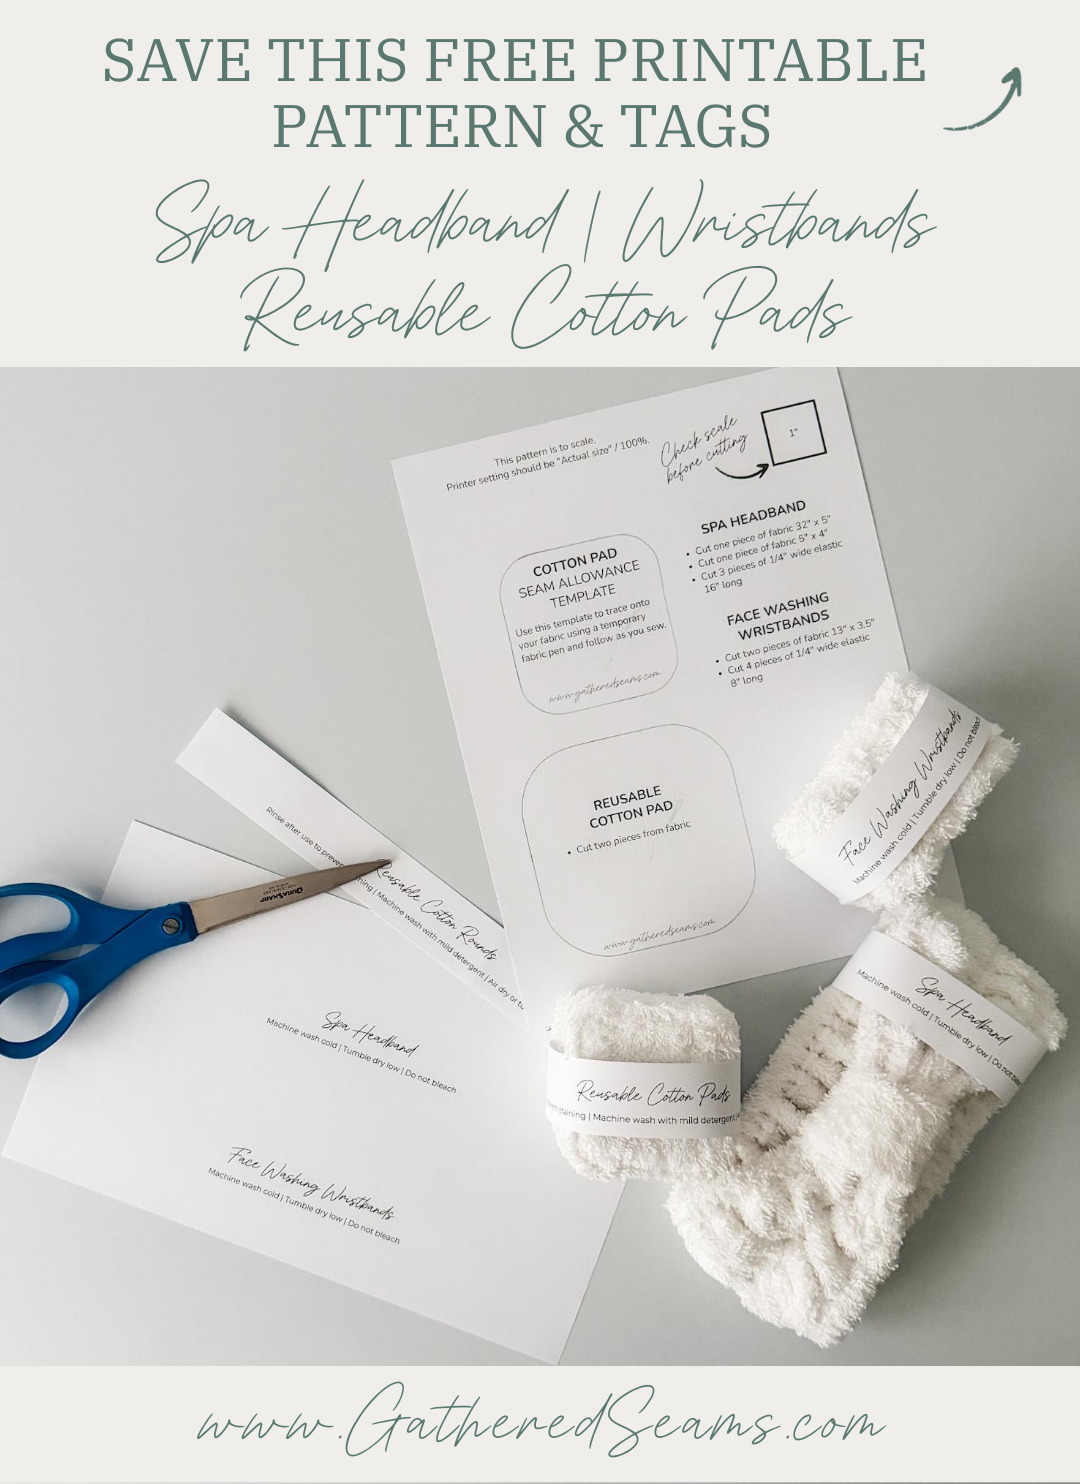
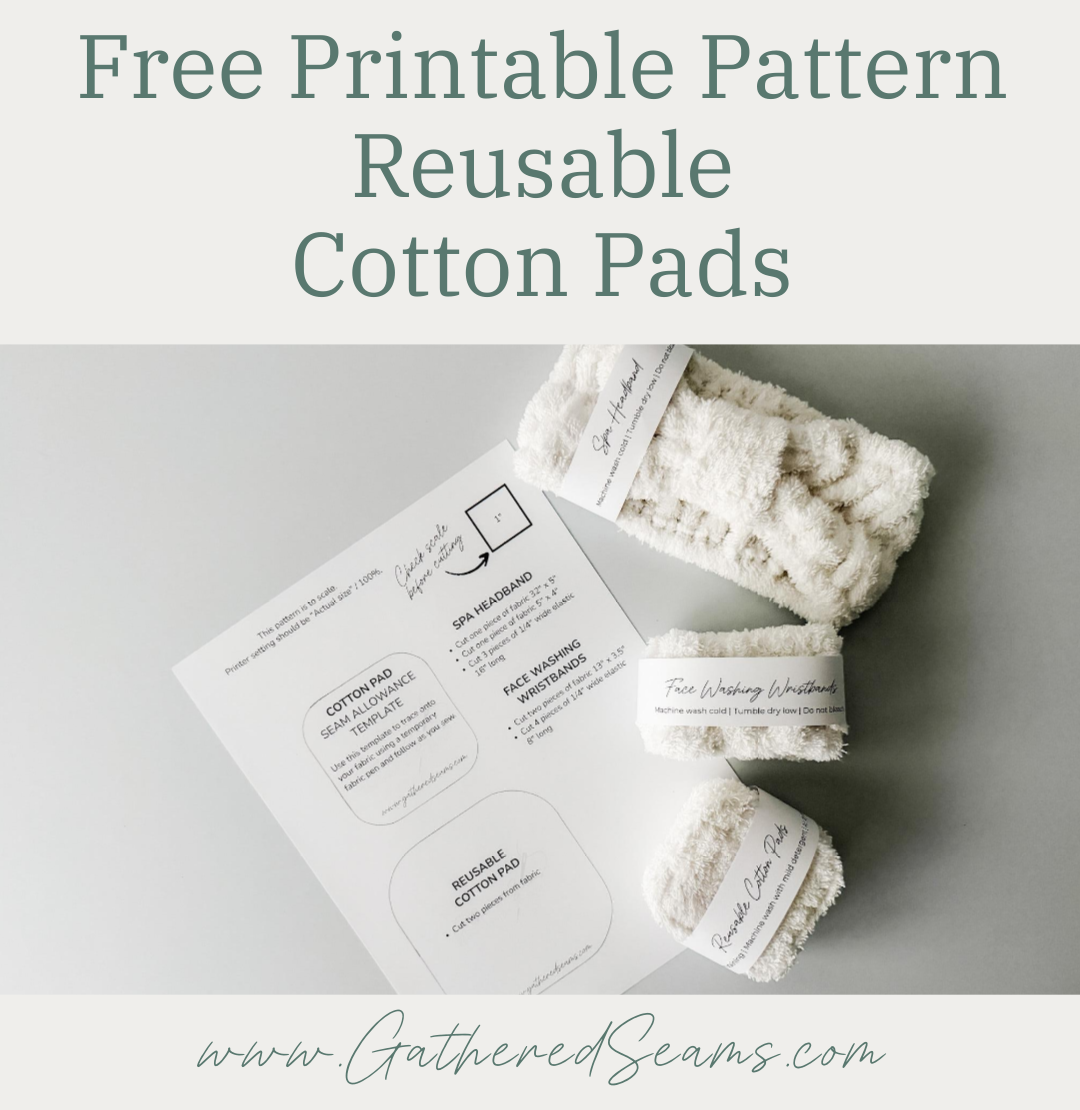
I’ve created some simple tags for each item and left a bit of room so you can upload the image to Canva and add text or a logo if you like.
>> Download the Product Tags PDF
>> Download the Product Tags PNG

Materials
- Fabric – There are a variety of materials you can use for this project, such as:
- Cotton terry
- Stretch terry (terry knit)
- Microfiber terry
- Bamboo terry
- Cotton jersey
- Bamboo jersey
- Cotton fleece
- Bamboo fleece
- Waffle knit
- Velour (cotton or bamboo)
If you don’t have a serger/don’t want to zig-zag stitch around edges, choose a material that won’t fray, such as fleece. That makes this project quicker.
For the reusable cotton pads, ensure the material you choose is:
-
- Absorbent
- Soft
- Washable
- Thread
- 1/4” wide elastic
Tools
- Sewing machine
- Serger (optional; can use a zig-zag stitch instead or choose a fabric that won’t fray)
- Safety pin or bodkin
- Clips/pins
- Scissors
- Temporary fabric marker
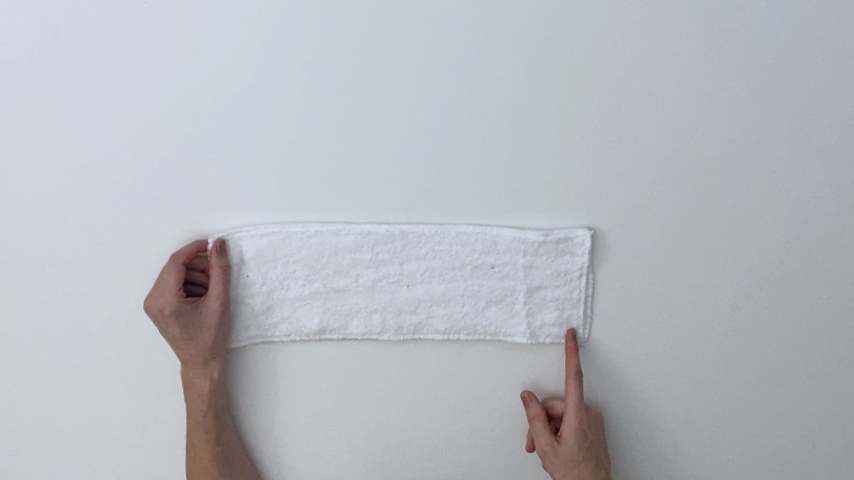
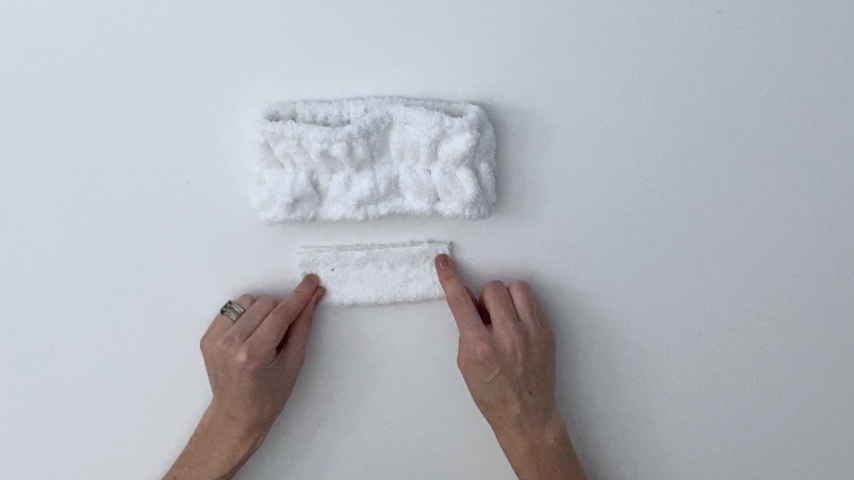
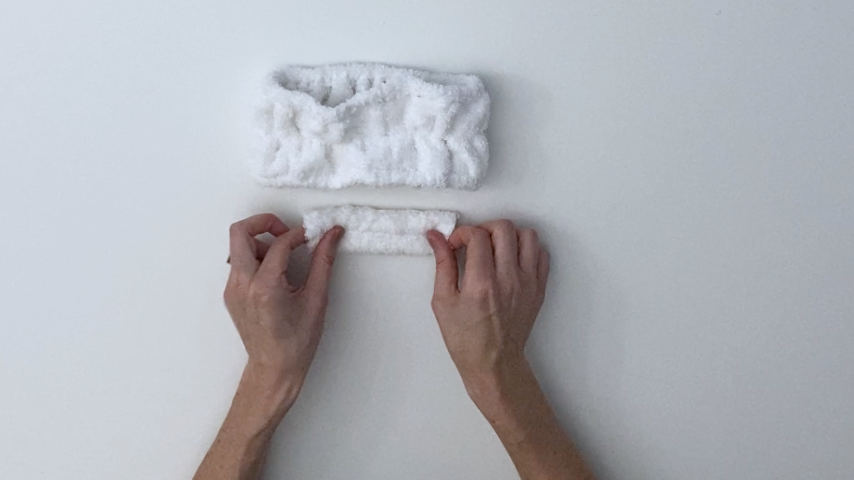
Spa headband & wristbands
- Headband
- 1 piece of fabric that is 32” x 5”
- 1 piece of fabric that is 5” x 4” for the centre “knot”
- 1/4” wide elastic – 3 pieces that are 16” long (this length can be adjusted for your head)
- Wristbands
- 2 pieces of fabric that are 13” x 3.5”
- 1/4” wide elastic – 4 pieces that are 8” long
The steps are the same for both the headband and the wristbands, except for steps 4 & 7.
Step 1
If you’re using a fabric (such as fleece) that doesn’t fray, you can skip this step.
Serge along all 4 edges of each piece (for the headband and wristbands), or use a zig-zag stitch.
Step 2
Fold your pieces lengthwise and right sides together, matching up the two ends.
Using a 1/2” seam allowance, stitch the two ends together.
Step 3
Fold the top and bottom edges in 1/2” and clip into place.
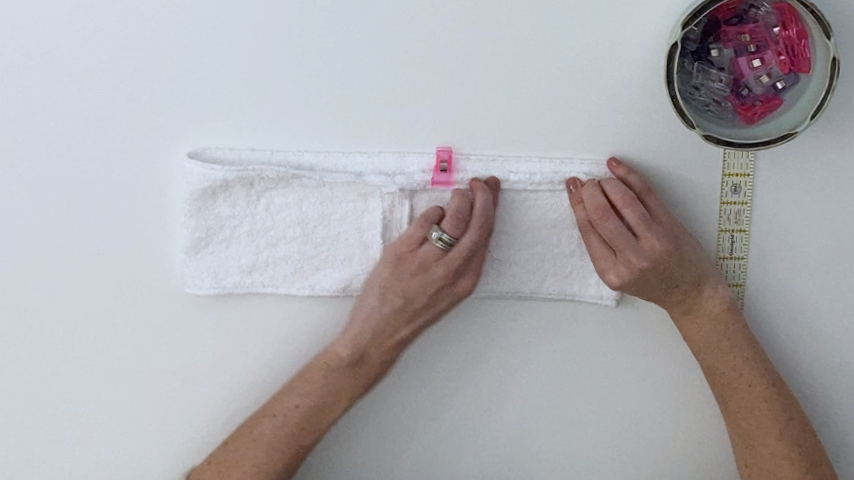
Then stitch 1/8” in from the inside edge of the hem, starting and stopping on either side of the seam, leaving a 1” – 2” opening.
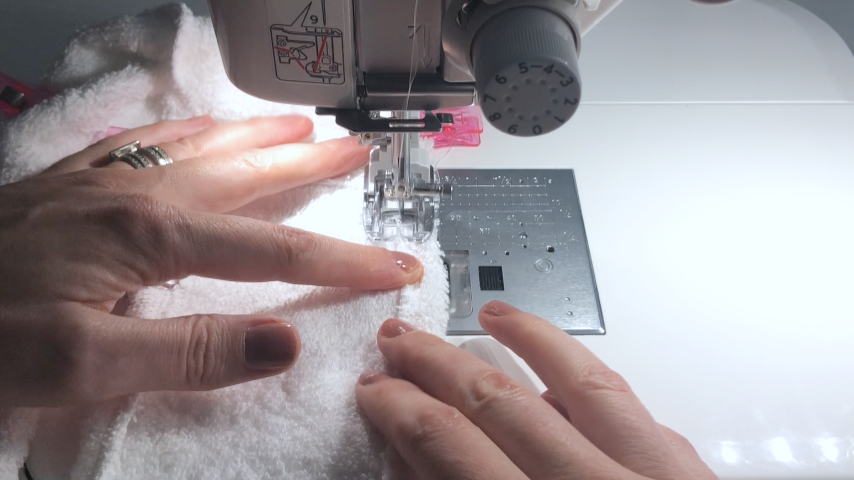
Repeat for the bottom edge.
Step 4 (headband only)
This step is optional for both the headband and wristbands. Adding the centre elastic will help distribute the gathered material and keep the centre of the bands from bubbling up.
Use a temporary fabric marker to mark your headband and elastic into quarters.
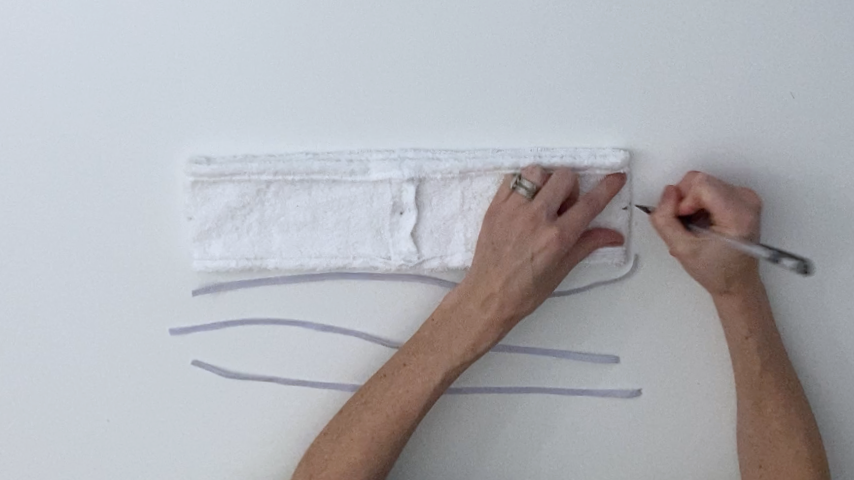
Center your elastic in the middle of your headband (on the wrong side) and on the seam.
Backstitch, then pull on your elastic as you sew, ensuring your 1/4 marks on your elastic meet up with your 1/4 marks on your headband.
Overlap the start and end of your elastic (by about 1/4”) and backstitch.
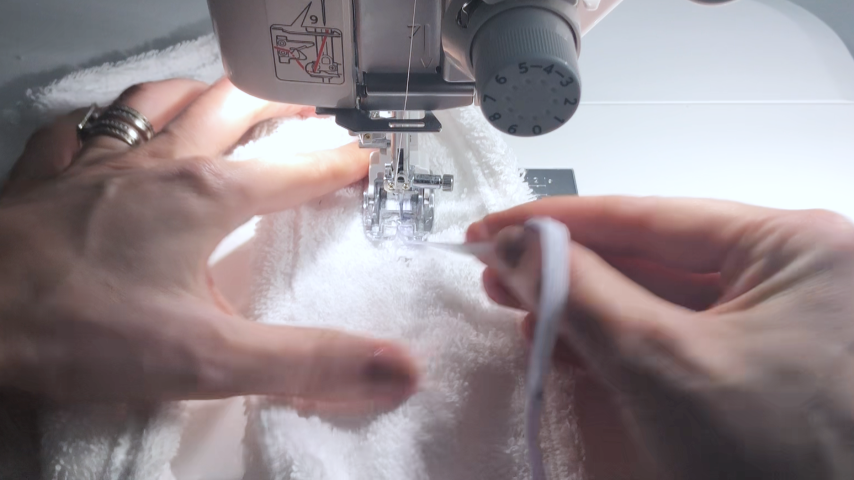
Step 5
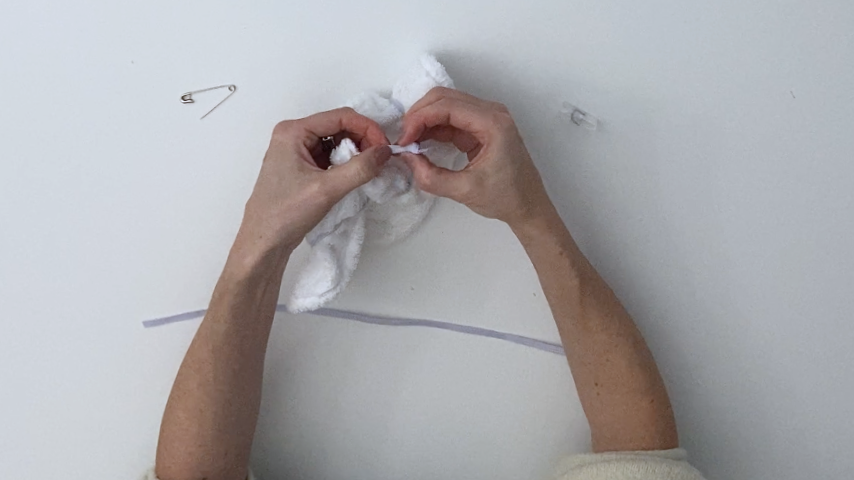
Use a safety pin or bodkin to feed one elastic through the top channel of your band and one through the bottom channel.
You can stitch or tie the ends of the elastic together.
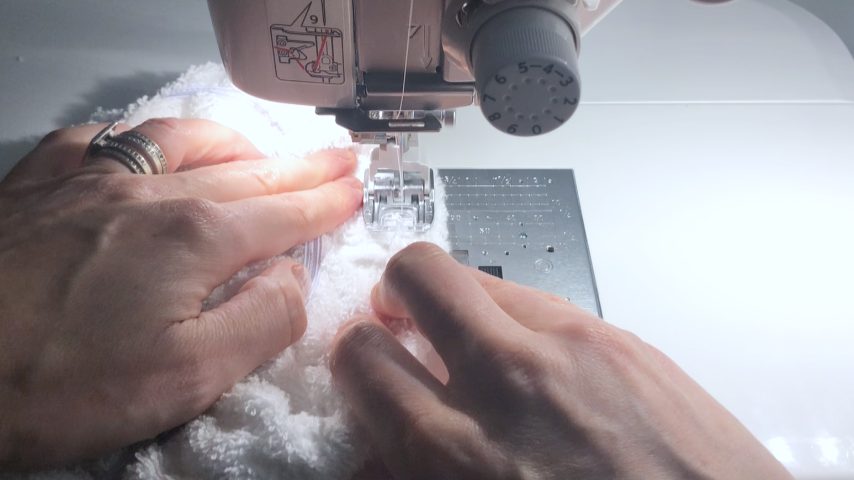
Step 6
Sew the openings of the channels closed.
Step 7 (headband only)
Fold your 5” x 4” piece of fabric in half so the two 5” ends line up.
Using a 1/2” seam allowance, stitch the ends together.
Flip the tube right side out and center the seam.
Wrap the tube around the headband, making sure the right sides (sides with no seam) are together.
Stitch the two ends together, stitching close to the headband.
Flip it over so the seam is on the underside.

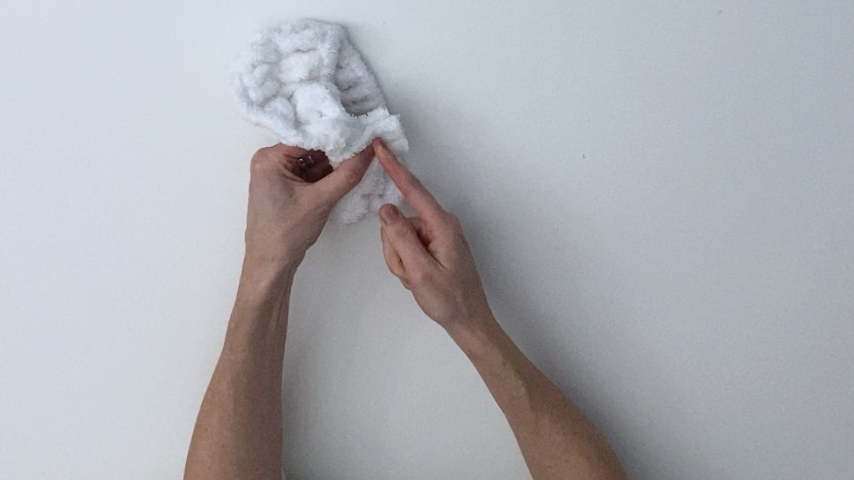
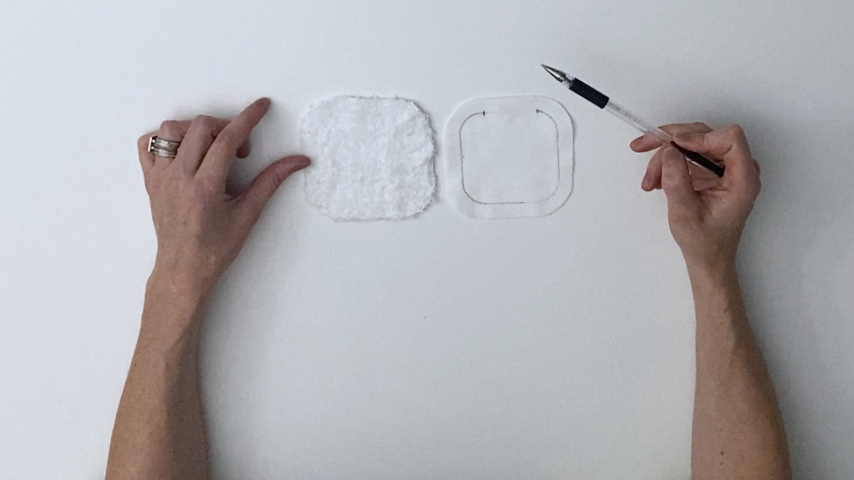
Reusable Cotton Pads
Step 1
Cut out your pattern pieces. You can use the free printable pattern or cut out a circle that is about 4” in diameter or a square that is 4” x 4”.
Use a temporary fabric marker to trace around the seam allowance template, marking a 1.5” – 2” opening along a straight edge.
Following the seam allowance line makes it easier to keep your seam allowance and curved corners consistent.
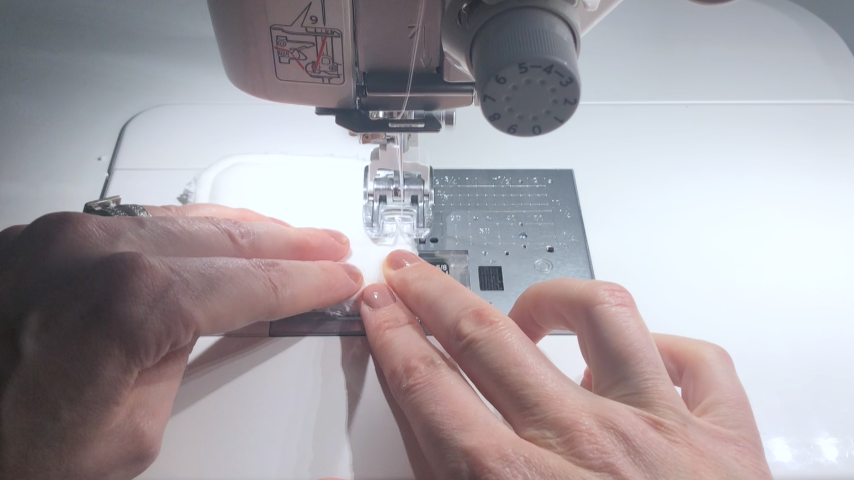
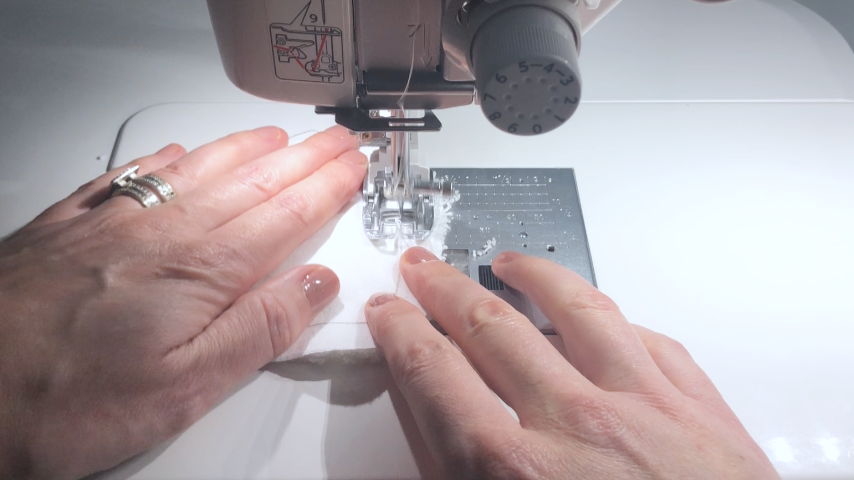
Step 2
Backstitch at the start and end and follow the line to sew around the edges (leaving the opening).
Step 3
I don’t trim the seam allowance back with these, as I find it adds some plushness to the cotton rounds. However, you can trim the seam allowance down if there are any spots that shifted or if you’re using two layers of thick fabric or don’t want that thickness in the seams.
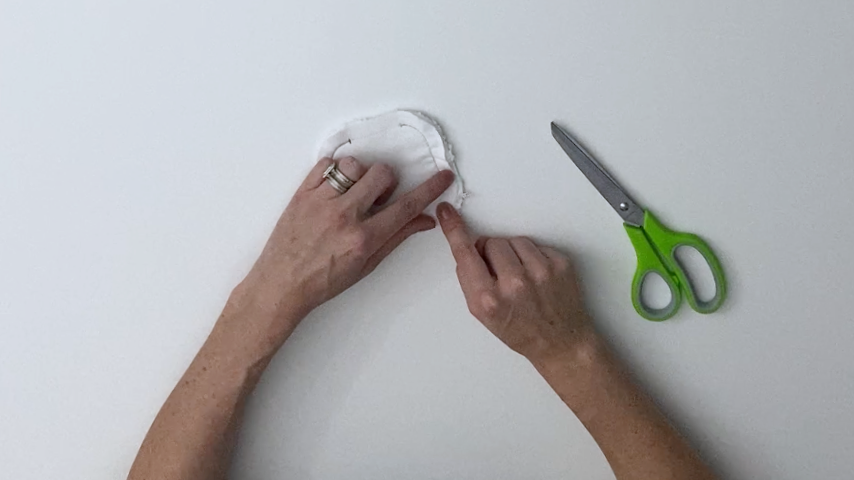
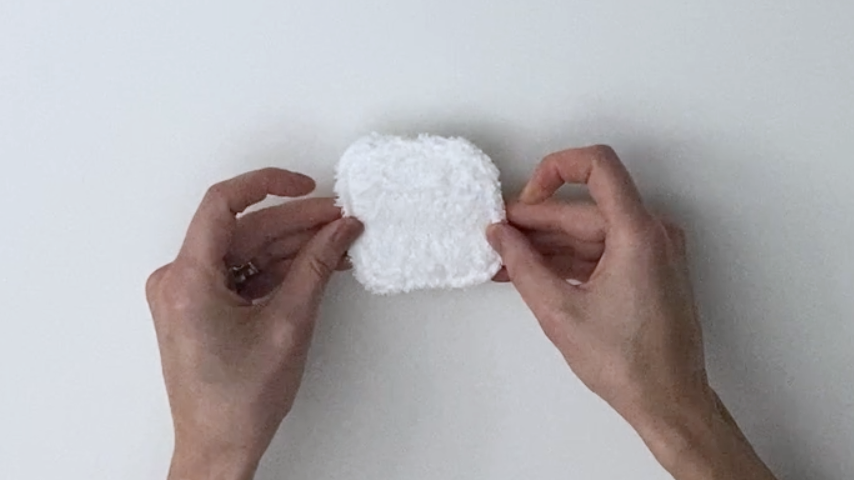
Press the hem of the opening back then turn the cotton pad right side out.
Press the edges and hem into place.
Step 4
Top stitch around the cotton pad.