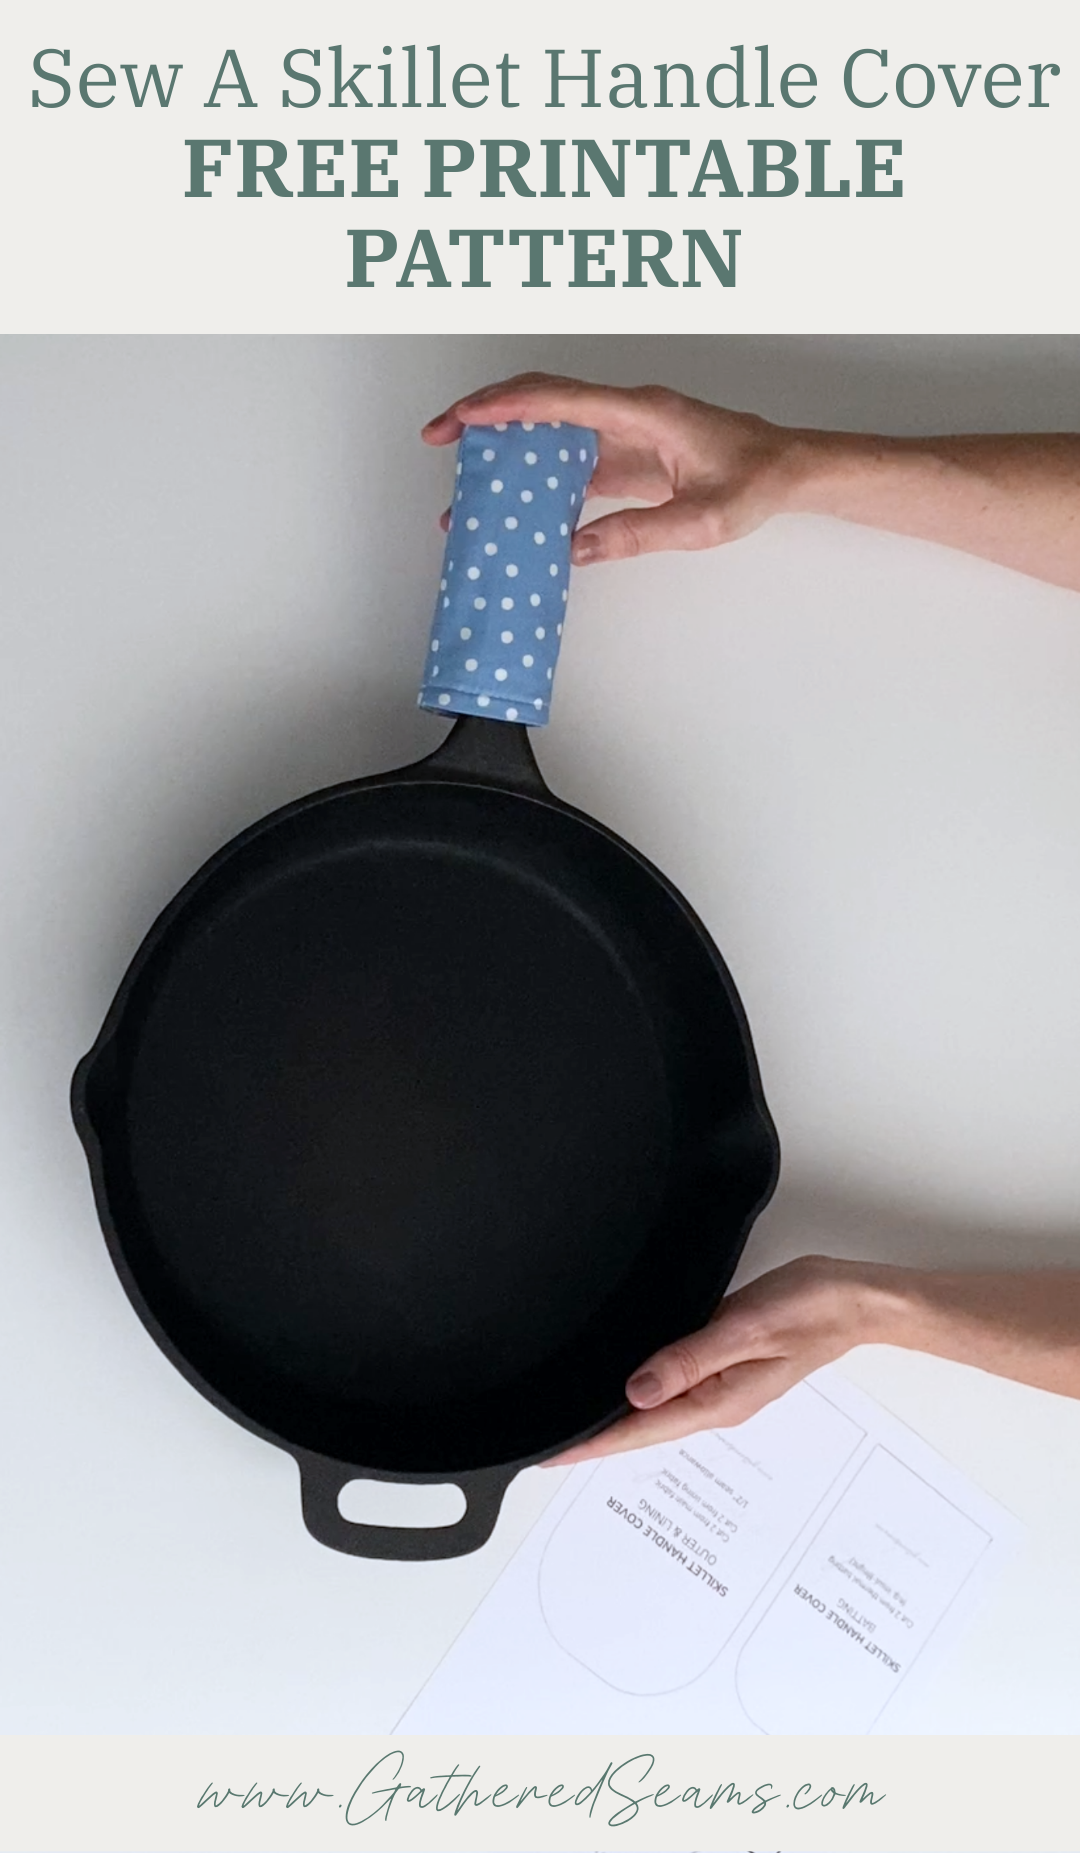
How To Sew a Skillet Handle Cover To Sell (free pattern)
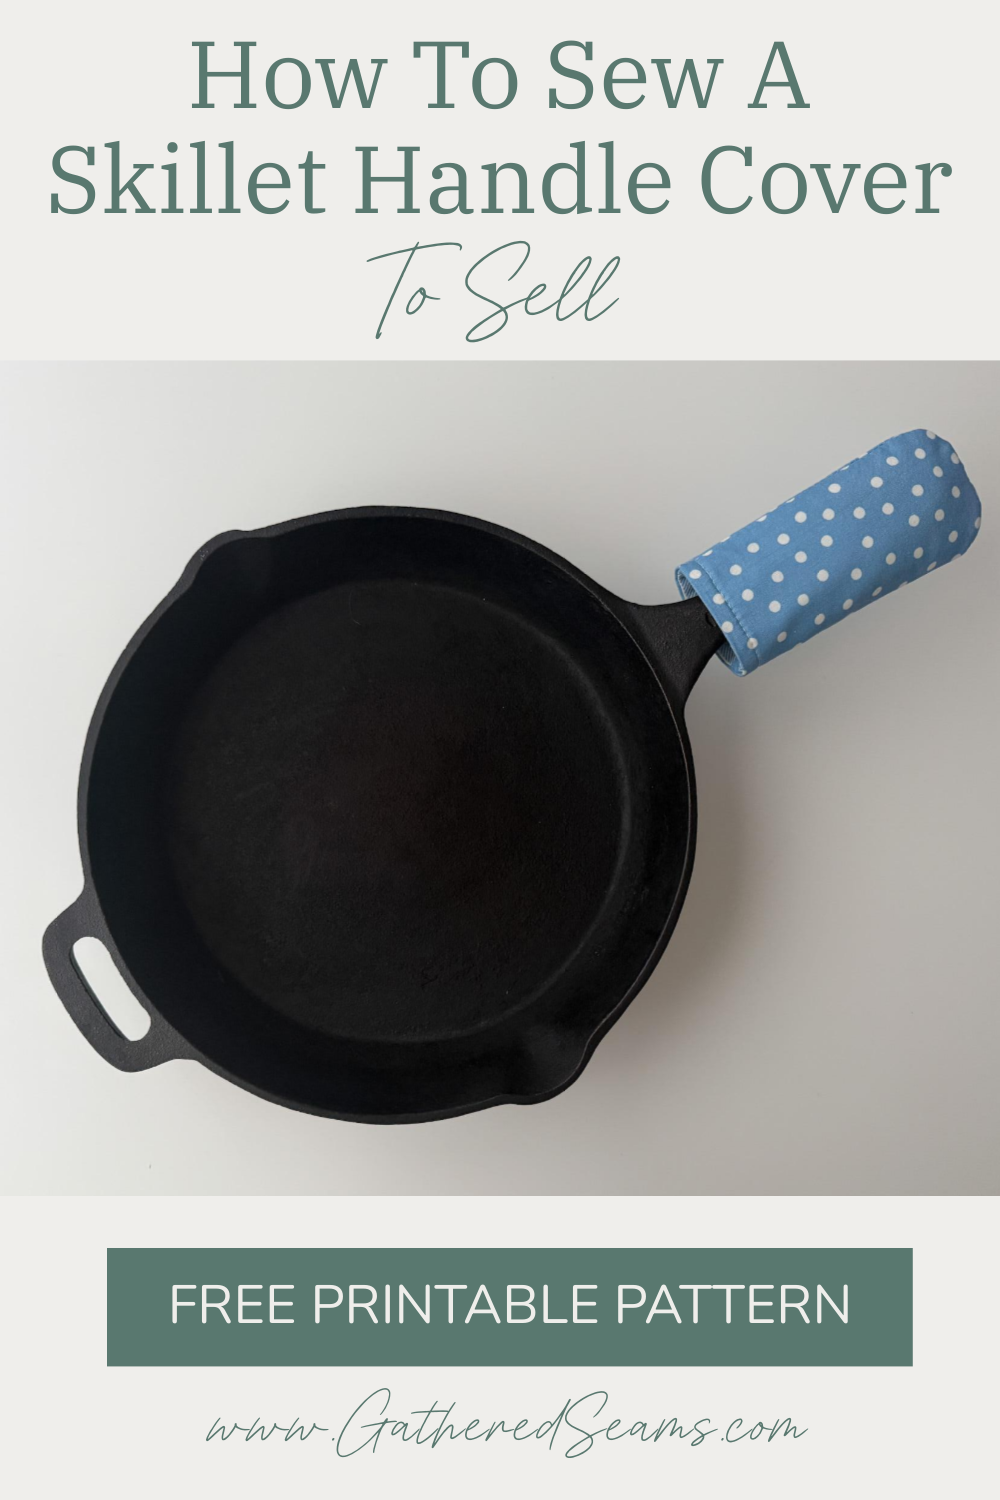
These skillet handle covers are really handy, along with a hot pot lid holder (free pattern here), to pick up a heavy cast iron pan.
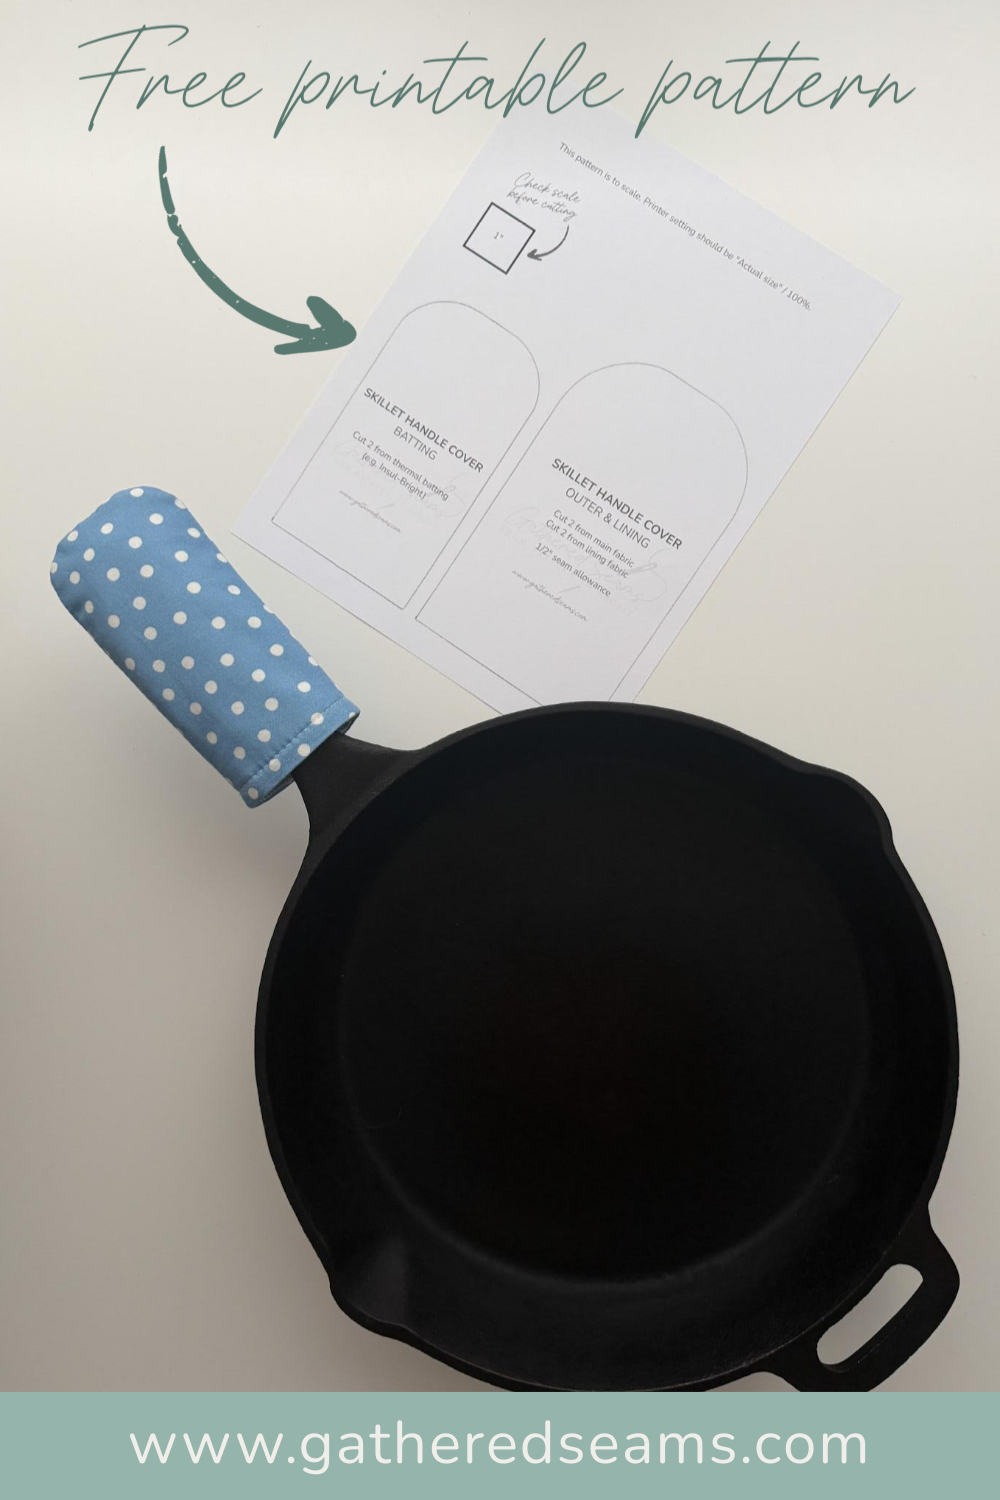
I worked on this pattern and different methods for assembling until I had a cover that looked polished and professionally finished. It comes together a little differently than other patterns out there. I hope you enjoy this free pattern.
Sewing skillet handle covers to sell
These are a great item to fit into a kitchen or table linen product line (e.g. hot pads, pot holders, tea towels, oven mitts, etc.).
- Add-on – these don’t require much material and don’t take long to make, so their price point will be lower (check the end of this article for pricing suggestions). Perfect for customers to add to an existing item before checking out (e.g. oven mitts and the matching skillet handle cover).
- Bundle – you could sell these individually, or bundle them with a hot pot lid holder, as they work well together when picking up a hot and heavy cast iron pan.
You’ll find more tips at the end of this article for pricing and getting set up for success when selling these skillet handle covers.

Materials
As an Amazon Associate, I earn from qualifying purchases.
- Outer and lining fabric (cotton or linen are ideal)
- Thermal batting (a heat-resistant batting such as Insul-Bright is ideal. Alternatively, you can use two or three layers of a regular cotton batting but I would suggest using temporary fabric glue or a basting stitch to secure the layers together so they’re easier to sew)
- Thread
Tools
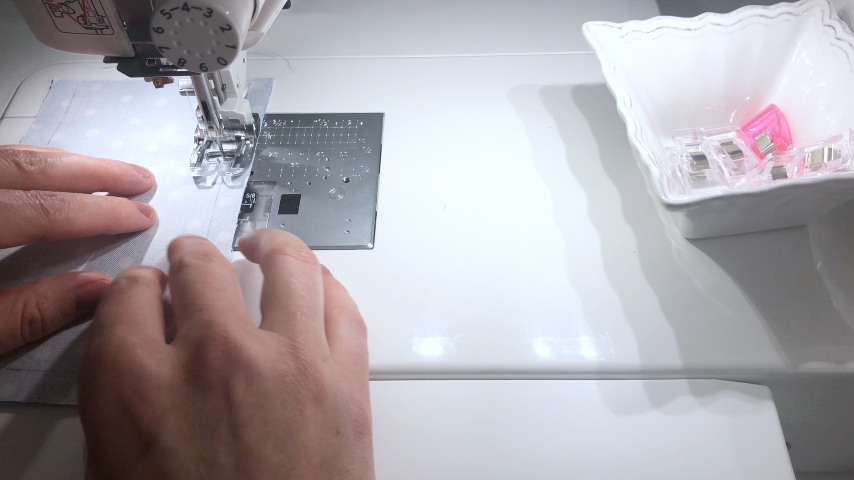
- Sewing machine
- Walking foot (I recommend using one when working with batting)
- Point turner
- Pins or clips
- Iron
- Scissors
How to sew a skillet handle cover
Step 1
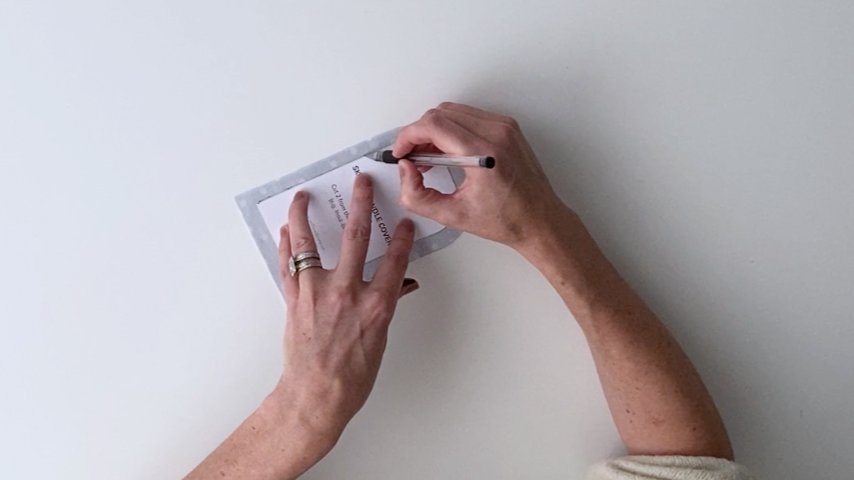
Print your free pattern and cut it out.
Press your fabric (don’t press your batting) before cutting to ensure your cuts are accurate.
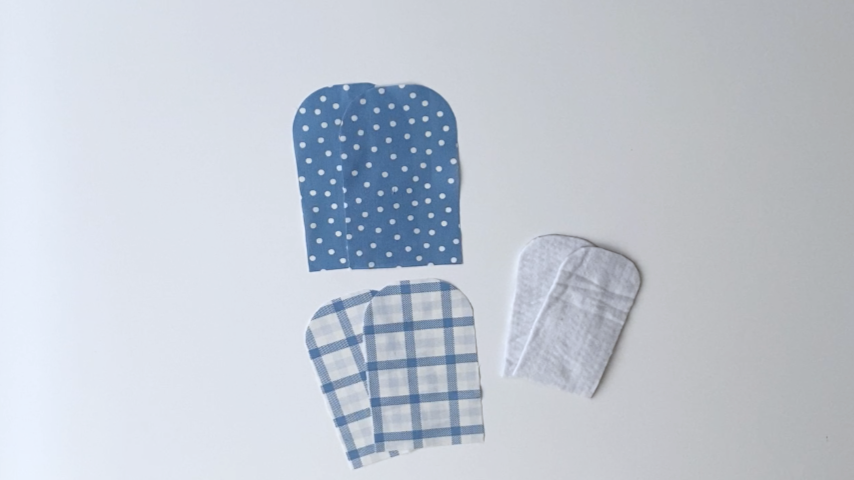
You’ll need:
- Outer & lining – cut 4 pieces (2 for outside & 2 for lining)
- Batting – cut 2 pieces
Step 2
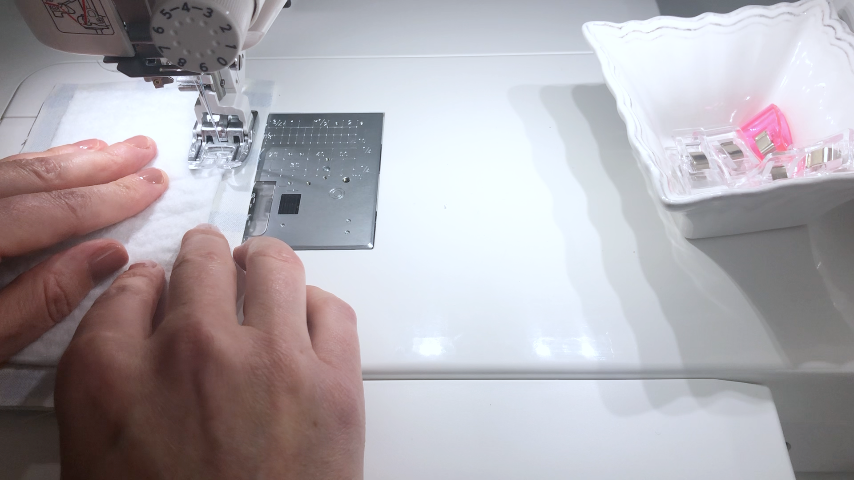
Place your two pieces of lining, right sides together.
Center the batting pieces on the wrong sides of your lining pieces. Make sure there is equal spacing from the edge of the batting to the edge of the lining all around the curved edge.
If you prefer, you can use a couple of pins or temporary fabric spray to hold the batting in place as you sew.

Stitch around the sides and top of the lining, sewing about 1/8” inside the batting to catch it as you sew.
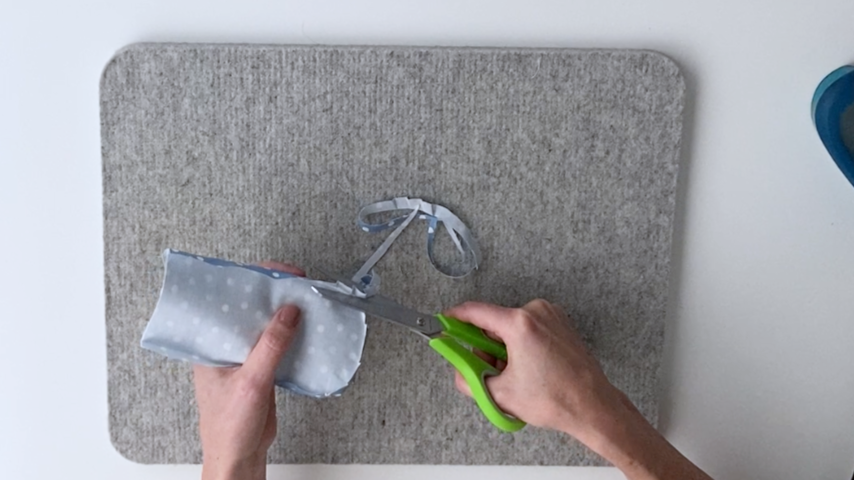
Step 3
Press the seam open along the two sides.
Trim the excess fabric around your seams, tapering out as you get toward the bottom edge.
With the seams open, fold the bottom hem to the wrong side, following the edge of the batting. Press into place.
Step 4
Place your two outer pieces of fabric with right sides together.
Center your batting pattern piece on the back of an outer piece and use a temporary fabric pen to trace around it.
This will make it easy to get a consistent seam allowance.
You should stitch about 1/8” inside this line (just as you did when sewing the batting to the lining).
Step 5
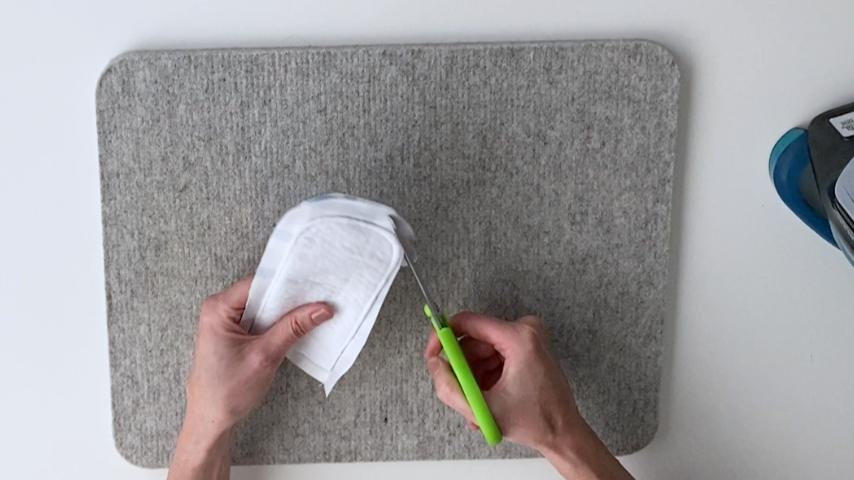
Press the seam open.
Trim the excess fabric around your seams, tapering out as you get toward the bottom edge.
With the seams open, fold the bottom edge toward the wrong side and press, creating a 1/2” hem.
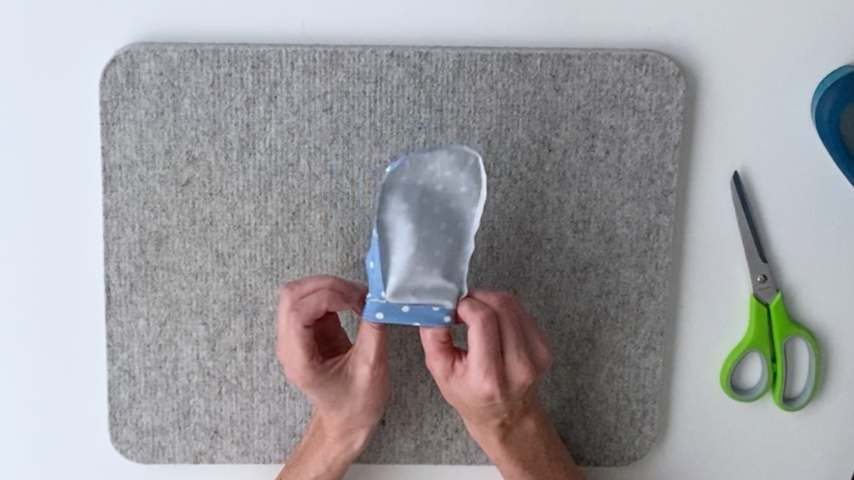
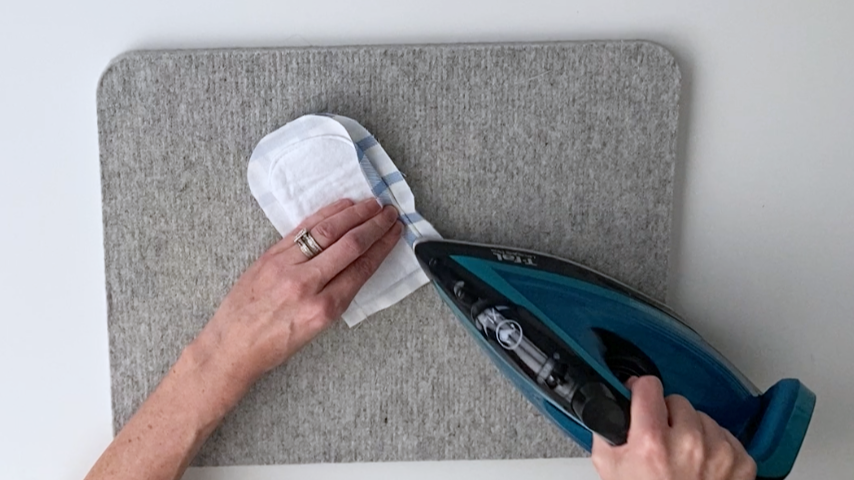
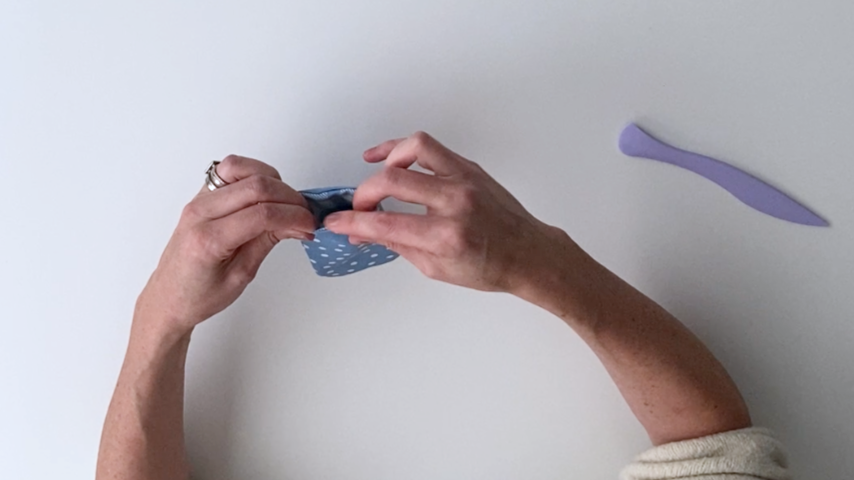
Flip the outer sleeve right side out and use a point turner to push the seams out.
Quickly run the iron over the seams, then roll them between your fingers while the fabric is still warm. This will help smooth the seam.
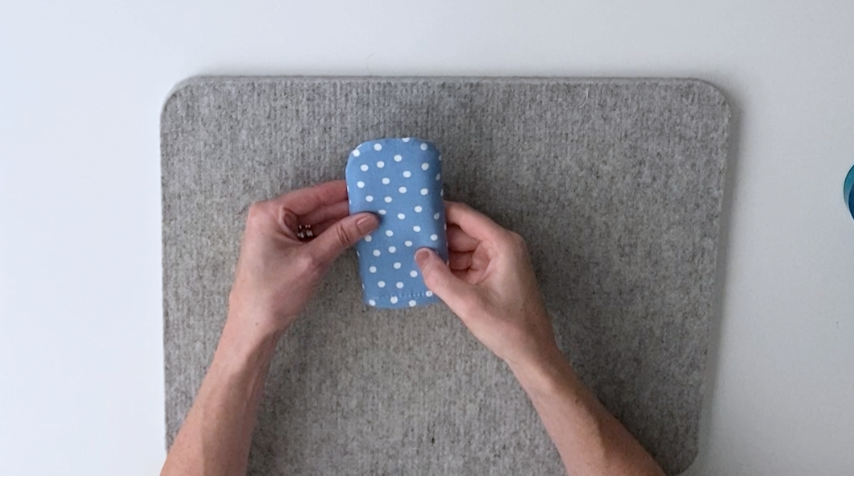
Step 6
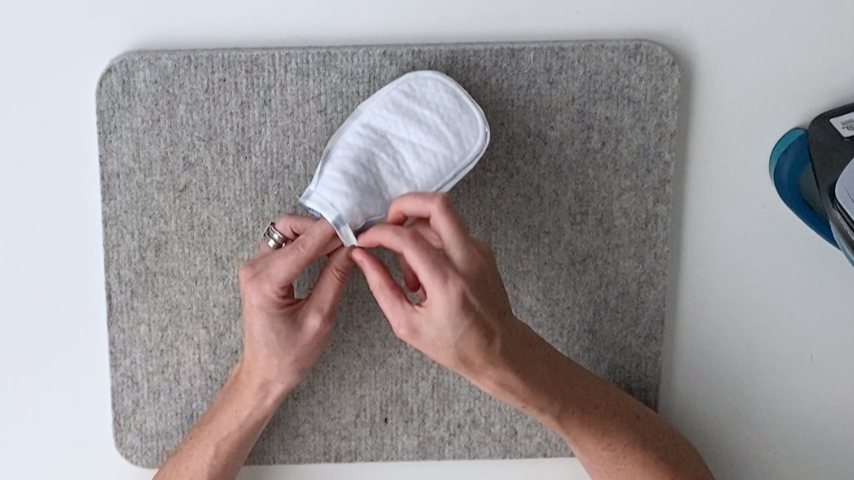
Nest the lining inside the outer sleeve and use a point turner to make sure it’s fully set in.
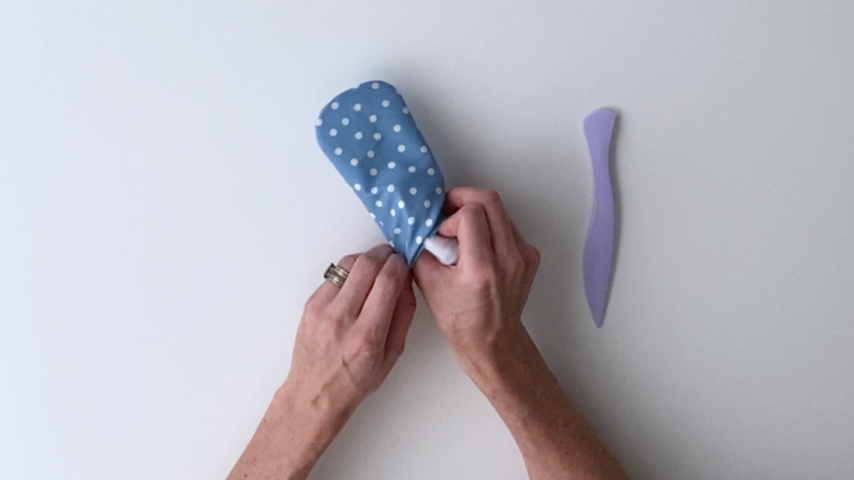
Line up the bottom edges and adjust the hems as needed so they line up.
Use the tip of your iron to press the bottom hem.
Step 7
Top-stitch around the bottom hem.
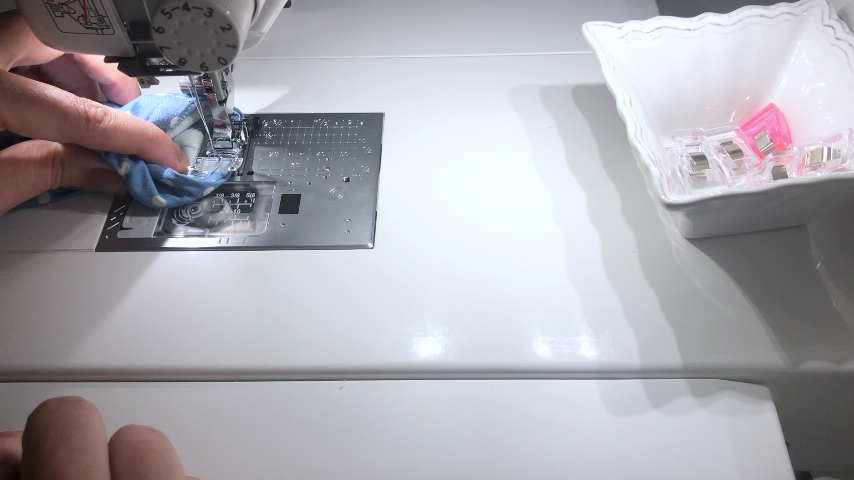
Lightly iron your cover to remove any creases.
Now it’s time to sell your skillet handle cover!
If you’re planning to sell these skillet handle covers at craft shows or online, there are a few things to determine first.
1 – Pricing
First, you must ensure you can profit.
Using this pattern, pricing based on the sourcing below, and the basic pricing formula (Production costs x 2 = Wholesale price x 2 = Retail price), I would calculate the following:
- Cotton – $4.99/yard
- Heat-resistant batting – $6.99/yard
Material costs for one hot pot lid holder
Cotton = $0.38/cover (I can make 13 from one yard that’s 44″ wide)
Batting = $0.18/cover (I can make 39 from one yard that’s 44″ wide)
Total = $0.56
Wages = $15/hour
When making these in bulk, I could probably create 10/hour
Production wages = $1.50/cover
Total production costs = $2.06
Pricing Calculation
$2.06 x 2 = $4.12 (wholesale price) x 2 = $8.24 (retail price)
Pricing these at $8.24 per skillet handle cover would cover my costs, wages, and provide profits.
Keep in mind, you can likely make these from scraps of fabric that you’d otherwise throw out. So I would reduce that price slightly, perhaps to $8 each. That’s a perfect price for an add-on item.
2 – Additional Products
To build an Etsy shop or craft show booth and to encourage multi-item sales and repeat customers, you’ll need to sell more than just skillet handle covers.
It’s important to choose products that are in the same category/subcategory; items a customer would likely use together. For example, when using a skillet handle cover, someone may also need a hot pad to set the skillet on and a tea towel and/or apron to stay clean. Here are a few product ideas to expand your offering:
- Hot pot lid holder (I would sell the lid holder with the skillet handle cover, as a set)
- Oven mitts
- Pot holders
- Hot pads
- Casserole cozy
- Bowl cozy (for when they need to reheat the food from the skillet)
- Tea towels
Follow the links for free printable patterns and instructions to make.
Check out this article: Product Line Glossary to ensure you’re building a well-rounded product line.
3 – Stand Out
When building a brand and developing a product line, you must consider how you’ll stand out from the competition.
Most of the skillet handle covers on Etsy are colorful and bold, playful patterns. Many people like their kitchen linen decor to match their home decor, so I would think about the common styles people decorate their homes in. For example:
- French country
- Modern Farmhouse
- Scandinavian
- Etc.
I would choose a style to focus on, then choose fabric colors and prints to fit with that decor style.
For example, if I chose Modern Farmhouse, I would stick to:
- Neutral colors (black, grey, white, beige, cream)
- Stripes, plaids, gingham, chevron, floral prints
Find more details on making your business stand out here.
If you can profit, build a product line, and find a way to stand out, you have a good start to a business.
Then you can look into the steps you must take in your area to get your business set up and start selling at local craft shows or online.