How To Sew Napkins to Sell (with mitered corners)

Napkins are a simple sewing project and only require you to cut and sew one piece of fabric. So they’re idea to sew and sell. Of course, consumers don’t just purchase one napkin (unless there’s a specific purpose for it, such as a larger napkin to go in a bread basket or a napkin to go with a lunch bag set). So you’ll want to sew and sell these napkins in sets.
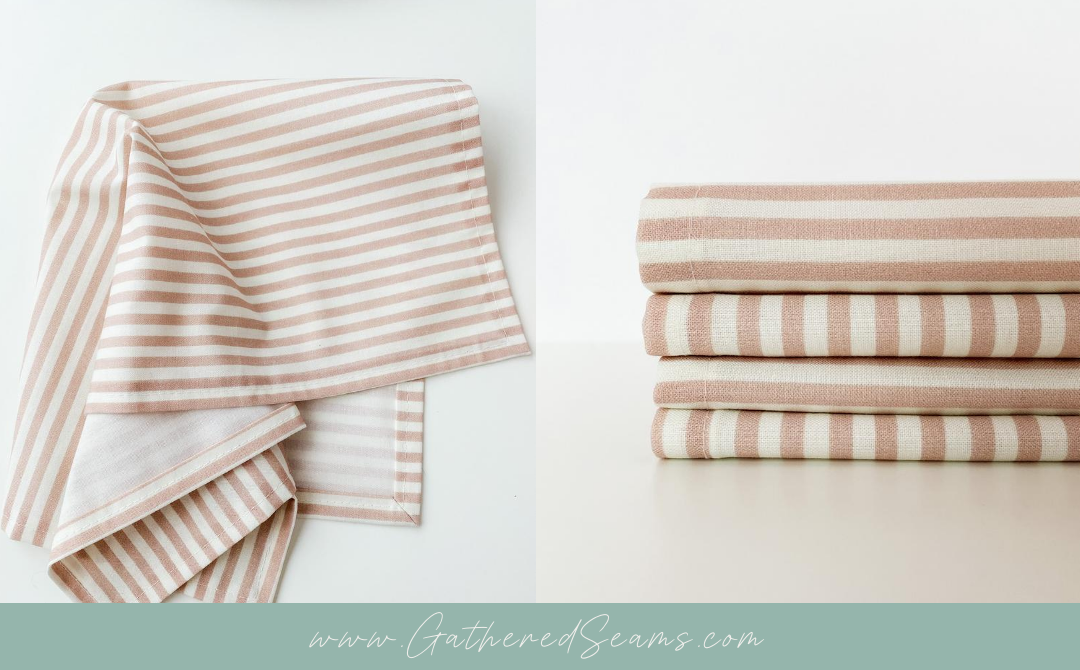
Sewing napkins to sell
These napkins with mitered corners are a great product for you to consider selling because they’re:
- low-cost – they don’t require a lot of material or time to make.
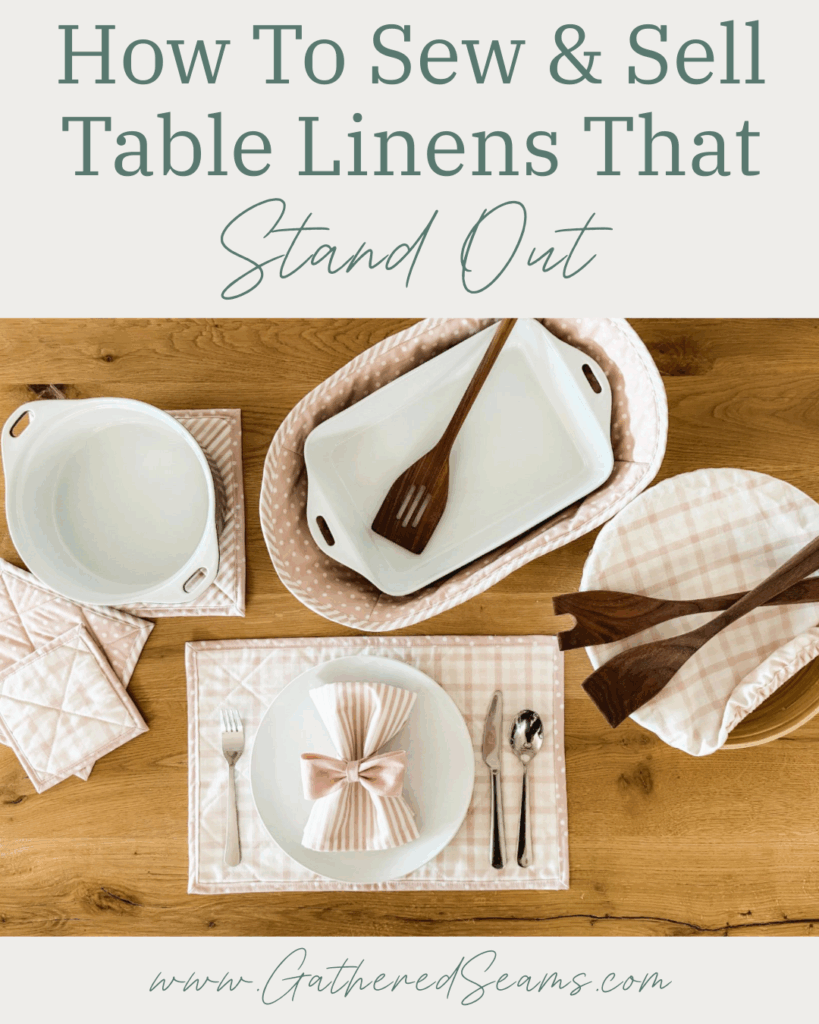
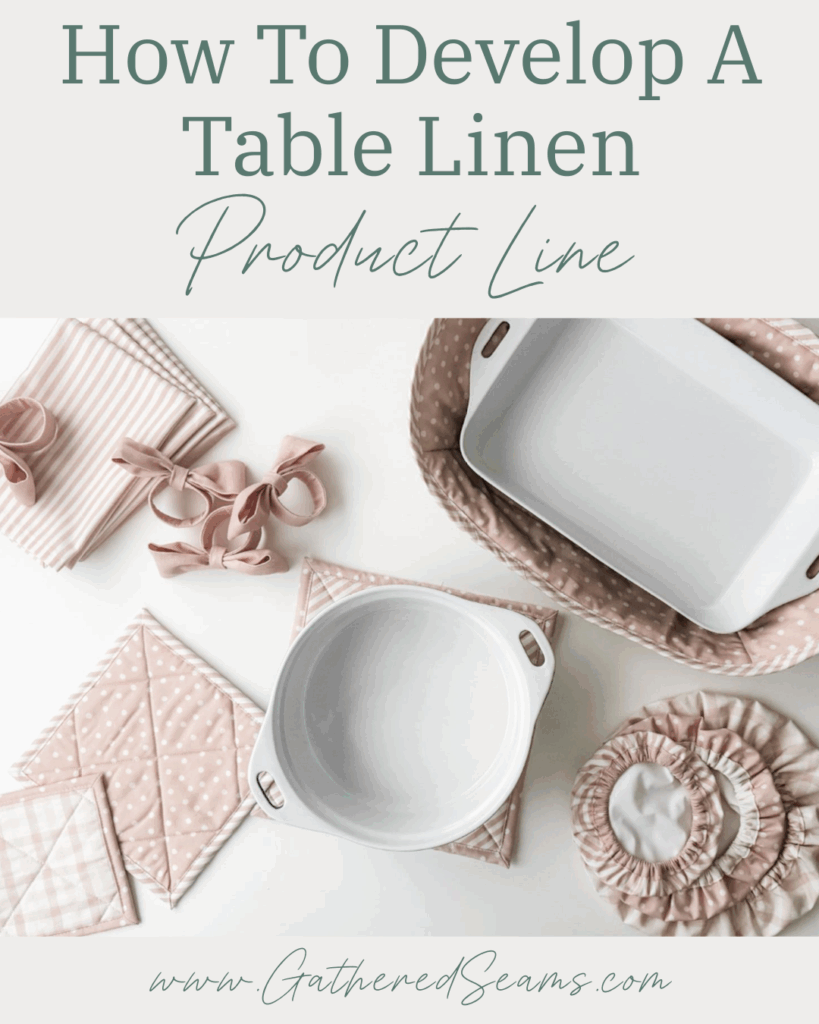
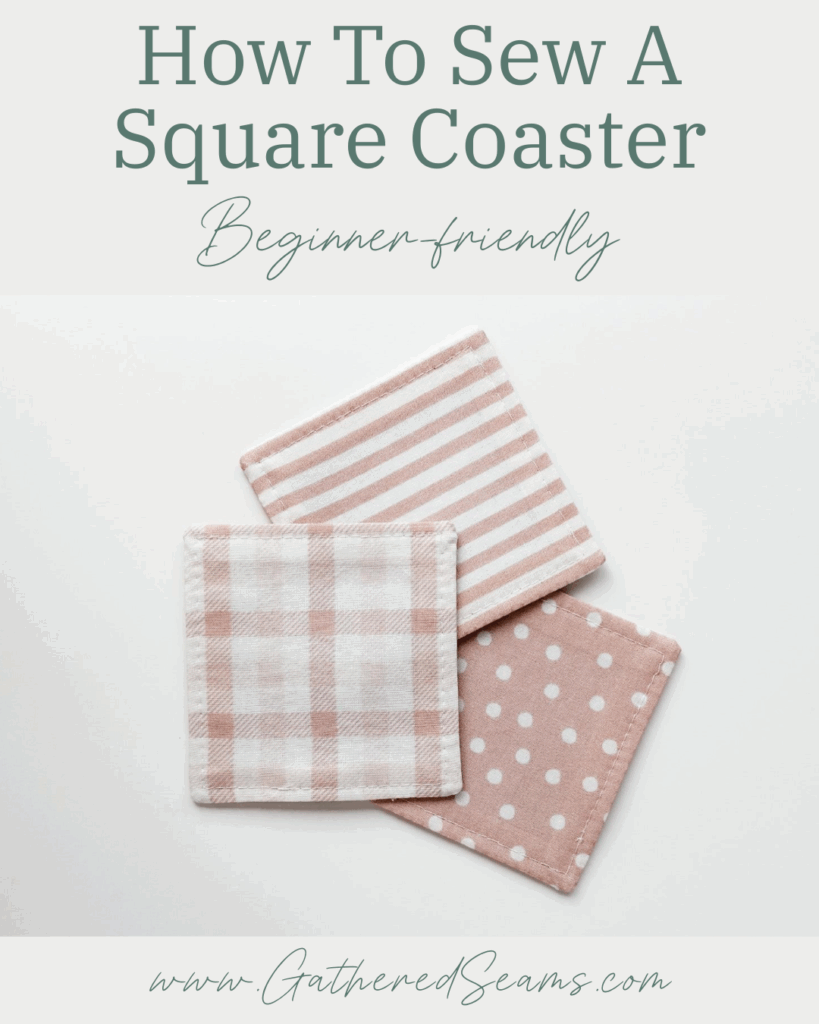
- work well with other table linens products – they’re a great item to sell alongside other table linen or decor products (e.g. coasters, hot pads, placemats, etc.). Here’s a full product line you can make: Table Linen Product Line to Sew & Sell (free patterns)
- a good bundle item – most people require more than one napkin, so you can bundle 2, 4, 6, or 8 napkins together and sell them as a set, which raises your value and units per transaction (VPT & UPT).
Materials
- Fabric
- 1 piece: 18″ x 18″
- Cotton, linen, or a cotton blend is ideal.
- Thread
Material suggestions
A variety of materials can work for napkins, but below are the best materials to use to ensure they’re washable and absorbent.
- Cotton
- Linen
- Cotton blend (e.g. cotton-linen, cotton twill)
- Hemp
- Bamboo
- Muslin
- Polyester blend (for wrinkle and stain-resistant benefits)
Tools
- Sewing machine
- Scissors
- Fabric clips
- Fabric marker
- Iron
How to sew a napkin with no-sew mitered corners
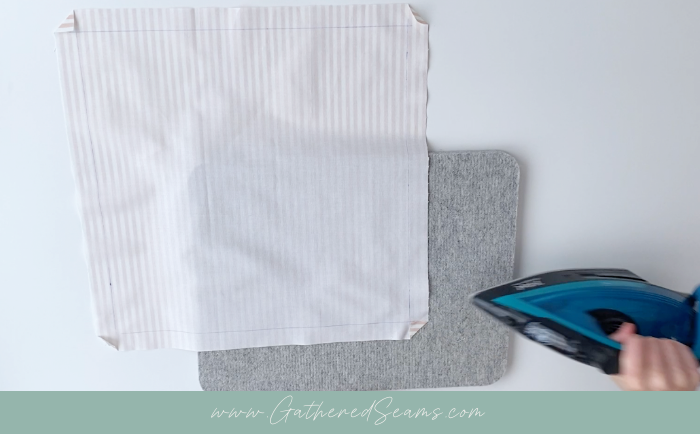
Step 1 – Press fabric & cut
Determine how many napkins you’d like to sew.
Before cutting out your squares, press your fabric so your cuts will be accurate.
Cut:
- 1 piece of fabric that is 18″ x 18″ (you can go bigger or smaller, or cut a rectangular shape)

Step 2 – Mark hem lines
Using a temporary fabric pen, draw a line on the wrong side of the fabric, 1″ away from the edge.
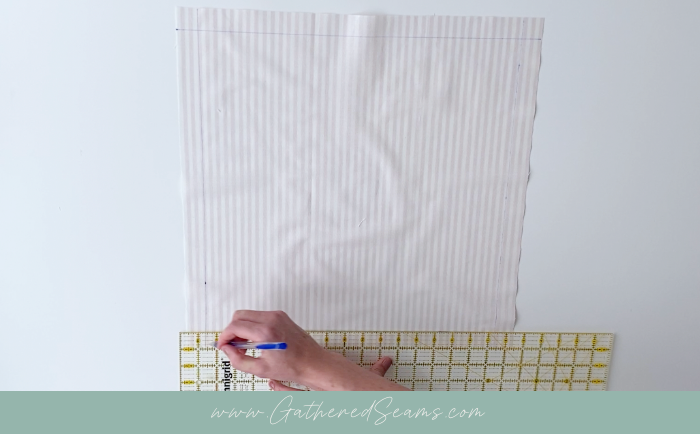
Repeat this along all 4 sides.
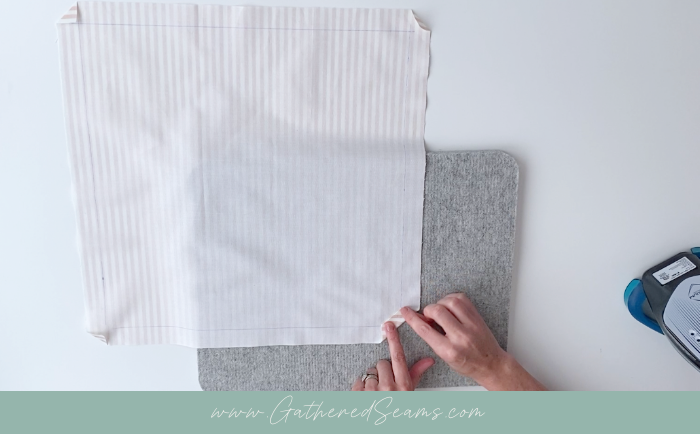
Step 3 – Fold corners
Fold each corner in so the raw edges meet the drawn lines and the corner fits within the drawn-on box.

Fold the corners in again, folding right at the point and ensuring the ends of the first fold meet up with the drawn on lines.

Step 4 – Fold hem and press
With your corners folded in, fold each straight edge in to meet the drawn on line.
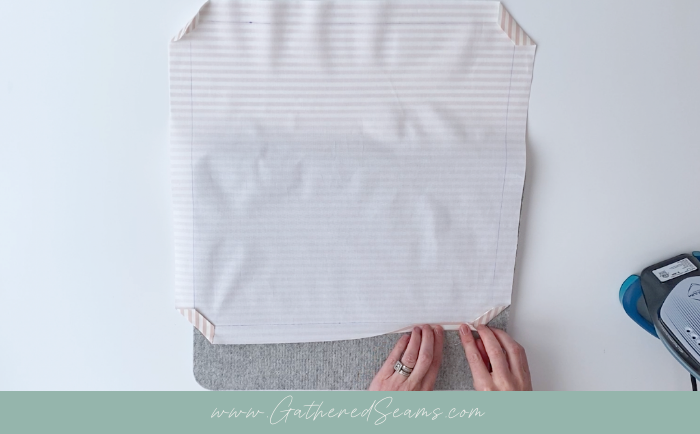
Fold your hems over again, another 1/2″ and press.
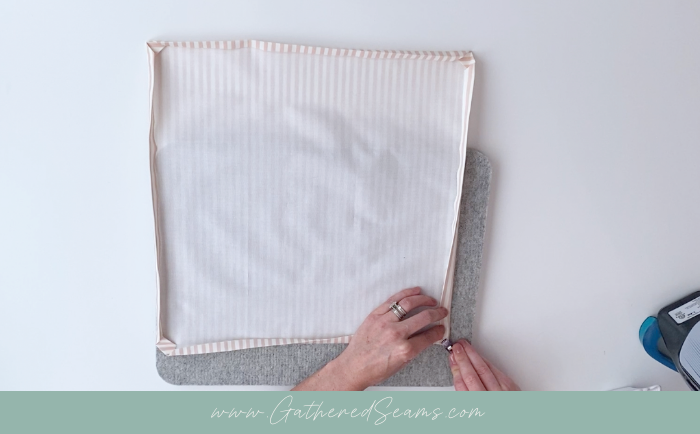
Make sure the end point of your folded hem lines up with the inside folded edge of your corners, and that you’re getting mitered edges that line up on each corner.

Pin your corners into place.
Step 5 – Stitch along hem
Line your needle up about 1/8″ in from the inside edge of the hem, but use the outside edge of your napkin as a guide to keep your stitching straight.
Stitch around all 4 sides of the napkin.

Press your napkin to finish.

Now it’s time to sell your napkins! Next steps: