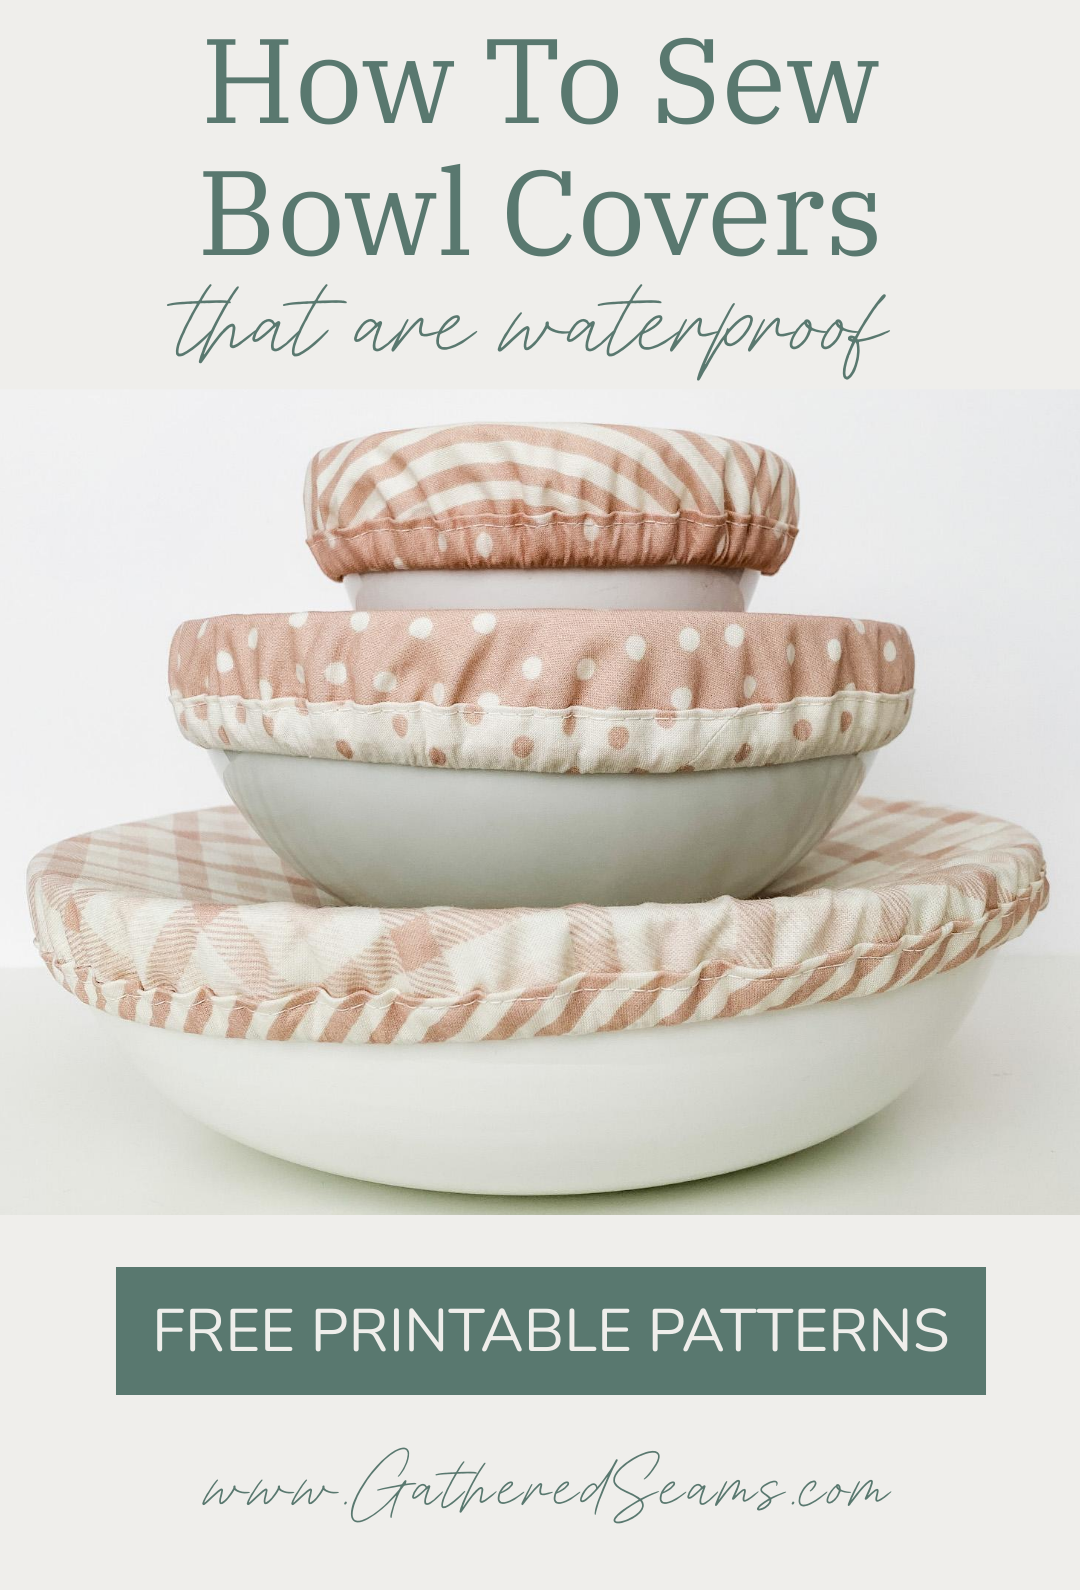
How To Sew Waterproof Bowl Covers (free pattern)
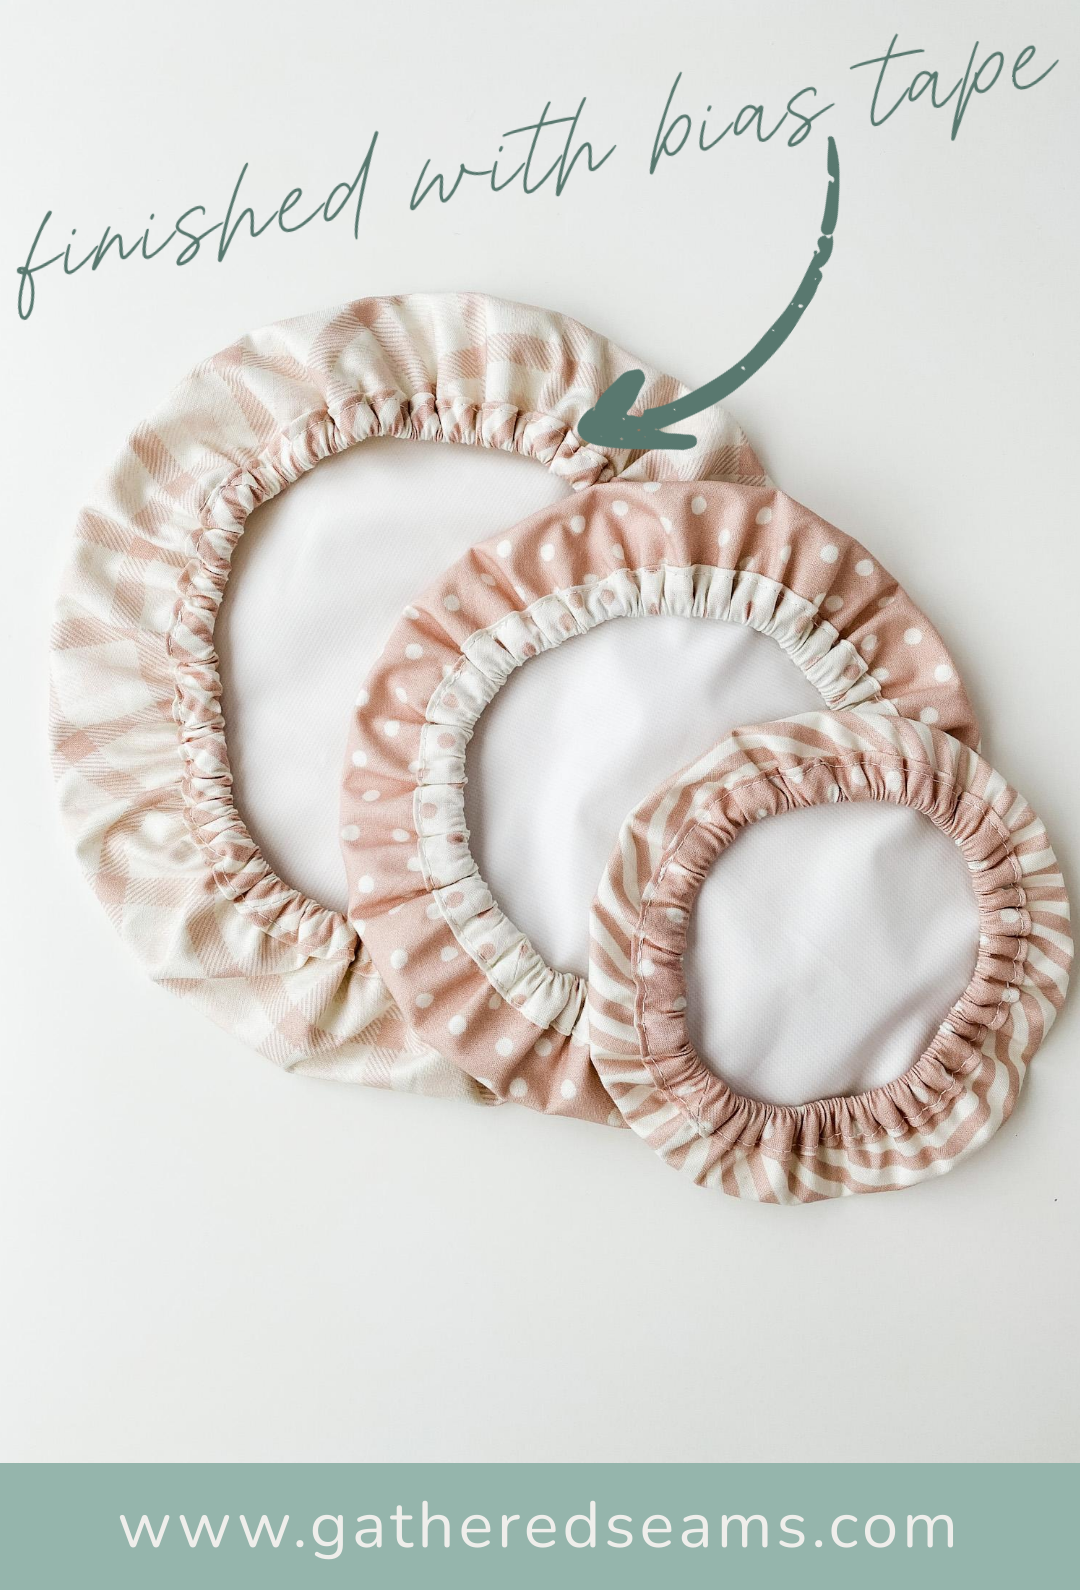
This free printable pattern comes in small, medium, and large sizes and uses bias tape to finish the edges and hide the elastic, which gives it a more polished look when sewing to sell. Bias tape does take a little practice to get used to, but once you get the hang of it, it is a quick and easy method to finish the edges. If you don’t want to work with bias tape, you can try one of my other free patterns for bowl covers:
>> Free Printable Sewing Patterns for Bowl Covers
Bowl covers are often used for:
- keeping food fresh
- covering leftovers
- keeping bugs out of food at outdoor events
- transporting food to potlucks
- proofing dough
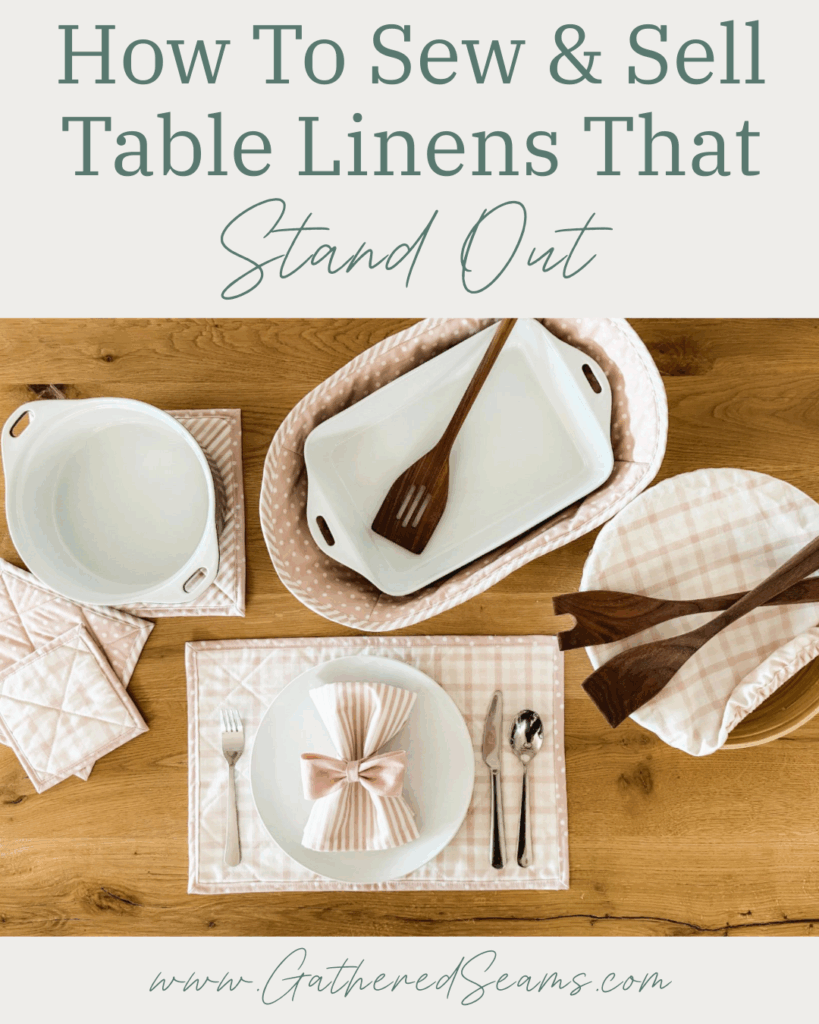
Sewing bowl covers to sell
Bowl covers are an ideal item to sew and sell at craft shows or on Etsy.
- Solves a clear problem – Replaces plastic wrap and keeps food fresh.
- Eco-friendly appeal – Attracts shoppers trying to reduce waste.
- Low price point – Easy impulse buy ($10–$20 range in most markets).
- Quick to sew – Simple construction = strong profit margins.
- Giftable – Perfect for hostess, teacher, or housewarming gifts.
- Easy to size – Small/medium/large covers make upselling simple.
- Lightweight & packable – Easy for shoppers to carry around the show.
Selling points
When promoting your bowl covers at a craft show or online, be sure to mention the following points in your signage/product description/sales pitch:
- Food-safe plastic – it’s essential to note that you have sourced materials that are food-safe and won’t introduce harmful chemicals when they come into contact with food.
- Waterproof – this means it will help keep moisture in the food, similar to how plastic wrap does. This will be an important selling feature for those who make bread and need a cover for when their dough is proofing.
- Eco-friendly – reusing these covers means there’s less environmental impact. You could also use organic cotton, hemp, or linen for the top of the cover.
- Washable – whether your food covers must be handwashed/rinsed or can be thrown in the washer, will depend on the materials you choose. However, the fact that these items can be cleaned is a bonus.
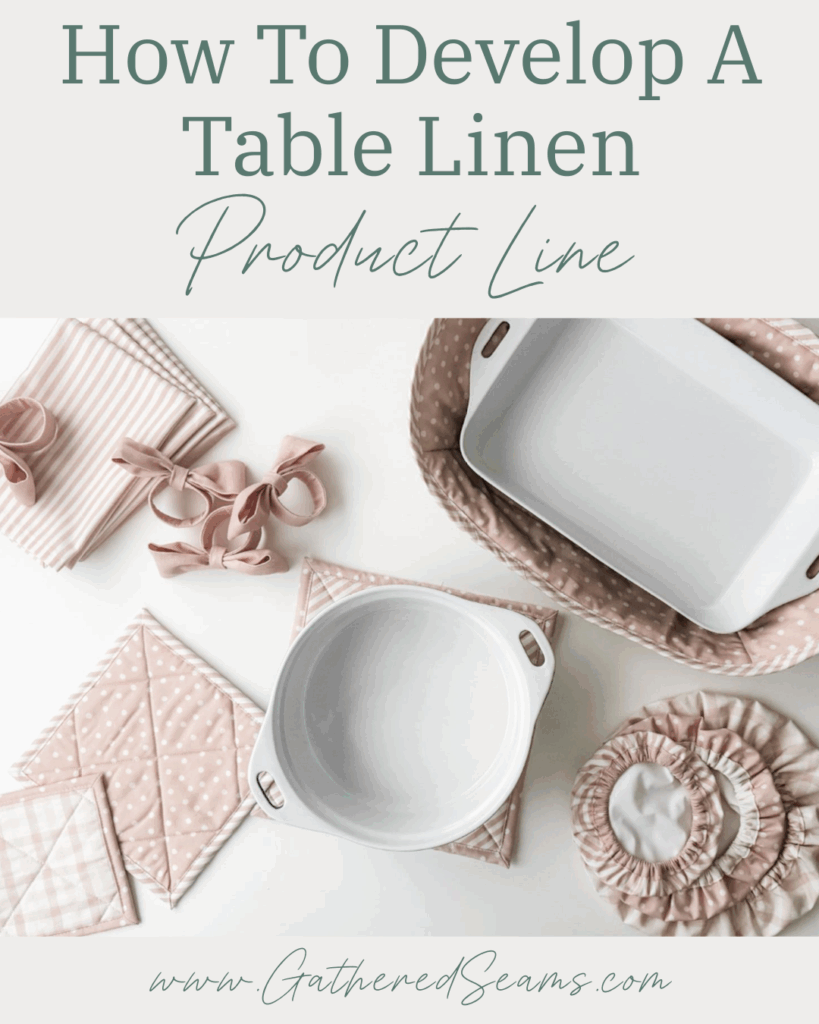
- Sets – you can bundle different sizes and shapes (e.g. a casserole cover) into sets at a slightly reduced price, so customers are able to save money when buying more than one.


Materials
- Top fabric (cotton or linen are ideal)
- Food-safe waterproof fabric: food-safe PUL, food-safe waxed cotton, food-safe nylon, food-safe laminated cotton)
- *1/2″ double-fold bias tape (it’s 1/2″ wide when double-folded, 2″ wide when unfolded; the wider the bias tape is, the easier it will be to thread elastic through)
- *1/4” wide elastic
- Thread
*Length varies based on the size you’re making. Please see each pattern piece for lengths.
Tools
- Sewing machine
- Fabric clips
- Scissors
- Safety pin or bodkin *It’s important that your safety pin/bodkin is small enough to fit inside the binding, which is about 3/8″ wide once stitched.
- Fabric clips
- Iron
How to sew waterproof bowl covers with bias tape.
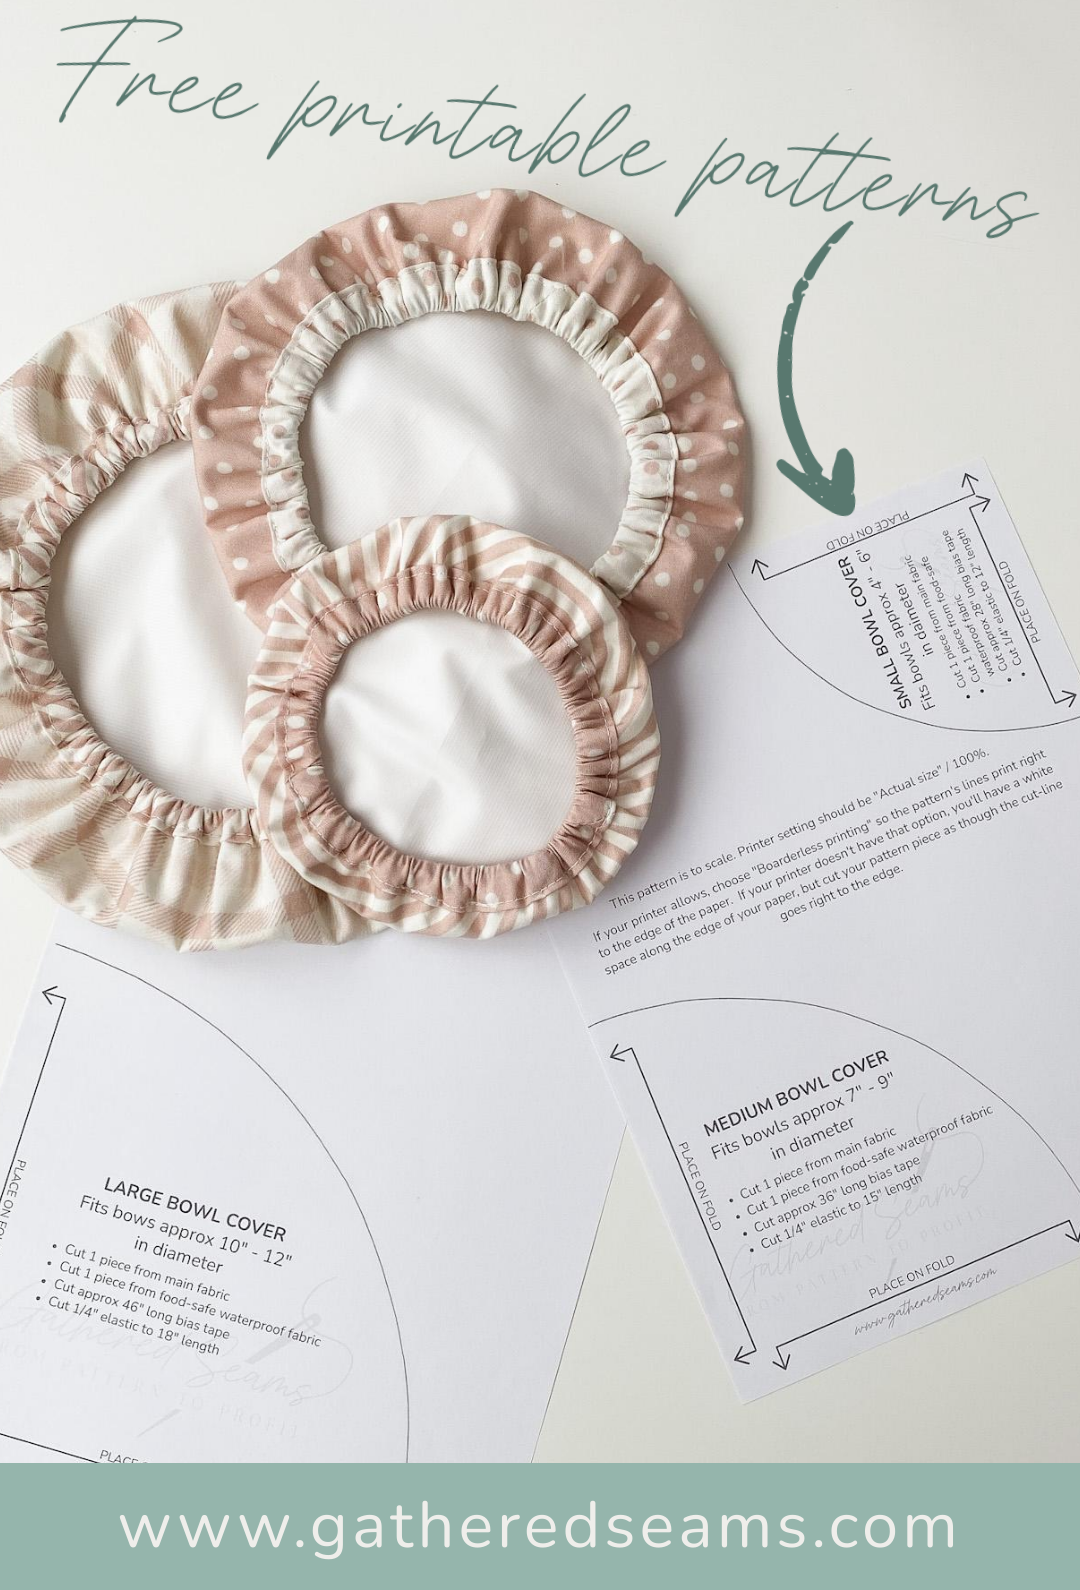
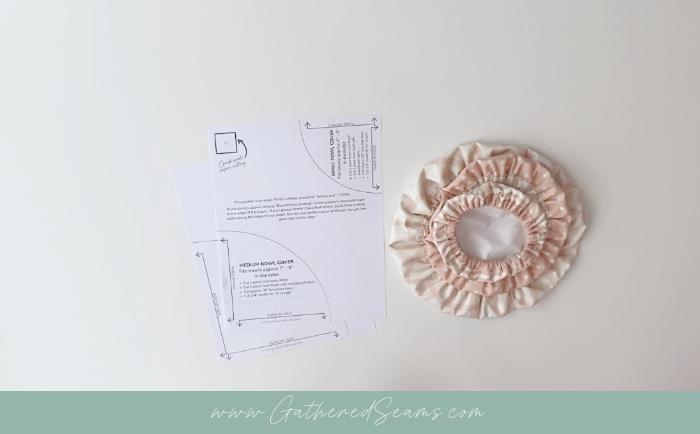
Step 1 – Press fabric & cut out pattern pieces
Print your free patterns and cut them out.
Iron your cotton fabric first (do not iron your waterproof fabric), so you can be sure your cuts are accurate. Then set your pattern pieces on your fabric. If a pattern piece has an arrow with “FOLD” along the edge, you can either:
A) Fold your fabric so that each edge with “FOLD” along it, lines up with a folded edge.
C) Trace the pattern piece onto your fabric using a temporary fabric pen, flipping the piece each time and tracing to create a full circle.
B) Print the pattern piece four times, cut them out, flipping each piece over, so they mirror each other and create a full circle, and tape them together with no overlap.
- Cut out 1 piece of your top fabric and 1 piece of your food-safe waterproof fabric.
If you’re making your bias tape, complete that step now. Be sure to make your bias tape so it’s 1/2″ wide, at a minimum, once double-folded.
>> Here are instructions for making bias tape: How To Make Bias Tape
- Cut your bias tape to the length indicated on the pattern piece.
- Cut a piece of elastic to the length indicated on the pattern piece.
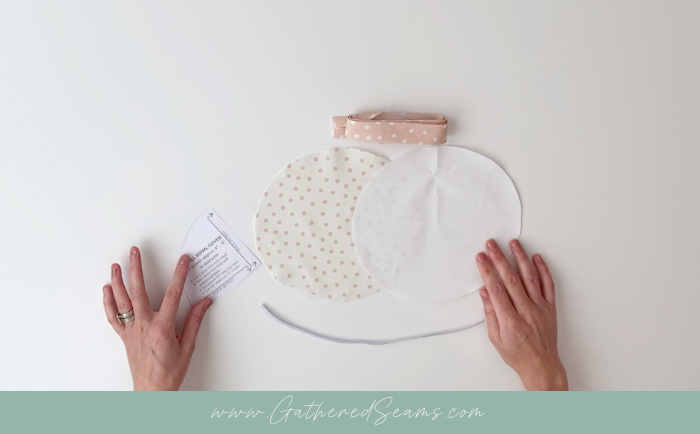
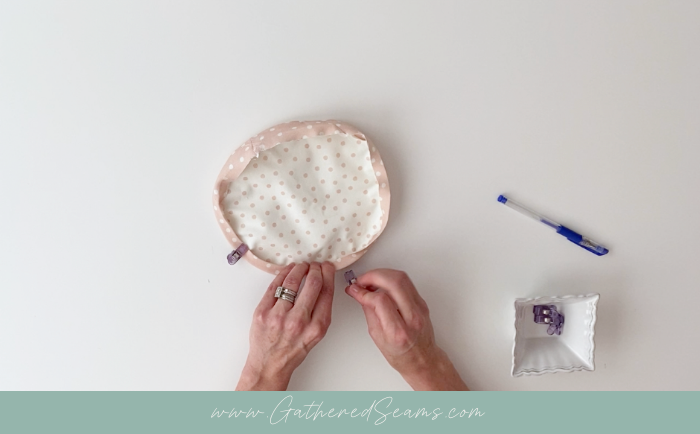
Step 2 – Place top and bottom together
Place your fabric circle on top of your waterproof circle, wrong sides together and lining up the edges.
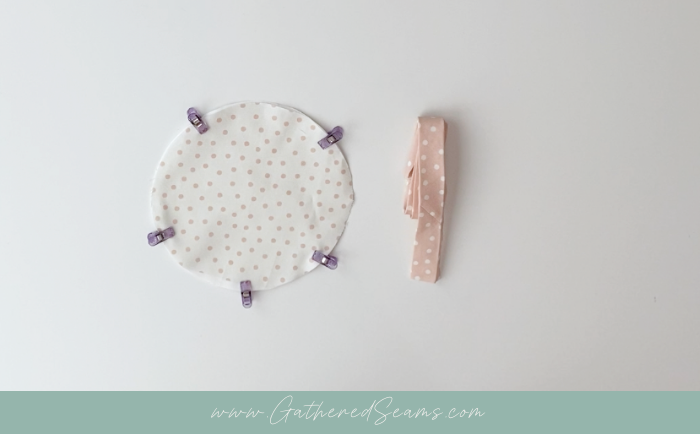
Use fabric clips (not pins) to hold the two layers together.
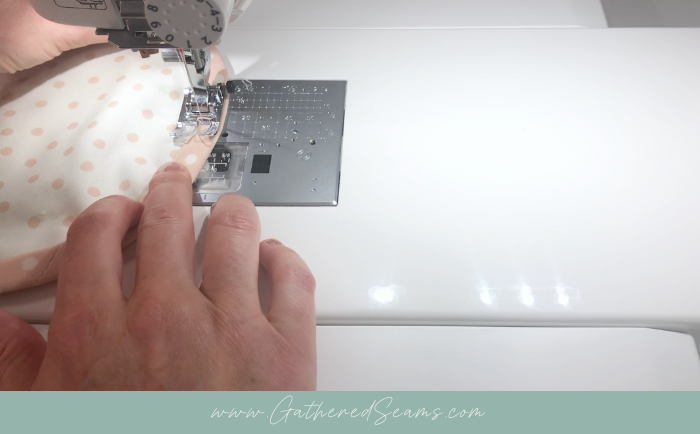
Step 3 – Sew bias tape to plastic side
Sew your bias tape to the plastic side first, leaving 1.5″ – 2″ free at the start of your stitching.
Stop stitching 3″ before where you started stitching the bias tape on.

Step 4 – Connect bias tape ends
To connect the ends, find the middle between where you started and stopped sewing the bias tape.
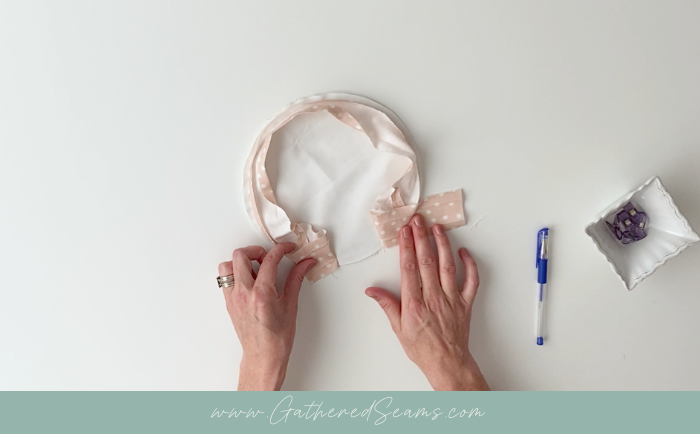
Fold one end of the bias tape back to meet that middle point and clip into place.
Then fold your second end back so there is about 1/8″ space between the two folded ends.
Finger crease both folds.
Use a temporary fabric marker to mark the lines of the creases on the wrong side of the bias tape.
Pin the ends of your bias tape together so that the two lines meet up.
Sew along those lines.
Check to be sure your bias tape sits flat and isn’t too long or too short, then cut the excess off the ends and finger-press the seam open.
Sew the last section of bias tape.
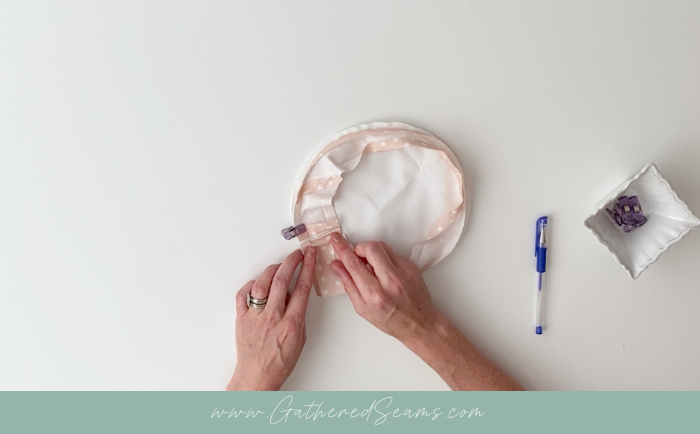
Step 5 – Flip bias tape & clip
Fold the bias tape over the edge of the circle and onto the cotton fabric side.
Line up the second folded edge of the bias tape so that it covers the line of stitching from sewing on the first side of the bias tape.
Clip into place.
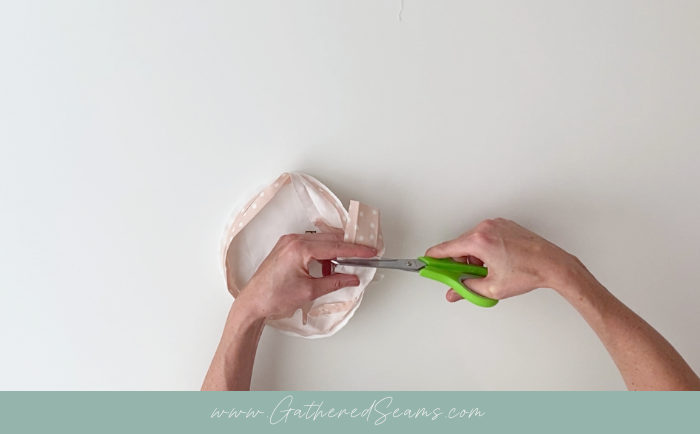
If there are any spots that your bias tape doesn’t extend to cover the line of stitching, simply trim some of the excess fabric from the edge of your circle.
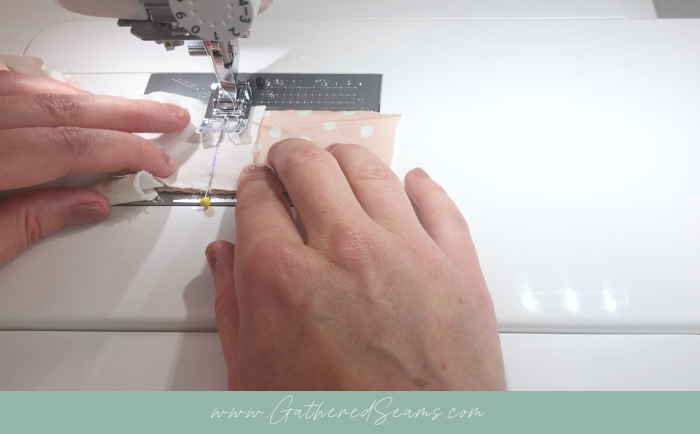
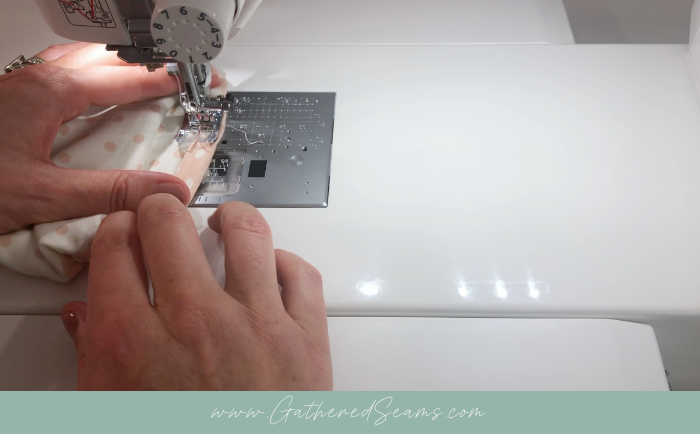
Step 6 – Top-stitch bias tape
With the cotton fabric side up, you’ll stitch the other side of the bias tape into place.
Sew about 1/8” away from the inner edge of the bias tape.
It’s important to sew far enough away from the outer edge of the circle that you’ll be able to fit a safety pin inside the bias tape.
Leave an opening, about 1” wide, so you can thread an elastic through.
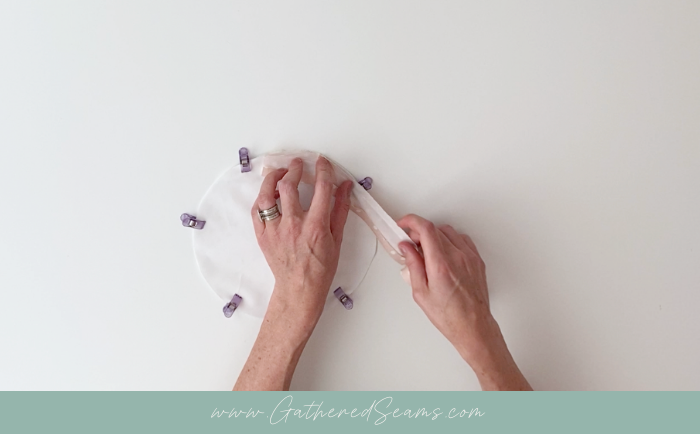
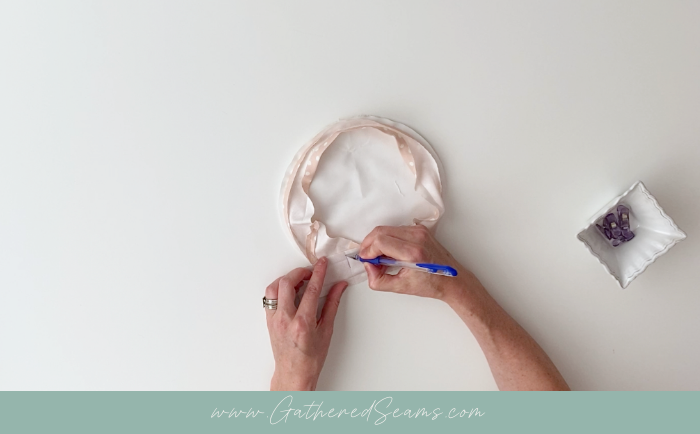
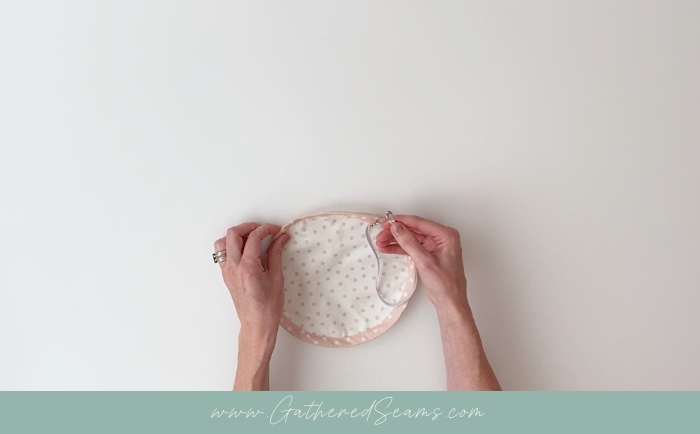
Step 7 – Thread elastic through bias tape
Attach a safety pin to one end of your elastic and thread it through the opening left in the bias tape.
You can attach a second safety pin to the other end of your elastic and secure it to the bias tape to be sure it doesn’t get lost inside the loop.
Once you’ve threaded the elastic all the way around the outer edge of the circle and you have both ends out, tie the ends of the elastic together. I like to use a balloon knot and pull it tight.
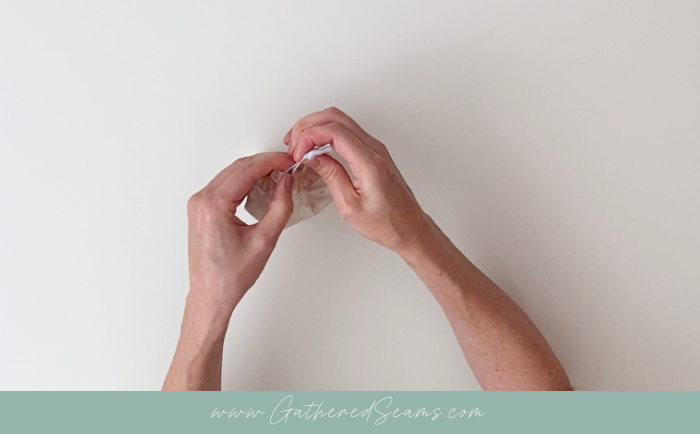
Pull that knot into the bias tape (so you don’t have to sew around it) and sew your opening closed.
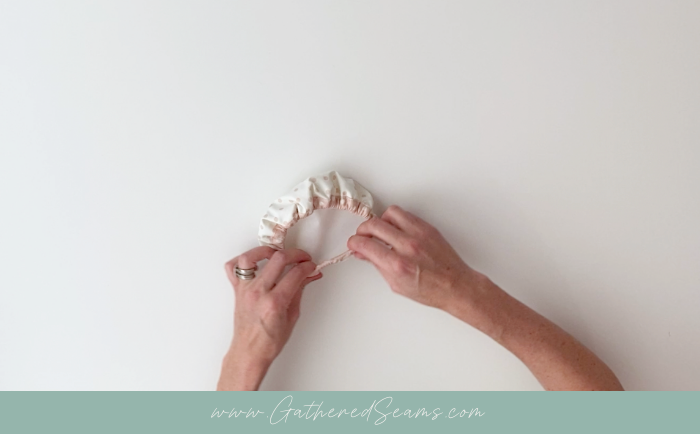
Stretch your bowl cover to distribute the fabric evenly around the elastic.
Now it’s time to sell your bowl covers! Next steps: