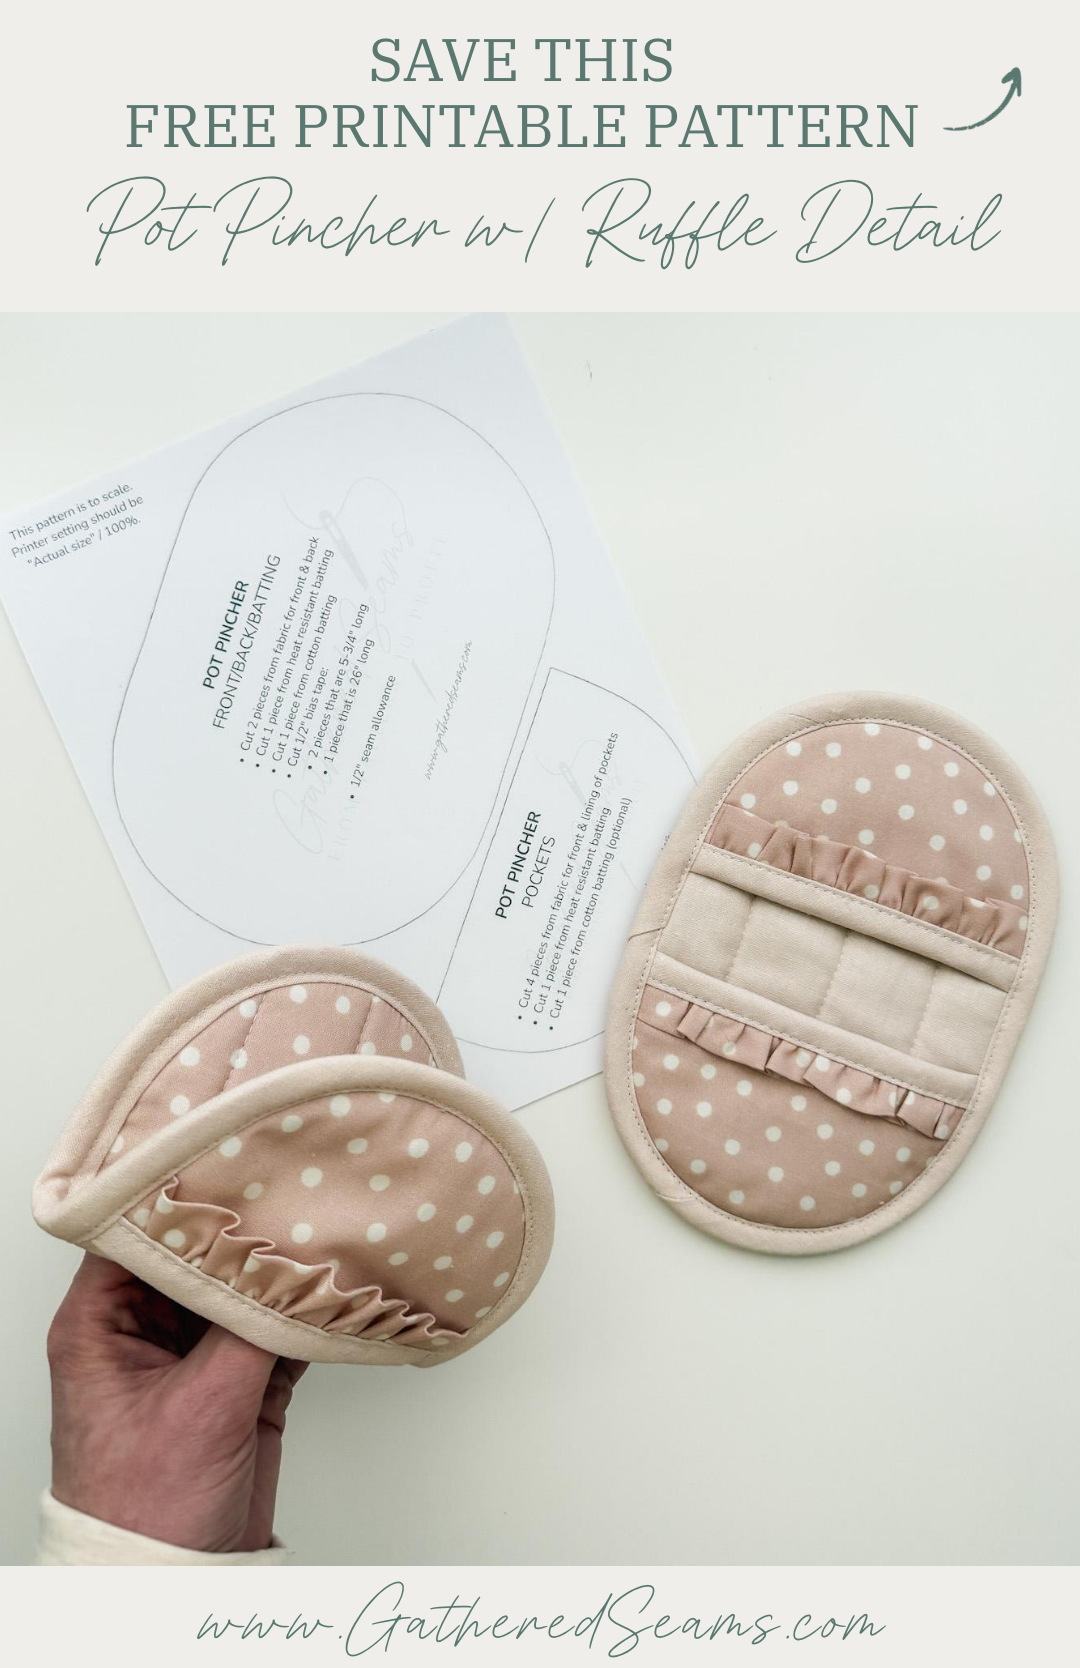
How To Sew a Pot Pincher with Ruffle Detail | Free Pattern
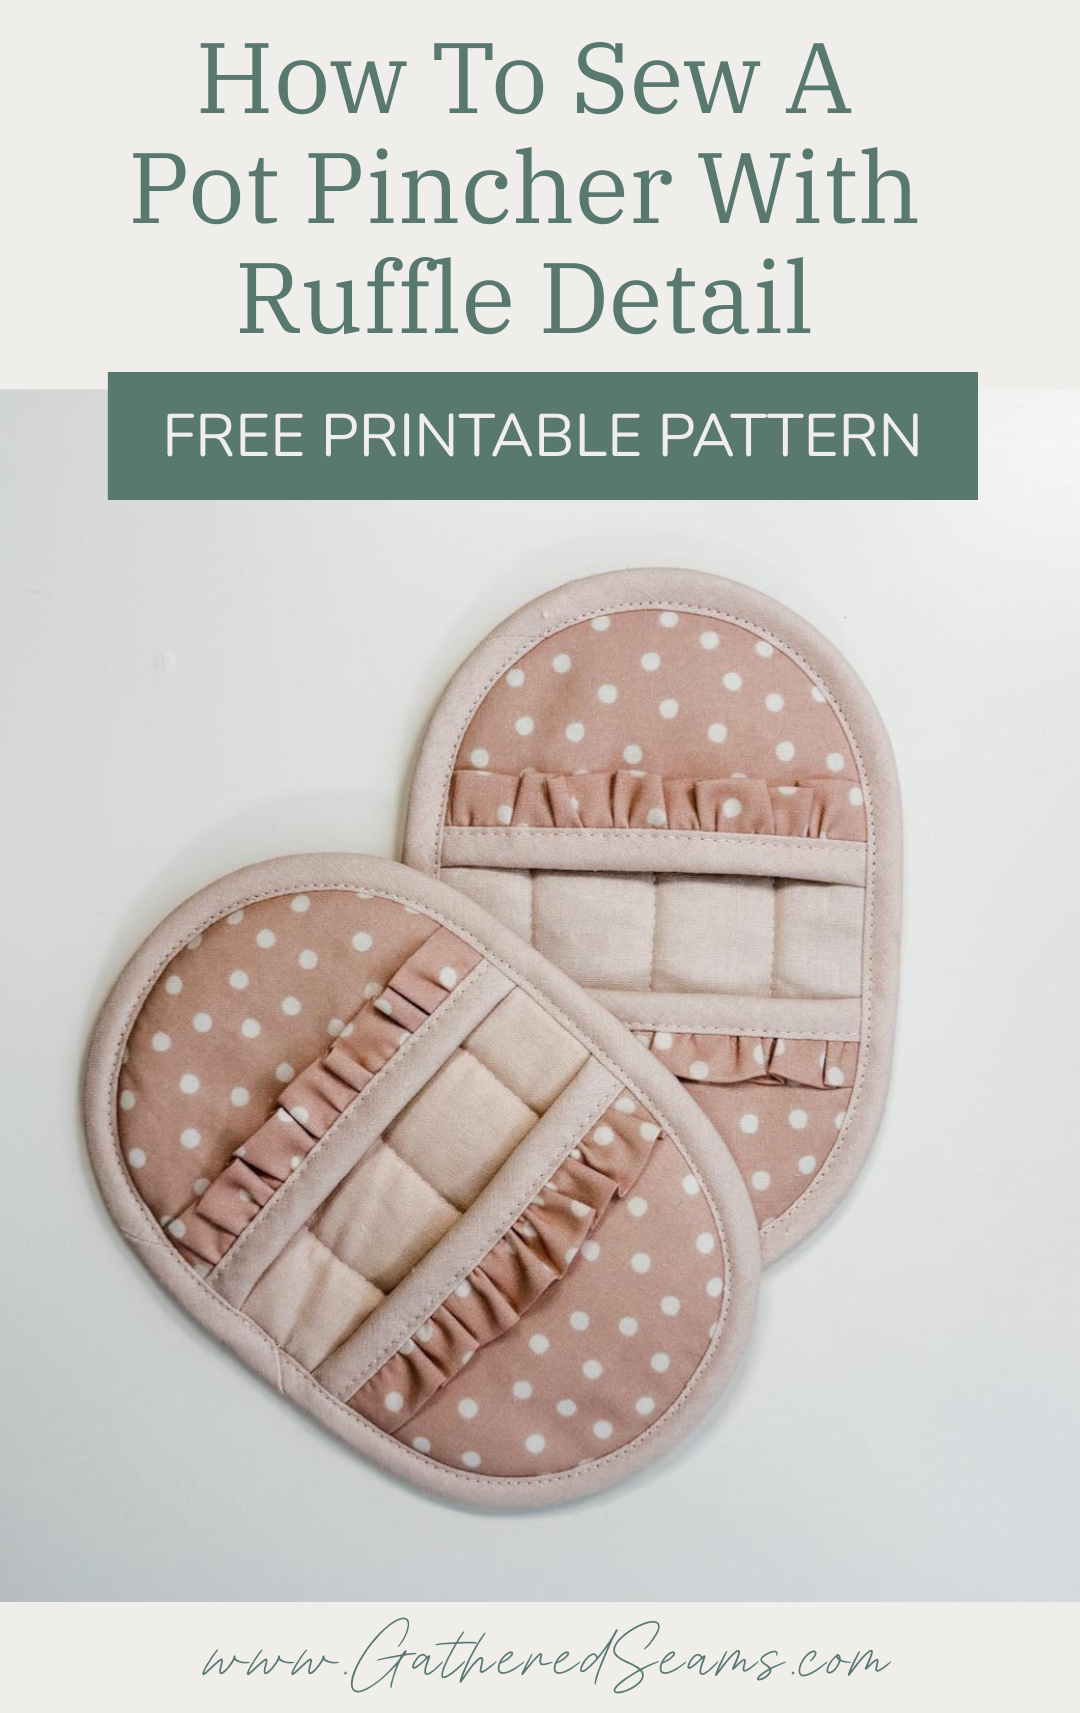
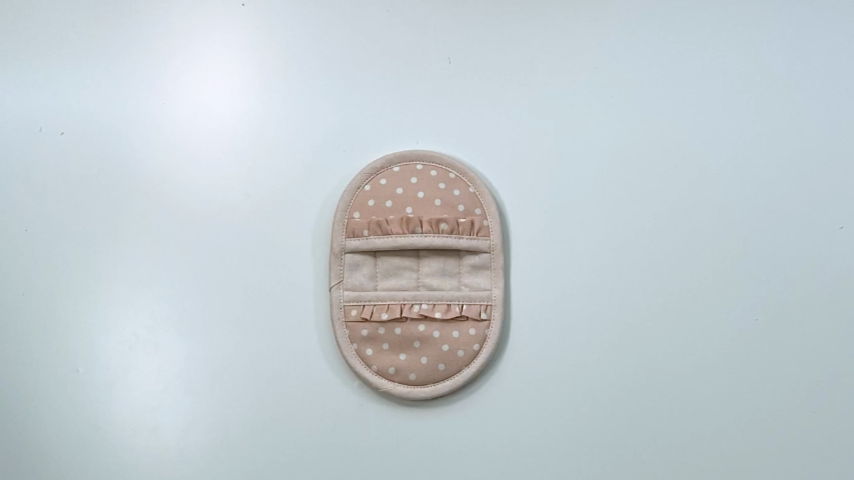
A pot pincher is sort of a cross between a potholder and an oven mitt. With two pockets, they allow you to grip a hot dish.
This pattern is an adjustment on my “regular” pot pincher, adding a ruffle detail to each pocket for a more feminine look.
The project is a little more advanced due to the multiple layers of batting and bias tape. You can sew two of these to create a set, or sew one and pair it with a matching potholder with ruffle detail (and a bow).
>> How To Sew A PotHolder with Ruffle & Bow Detail (Free Pattern)
Materials
As an Amazon Associate, I earn from qualifying purchases.
- Cotton or linen fabric (avoid synthetic materials)
- Thermal/heat-resistant batting (Insul-Bright or something similar) (this has “heat-reflective” properties)
- 100% cotton batting (this adds extra insulation)
- 1/2” double-folded bias tape (is 1/2” wide when double-folded) (here’s how to make your own so it matches your material)
Thread
- Tools
- Sewing machine
- Walking foot (I purchased this universal one) (required for sewing through multiple layers of batting without your fabric puckering)
- Iron
- Scissors
- Pins or clips

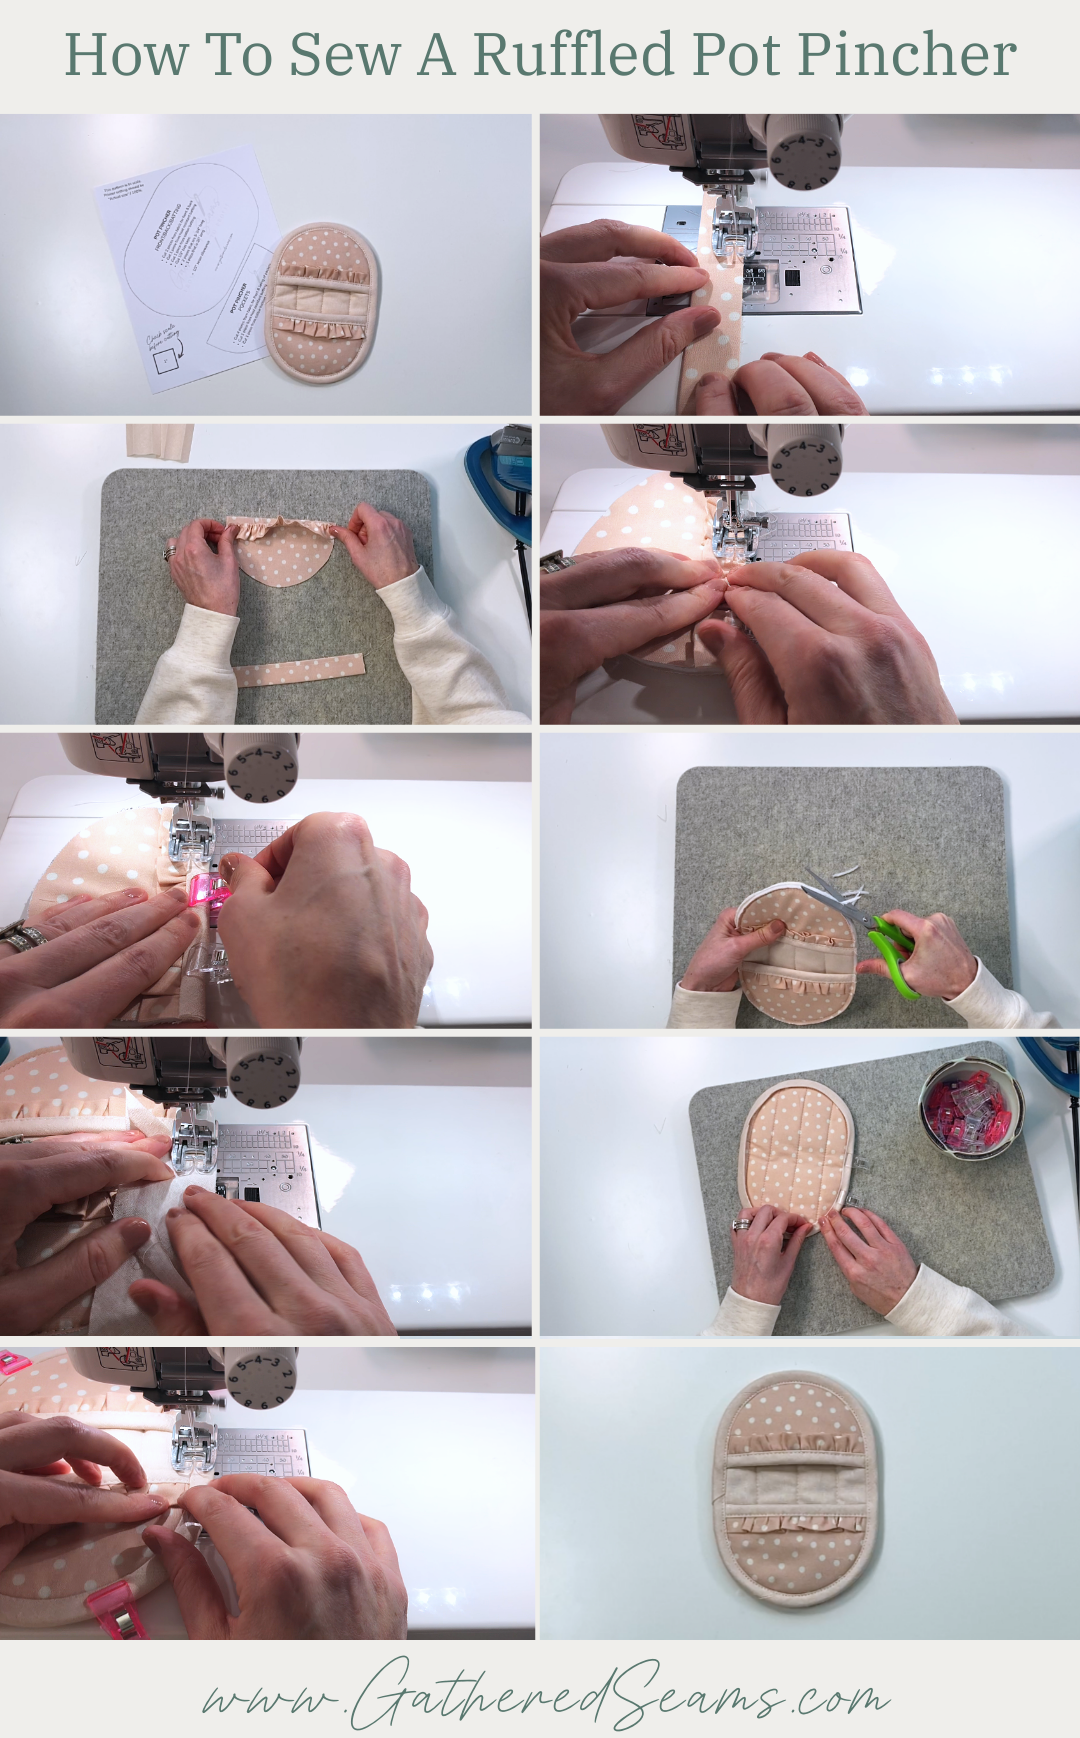
Step 1
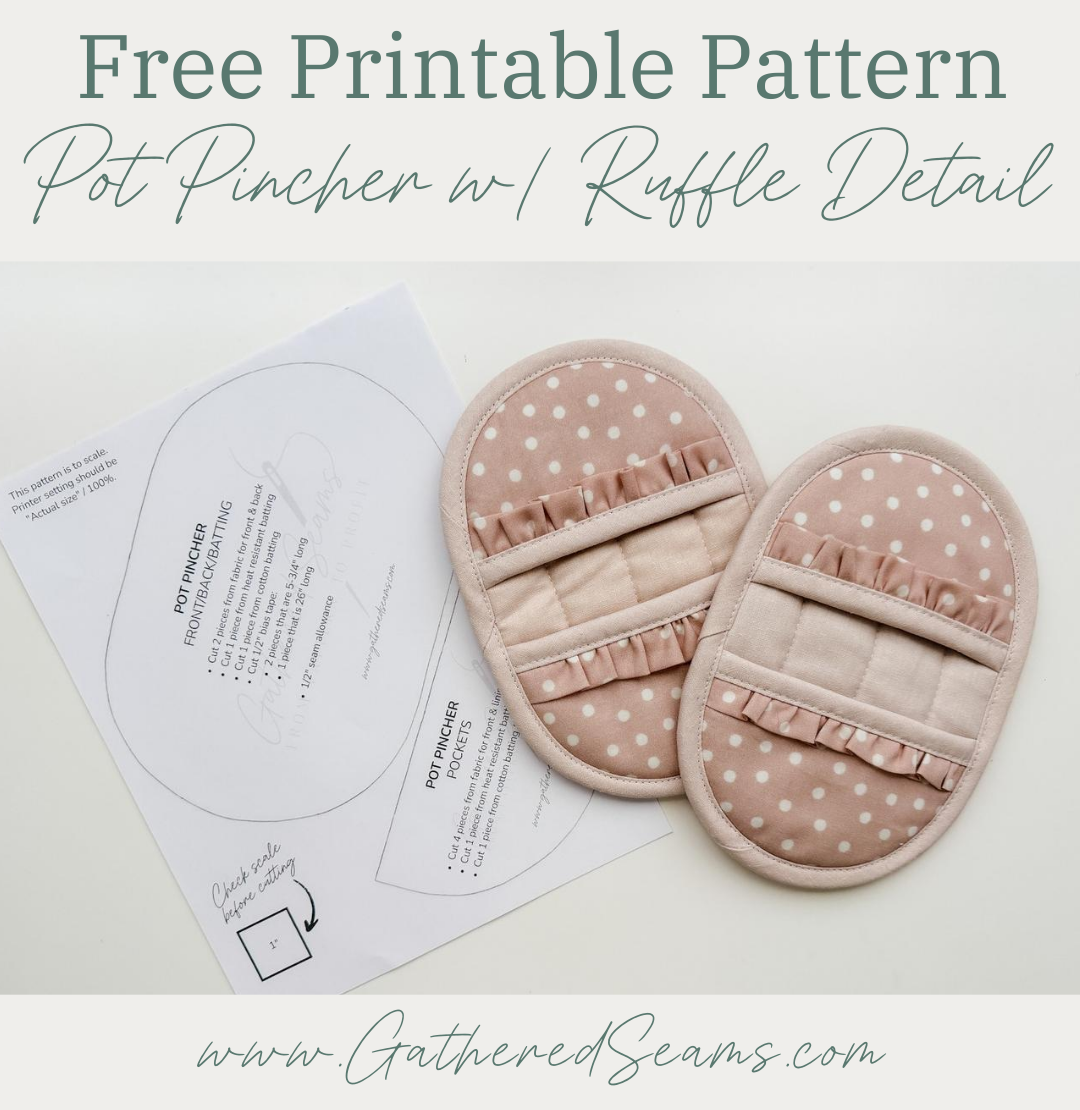
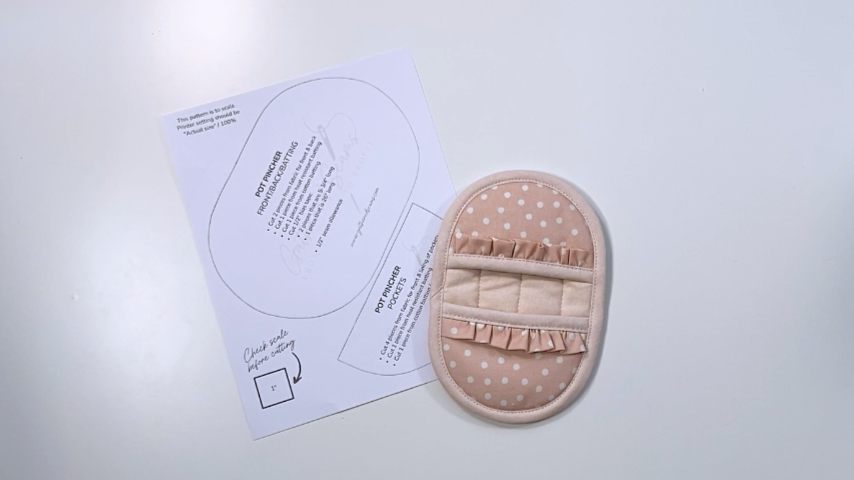
Download the free pattern and print. Cut out your fabric, batting, and bias tape as indicated on the pattern.
Step 2
Layer your main pieces with the bottom fabric wrong side up, thermal batting, cotton batting, then your top fabric right side up.
Use a quilting stitch and your walking foot to sew all layers together.
Your layers will shift during sewing, so retrace your pattern piece and cut off any excess batting/fabric.
Step 3
To create your ruffles, fold your two pieces of fabric that are 2″ x 5-3/4″, in half lengthwise with wrong sides together and press.
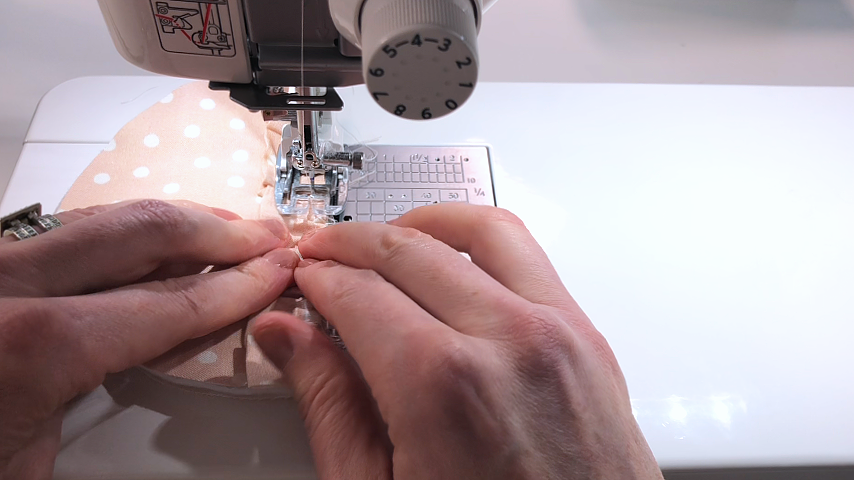
Then run a basting stitch (longest stitch length) about 1/4″ away from the cut edge.
Make sure to leave your threads long at the start and end of your sewing.
Tie a double knot in one end, then grab the bobbin/bottom thread on the other end and hold it tight as you gather the fabric to the length of the pocket (5-3/4″).
Tie a double knot in the other end and then even out your gathers, making sure 1/2″ on each end is flat (to avoid bulk in the seam allowance).
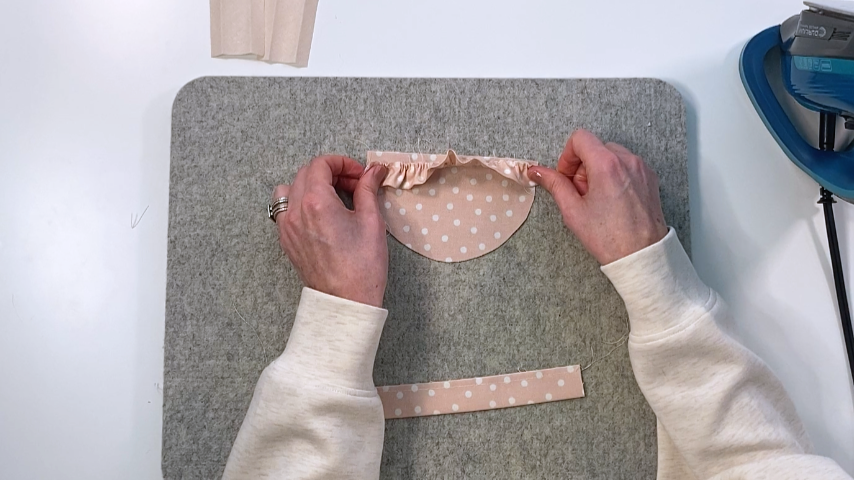
Layer your pocket pieces, line up the ruffle along the top edge and baste the top edge together.
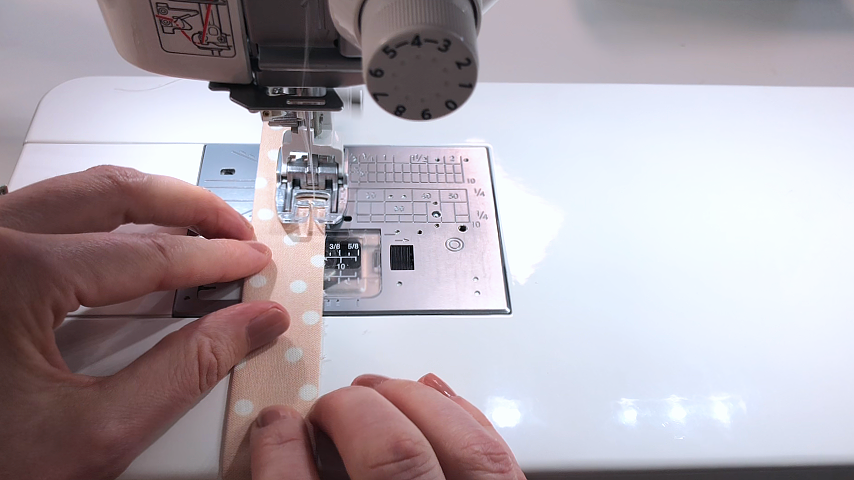
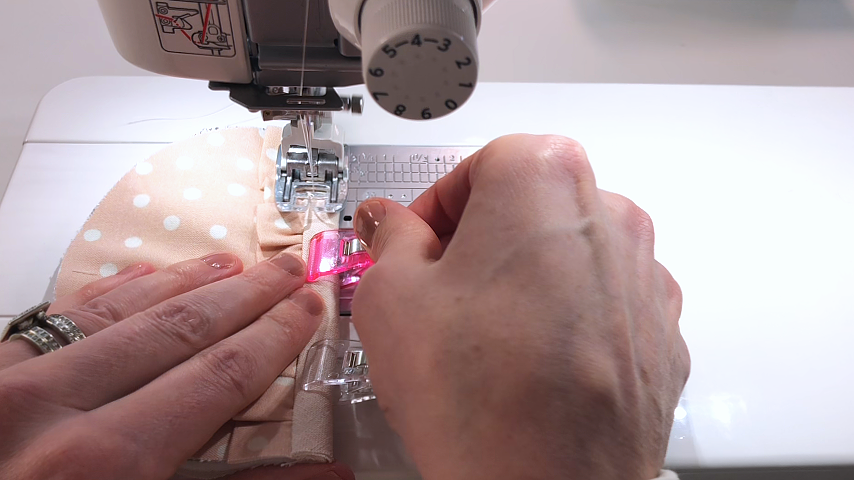
Sew your 5-3/4″ pieces of bias tape to the front side and top edge of both your pockets
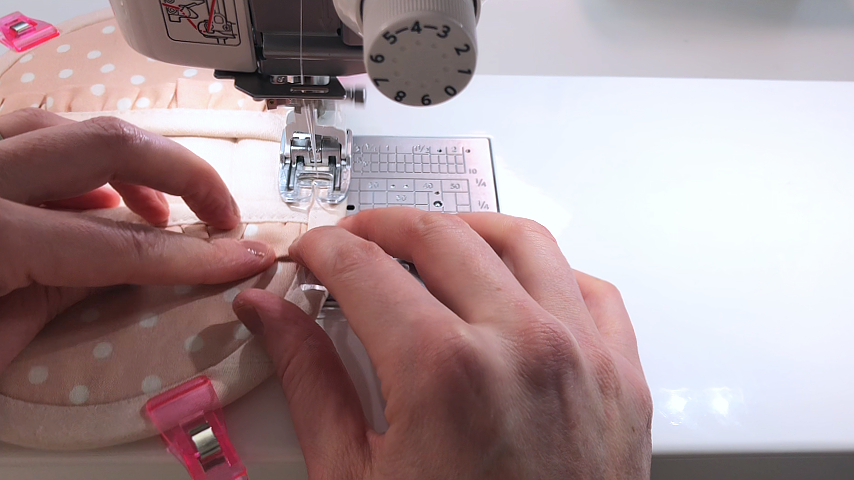
Flip the bias tape to the other side of the pocket, clip in place, then topstitch about 1/8″ away from the inside edge of the bias tape.
Step 5
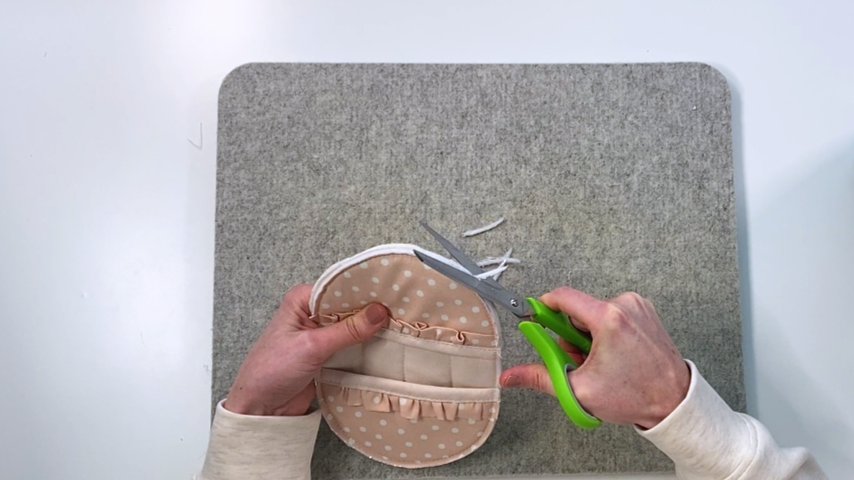
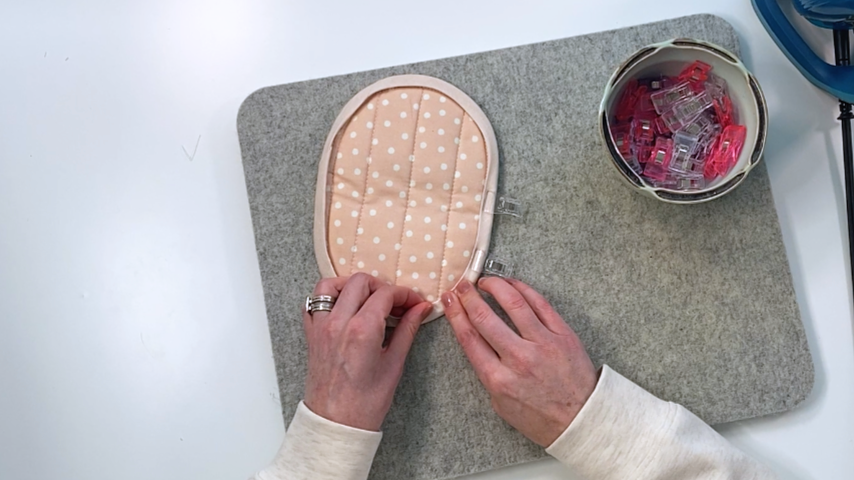
Clip your pockets into place, then use a basting stitch around the pot pincher.
Trim any batting or fabric that has shifted so you have a smooth and consistent oval shape again.
Step 6
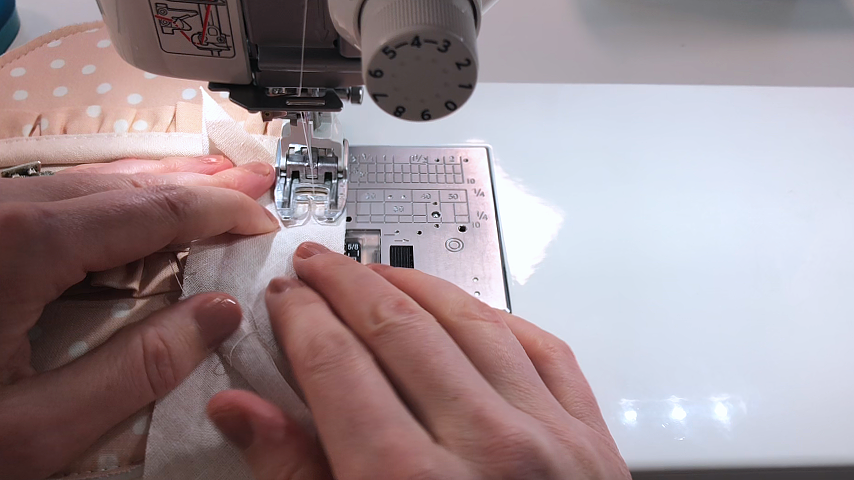
Sew the first side of your bias tape to the pot pincher.
Step 7
Before clipping the second side of the bias tape into place, it helps to fold it into place (to cover the line of stitching) and use your iron to press it into place.
Step 8
Top stitch about 1/8″ in from the inside edge of the bias tape to secure the second side into place.
Your pot pincher is complete!