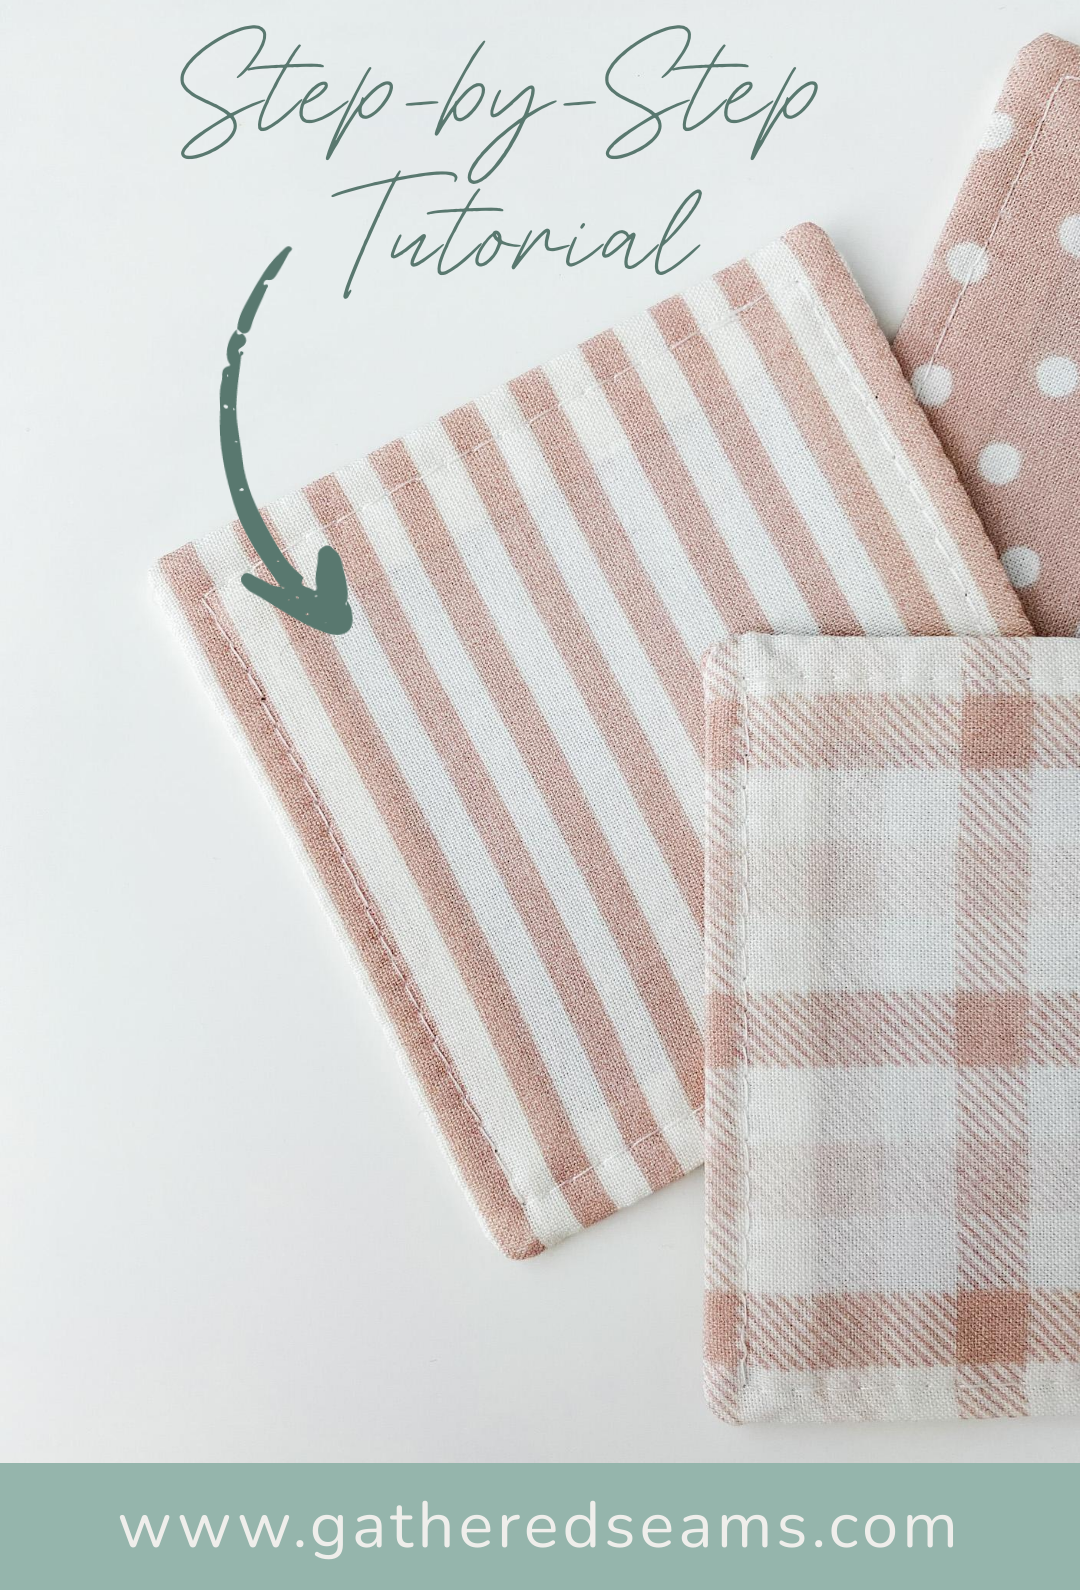
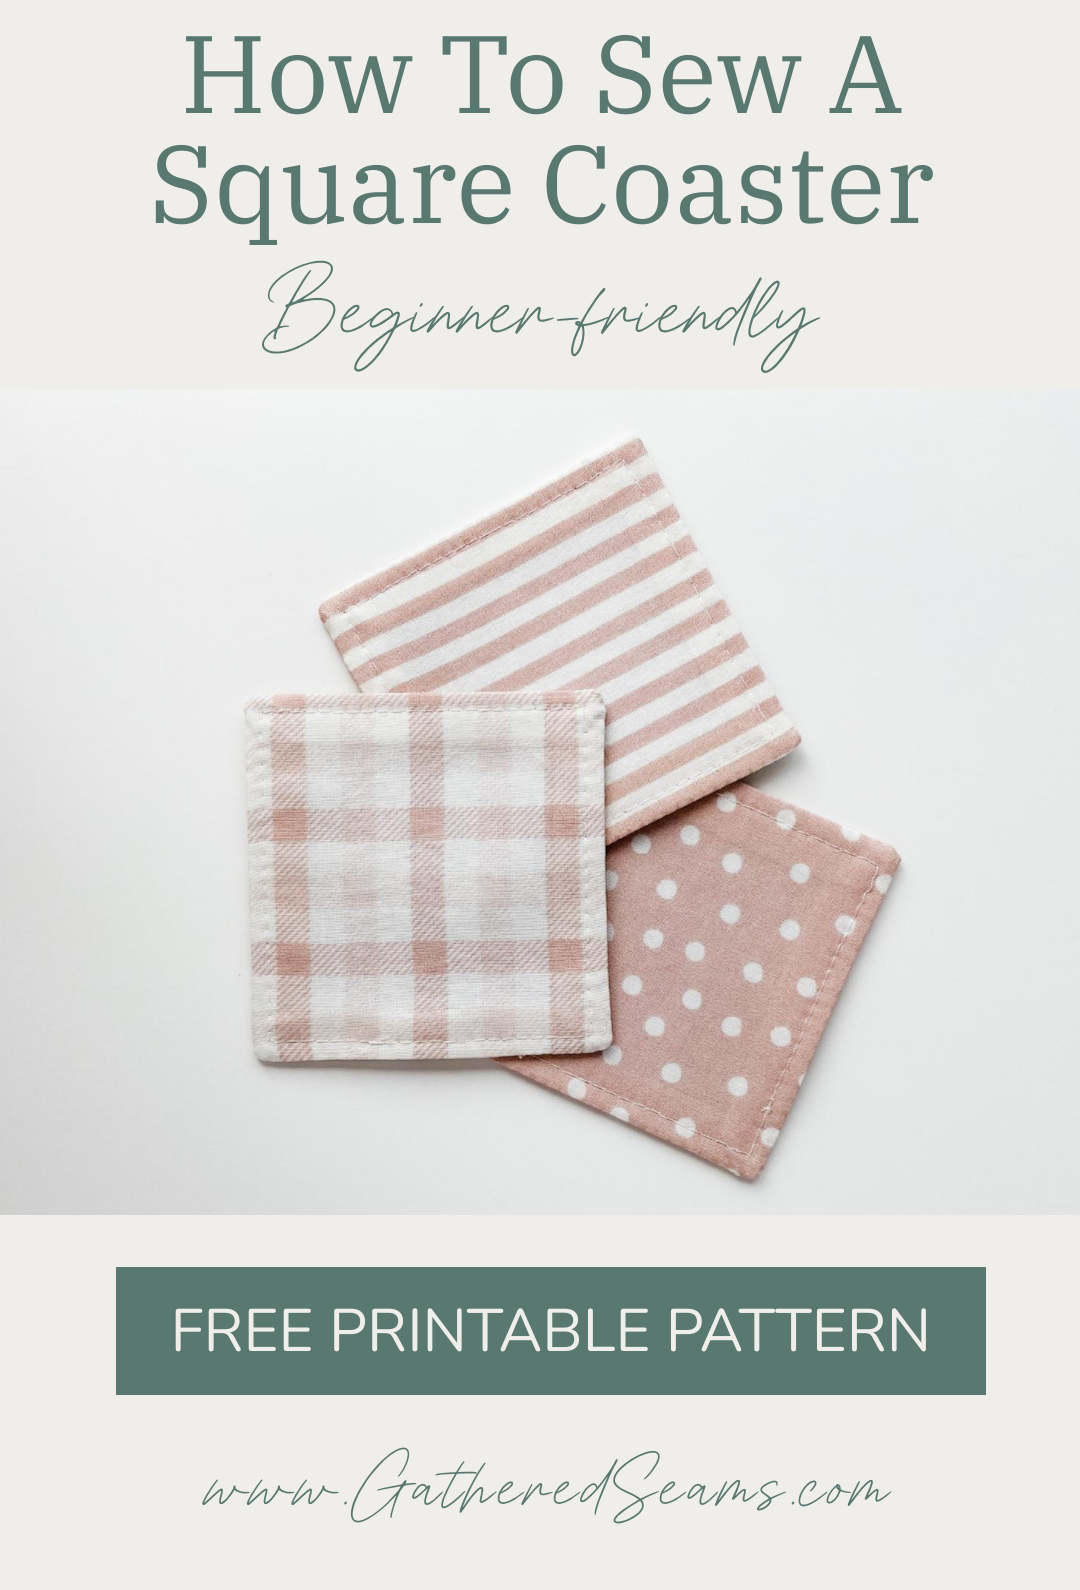
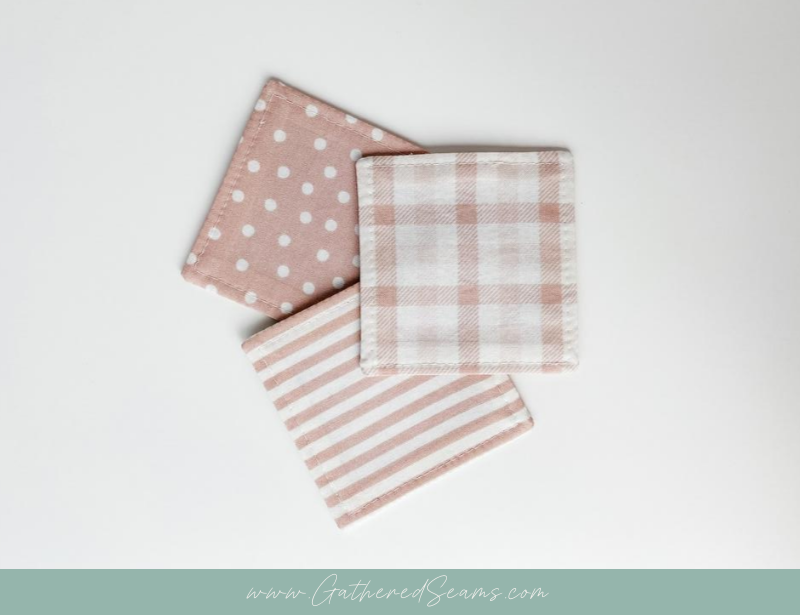
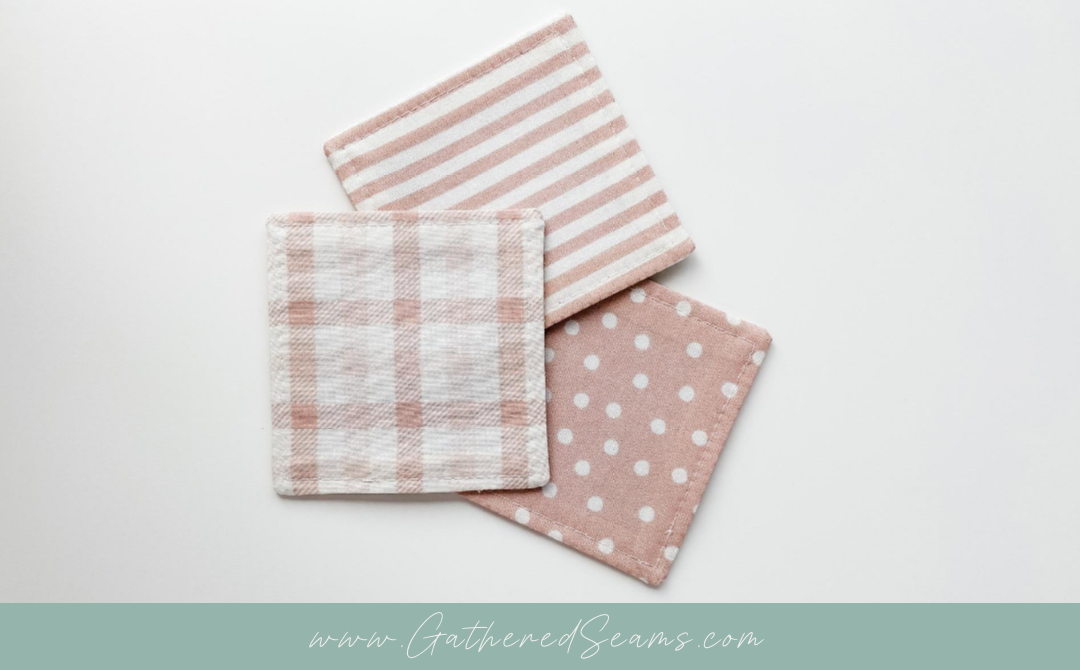
How To Sew a Square Coaster (Free Pattern & Beginner-Friendly)
This is a simple sewing project that can be completed in 10 minutes, making it a great item to sew and sell at craft shows or on Etsy.
Please download the free pattern and instructions below and watch the video for step-by-step instructions and tips for making your coasters look more professional.
Sewing coasters to sell
These beginner coasters are a great product to sew to sell because they’re:
- low-cost – they require minimal materials and time to make
- a skill-builder – easy to make and you can improve your sewing skills with each one. They also don’t require advanced sewing skills, so imperfections won’t be obvious.
- an everyday-use item – coasters are a basic product that most people use, making them easier to sell.
- a good gift item – these can be packaged and presented as a giftable item.
- an entry item – coasters are a small, low-priced item, perfect for people to test out your products if they’re not ready to buy a higher-priced item.

Materials
As an Amazon Associate, I earn from qualifying purchases.
- Fabric
- Batting
- Thread
Material suggestions
A variety of materials can work for coasters, but below are a few tips to help you choose the right ones.
- Not too thick – choose a fabric that’s mid to lightweight so your coaster doesn’t become too bulky.
- Soft and smooth – you want drinks to sit flat, and the bottom of the coaster should help protect furniture from scratches.
- Absorbent – when sewing your coasters to sell, you want to be confident they will protect your customers’ furniture. It’s a good idea to use a natural fibre fabric such as cotton or linen, to ensure any condensation from drinks will be absorbed by the coaster and won’t simply bead off it and onto a table.
- Insulation – you also have to assume your customers will be setting hot drinks on the coasters, so be sure the batting is insulating (e.g. cotton batting or Insul-Bright)
Tools
- Sewing machine Scissors
- Fabric clips
- Fabric marker (optional)
- Temporary fabric glue (optional)
- Point turner (you can use a chopstick or knitting needle)
- Iron
- Clapper (optional)
How to sew a beginner coaster
Step 1 – Press fabrics & cut pattern pieces
Before cutting out your pattern pieces, press your fabric with steam to ensure you have a flat piece of fabric.
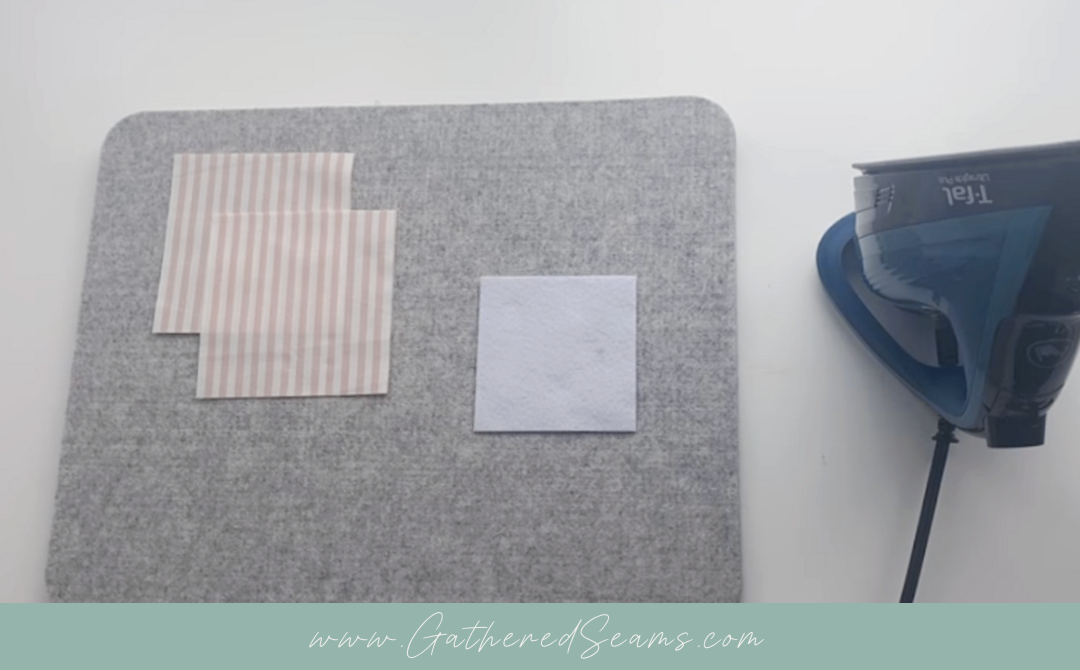
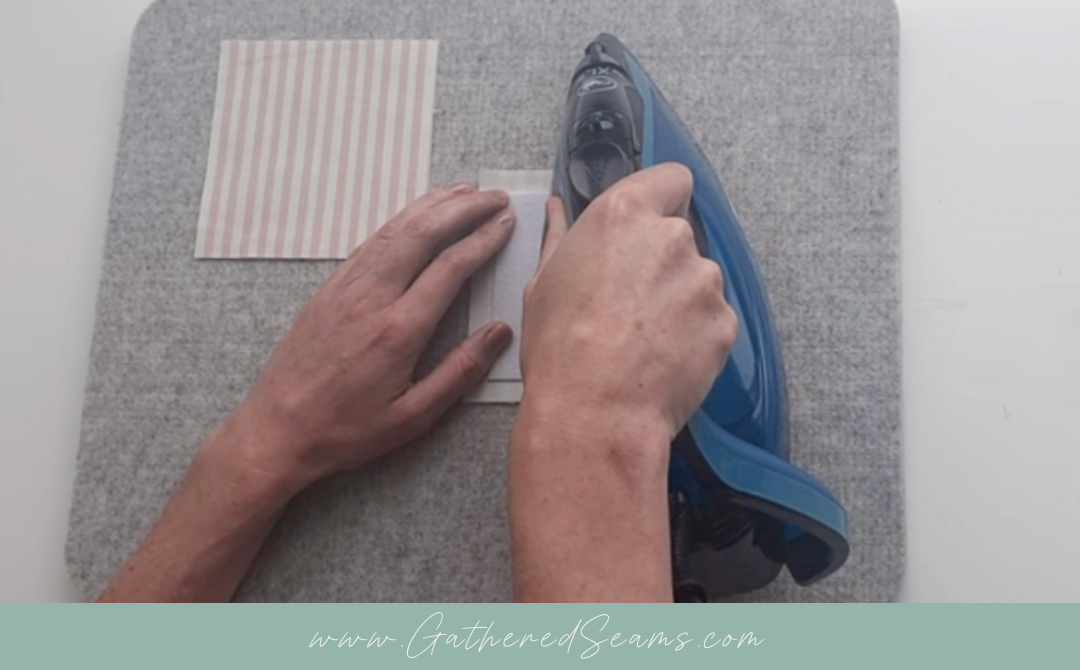
Step 2 – Attach batting to fabric
Center your batting on the wrong side of your fabric. You can eyeball it or use a ruler to ensure the batting is 1/2″ away from the fabric’s edge on all 4 sides.
Iron the fusible fleece into place, or use temporary fabric glue to adhere regular batting to the fabric.
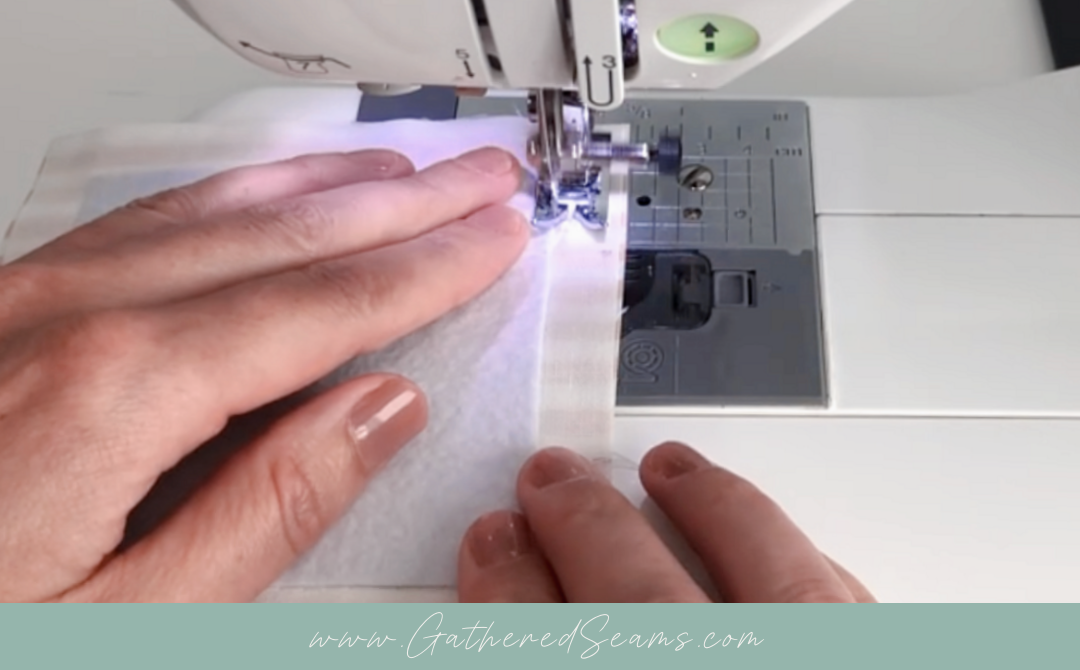
Step 3 – Sew top and bottom fabrics together
Place your two pieces of fabric right sides together.
Make two marks, approximately 2” apart, along one side of your square.
You won’t sew between these two marks, so there’s an opening to turn the coaster right side out.
Start sewing at your second mark, backstitching to secure, and sew all the way around the edges, using a 1/2” seam allowance.
The batting will be 1/2” inside the edge of the fabric, so you can use that as a guide.
Stop sewing at the other mark and backstitch to secure your threads.
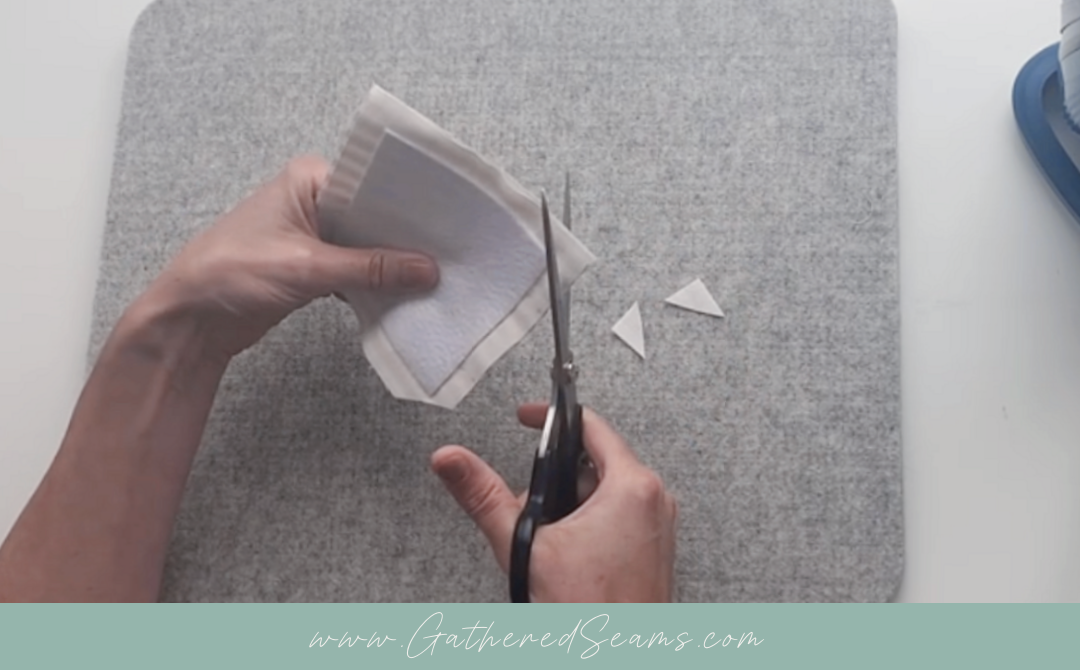
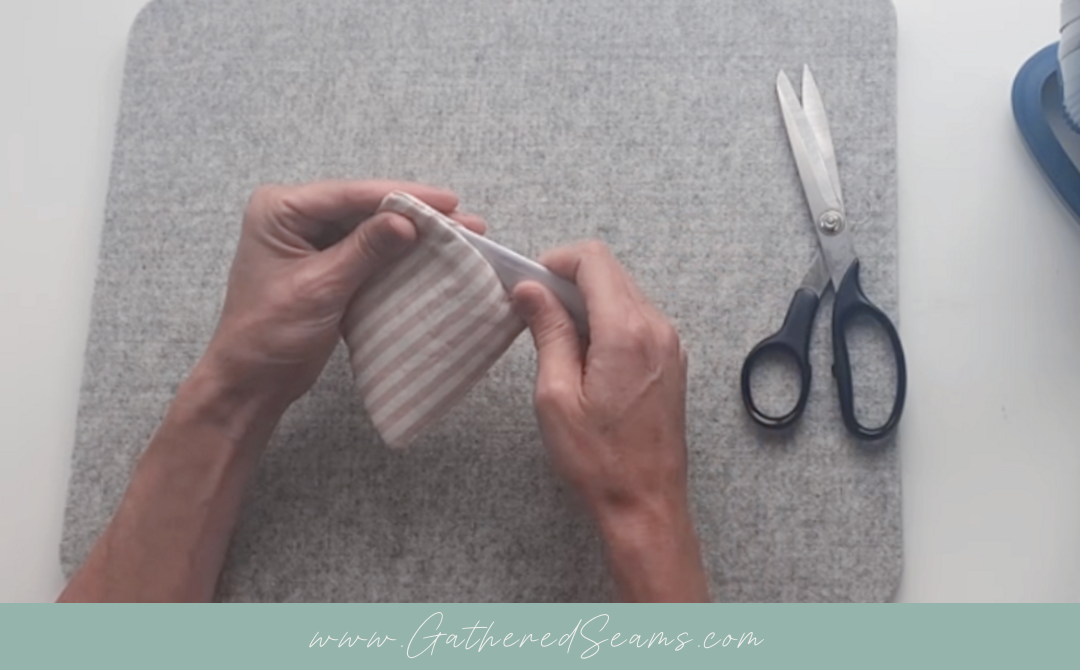
Step 4 – Snip corners and turn right side out
Before turning your coaster right side out, snip each corner at a 45-degree angle, cutting close to your stitches (about 1/8″ away).
This will reduce the bulk inside the coaster and give a clean look.
Using the 2” opening, turn your coaster right side out.
Use a point turner to push the corners out.
If you don’t have a point turner, you can use:
- a chopstick
- a knitting needle
- the non-brush end of an artist’s paintbrush
- an orangewood/manicure stick, etc.
- a pin to gently pull the corners out (from the right side)
Step 5 – Press
Once your coaster is turned right side out, take your time to shape your coaster.
Use your iron to slightly warm up the fabric and then use your fingers to roll the edges back and get a straight seam.
Once you’re happy with the shape, press it with your iron. If you have a tailor’s clapper (or block of wood), press that into the coaster to get the creases out and “set” the fabric.
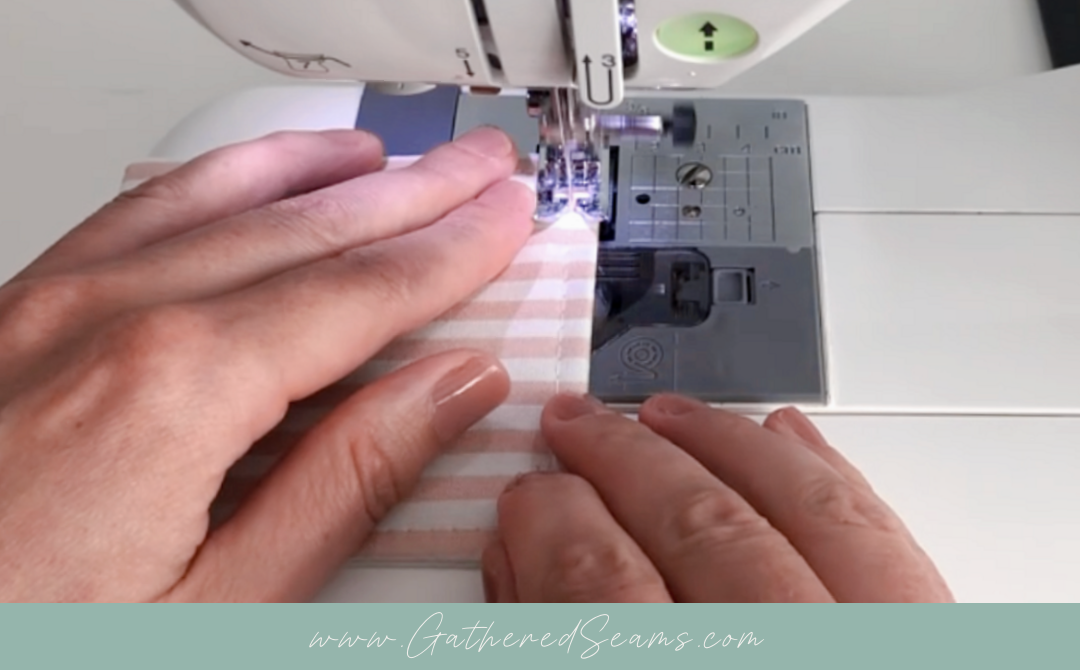
Step 6 – Topstitch
Topstitch around the coaster, 1/4″ away from the edge, using a longer stitch for a cleaner look.
Now it’s time to sell your coasters! Next steps: