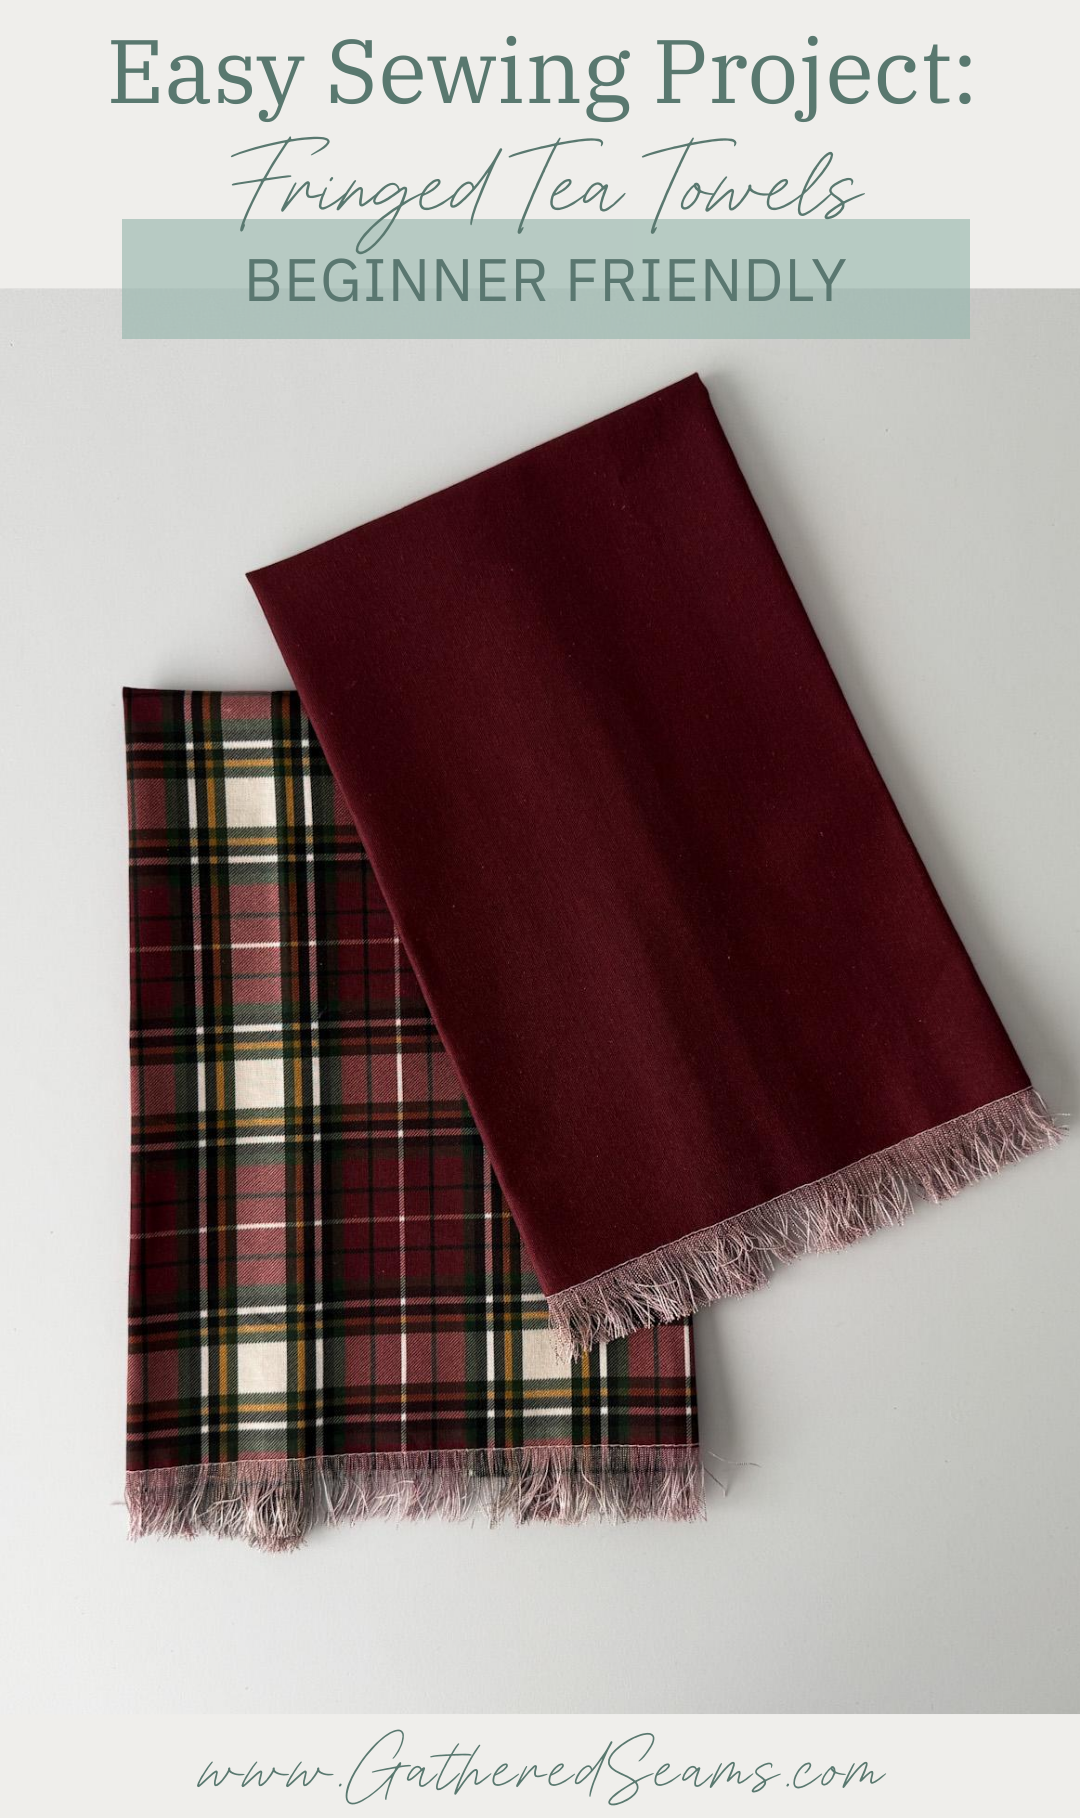
How To Sew A Tea Towel with Fringe (and mitered corners)
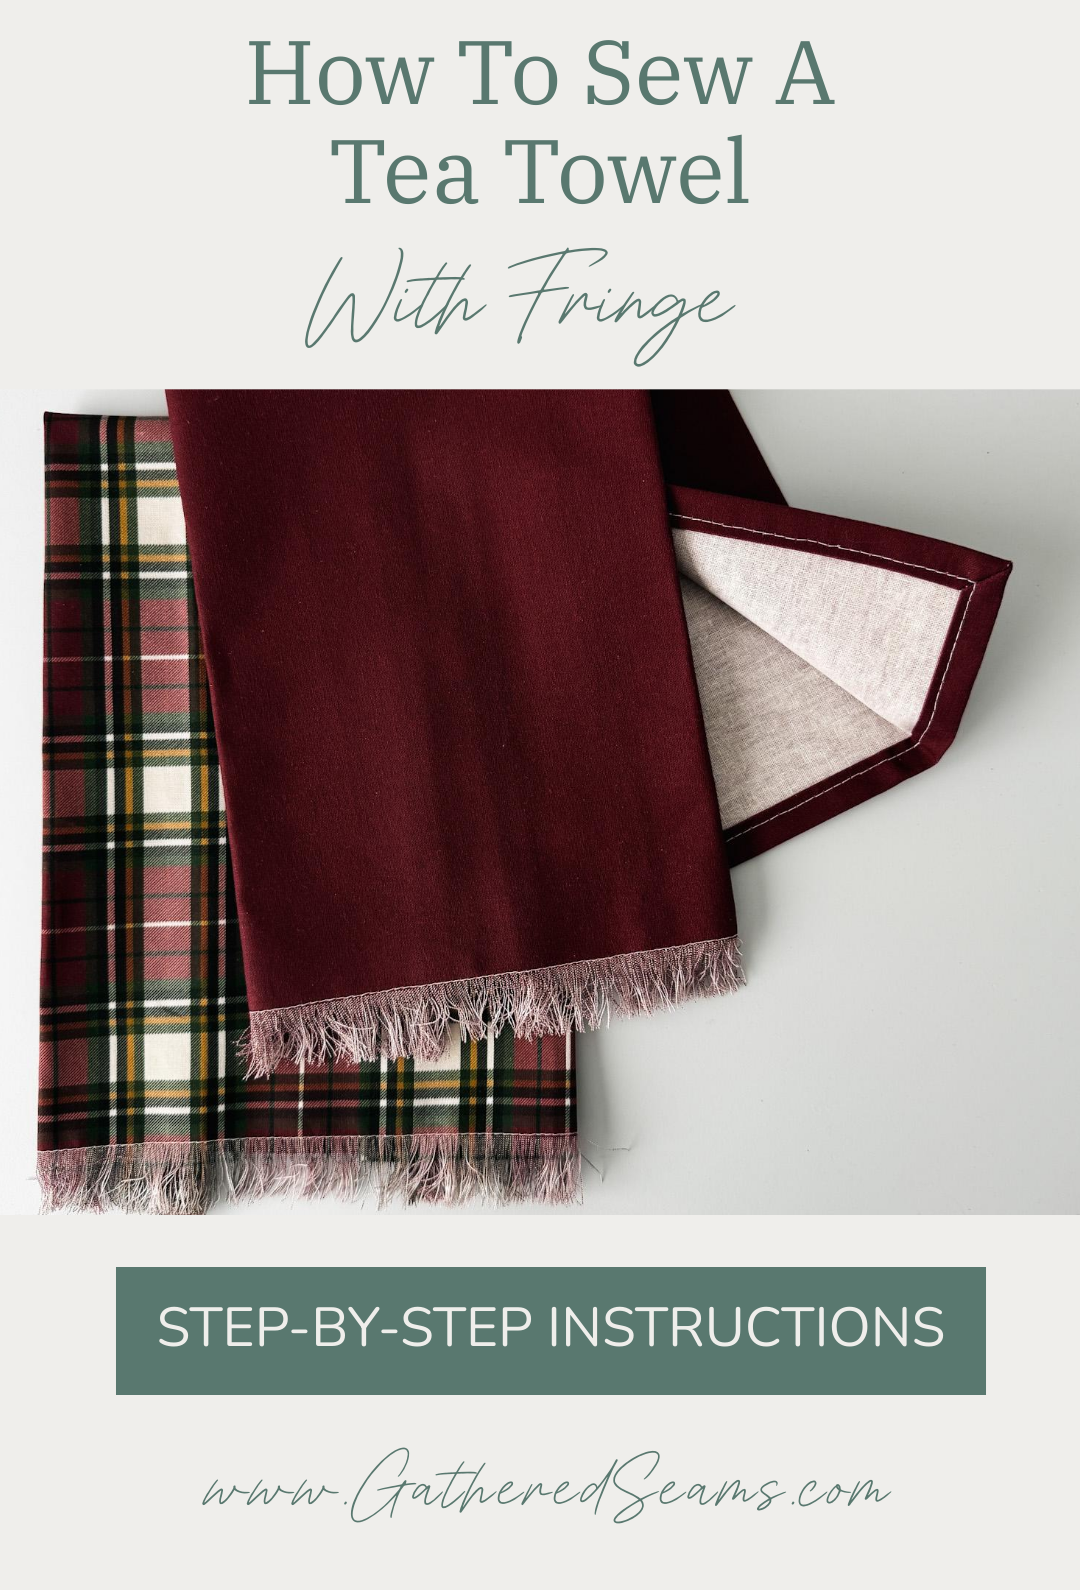
The fringed edge on this sewing project adds a bit more interest to a basic tea towel.
This is a beginner project that can be completed in 10-15 minutes.
Tea towels make a great gift because they’re an item that requires frequent replacing. Sewing 2 or 3 in coordinating colours, or adding a potholder or pot pincher, creates a beautiful gift set.
Materials
- Linen is ideal for this project as it’s absorbent, naturally antibacterial, and has a looser weave, making it easier to fray the edge. Cotton also works.
- Thread
Tools
- Sewing machine
- Temporary fabric marker
- Ruler
- Iron
- Point turner
Step 1
Decide on the finished size of your tea towel. Some common sizes are:
- 17″ x 24″
- 18″ x 28″
- 20″ x 30″
But you can choose any size you like.
Once you choose a finished size, you’ll add 2″ to the width and 1″ to the length and cut your fabric to that size.
For example, if I want a tea towel that is 17″ wide by 24″ long (finished), then I want to cut a rectangle that is: 19″ wide x 25″ long.
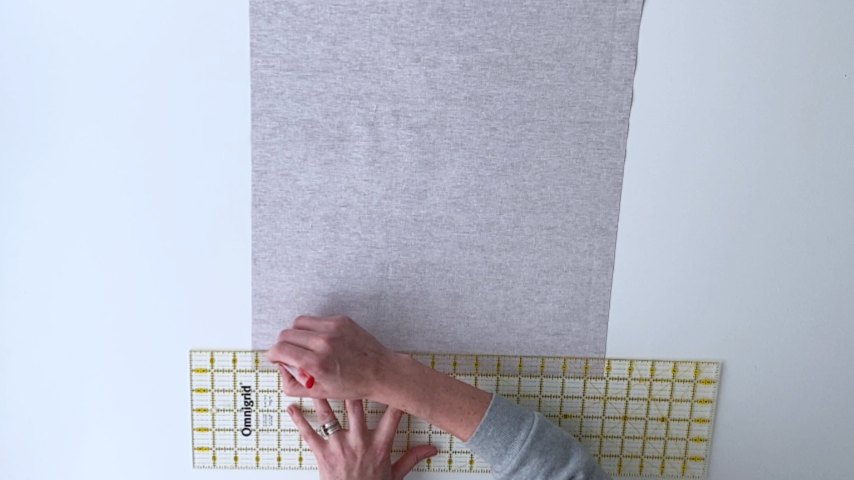
Tip: before you cut your fabric, iron it so you can ensure you’re getting straight cuts. You also want to pay attention to the grain of your fabric and cut square edges based on the straight grain.
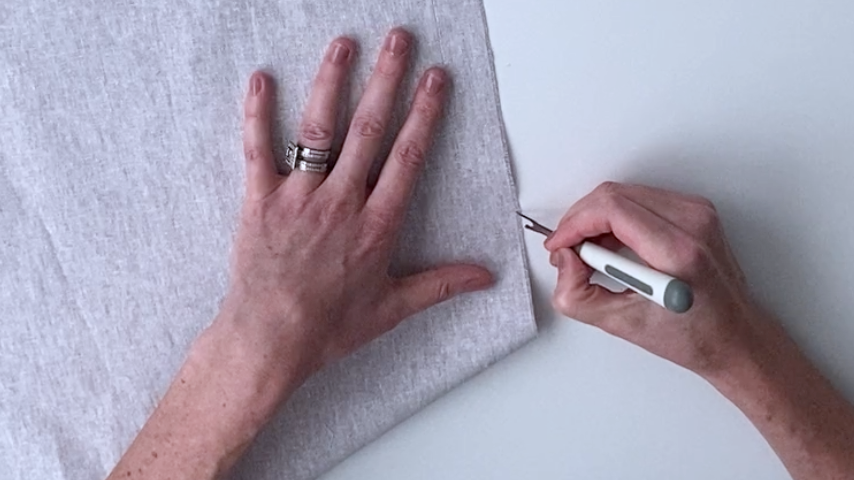
Step 2
Decide on the length of your fringe. It can be any length you like; the shorter you go (e.g. 1/2″ fringe) the faster the fraying step will be).
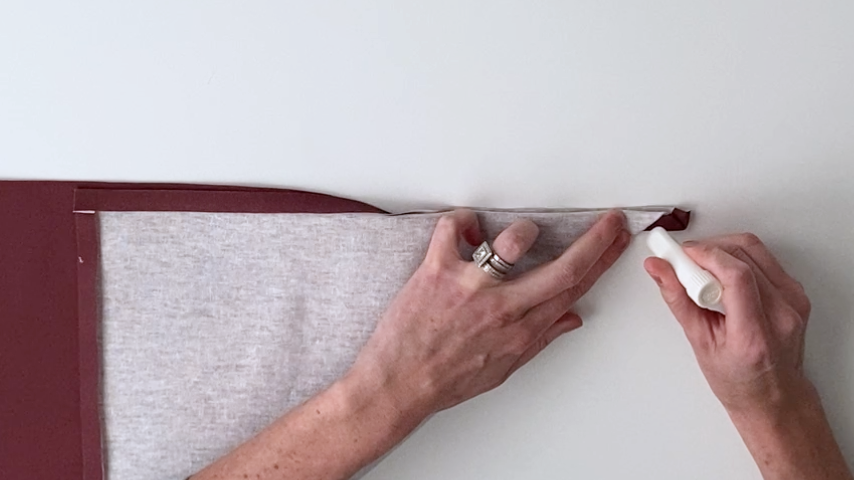
Using a temporary fabric marker, draw a line away from one end of your fabric, which is the length of your fringe.
For example, I’m creating a 1″ finge, so I drew a line 1″ away from the edge of my fabric.
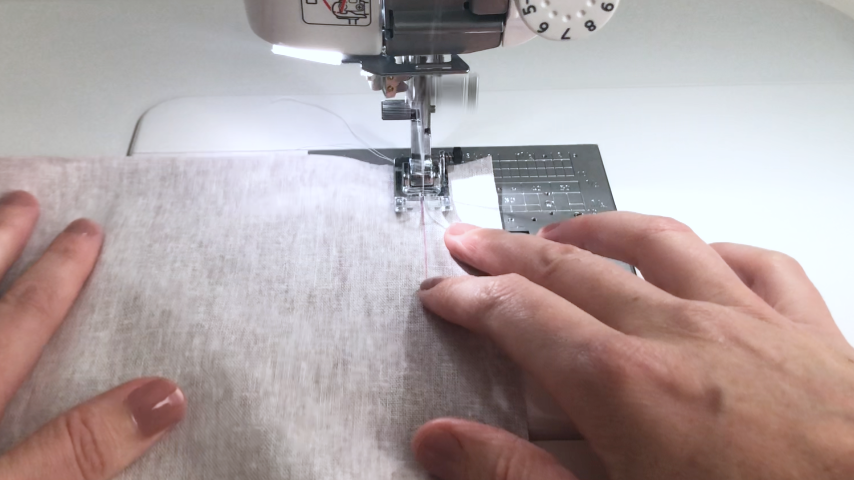
Step 3
Using a shorter stitch (I used 3.2mm setting), sew along that line.
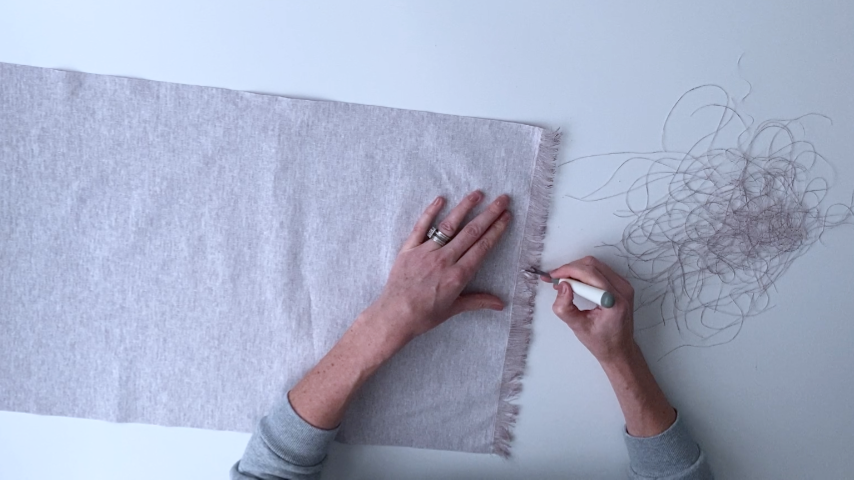
Step 4
Use a tool with a pointed end, such as a seam ripper, to pull at one thread at a time and remove it. This step is tedious, however, if you try and rush it and pull several threads at a time, they’ll likely break and then it’s a hassle to find their ends and pull them out.
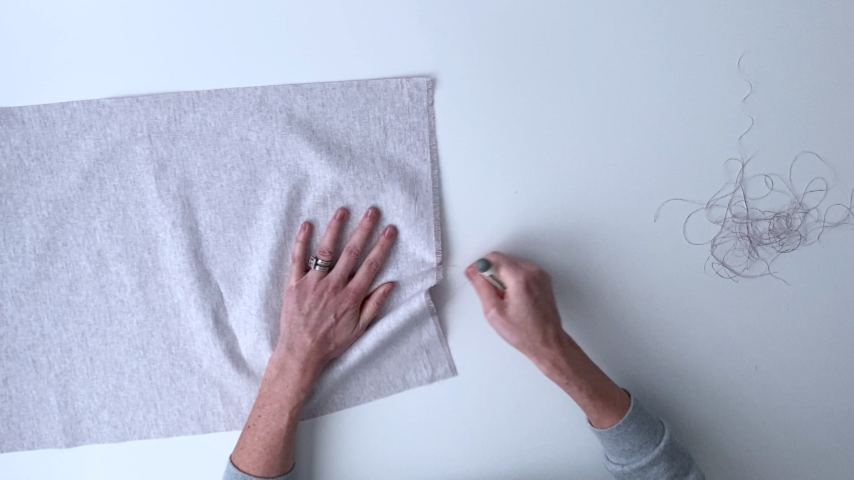
Keep pulling threads until you get to your line of stitching.
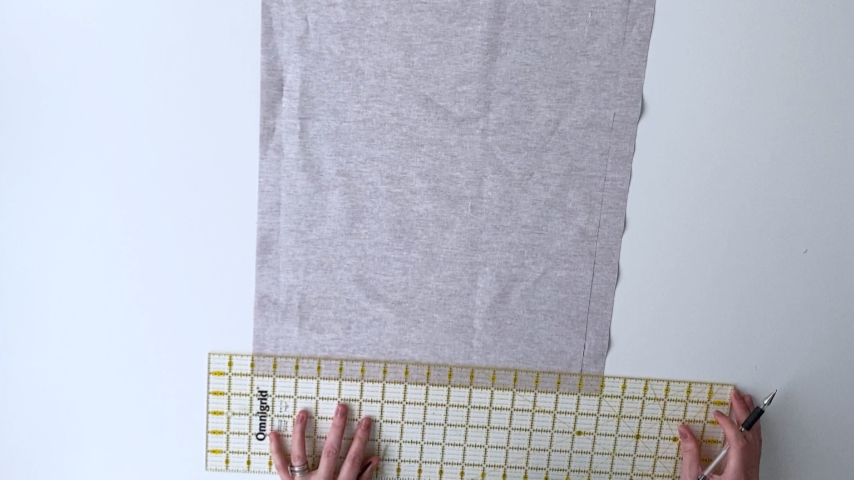
Step 5
Using a temporary fabric marker, draw a line 1″ away from the edge on the other 3 sides.
Step 6
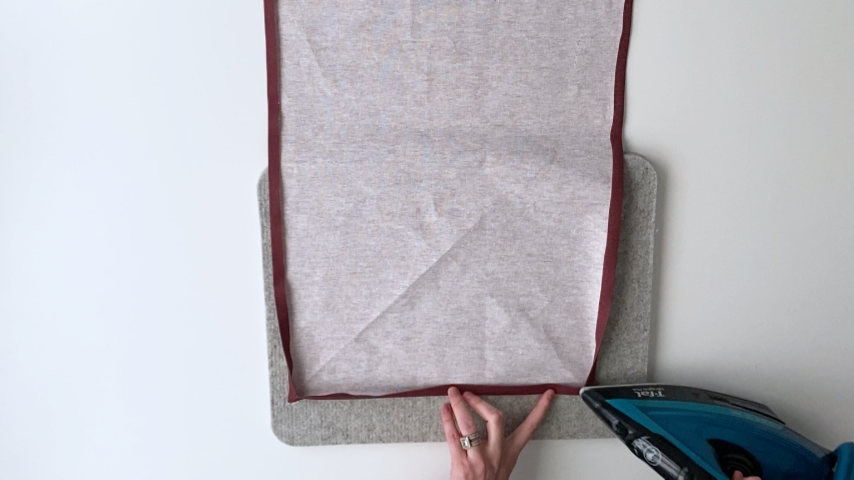
Fold the edge of your fabric to meet that line, then pressit into place (along all 3 sides).

Step 7
To create mitered corners, you need to draw a line across each corner at a 45-degree angle. You can use a ruler with a 45-degree line on it (place the 45-degree line along a straight edge so the edge of the ruler goes across the corner).
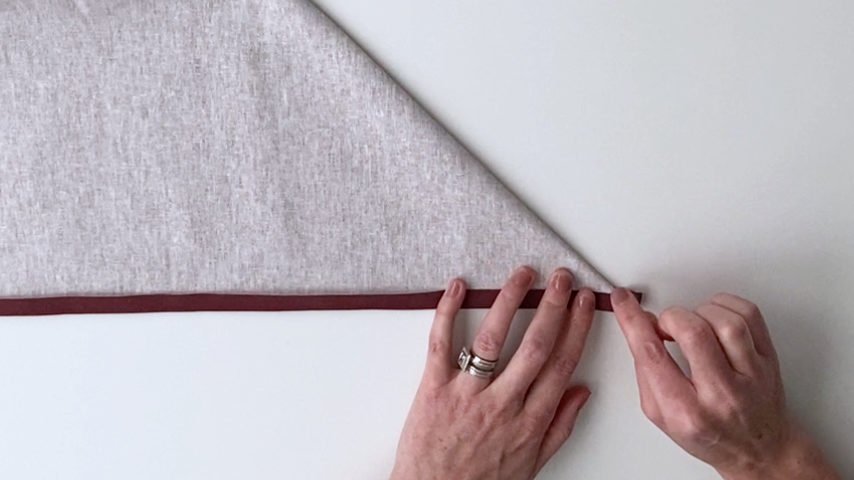
Or try the technique below:
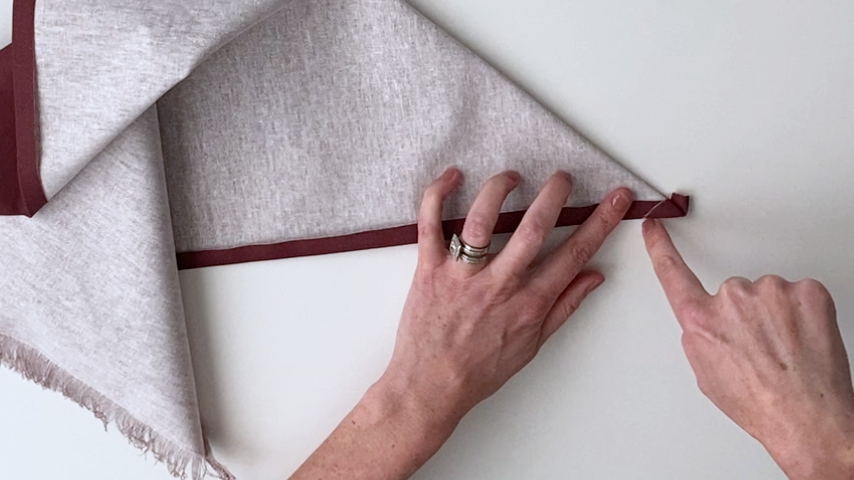
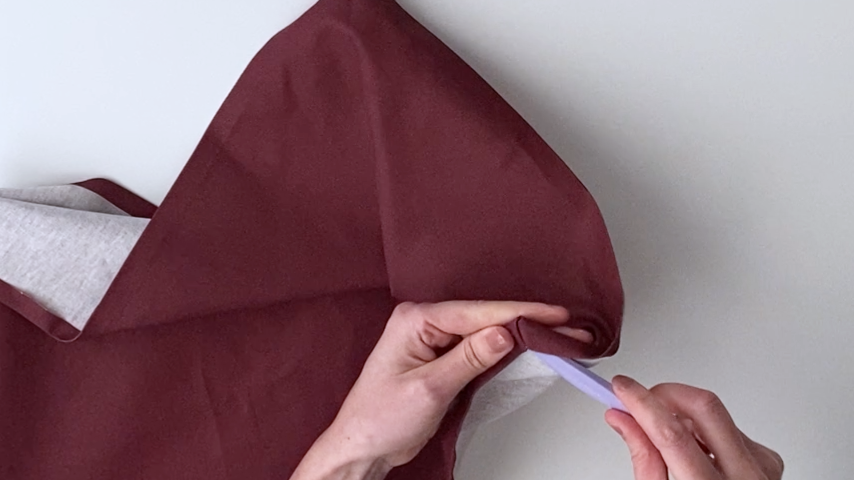
With your edges folded in, fold your rectangle so the top and side edges line up and you have a perfect point at the top.
The folded edge gives you a 45-degree line, which we’ll use as a guide.
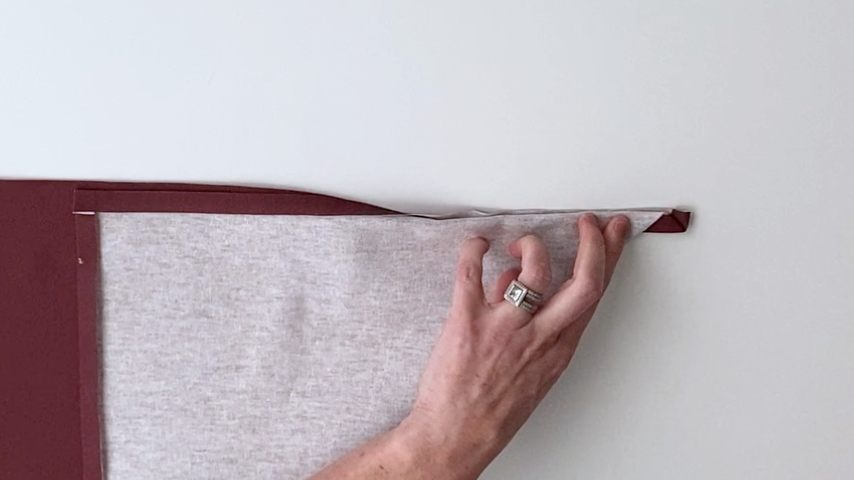
Fold the top few inches of your hem over again. Use the raw edge of your first fold as a guide.

Holding that in place, flip your tea towel over. The 45-degree edge folded over your hem creates the 45-degree line for the corner.
Trace that folded 45-degree edge with a temporary marker or chalk.
You now have a 45-degree line to sew along for your corner.
Repeat this on your other corner.
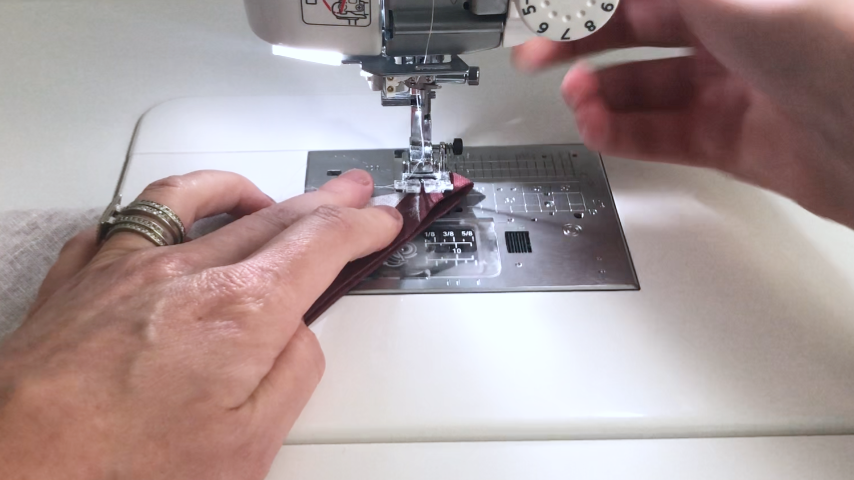
Step 8
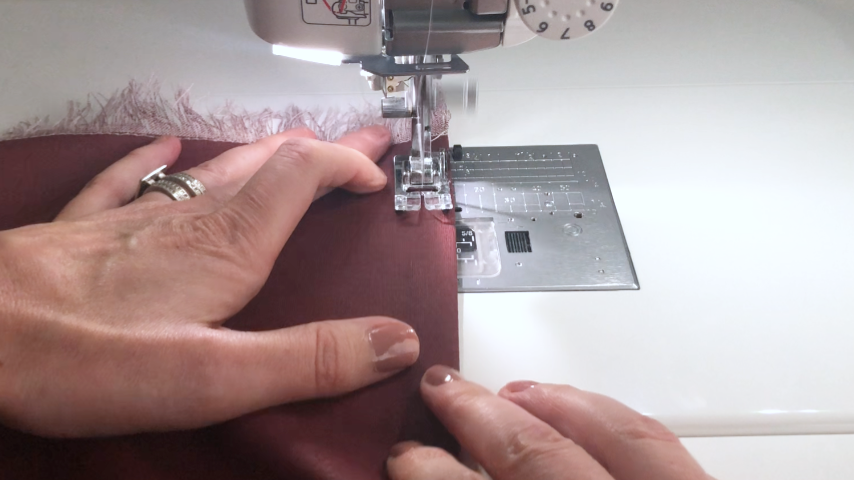
Sew along that line using a shorter stitch (I kept my machine at 3.2mm). Start on the fabric, then backstitch to the back edge, sew to the front edge, then backstitch so you end on the fabric. This just ensures the ends of the thread will be tucked in your corner and won’t stick out.
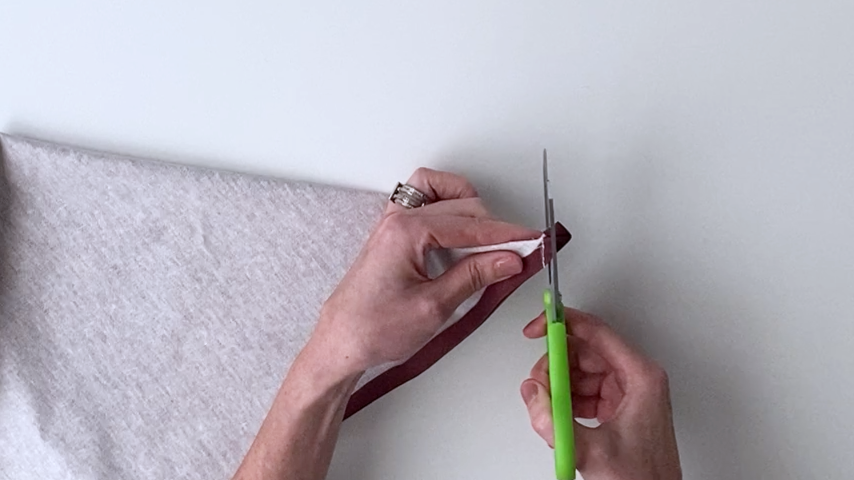
Step 9
Trim the fabric from your corners, staying about 1/8″ – 1/4″ away from your stitching.
Step 10
Turn your corners right side out and use a point turner (or knitting needle or chopstick) to push all the fabric out.
Step 11
Use the raw edge of your folded hem and your corners as a guide, and fold your edges in another 1/2″ and press into place.
Step 12
Topstitch around the 3 edges to hold the hem in place.
Your tea towel is finished: