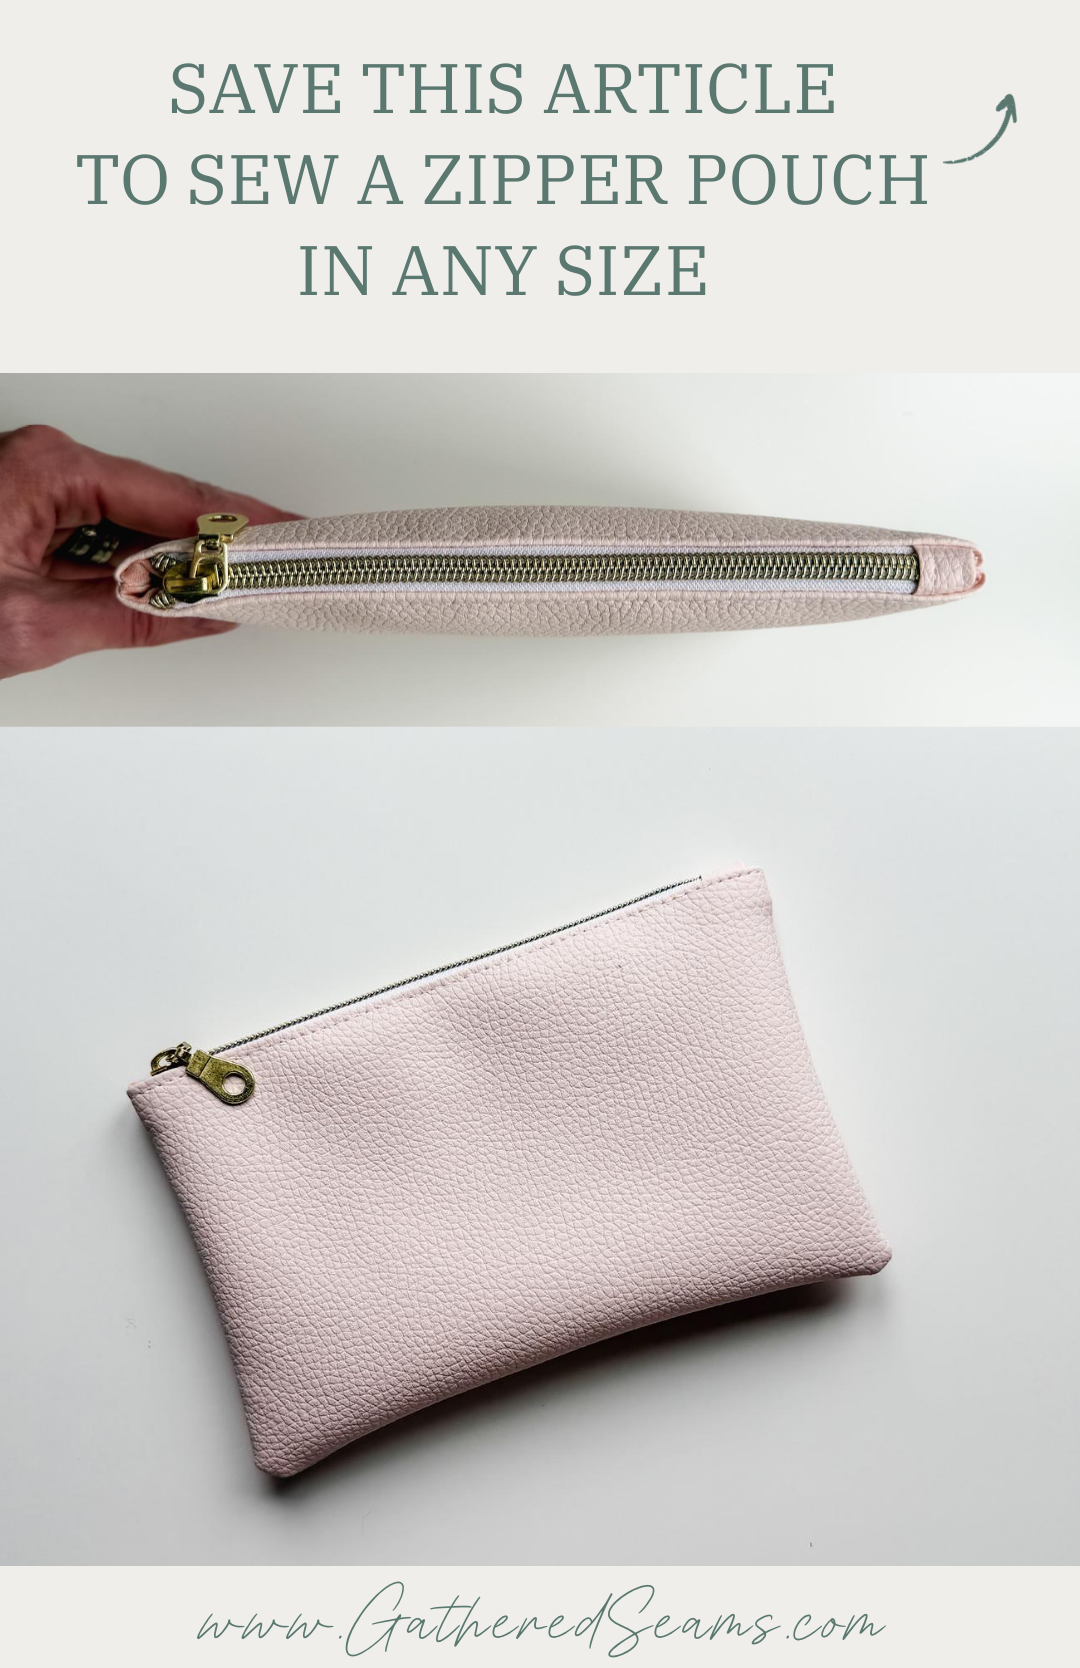
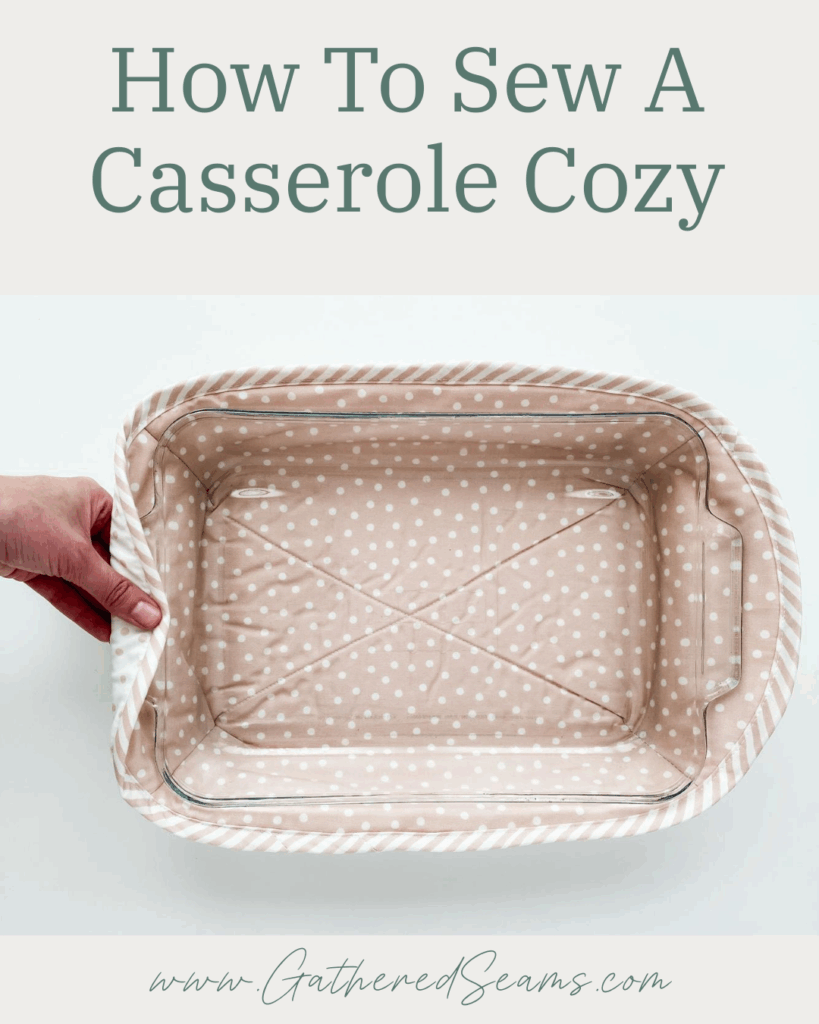
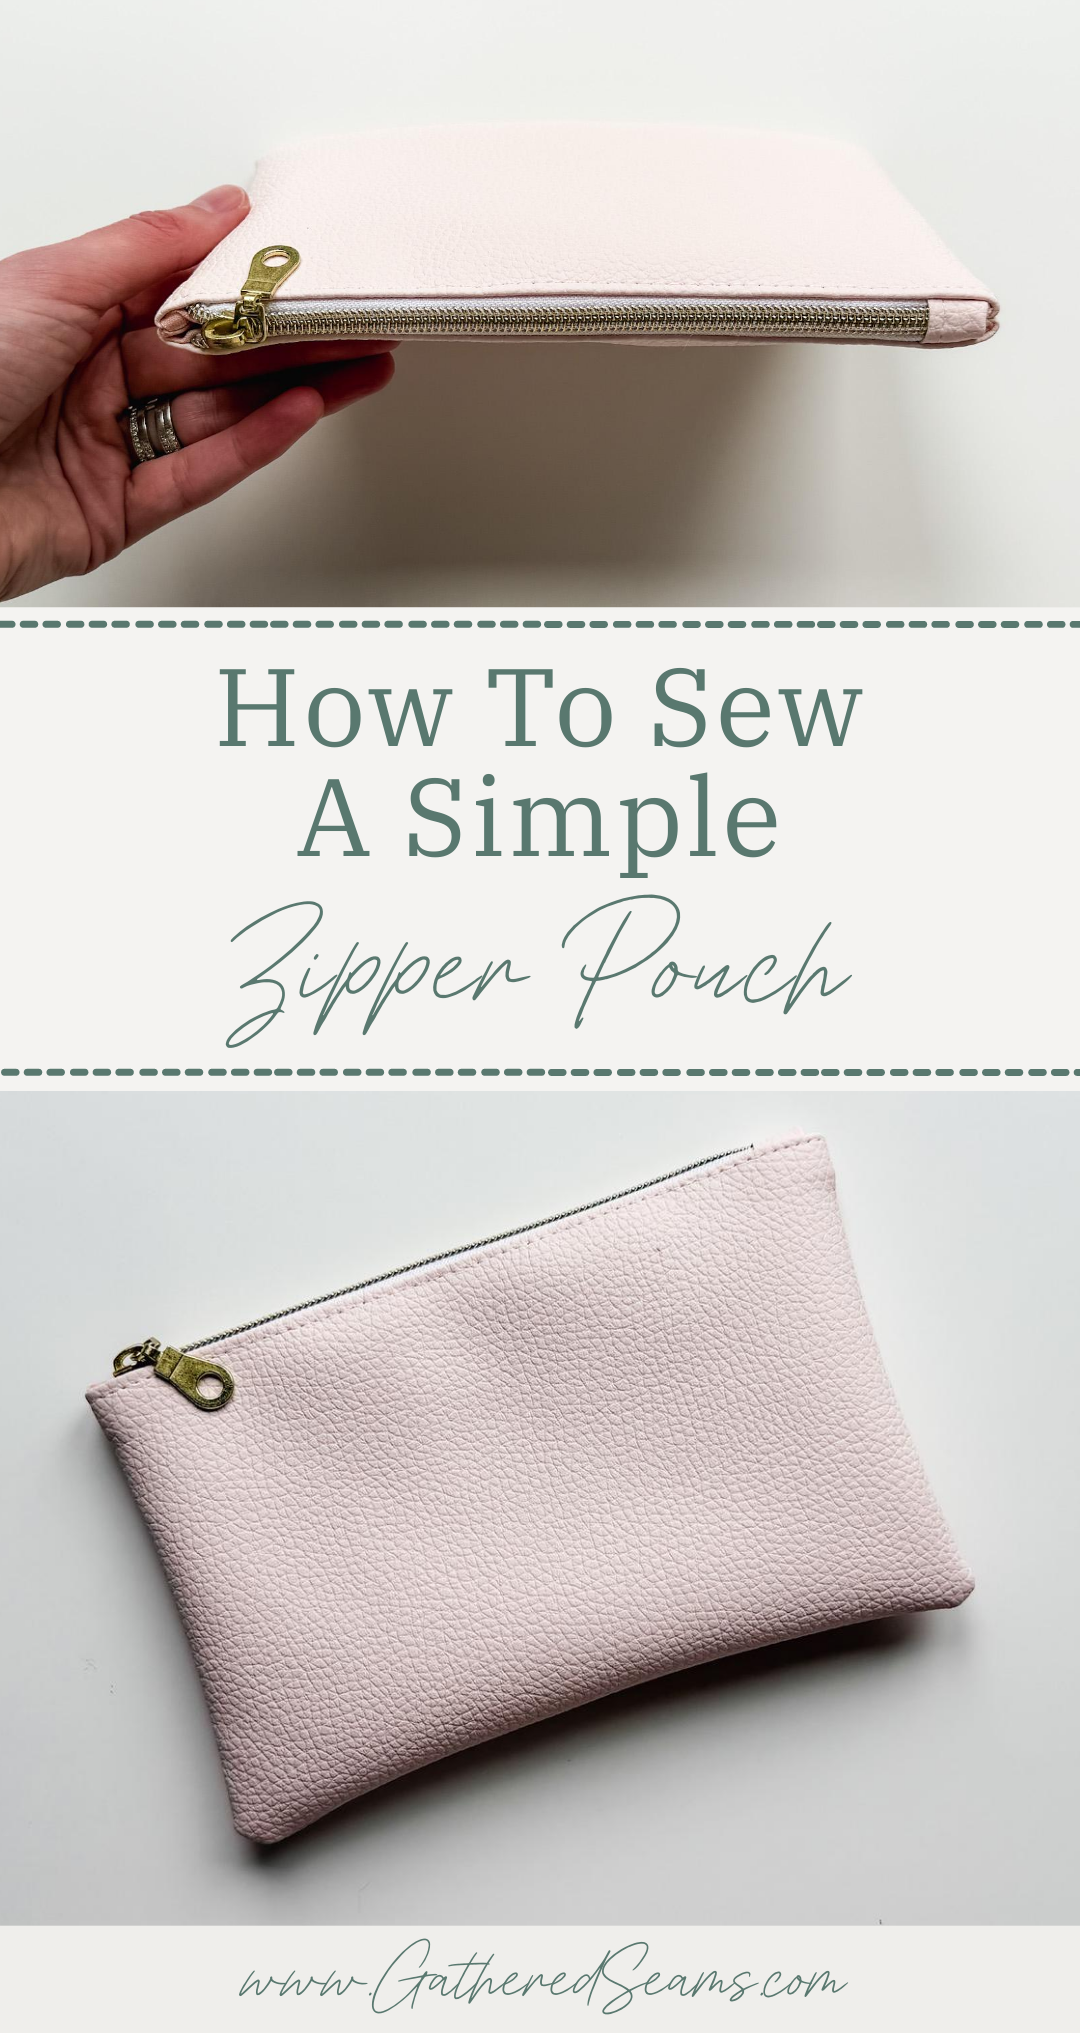
How To Sew a Simple Zipper Pouch
If you’re sewing bags and purses to sell, a zipper pouch is a must-have for your product line.
They’re quick and easy to sew and can be made in a variety of sizes to fit in different bags. Smaller ones can also use scraps of fabric to increase your profits.
I made this one to fit in my foldover clutch pattern, but you can make your zipper pouch bigger or smaller. Simply decide on the width and height you’d like the finished pouch to be, then add 1” to the width and height (for a 1/2” seam allowance along each seam).
For example, the zipper pouch highlighted in this article is 8″ wide by 5″ tall (finished). So I cut my pattern pieces to 9″ x 6″.

Sewing zipper pouches to sell
As mentioned, zipper pouches should be a staple in most handbag lines.
They’re a great add-on product.
When customers are buying a bag, a matching zipper pouch to help organize the bag’s contents is an easy item to add to their order. Be sure to offer zipper pouches in fabrics/prints/colors that match or coordinate with your bags/purses.
You can also beef up these zipper pouches by adding interior and/or exterior pockets for more organization.
Sewing these in a larger size can also turn them into a clutch bag. Sew a tab with a D-ring into a side seam and add a strap with a clasp to turn it into a wristlet.
Materials
- Exterior fabric (I used vinyl)
- Lining fabric
- Thread
- #5 zipper & pull
Tools
As an Amazon Associate, I earn from qualifying purchases (see full disclosure here).
- Sewing machine
- Walking foot (highly recommended if you’re sewing with vinyl or when quilting. This is the universal one I purchased for my Baby Lock, which is a different machine than what’s shown in the photos)
- Clips
- Temporary fabric marker (these are the ones I use)
- Ruler
- Scissors
- Point turner
- Wonder Tape (optional but makes sewing in zippers easier)
- Soft-faced hammer (optional, but helps flatten seams when working with vinyl)
Step 1
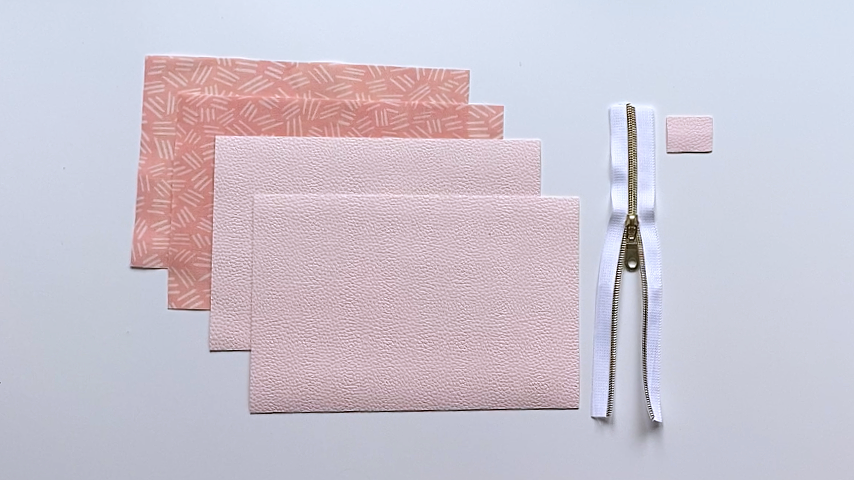
Cut out your pattern pieces according to your desired size.
The zipper pouch shown in the photos below uses 9” x 6” pattern pieces.
You’ll need:
- 2 in outer fabric (9″ x 6″)
- 2 in lining fabric (9″ x 6″)
- 1 piece of outer fabric for zipper tab (1-1/4″ wide by either 1″ – 2″ long, depending on the type of fabric you’re using, as explained below)
- #5 zipper & zipper pull (I cut this to the same width of my pouch, which gives me extra zipper to work with)
Step 2
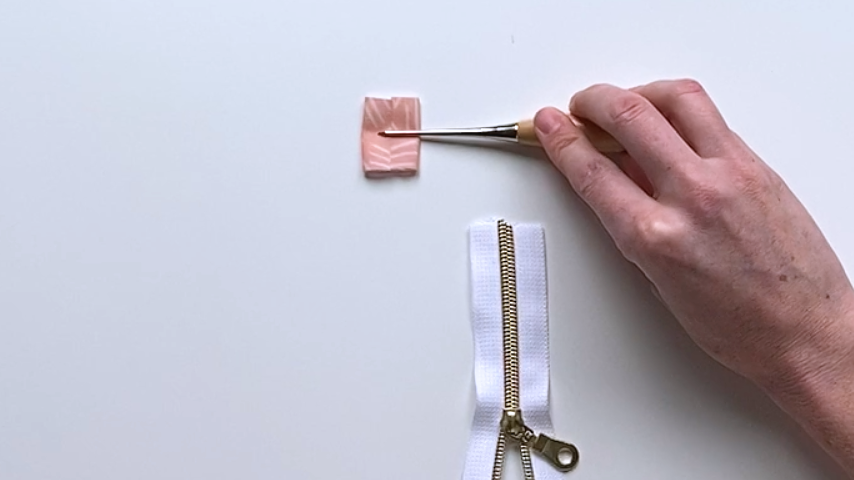
Start by sewing your zipper tab to the closed end of your zipper (the end of the zipper that will not split open).
For the zipper tab, you can play with different techniques. I’m using vinyl, which doesn’t fray, so I can simply have the cut edge exposed and reduce the bulk.
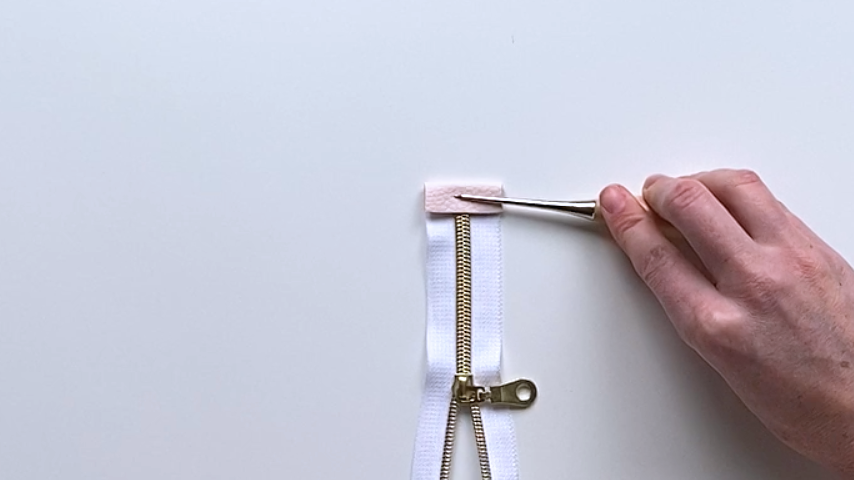
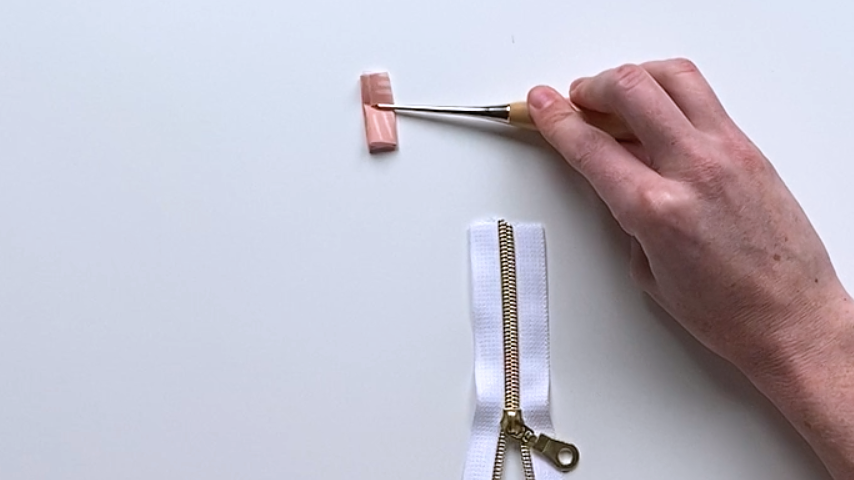
If you’re using a woven fabric, you can fold it in half lengthwise to find the centre, then fold each end into the centre, then fold the tab in half again.
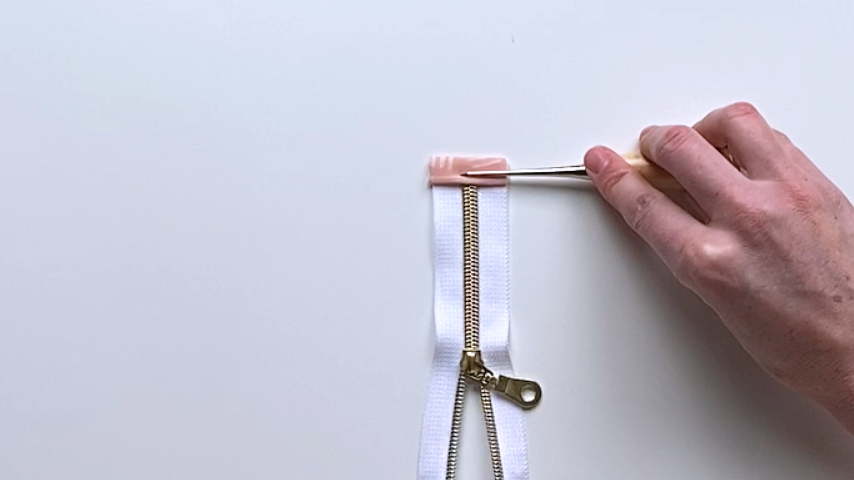
Press the closed end of the zipper into the tab and topstitch.
Step 3
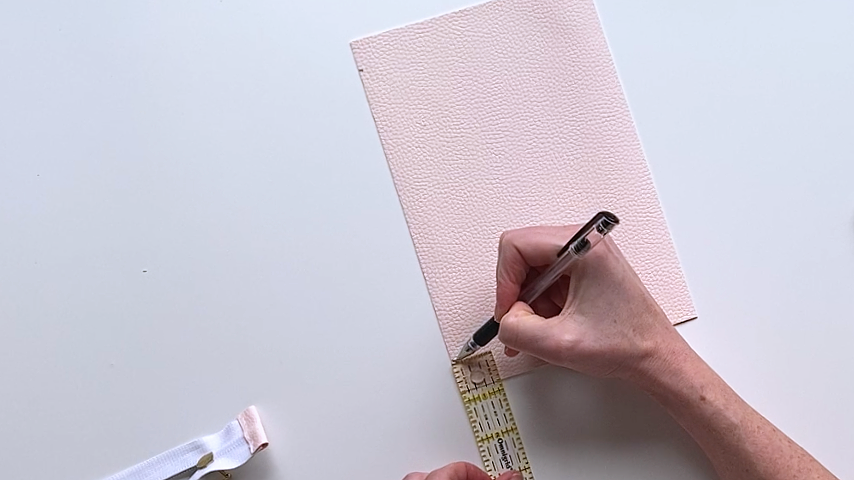
On the right side of your outer pieces, mark two lines along the top edge that are 3/4” away from the cut edge (seam allowance plus 1/4”).
These marks are where your zipper will start and end.
Having the zipper start and end 1/4” away from the seam allowance will make it easier to sew your seams, ensuring the bulk of the zipper doesn’t push your stitching out of line.
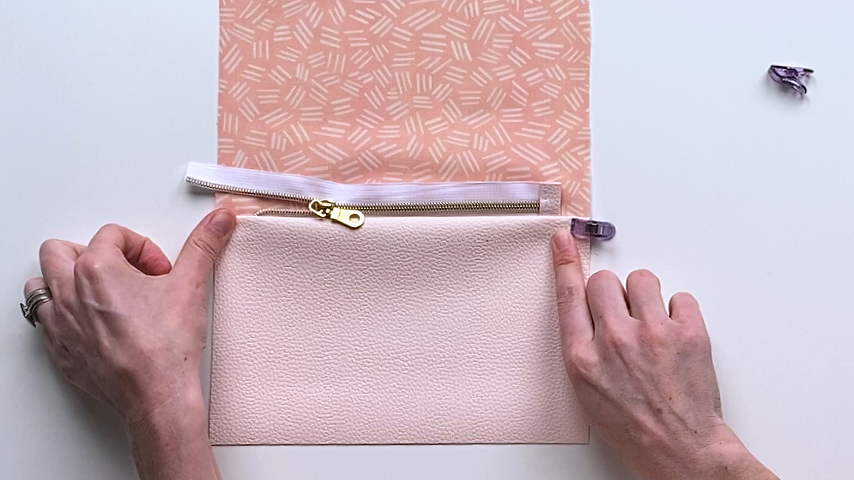
Place your zipper and outer panel right sides together.
Line the end of your zipper tab up with the 3/4” mark on one side and clip into place.
When you get to the open end of your zipper, fold the zipper at a 90-degree angle and clip it into place.
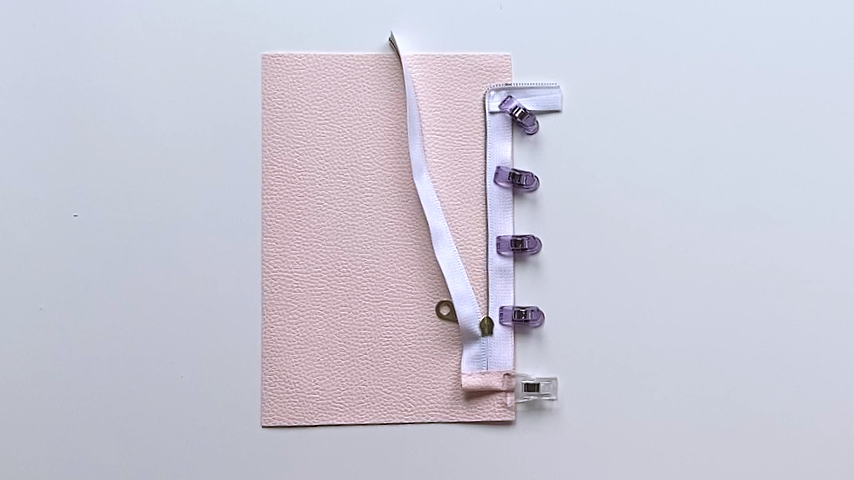
Baste your zipper to your outer panel.
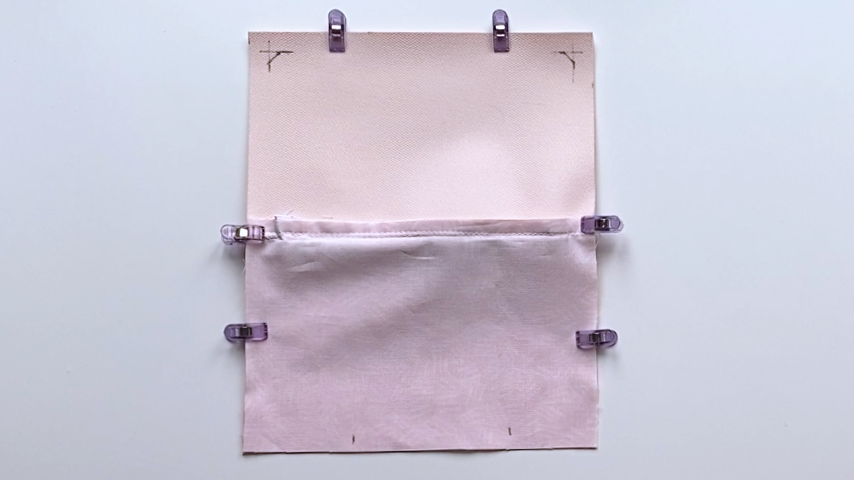
Place one of your lining panels right sides together with your outer panel, so the zipper is sandwiched between.
Line up your edges and clip into place.
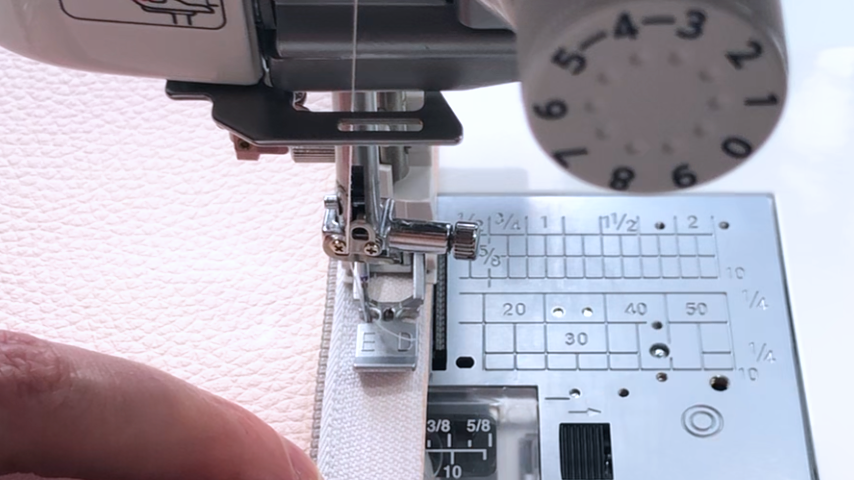
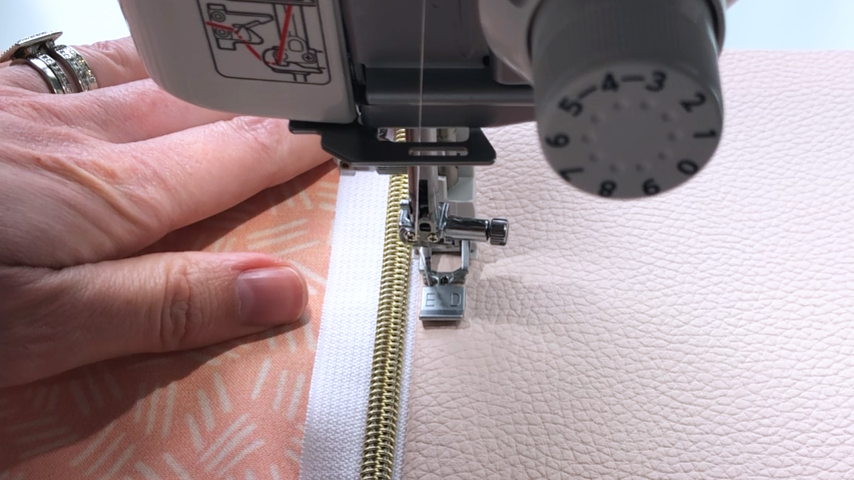
Use a zipper foot to sew close to the zipper teeth from one end to the other.
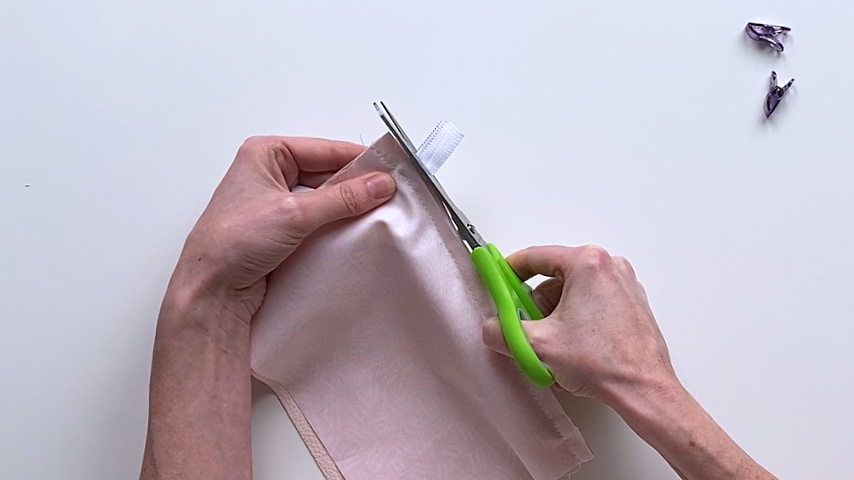
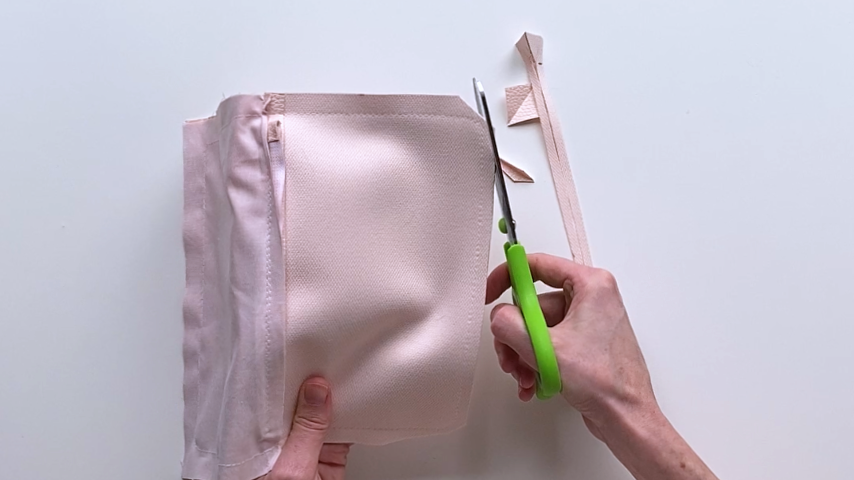
Cut any excess off the open end of your zipper.
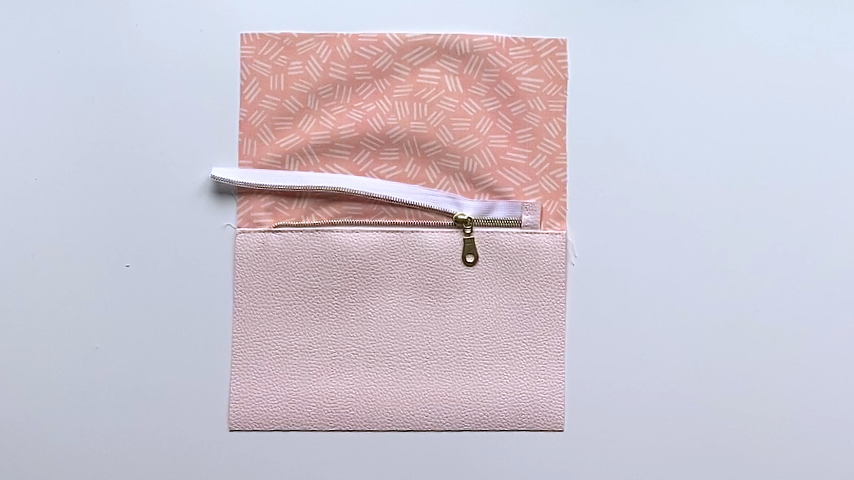
Topstitch your outer fabric only to your zipper tape.
Meaning, lay your lining fabric to the opposite side of your outer fabric so it doesn’t get topstitched.
This ensures the top corners of your lining will sit flat.
Repeat these steps to sew the second side of your pouch to the zipper.
Step 4
Open your zipper at least halfway.
Fold your pouch so your two outer pieces are sitting right sides together and your two lining pieces are right sides together.
Make sure the top edges of your outer panels are lining up and clip together. Then clip around the pouch.
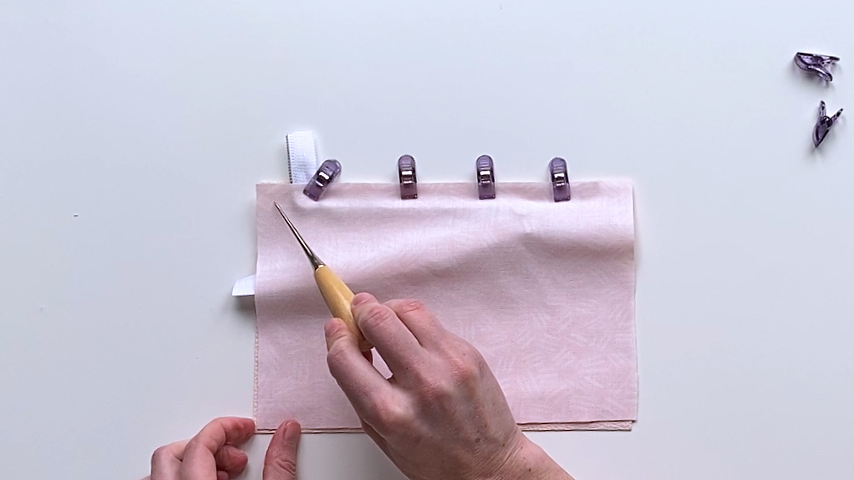
Use a temporary fabric marker to mark two lines along the bottom or one side of your lining, big enough that you can turn the bag right side out through.
I also like to round out my bottom corners. To do this, I mark my seam allowance, then angle off the corner and follow that line when sewing.
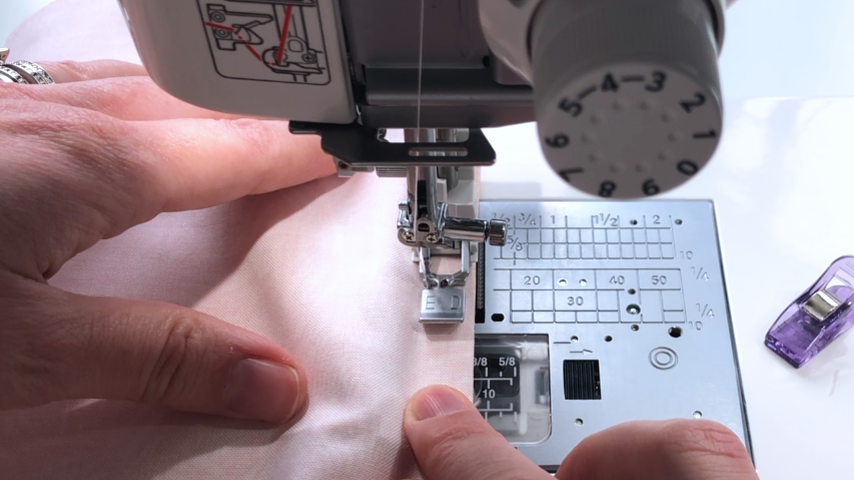
When sewing, I use a 1/2” seam allowance for the outer fabric.
Once my needle moves to the lining fabric, I slowly taper it to a 5/8” seam allowance.
This helps the lining fit neatly inside the pouch.
Backstitch on either side of your two lines that are marking the opening.
Step 5
Trim the seam allowance down around the perimeter of your bag, leaving the seam allowance where the opening is intact.
Be sure to clip the corners and the two top ends to reduce the bulk in the seams at the start and end of your zipper.
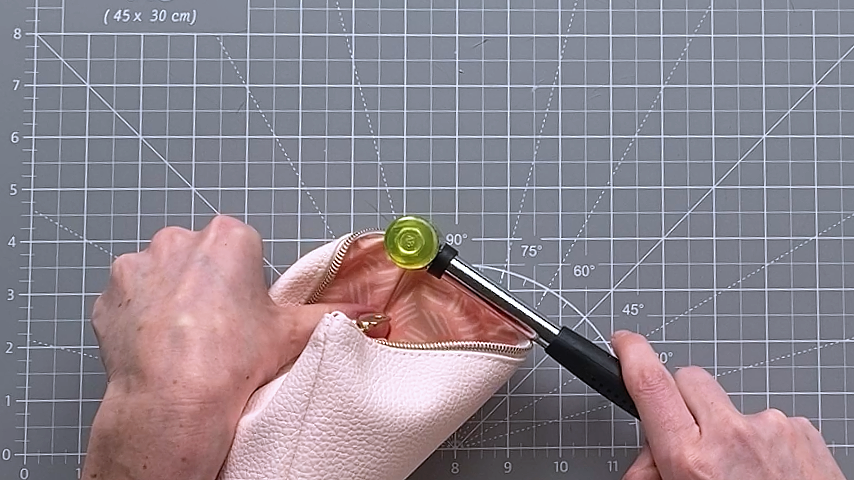
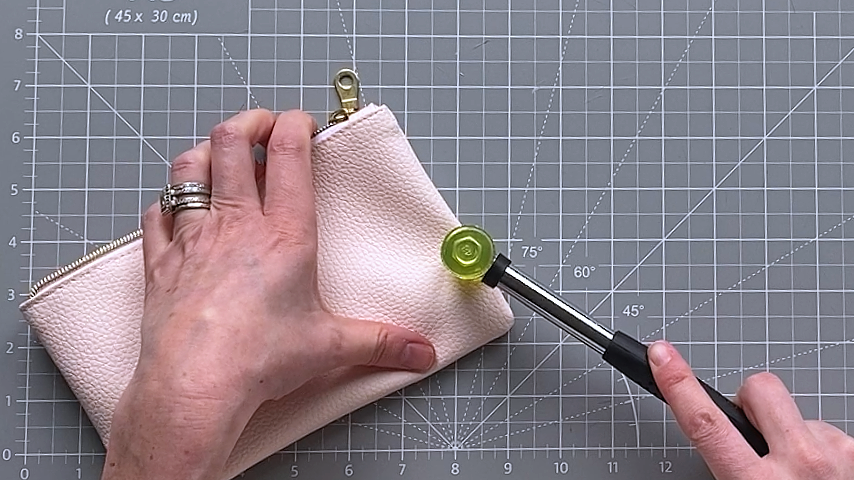
Press the seam allowance at your opening.
Turn the bag right side out, then stitch the opening closed.

If you’re working with vinyl, you can use a soft-faced hammer to flatten the seams. Otherwise, use an iron if your fabric allows.