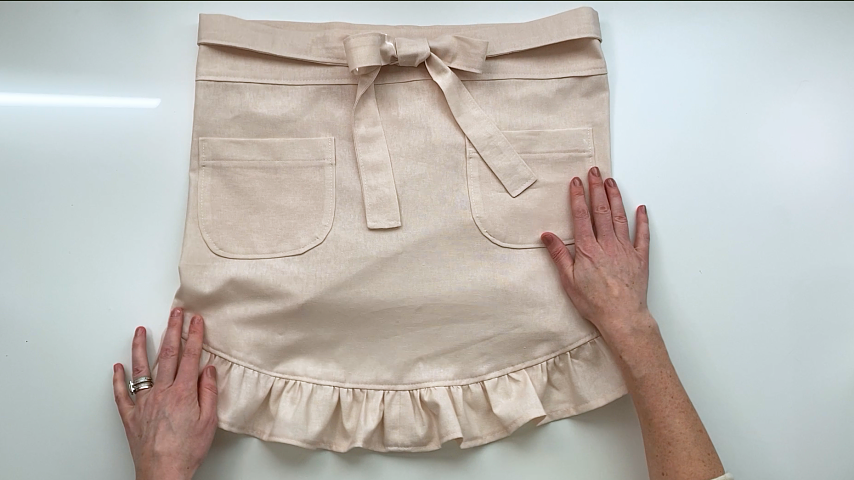
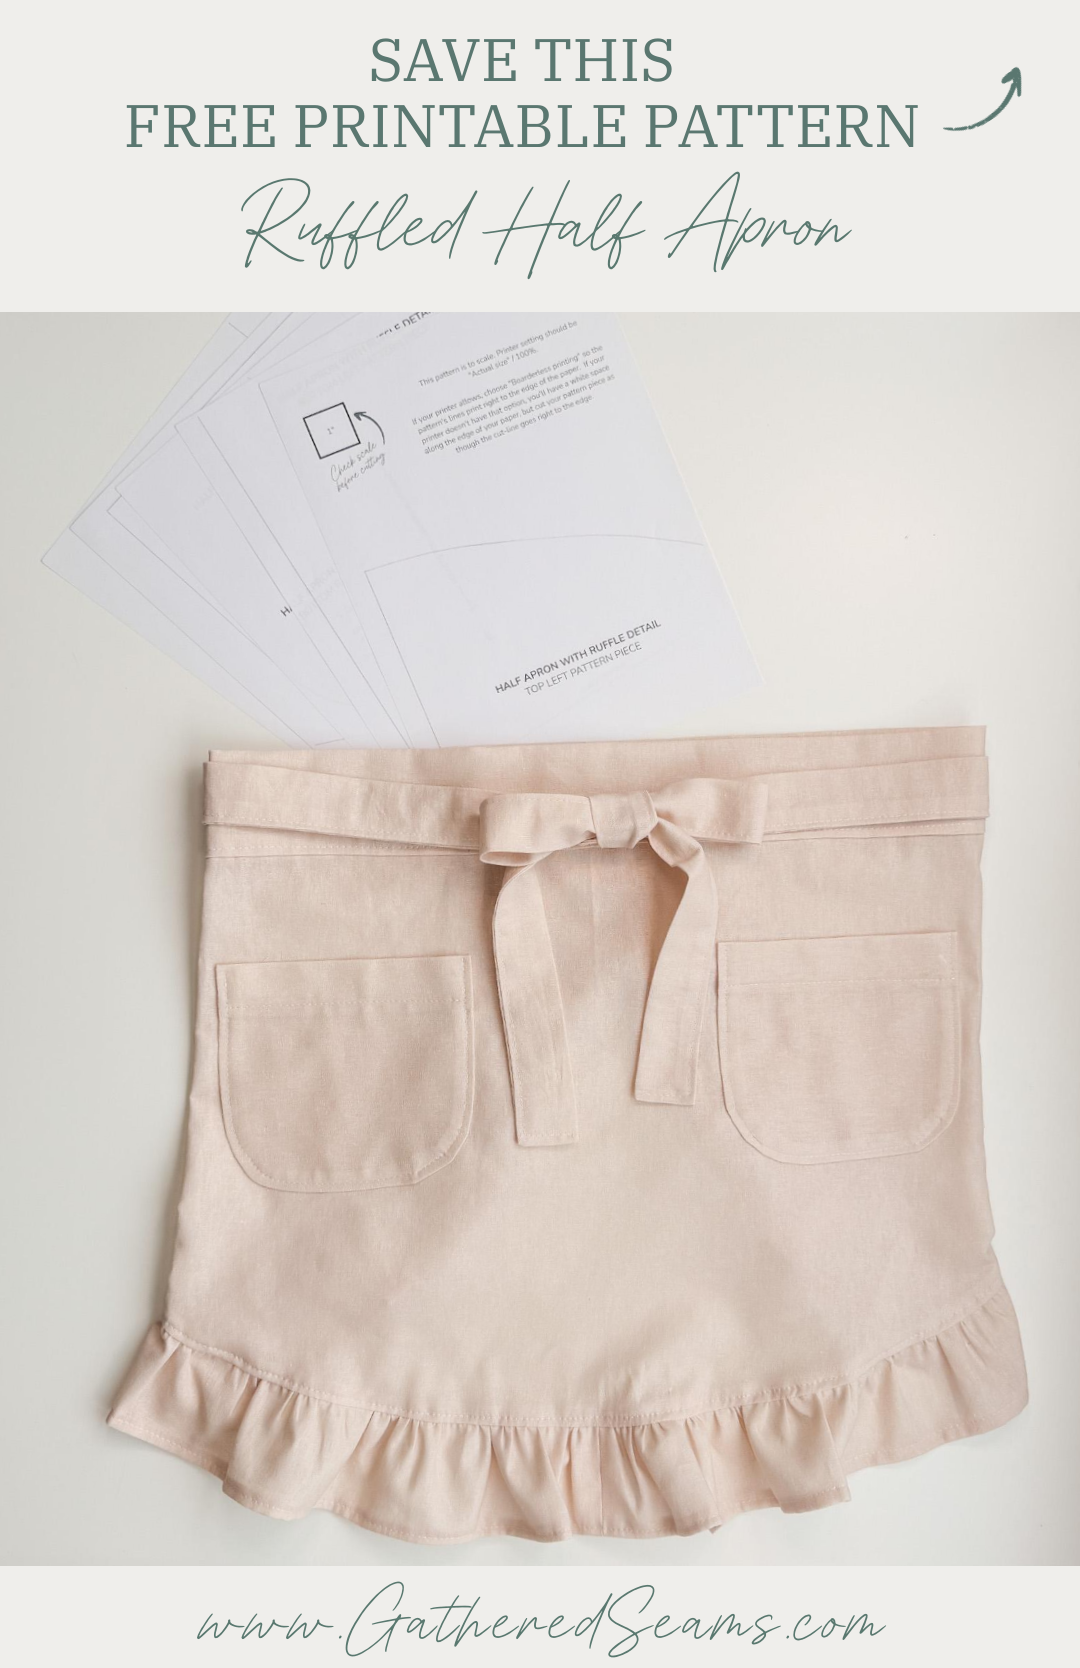
How To Sew a Ruffled Half Apron | Free Printable Pattern
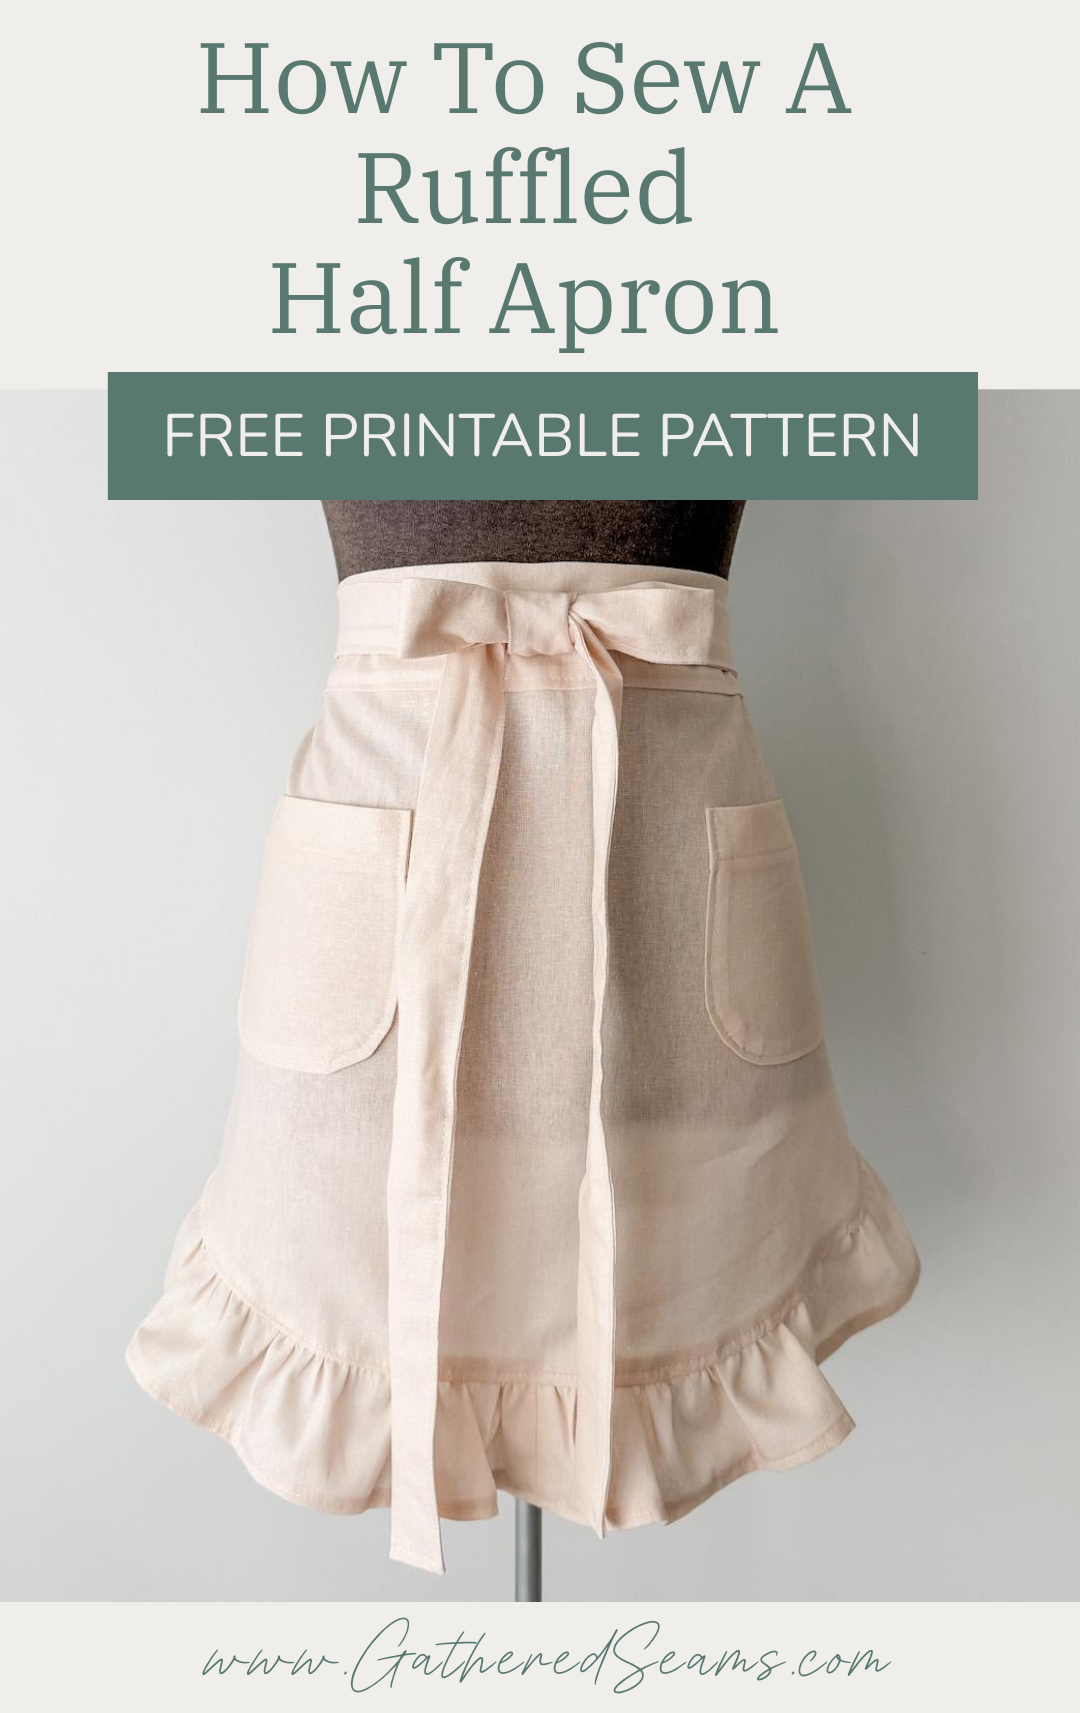
The ruffled details give this apron a feminine/romantic/vintage vibe.
You can sew it with or without pockets and adjust the length of the ties if required.
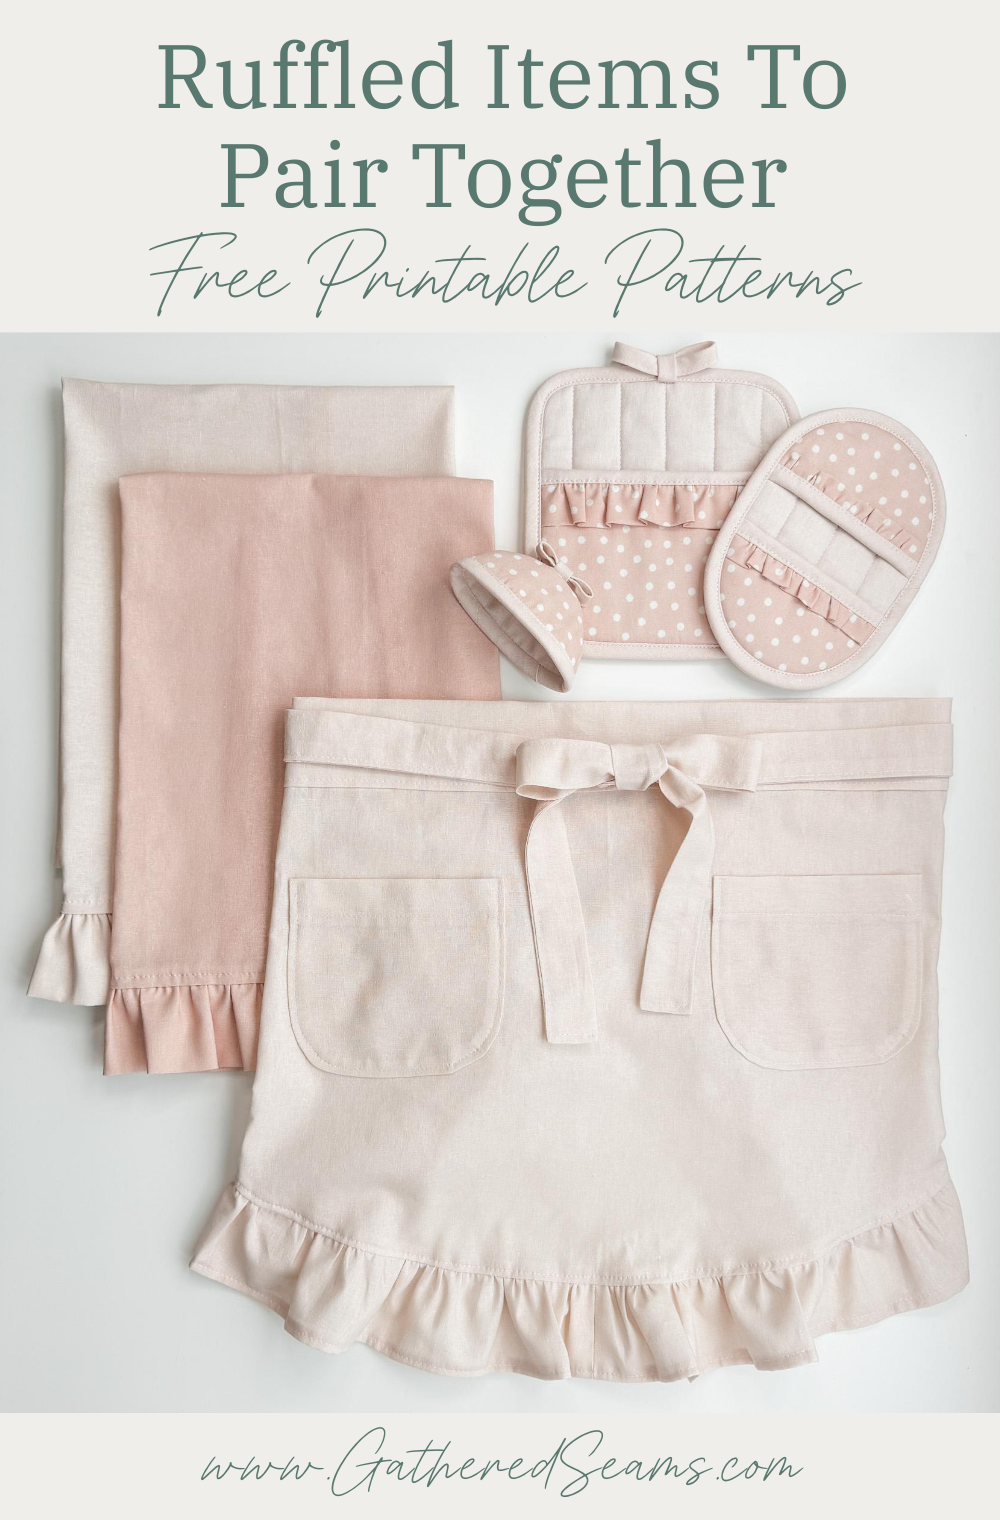
It would work perfectly with my other ruffled sewing patterns if you’re sewing to sell (or to give as a gift).
>> How To Sew A PotHolder with Ruffle & Bow Detail (Free Pattern)
>> How To Sew a Pot Pincher with Ruffle Detail | Free Pattern
>> How To Sew A Ruffled Tea Towel (no pattern needed)
>> How To Sew Pot Lid Holders with a Bow | Free Pattern
Materials
- 1 yard of fabric (a mid to lightweight fabric is ideal as heavier fabrics can be more difficult to create ruffles with. Cotton, linen, poly-cotton blend, etc. would work well).
- Thread
Tools
- Sewing machine
- Serger (or use a zigzag stitch on your sewing machine)
- Pins/clips
- Iron
- Scissors or rotary cutter
- Ruler

Steps to sew a half apron with ruffle detail
Step 1
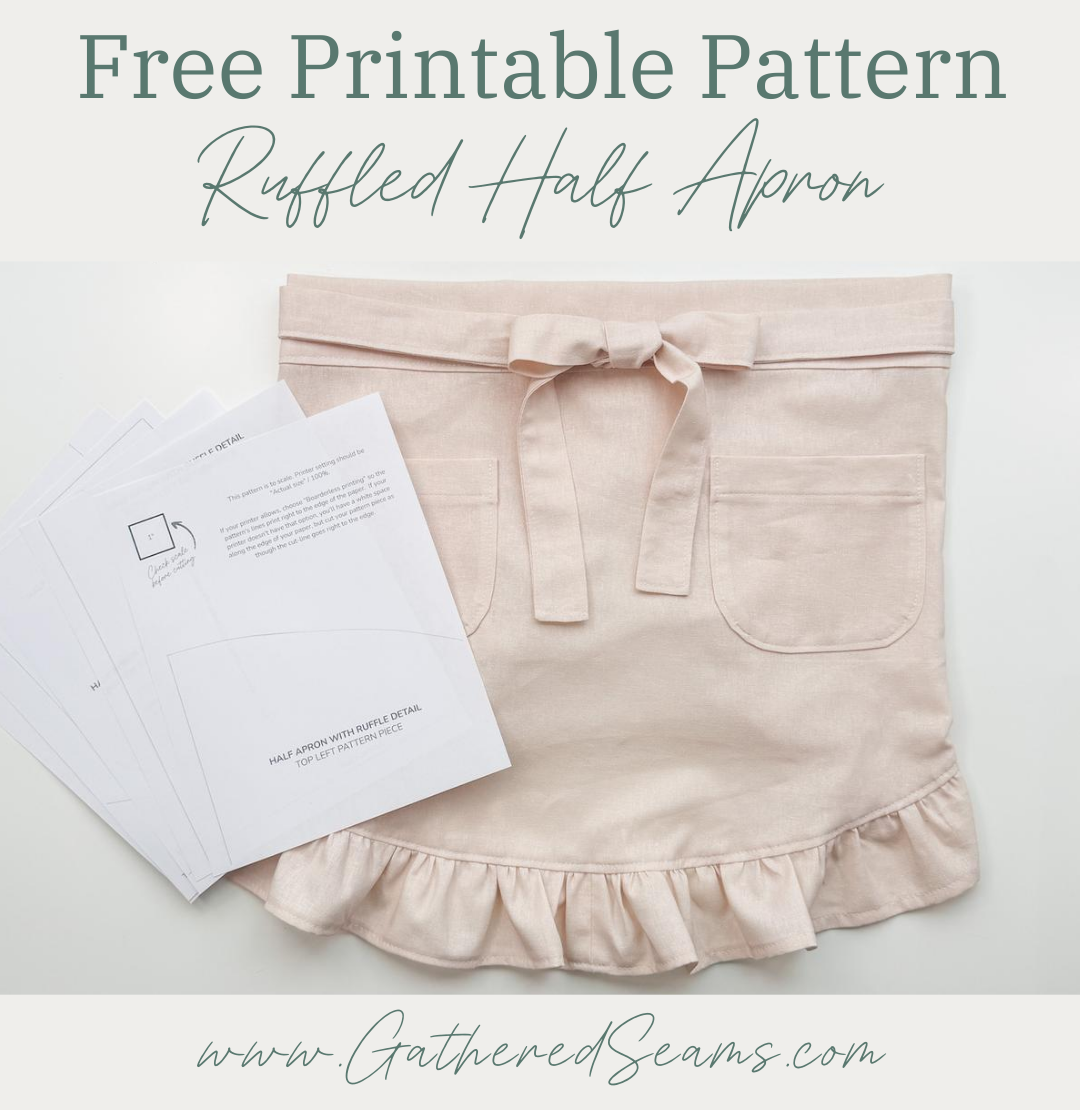
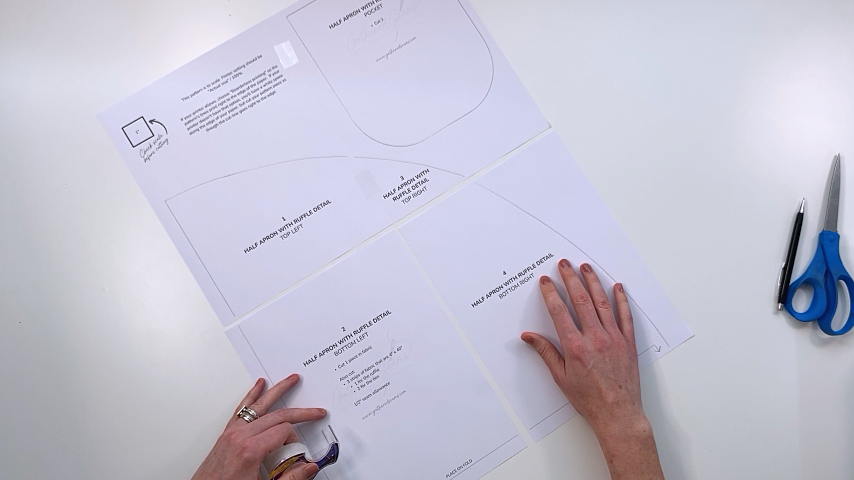
Download the free pattern and cut out your pattern pieces.
In addition to the pattern pieces, you will also need to cut:
- 4 pieces of fabric that are 4″ x 40″
- 2 for the ruffle
- 2 for the ties
When taping the sheets of paper together, do not overlap them. Simply butt the edges of the paper together and tape.
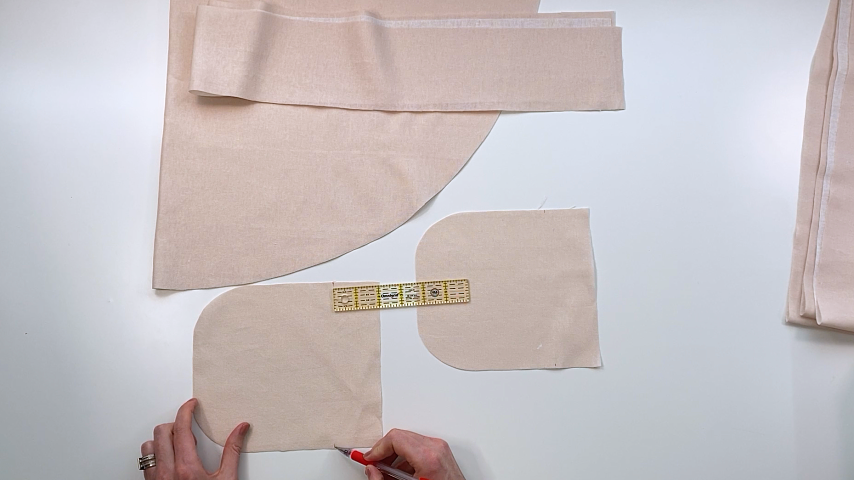
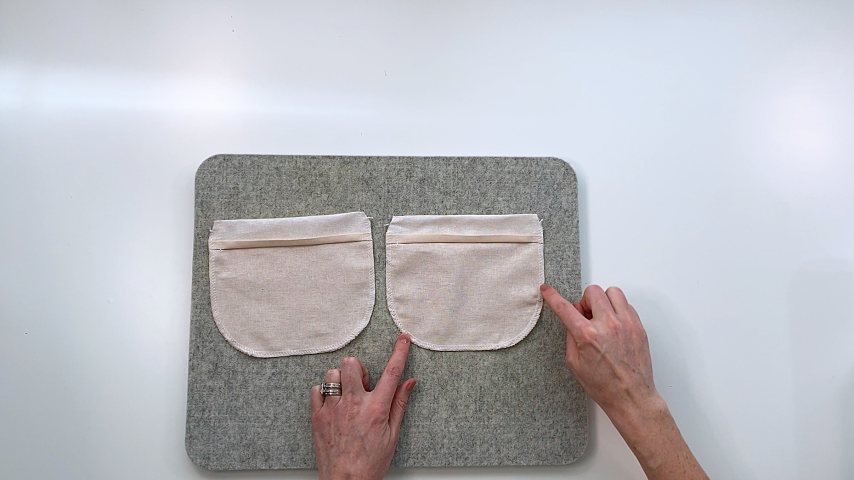
Step 2 (Optional: Pockets)
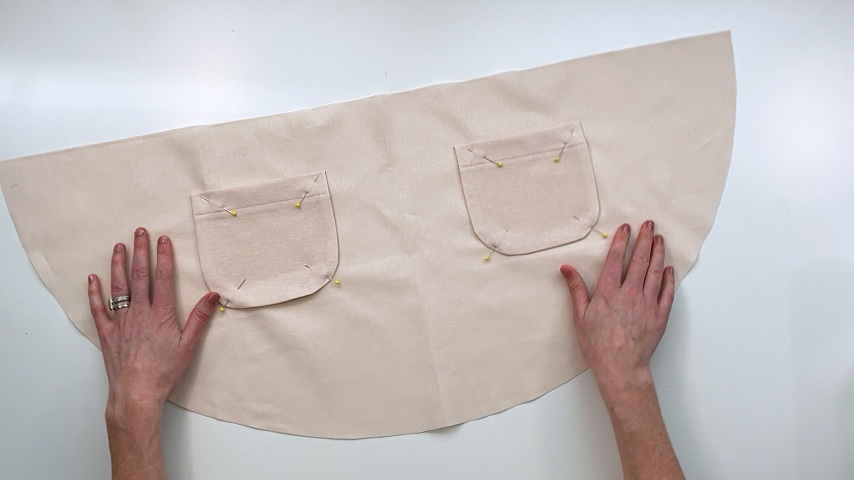
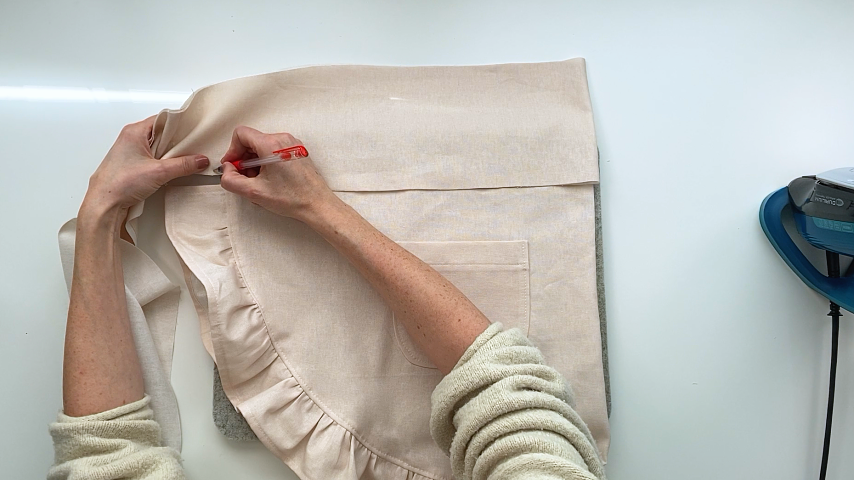
Using a temporary fabric marker, mark the pocket placement on the apon, as indicated on the pattern.
Then mark two lines on either side of the pocket that are 2″ from the top of the pocket. These are your fold lines.
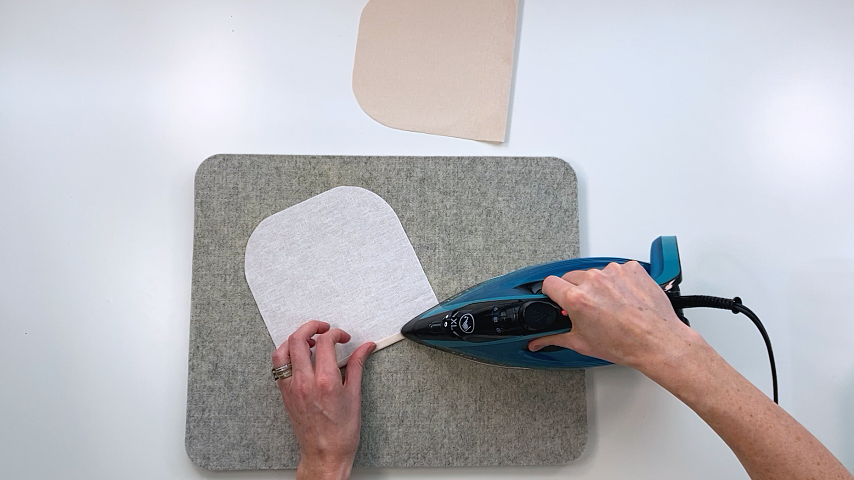
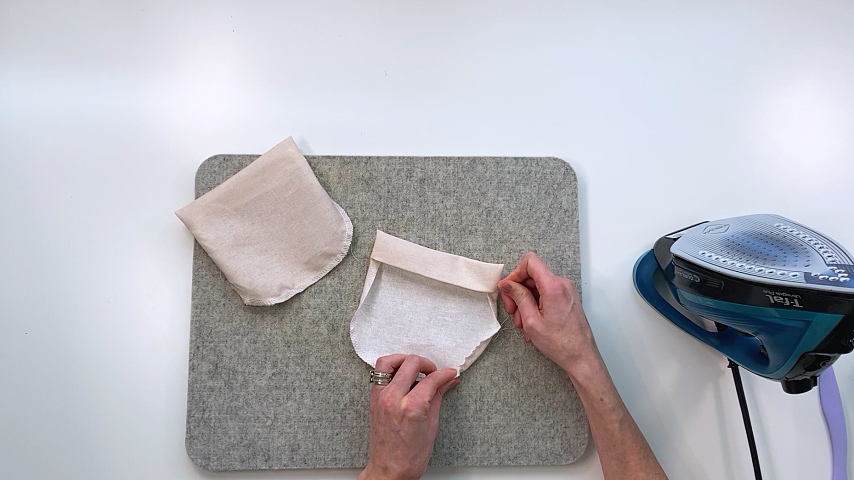
Fold the top of the pocket to the wrong side by 1/4” and press into place.
Fold again another 1/4” and press into place.
With the top hem double-folded, fold the top of the pocket down, right sides together, using the two marked fold lines as a guide.
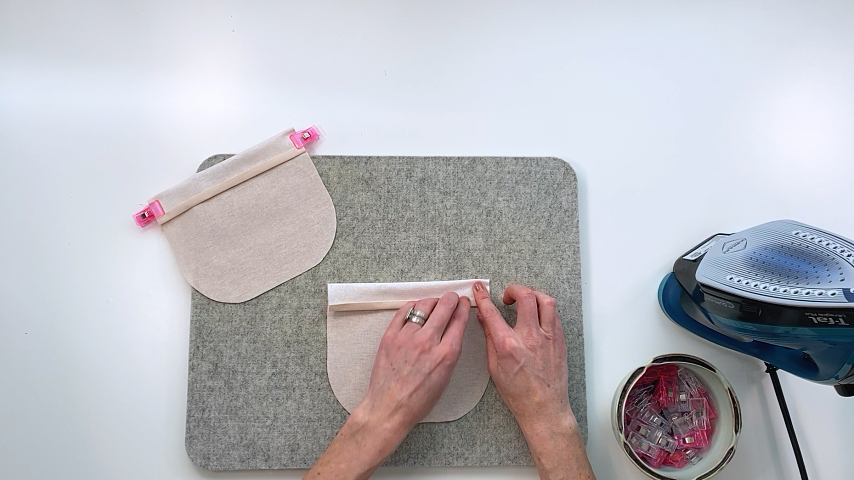
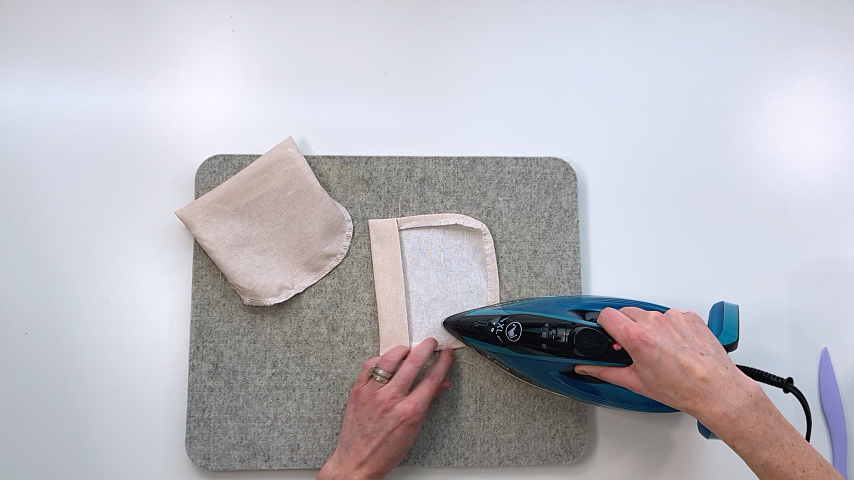
Sew the fold into place, on either side of the pocket, using a 1/2” seam allowance.
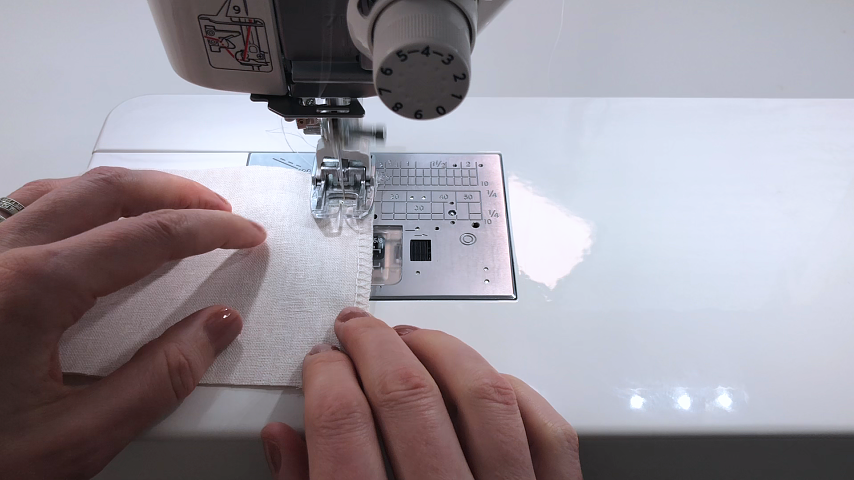
Trim the top corners to reduce bulk, then serge or zigzag stitch around the sides and bottoms of the pockets.
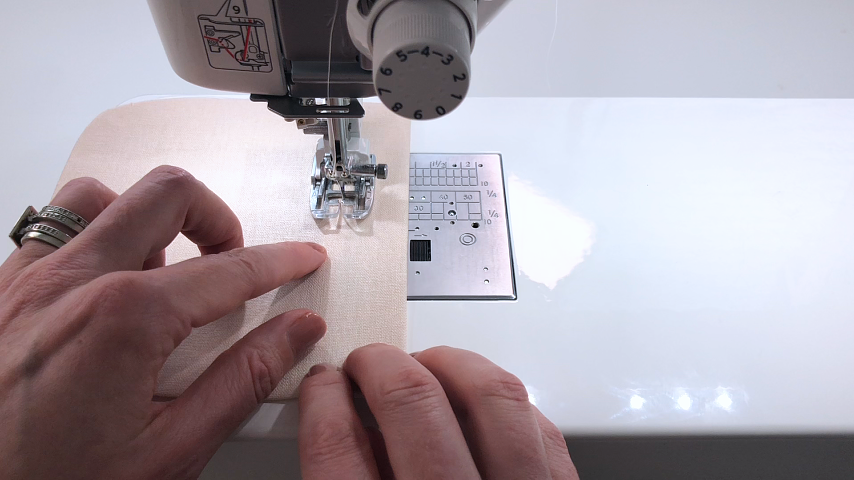
Then use a basting stitch around the bottom curve of the pocket, leaving the threads long at the start and end of your stitching.
Flip the top hem of the pocket right side out and use a point turner to get the corners fully out.
Pull on the bobbin thread to help curve the hem into place. Fold the hem into place and press.
Top stitch along the bottom of the pocket’s top hem.
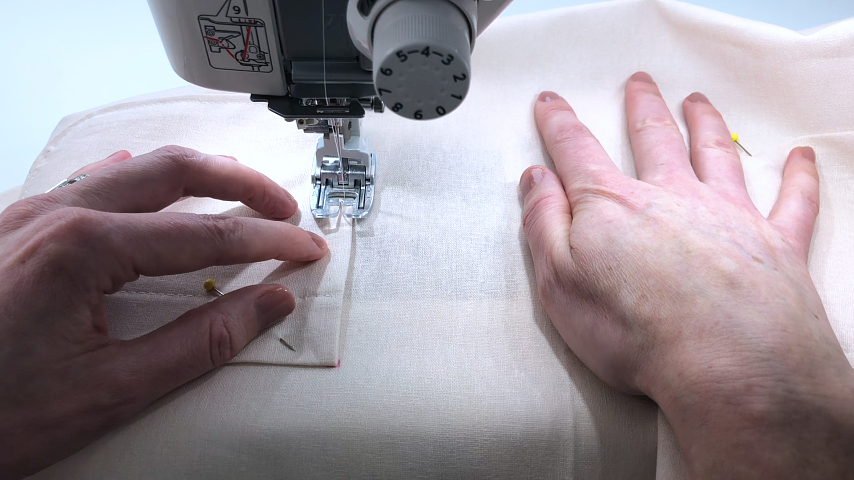
Line up the top corners of the pockets with the markings on the apron, pin the pockets into place, then top stitch around the sides, leaving the top open.
Step 3
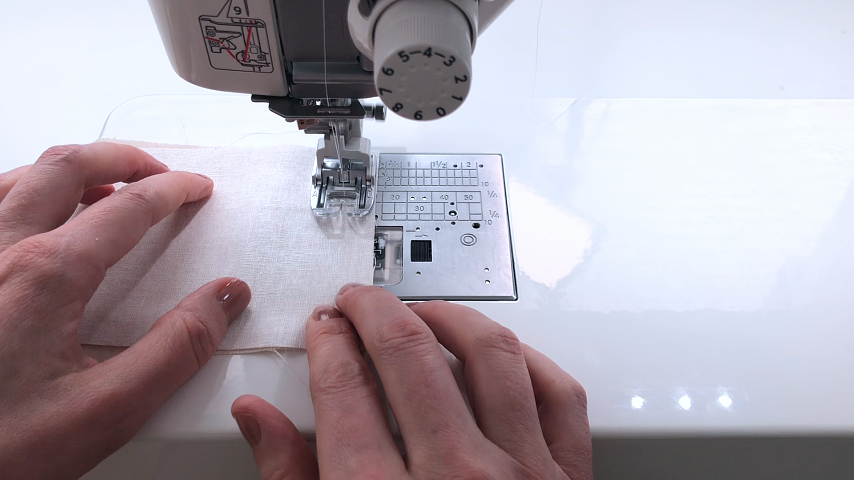
To sew the ruffle for the bottom edge of your apron, start by serging or zigzag stitching one end on both pieces of your 4” x 40” pieces of fabric.
Then place those serged ends right sides together and sew using a 1/2” seam allowance.
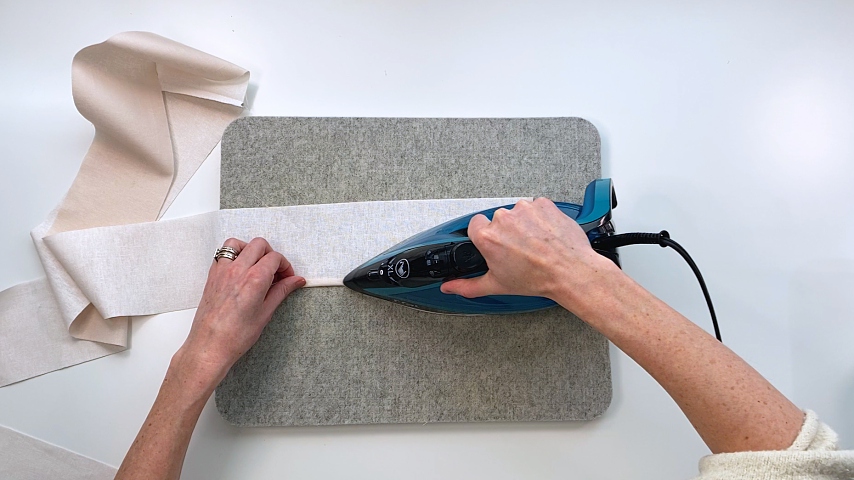
Press that seam open.
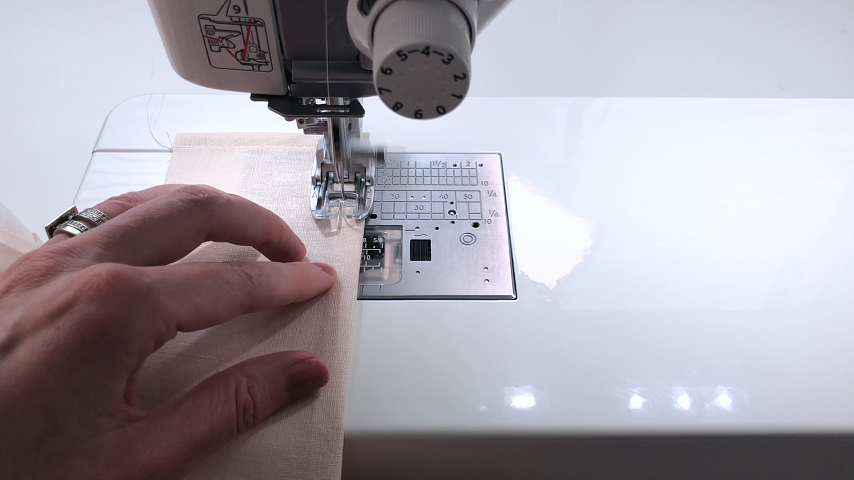
Fold in the ends and bottom of your strip of fabric by 1/4” – 1/2″ and press into place.
Then fold in again by 1/4″ – 1/2” and press.
Trim the bulk out of the corners of your hem, then top stitch.
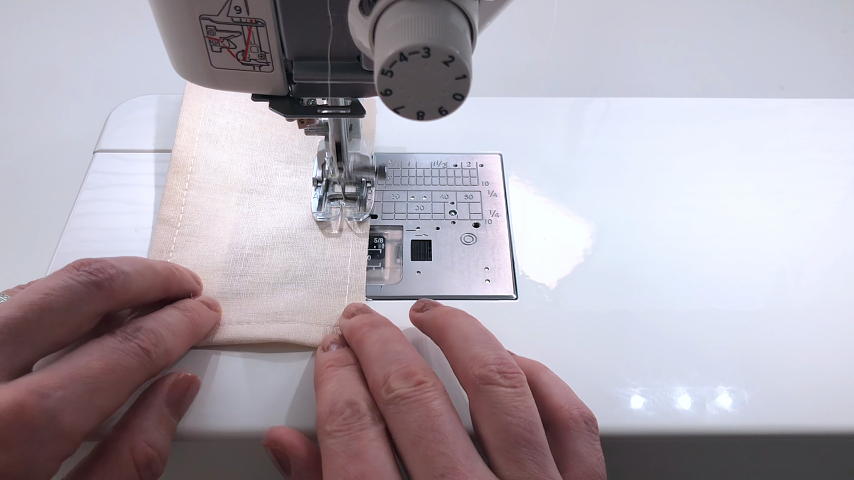
Run two lines of basting stitches along the top of your ruffle piece, 1/4” and 3/8” away from the edge.
*For a basting stitch, adjust your sewing machine to the longest stitch length and reduce the tension of your top thread. Leave the tails of your thread long at the beginning and end of your stitching, and don’t backstitch.
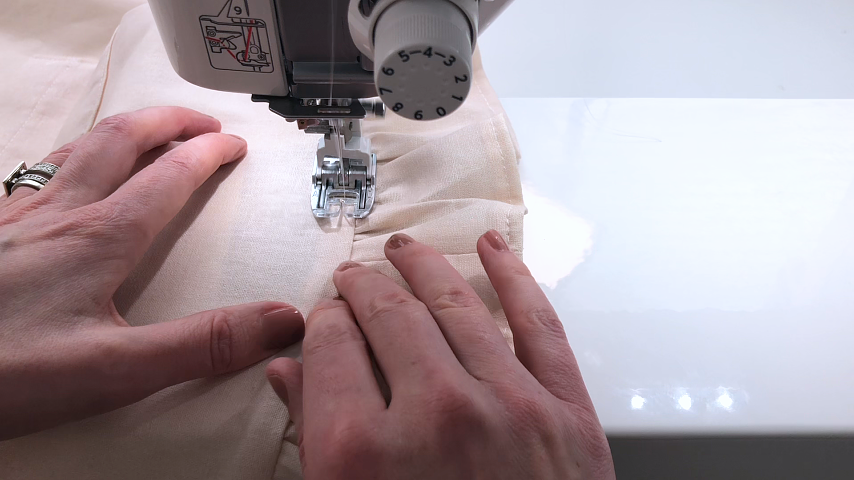
Find the centre of your ruffle piece and pin it to the bottom centre of your apron, right sides together.
Then hold onto the bobbin/bottom threads on one side and gather the fabric until it fits along the bottom edge of your apron, stopping 1/2” away from the top of the apron.
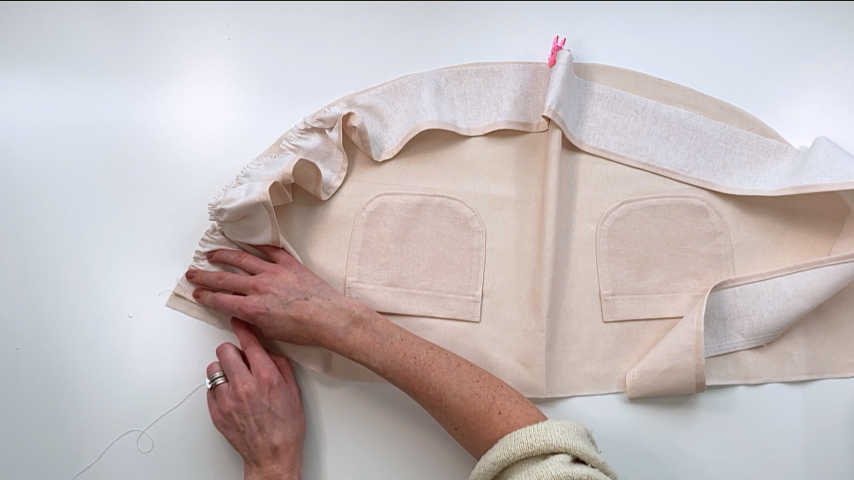
Repeat on the other half of the ruffle.
Tie a double knot in each end of your ruffle to ensure your gathers stay in place as you evenly distribute them and pin the ruffle to the bottom of the apron.
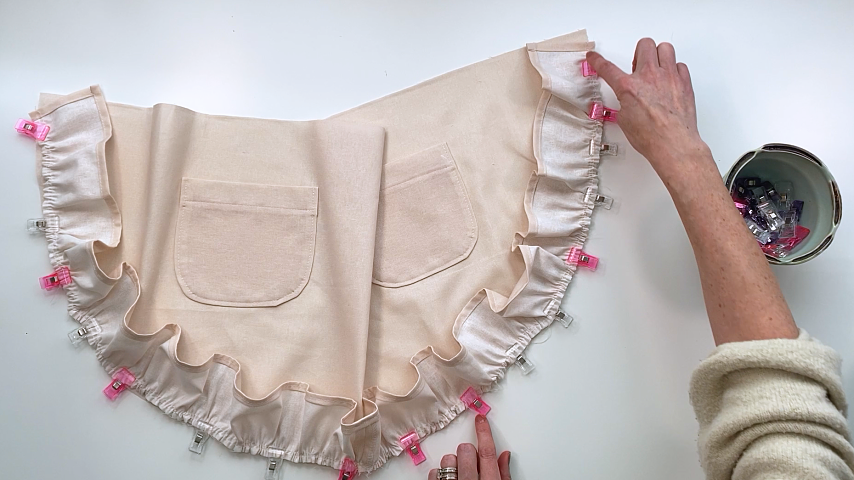
Sew the ruffle to the apron using a 1/2” seam allowance.
Pull the basting stitches out.
Serge or zigzag stitch around the bottom edge of the apron to finish the edges and prevent fraying.
Press the seam around the ruffle, ensuring the seam allowance is being pressed away from the ruffle and toward the apron.
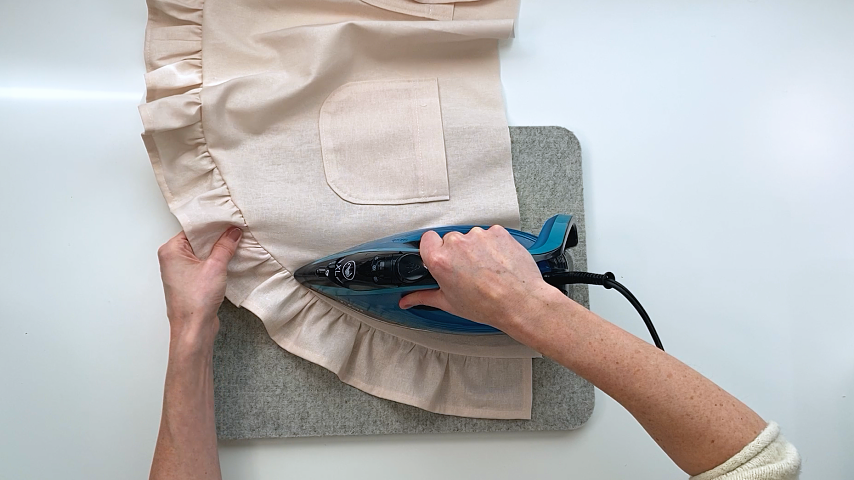
Top stitch.
Step 4
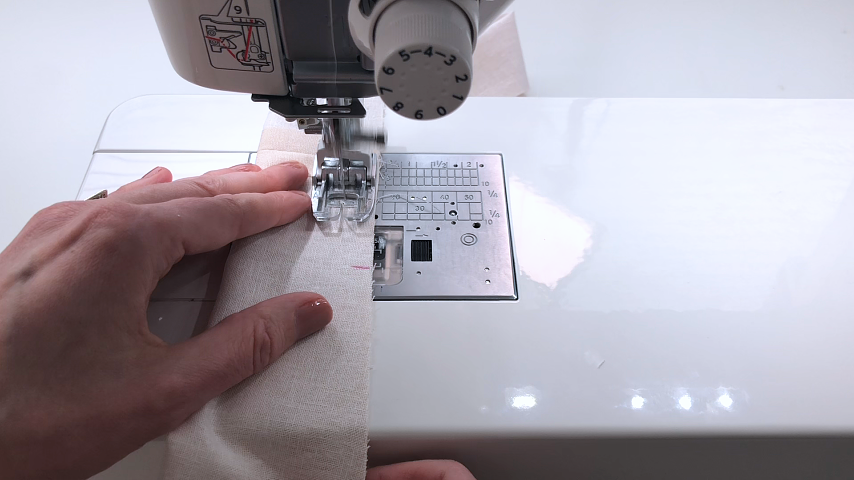
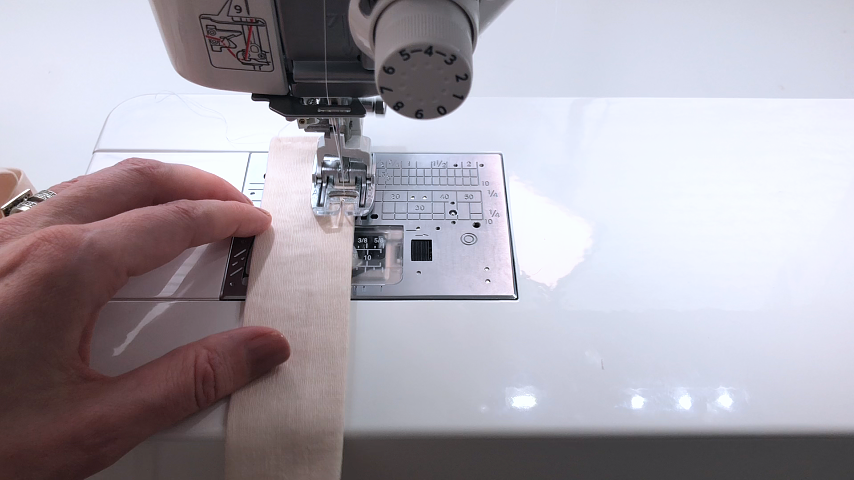
Sew the two ties to either end of the waistband by placing the ends right sides together. Sew together using a 1/2” seam allowance.
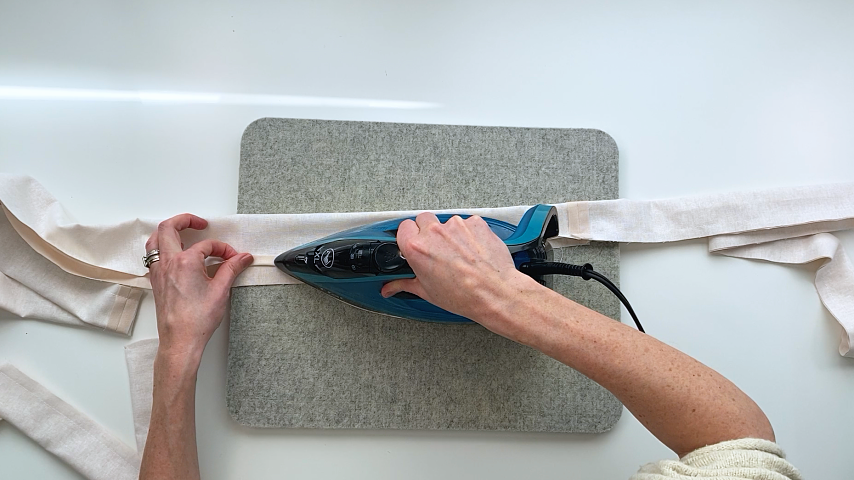
Press the seams open.
Find the center of your waistband and center of your apron, and using a temporary fabric marker, mark where you need to leave an opening (large enough for the apron to fit in, but not the ruffles).
Fold the ties/waistband lengthwise with right sides together, and pin together.
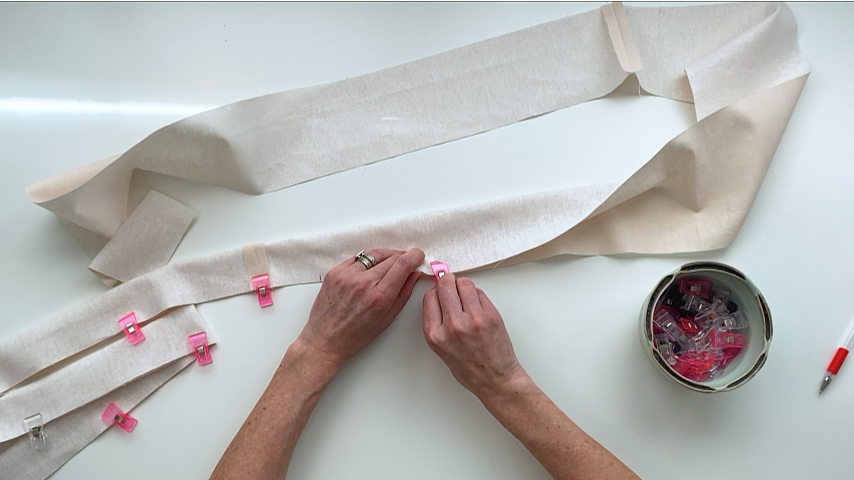
Sew the ends and bottom of the ties/waistband closed, using a 1/2” seam allowance, and leaving the marked opening for the apron.
Trim the seam allowance at the ends of your tie, and angle off the corners.
Press the seam allowance back along the opening of your centre waistband.
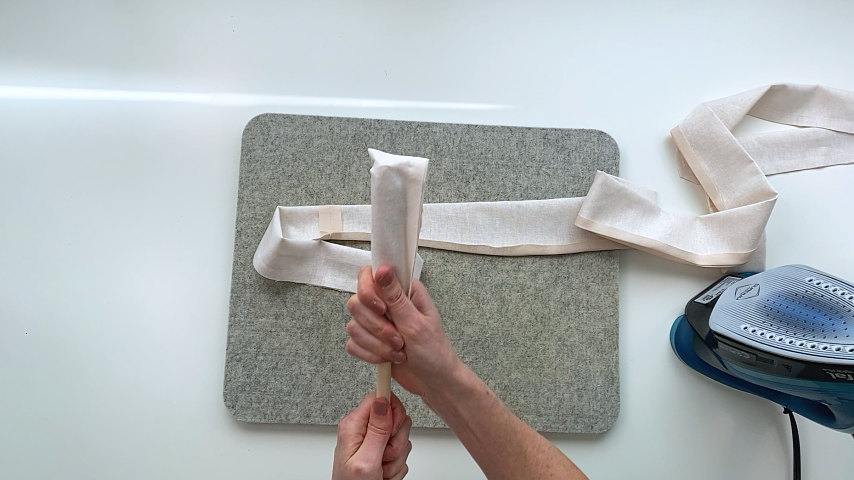
Then use a chopstick or dowel to push the ends of the tie through the opening at the centre of your waistband. Use a pin to pull the corners of the ties out.
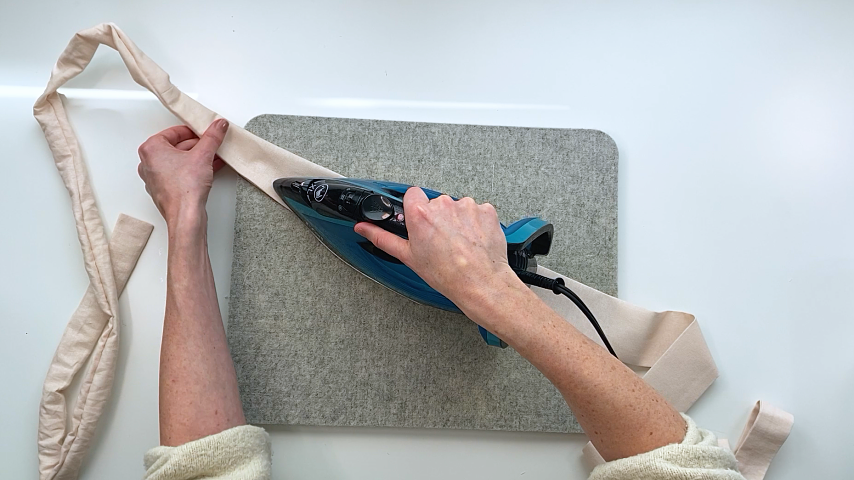
Press the waistband.
Step 5
Fold your waistband in half lengthwise and finger-press to mark the centre.
Find the top centre of your apron and finger-press to make a mark.
Set the top of your apron 1/2” inside the bottom opening of your waistband and pin into place, making sure the top and bottom of your waistband are lining up on either side of your apron.
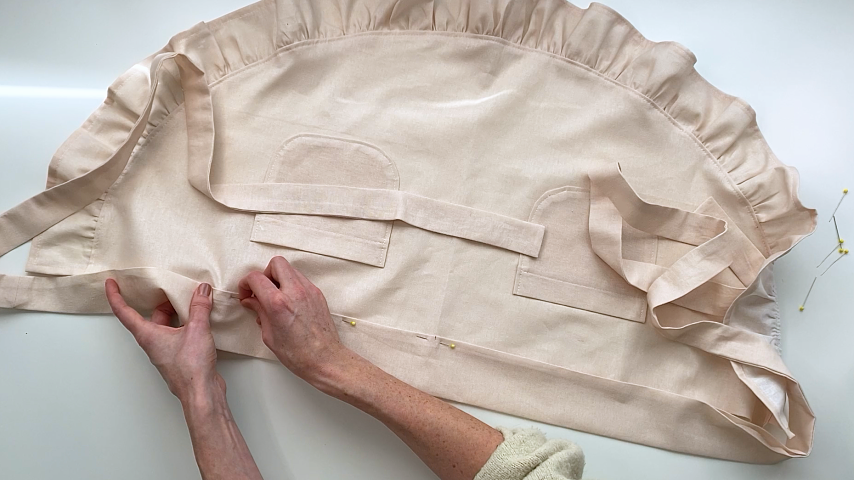
Top-stitch down the side, bottom, and other side of the waistband.
Your apron is finished!