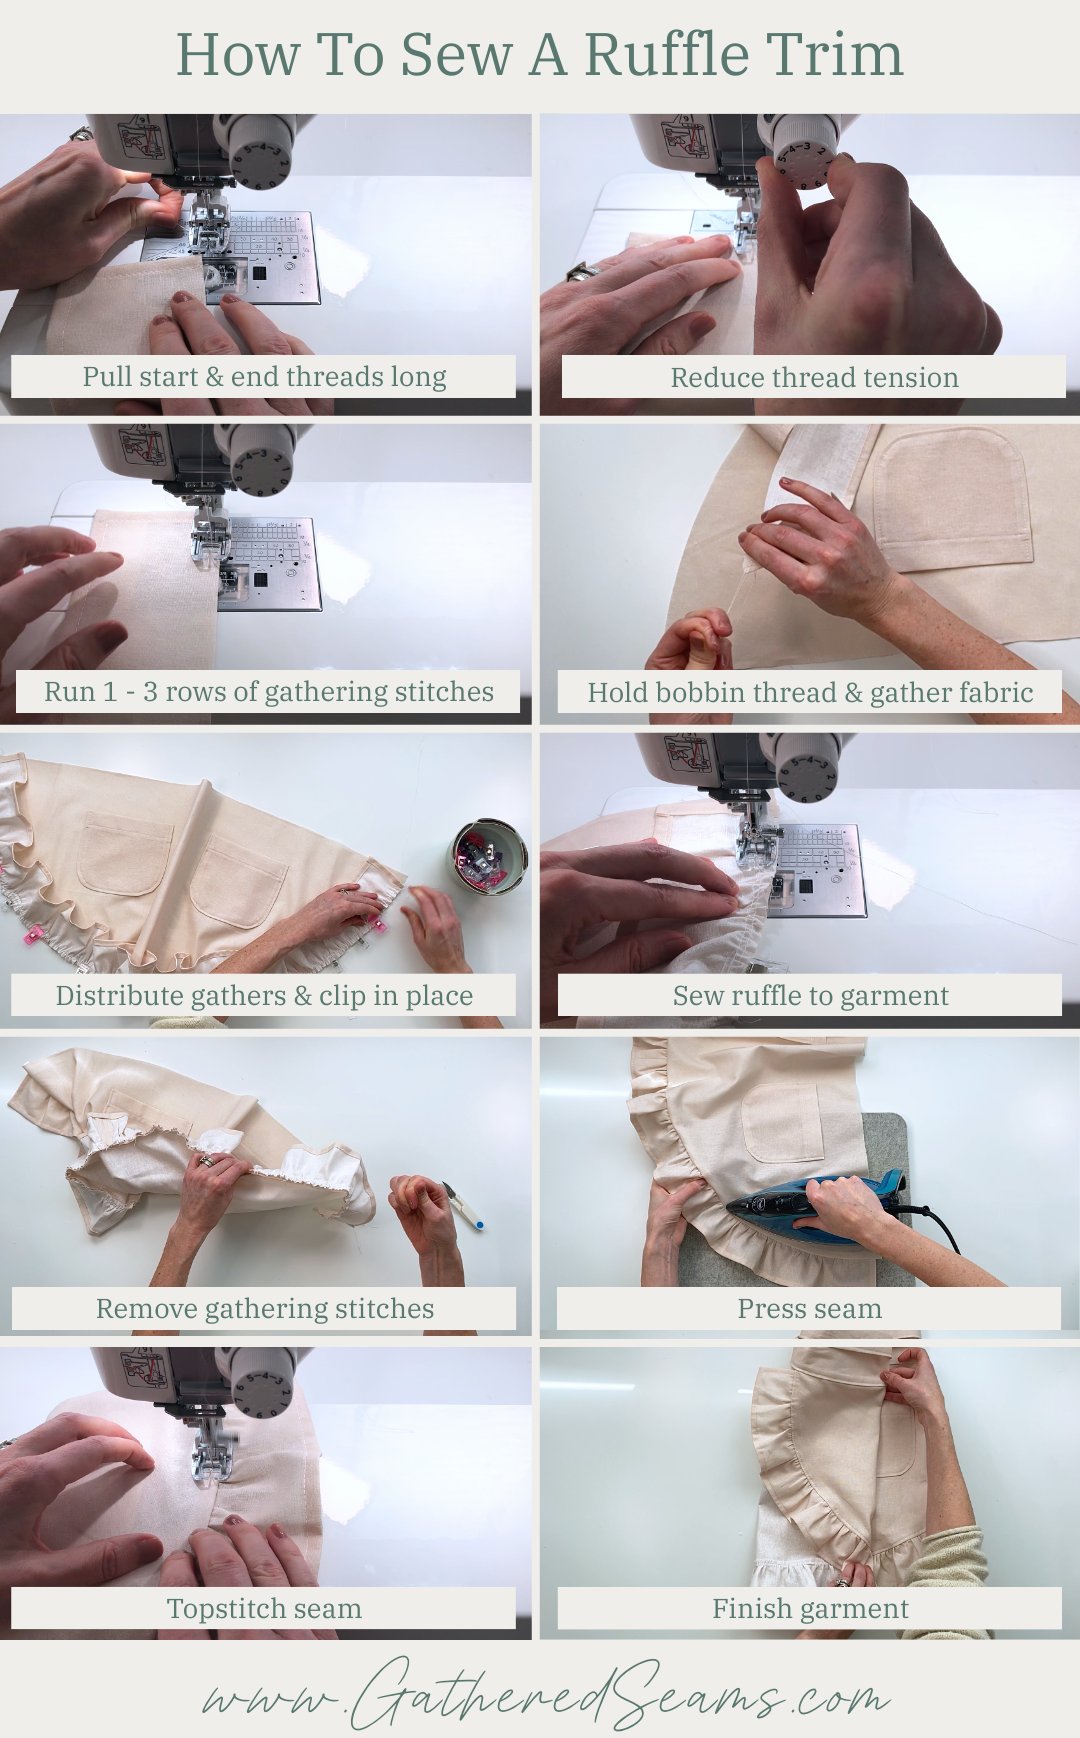
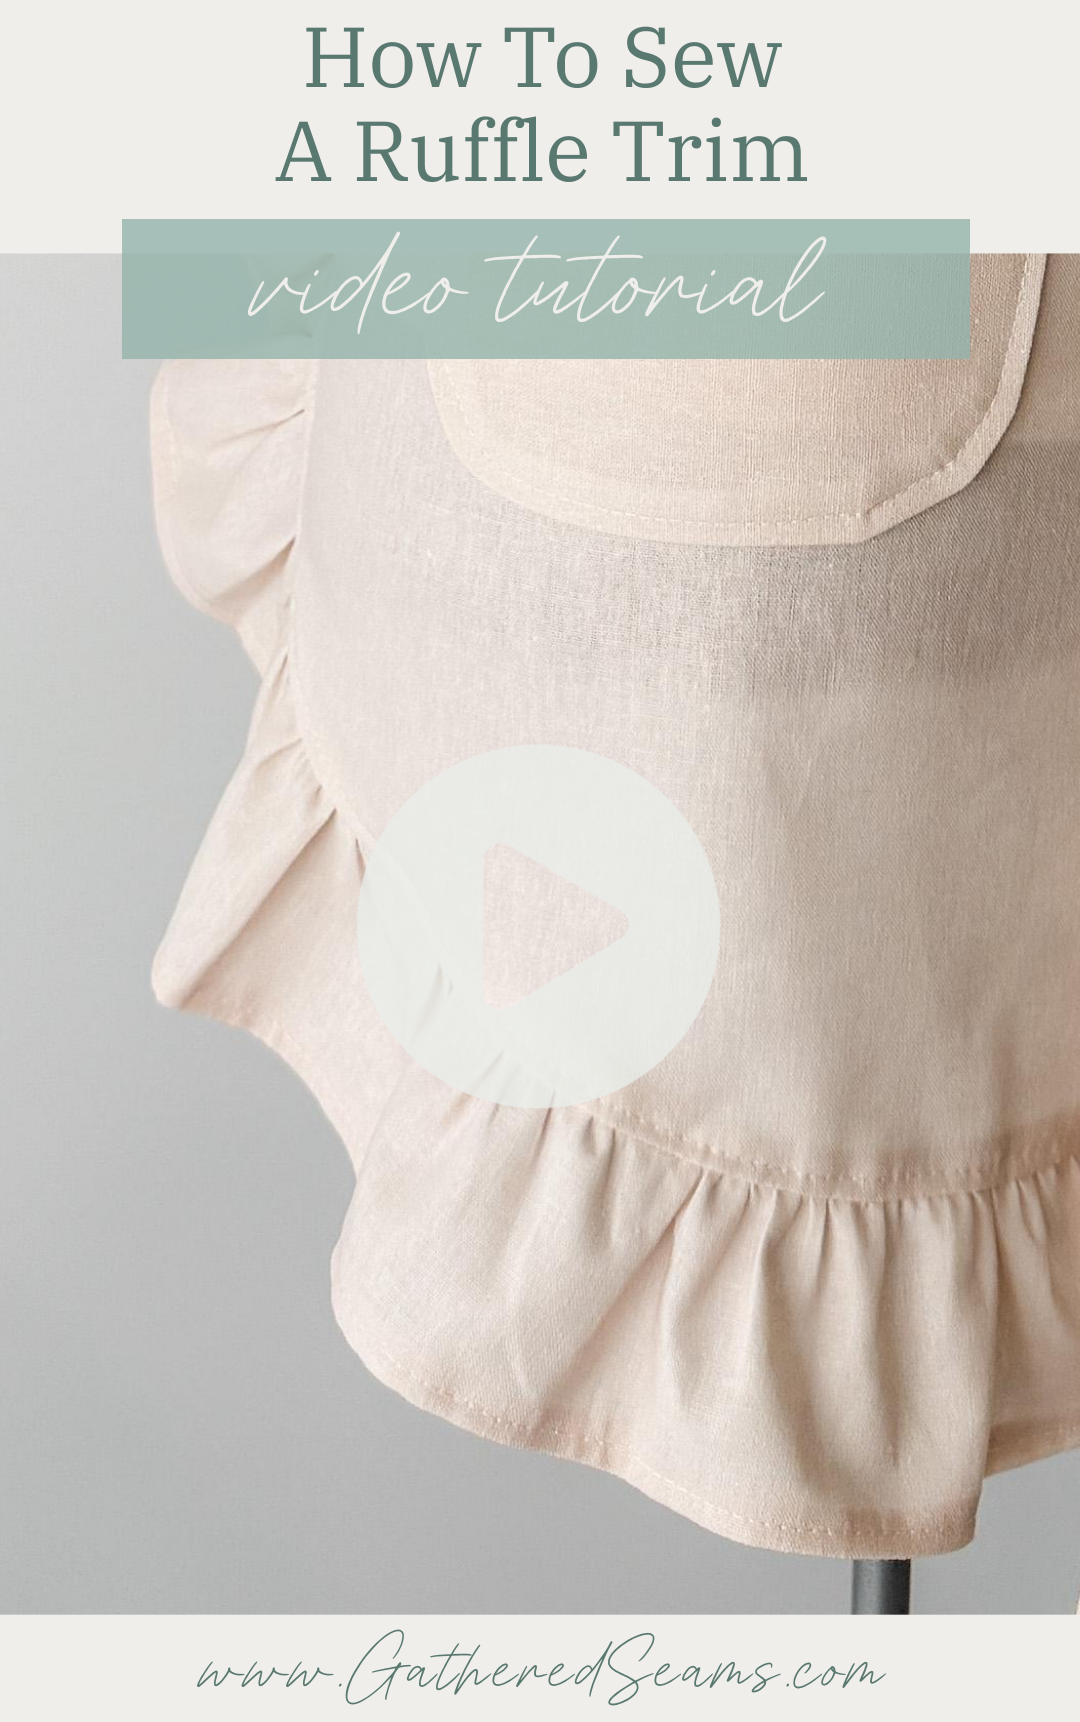
How To Sew A Ruffle Trim
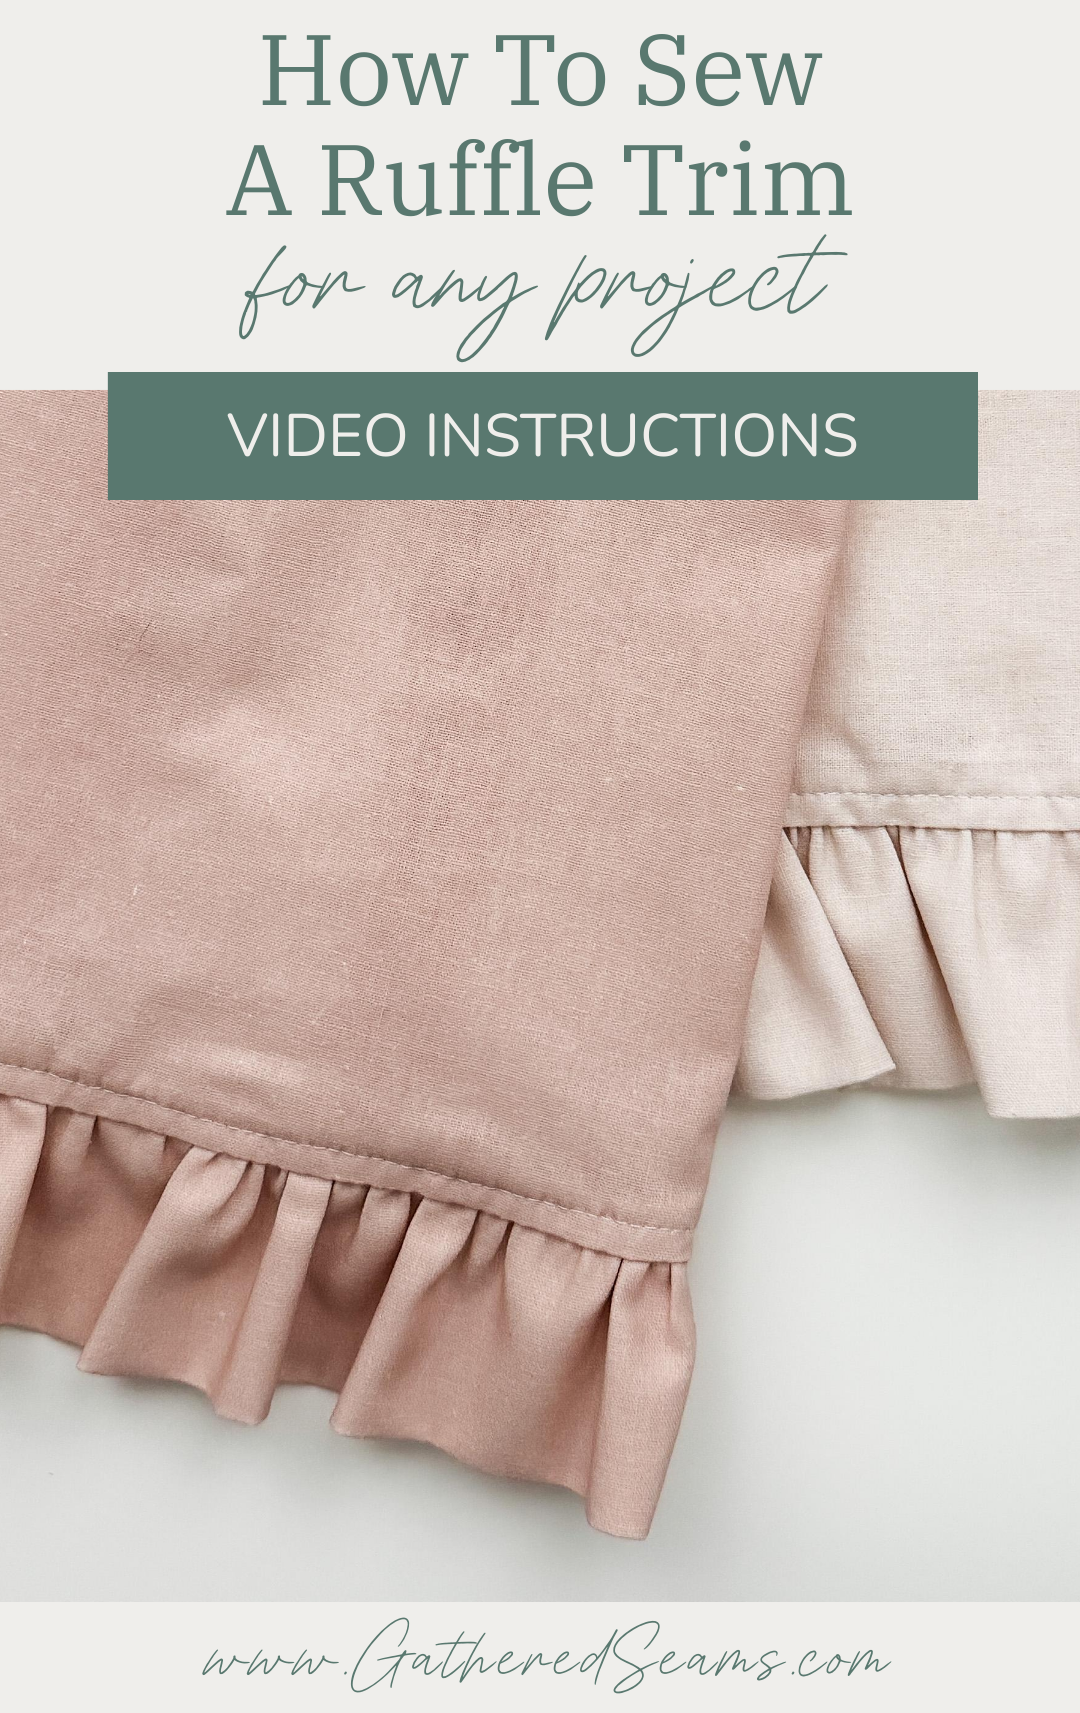
A ruffled trim is easy to create, once you get the hang of it, and can be added to almost any sewing project.
Ruffles are perfect for a brand style that is:
- Feminine
- Romantic
- Vintage
- Bohemian
- Farmhouse
8 tips for sewing ruffles
1 – Material
The thicker the material, the harder it is to create ruffles. Lightweight cotton, chiffon, silk, and even lace will ruffle with ease. Try to stick to lightweight or medium-weight fabrics. If your project uses a heavier fabric, such as canvas or denim, a pleated hem may work better.
When choosing how full to make your ruffles, consider the seam. Gathering the fabric creates a lot of bulk. So if you’re adding a ruffled detail next to a zipper, you want to be mindful of how bulky the seam allowance will become. Too many gathers can make it difficult to sew.
2 – Cost
If you’re sewing to sell, keep your costs in mind. The fuller the ruffle, the more material and time you’ll require.
3 – Ruffle length
You can adjust how long and wide you want your ruffle to be to create different looks.
Measure the edge of the fabric you want to add a ruffle to. Take that length and:
- Multiply by 1.5 for a subtle ruffle
- Multiply by 2 for a fuller ruffle
- Multiply by 2.5 or 3 for a very full ruffle
For example, if my edge is 20” long and I want a subtle ruffle (x 1.5), I would need to cut a strip of fabric that is 30” long.
I tend to make my ruffles 1.5 times the length of my edge.
A wider ruffle (i.e., the height of the ruffle trim) will drape more and give it more of a bohemian or farmhouse style.
4 – Finished Edge
You can finish the hem of your ruffle in different ways, depending on the tools you have and the material you’re using.
- Regular hem – single or double fold the bottom hem and topstitch into place. This is ideal if you only need your ruffle to look good from one side. My ruffled apron uses this type of hem.
- Serged hem – if you have a serger, you can use an overlock stitch and then single fold your hem and topstitch into place. Or you can use a serger to stitch a rolled hem, which will look finished on both sides and allow the bottom edge to ruffle nicely.
- Folded – you can fold a strip of fabric in half, which is ideal if you need the ruffle to look good from both sides (e.g. a pillowcase). Keep in mind, this will add more bulk to your ruffle, making it harder to gather. My ruffled tea towels have a ruffle trim that’s folded in half.
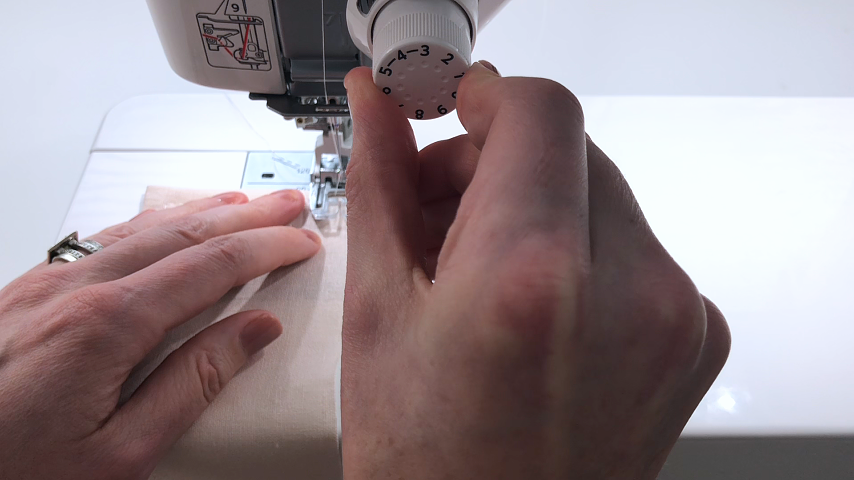
5 – Stitch length
Set your stitch length to the longest your sewing machine allows. For most machines, that’s 4 (mm) – 5 (mm).
Do not backstitch at the start or end and be sure to leave long tails of thread at the start and end.
6 – Tension
For some fabrics and techniques, you can maximize the tension of your top thread to automatically create gathers.
However, for the traditional method, you can decrease your thread tension (e.g. 1 – 3). This will ensure the top thread doesn’t loop around the bottom/bobbin thread too tightly and it will be easier to pull when it’s time to gather.
7 – Rows
The heavier your fabric and the more gathering you’ll be doing, the more rows of stitches you’ll want.
Multiple rows of gathering stitches will create more even gathering and also provide backup in case a thread breaks.
- Lightweight materials & smaller ruffle – 1 row of gathering stitches
- Medium-weight materials & longer/bigger ruffle – 2 – 3 rows of gathering stitches
When it’s time to gather the material, and if you’re working with a long gather, work from both ends of the ruffle to push the material toward the centre.
8 – Finishing
To create a cleaner look and make it easier to sew:
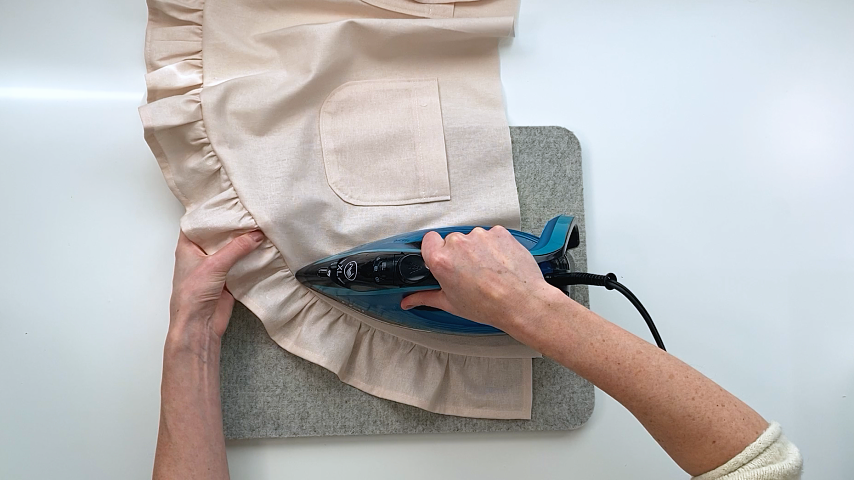
- Pressing – press the seam allowance of your ruffle before sewing it to your garment. You don’t want to press the ruffles, just along the top edge to flatten where the ruffling is most “concentrated”.
- Threads – if your seam allowance will be visible (i.e. not hidden between two layers of fabric), you can remove your gathering stitches once you sew the ruffle to your garment.
- Fraying – if the seam allowance of your ruffle will be exposed on the finished project, you’ll want to serge the edge or use a zigzag stitch to ensure it doesn’t fray.
Steps to sew a ruffle for a trim
Step 1 – Cut Ruffle
Decide on how much gathering your want and cut a strip of material to the desired length (e.g. x 1.5, x 2, or x 3 the length of the edge of your project) and width.
When determining the width of your ruffle, be sure to add your seam allowance width, as well as the hem width.
You may need to cut two strips to create one that’s long enough. In that case, cut the ends straight, serge or zigzag stitch one end of each strip, then place right sides together and sew using a 1/2” seam allowance.
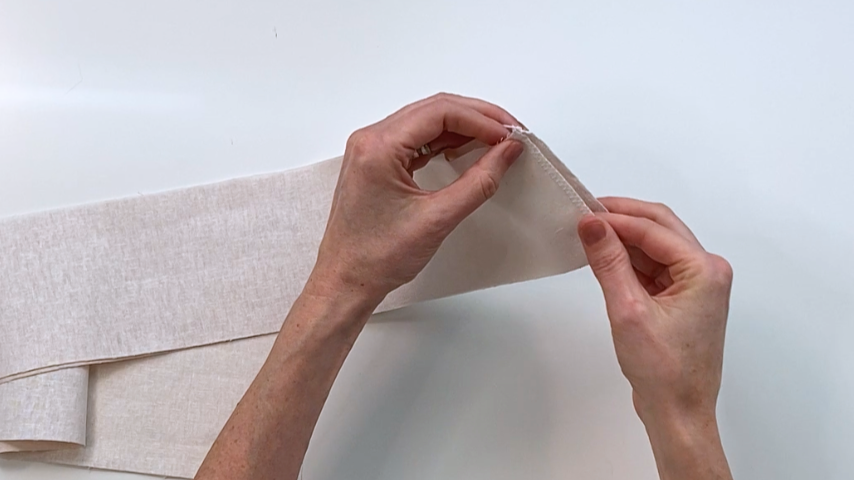
The press that seam open.
Step 2 – Create hem
Choose what type of hem you want to create for the bottom of your ruffle (options listed above) and finish the hem before creating gathers.

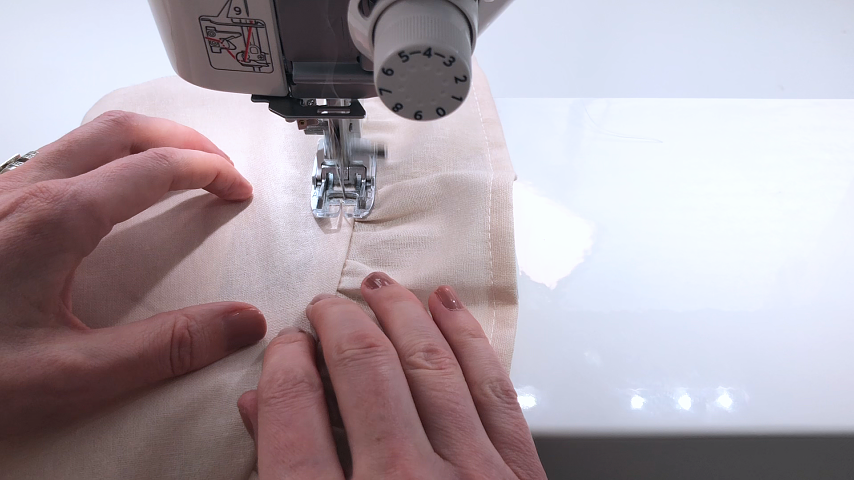
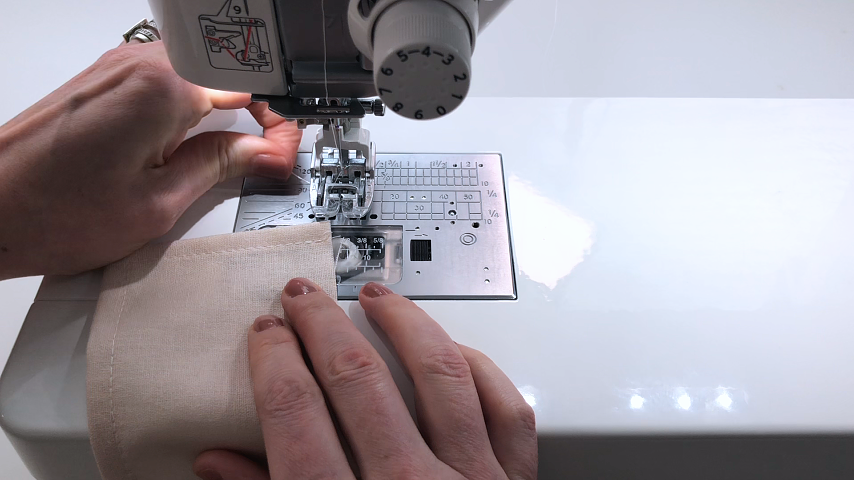
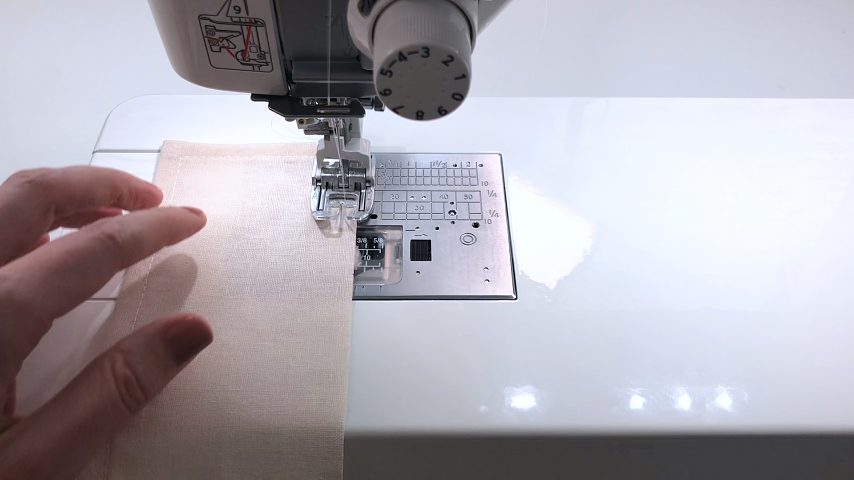
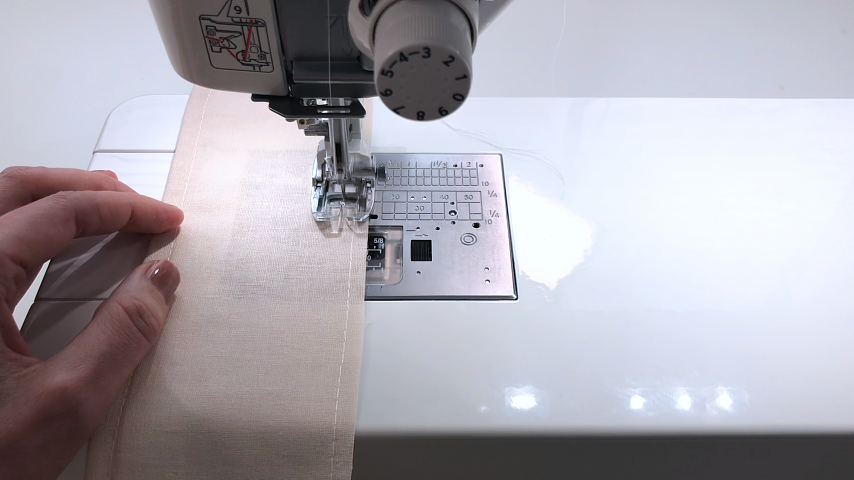
Step 3 – Gathering stitches
Now you can sew the gathering stitches along the top/cut edge of your strip.
- Pull the top and bottom threads out from your sewing machine so you have 3” – 5” before the start of your fabric
- Set your stitch length to the longest length (4mm – 5mm)
- Lower your thread tension (1 – 3)
- Don’t backstitch
- Sew 1 – 3 rows of stitches, depending on the thickness of your fabric and how even you want your gathers to be.
- Leave the threads at the end of your fabric 3” – 5” long
You want to sew your gathering stitches within the seam allowance. So if your seam allowance is 1/2”, sew a row of gathering stitches 1/4” away from the edge and a second row of stitches 3/8” away from the edge.
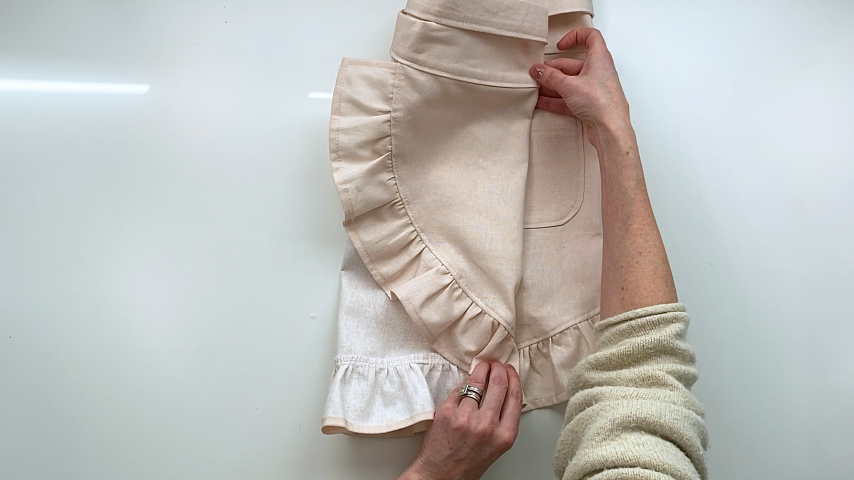
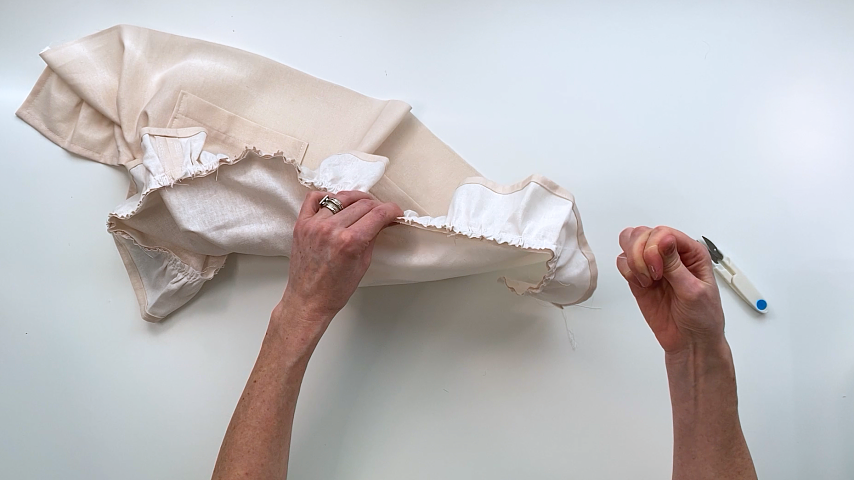
Step 4 – Gather
Grab onto the bottom/bobbin threads on one side of your ruffle and hold onto them as you push the fabric toward the centre.
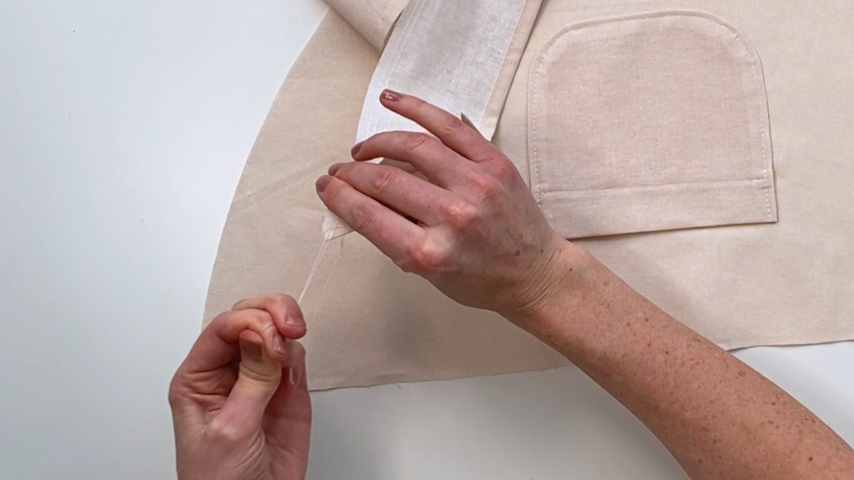
Don’t pull too hard, as you don’t want to break the threads.
You can gather fabric from both ends of the ruffle.
Keep gathering until the ruffle is the same length as the edge you want to sew it to.
Once it’s the desired length, tie the gathering threads at both ends in a double knot, so the gathers don’t come out as you adjust.
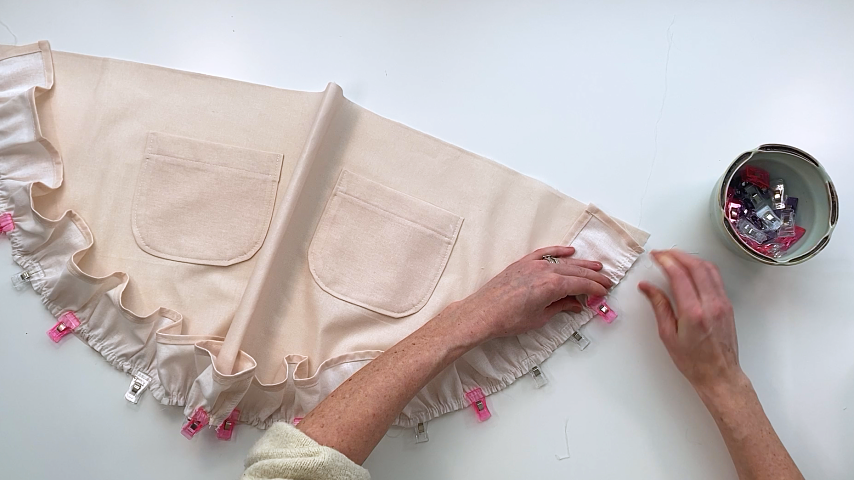
Then you can adjust the fabric so the gathers are even along the full length of the ruffle and clip it to the edge of your project.
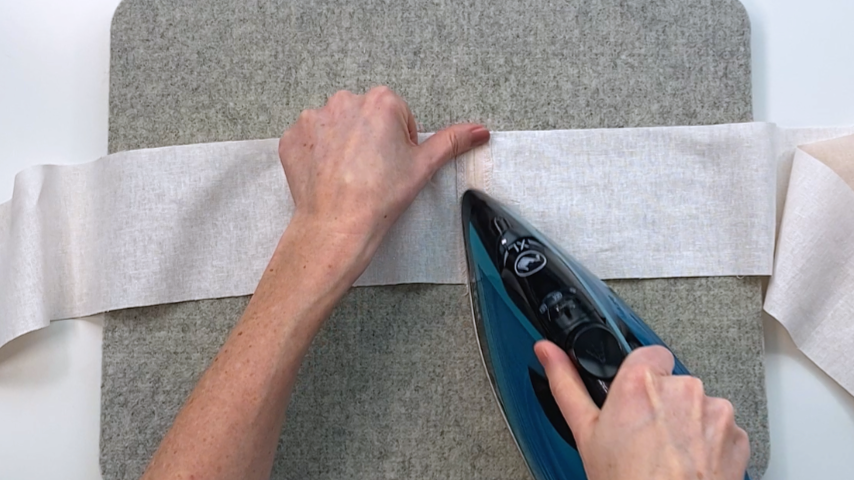
Step 5 – Press
To help secure the gathers into place and to make it easier to sew the ruffle to the hem, press the seam allowance of the ruffle to flatten the fabric.
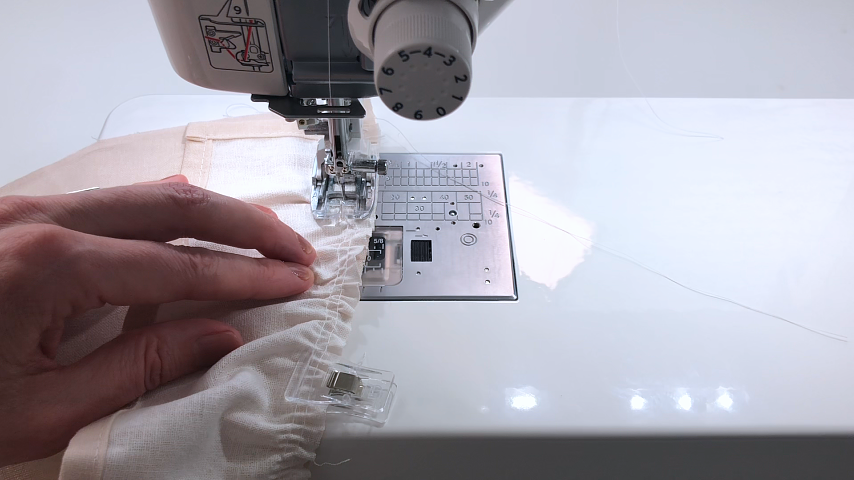
Step 6 – Sew
Now you can attach your ruffle to the edge of your project.
Be sure to change the settings of your sewing machine back to your regular stitch length and tension.
Step 7 – Finishing
If the edge of your ruffle will be exposed, you may want to remove the gathering stitches for a cleaner look (fewer lines of stitching showing).
To do that, use a seam ripper and cut only the gathering stitches only at the center of your ruffle.
Then use the seam ripper on the other side to pull the ends of the gathering threads out, enough to grab onto them.
Then slowly and gently pull on those threads until they come out. Repeat on the other side of the ruffle so that all your gathering threads are out.
Then, serge or zigzag stitch around the edge to prevent fraying.
Step 8 – Press
Press the seam allowance of your ruffle toward the garment, then topstitch into place.