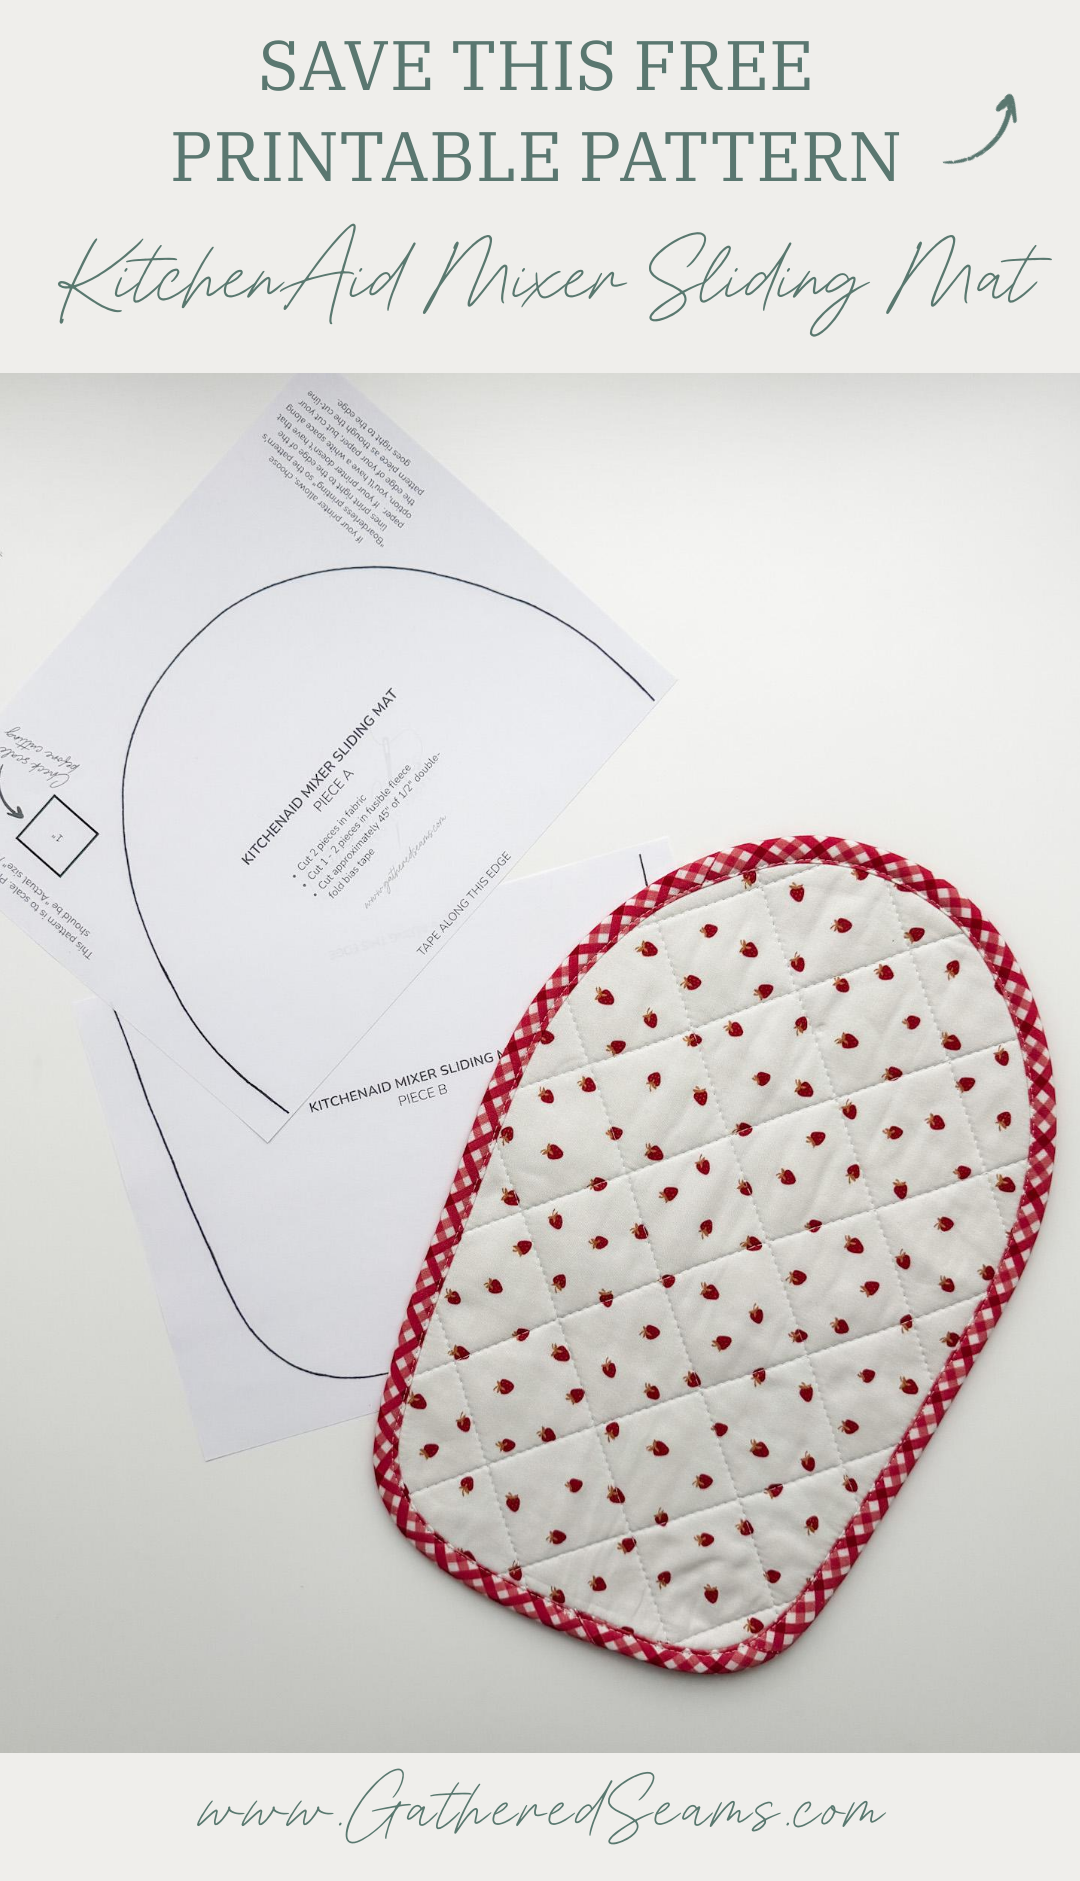
How To Sew A KitchenAid Mixer Sliding Mat | Free Pattern
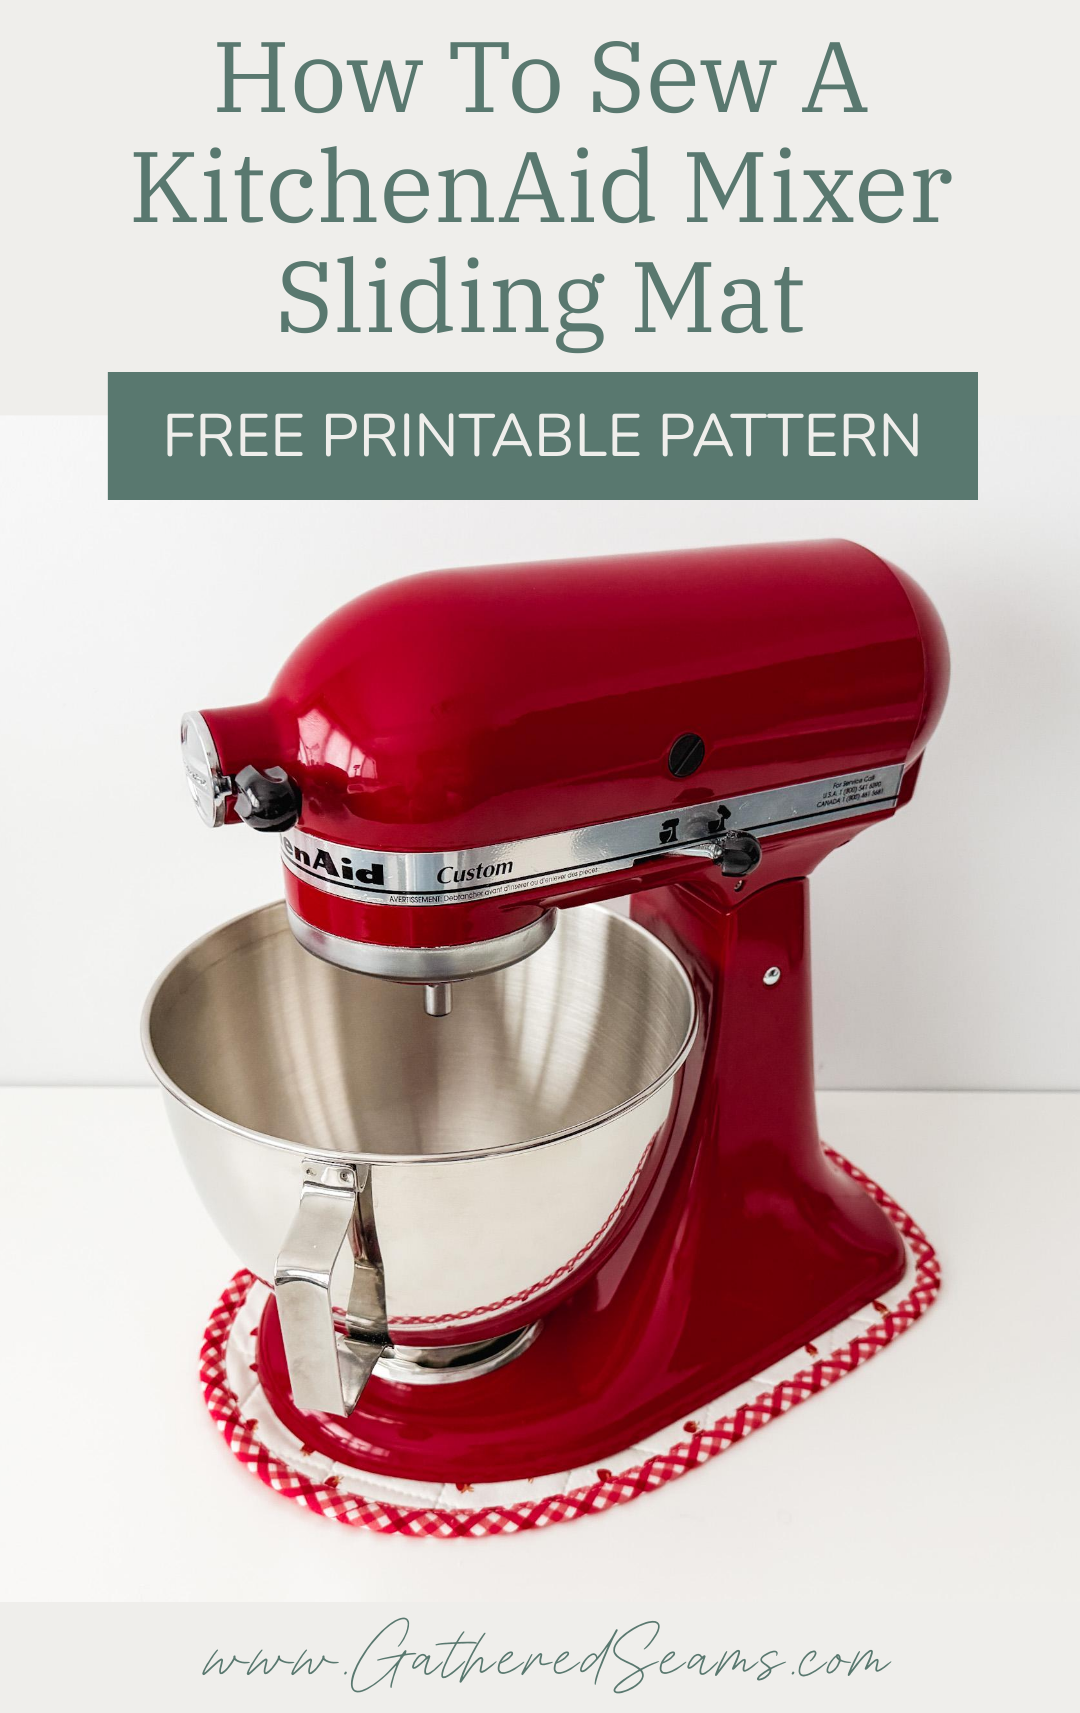
KitchenAid Mixers are heavy. And once they’re sitting on your counter, they don’t slide very easily. So a simple fabric mat is perfect to slide your mixer in and out of the way.
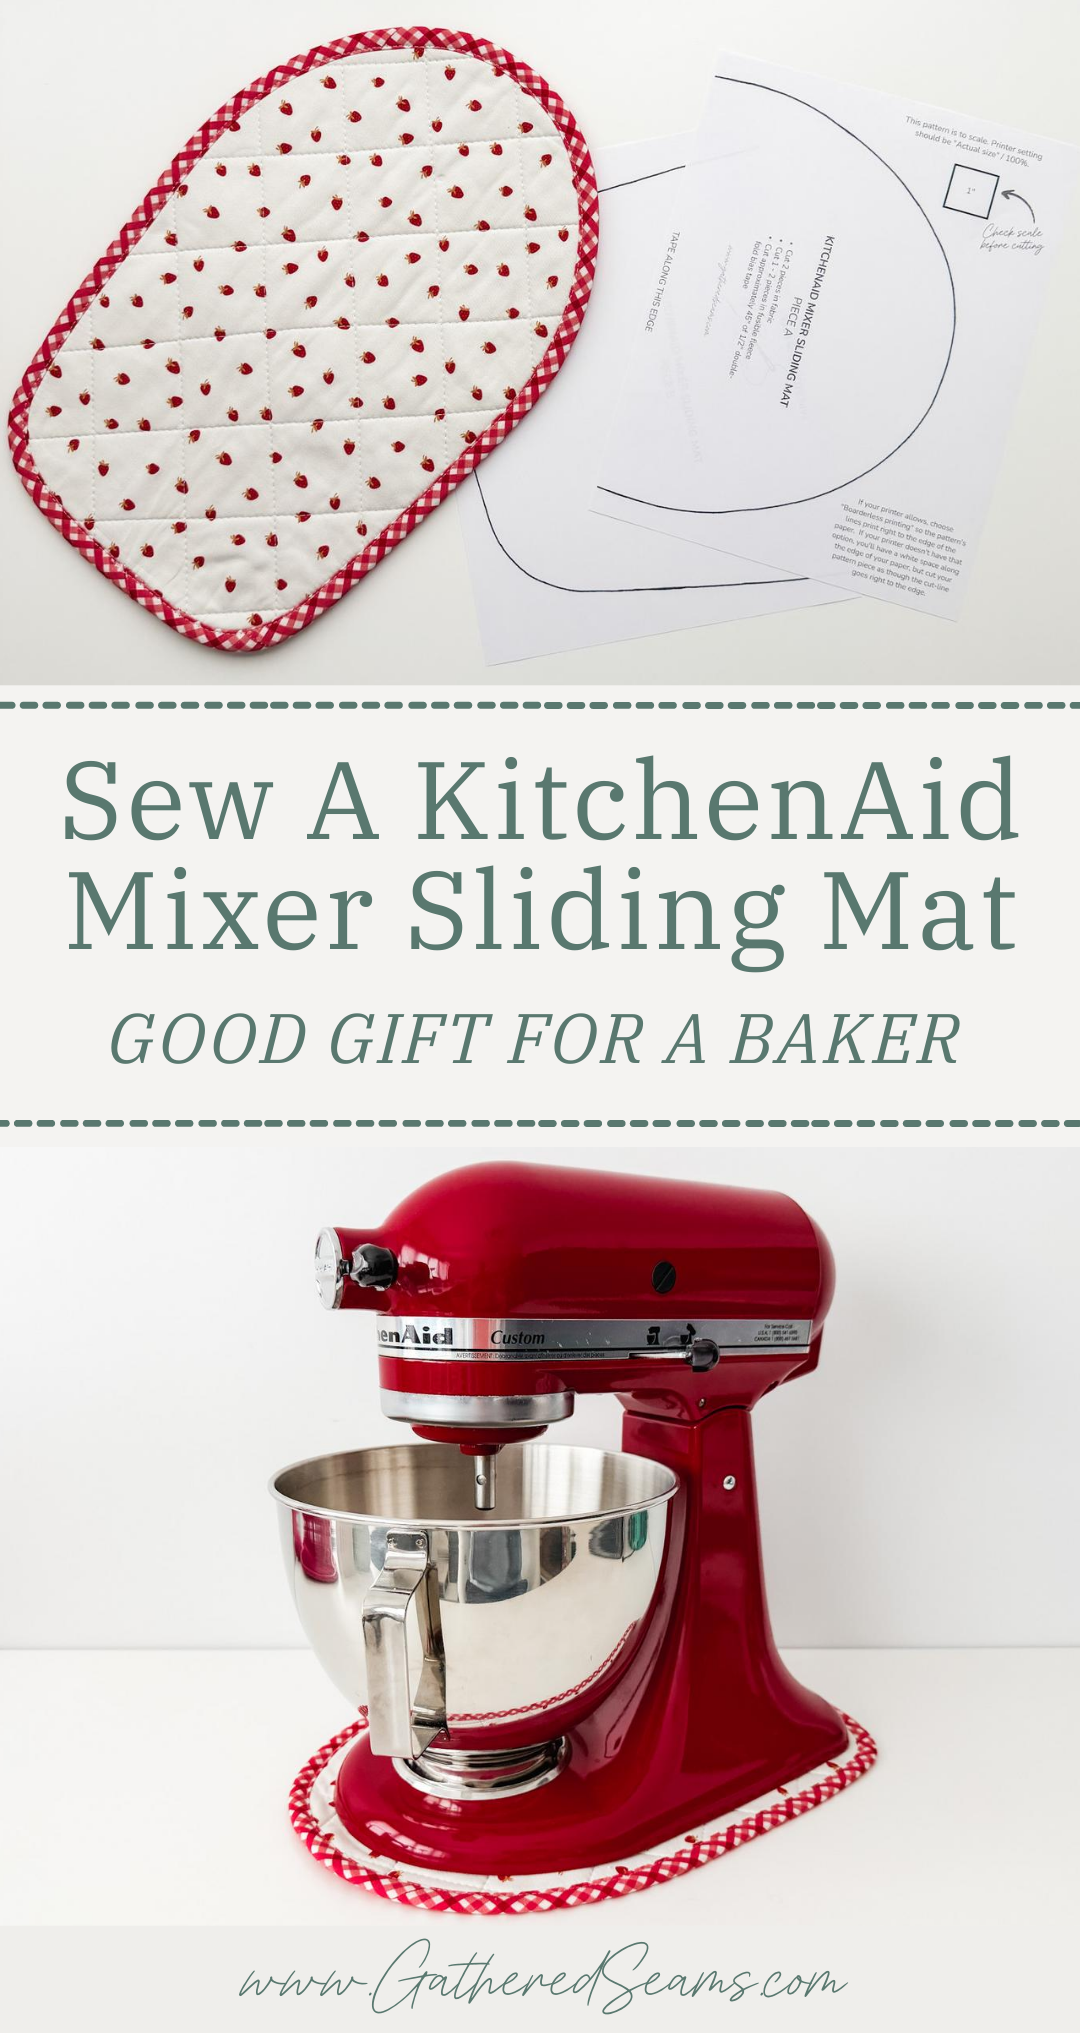
This is a really simple sewing project, and it makes a perfect gift for someone who loves to bake and regularly uses their KitchenAid Mixer.
To speed up this project (and reduce production costs if sewing to sell) you can skip the quilting stitches. However, I think they add a nice detail that makes the item feel more polished and gift-worthy.
The other option is to skip the bias tape and simply sew your top and bottom pieces with right sides together, leave an opening, turn the mat right side out through the opening, and then topstitch around the edge.
Again, this will speed up sewing time and reduce costs; however, the seams can become bulky with the layers of fabric and fusible fleece.
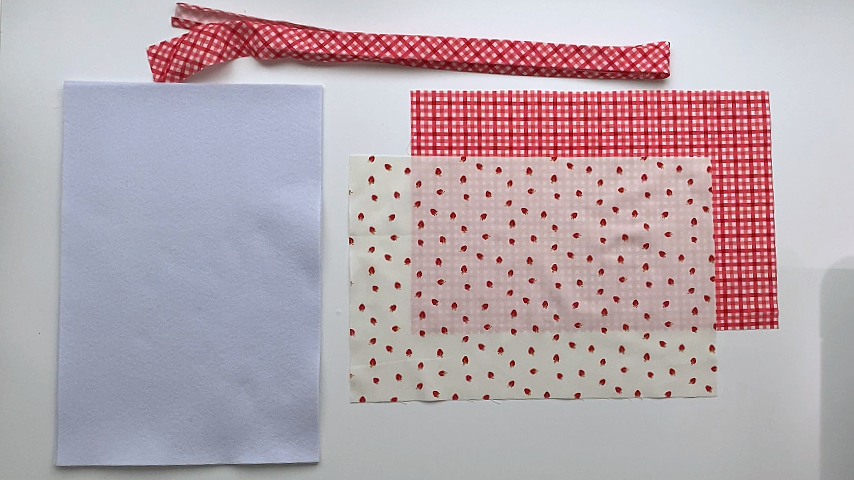
Materials
As an Amazon Associate, I earn from qualifying purchases (see full disclosure here).
- Material for top & bottom (choose something that will slide)
- Fusible fleece
- 1/2” double-fold bias tape (2” wide when unfolded), approximately 26” long (here’s how to make your own)
- Thread
Tools
- Sewing machine
- Walking foot (highly recommended if you’re sewing quilting stitches. This is the universal one I purchased for my Baby Lock, which is a different machine than what’s shown in the photos)
- Hera marker (for marking quilting lines)(this is the one I use)
- Ruler (for marking quilting lines)
- Clips
- Temporary fabric marker (these are the ones I use)
- Scissors
- Iron


Steps to Sew a KitchenAid Mixer Sliding Mat
Step 1
Download the printable pattern and tape the two edges together.
The paper should not overlap; the two edges should butt up together.
Cut out the pattern.
If you’re not adding quilting stitches, you can cut your pattern piece in:
- top and bottom fabric
- fusible fleece (I used two layers)
However, if you are adding quilting stitches, cut your fabric and fusible fleece slightly larger than the pattern, sew your quilting stitches, and then cut your fabric/fleece to size.
You will also need:
- approximately 45” of 1/2” double-fold bias tape (2” wide when unfolded)
>> You can make your own bias tape following these instructions: How To Make Bias Tape
Step 2
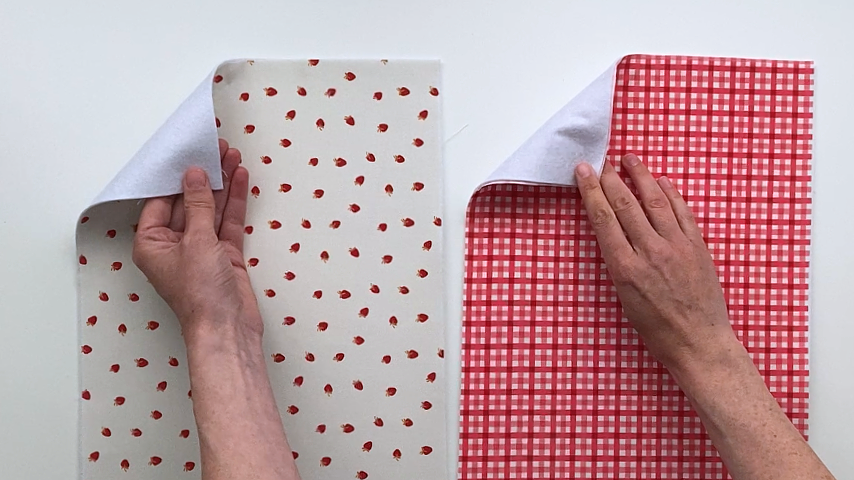
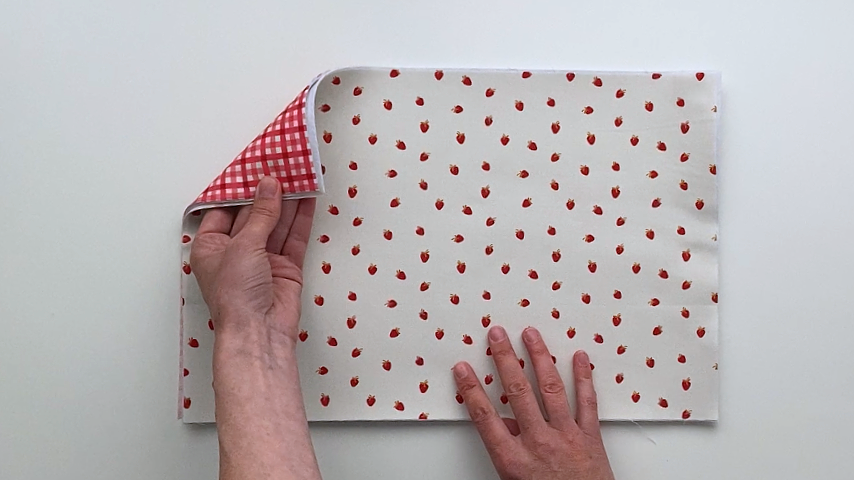
Iron your fusible fleece to your top and bottom fabric, then place your top and bottom fabrics wrong sides together.
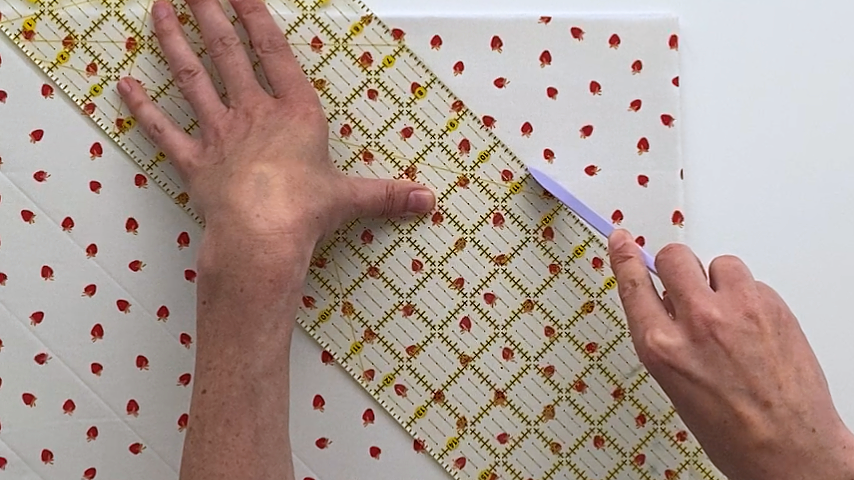
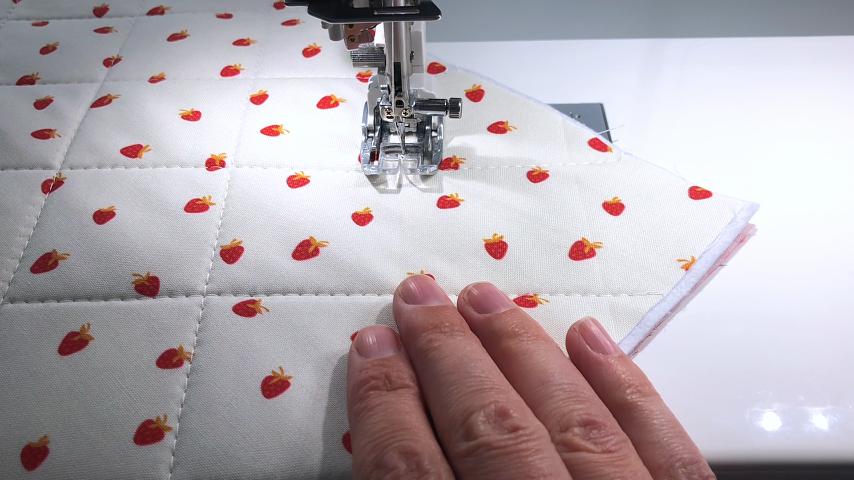
Mark your quilting lines, and sew.
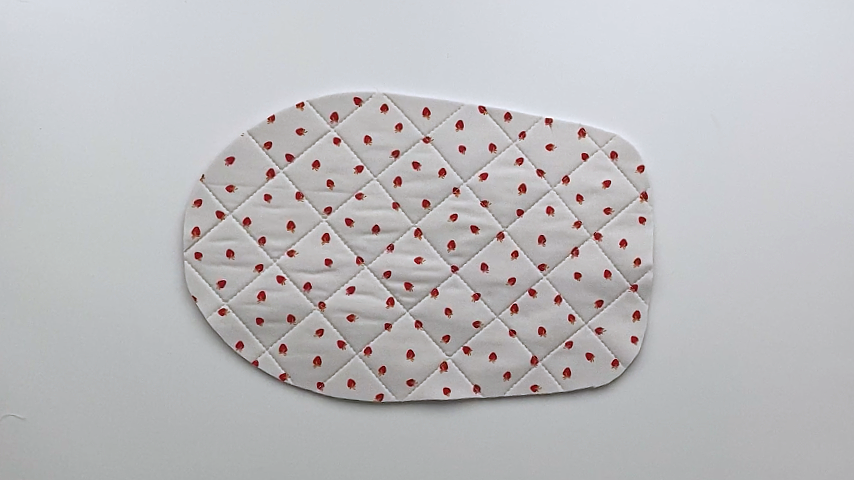
Step 3
Trace your pattern piece and cut the quilted fabric to size.
Step 4
Unfold your bias tape. Mark a line 2” away from one end of the bias tape, then line that point up with a straight edge of the mat.
You’ll start sewing at that 2” mark, in the folded crease, on the top side of the mat.
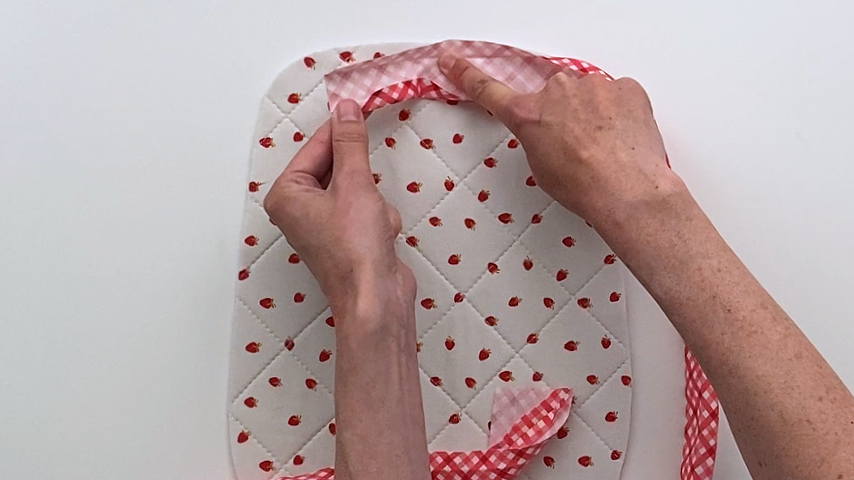
Don’t stretch the bias tape as you sew, simply guide it around curves.
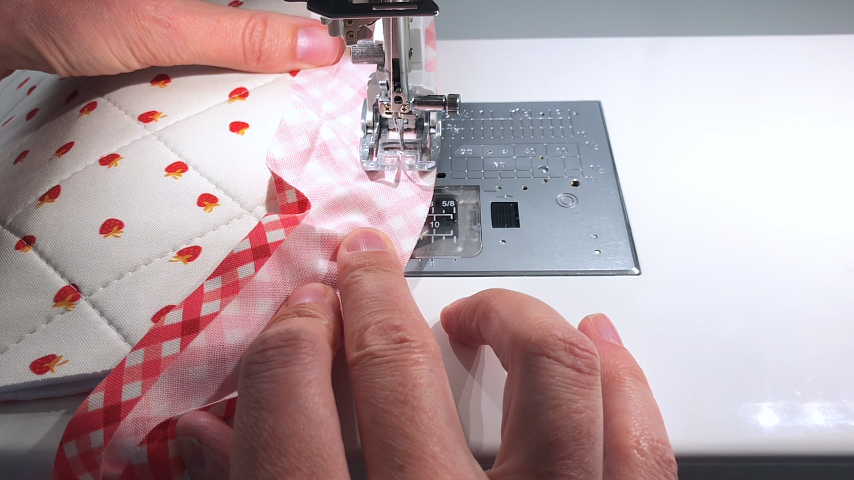
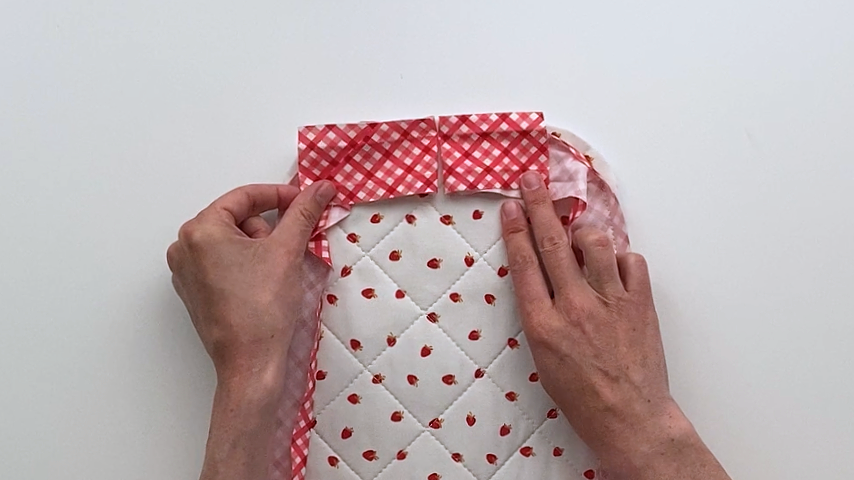
When you come back to the start of the bias tape, fold the loose 2” towards you, then place the end of the bias tape overtop.
You’ll sew right up to where you started stitching your bias tape on, backstitching at the end.
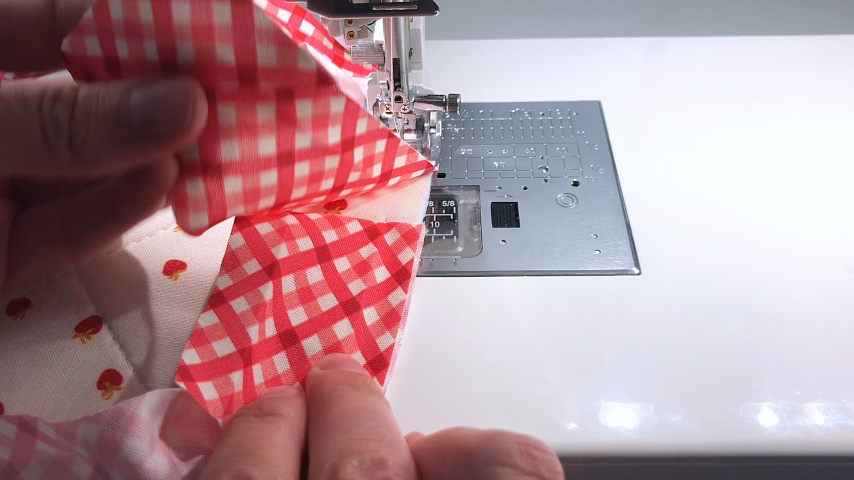
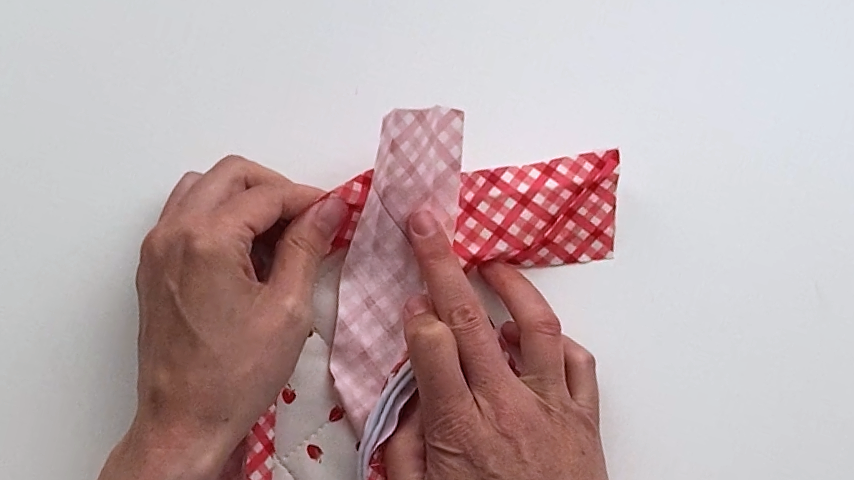
Unfold your bias tape fully.
Fold the mat so you can place the start of your bias tape at a 90-degree angle to the end of your bias tape.
You’ll sew diagonally across the two layers of bias tape.
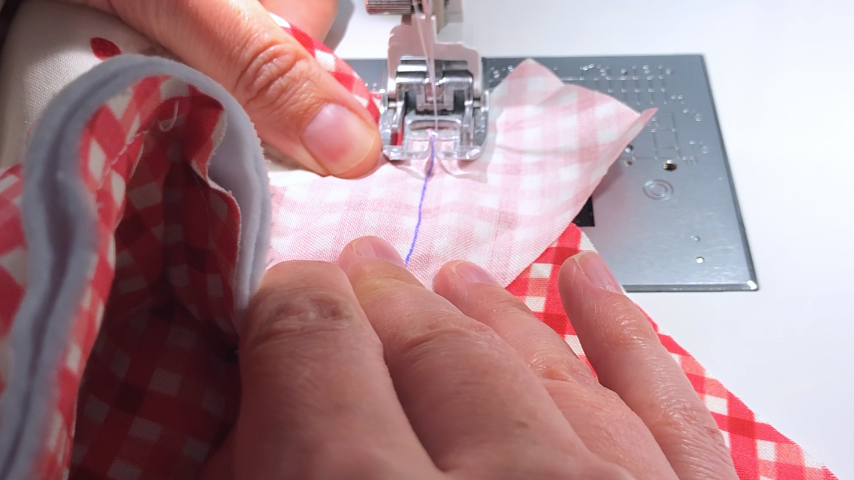
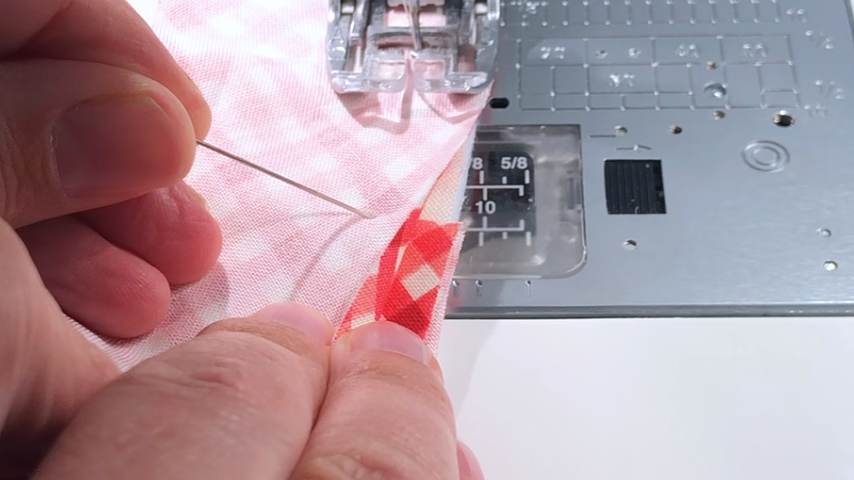
Check to make sure the seam is clean, then trim off the excess bias tape and finger-press the seam allowance open.
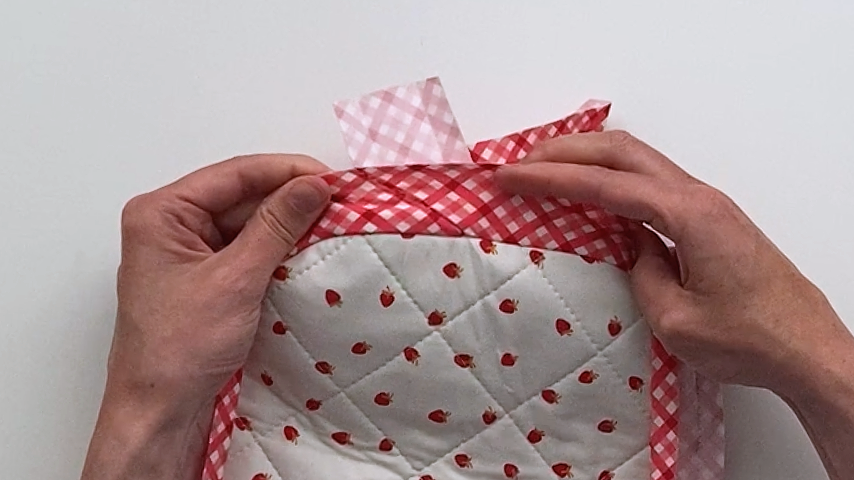
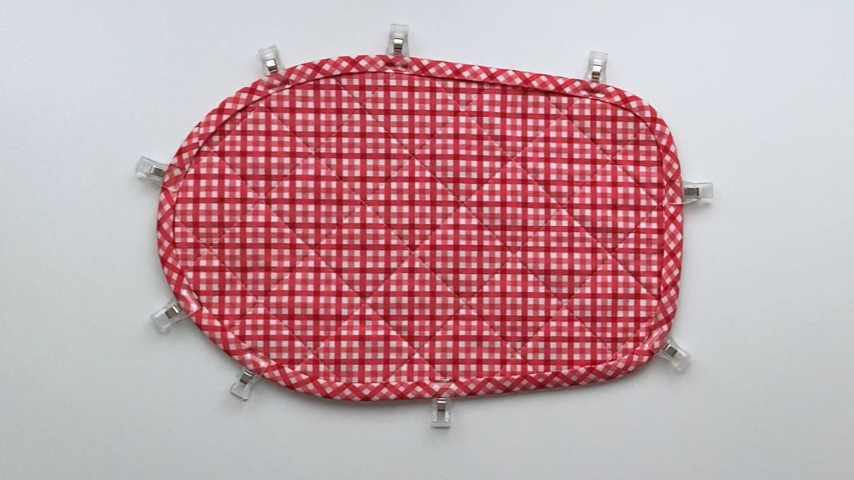
Fold the bias tape to the back side and clip into place, making sure the bias tape is covering the line of stitching.
I also like to run the tip of my iron over the bias tape to help it form around the curves and re-crease the double-fold (as you may need to unfold it slightly in some places to cover the line of stitching).


Top-stitch the bias tape from the top of the mat, about 1/8” in from the inside edge of the bias tape.
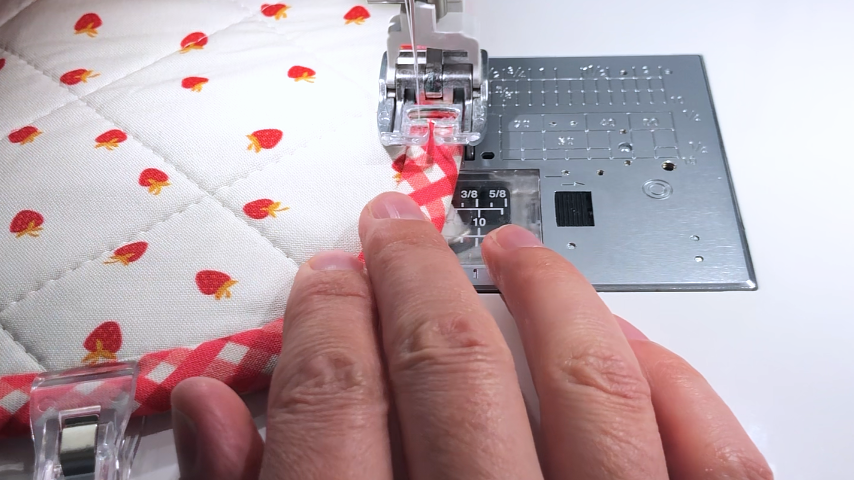
As long as you clipped the backside of the bias tape accurately into place (to cover the stitching), you’ll catch the second side of the bias tape as you go.
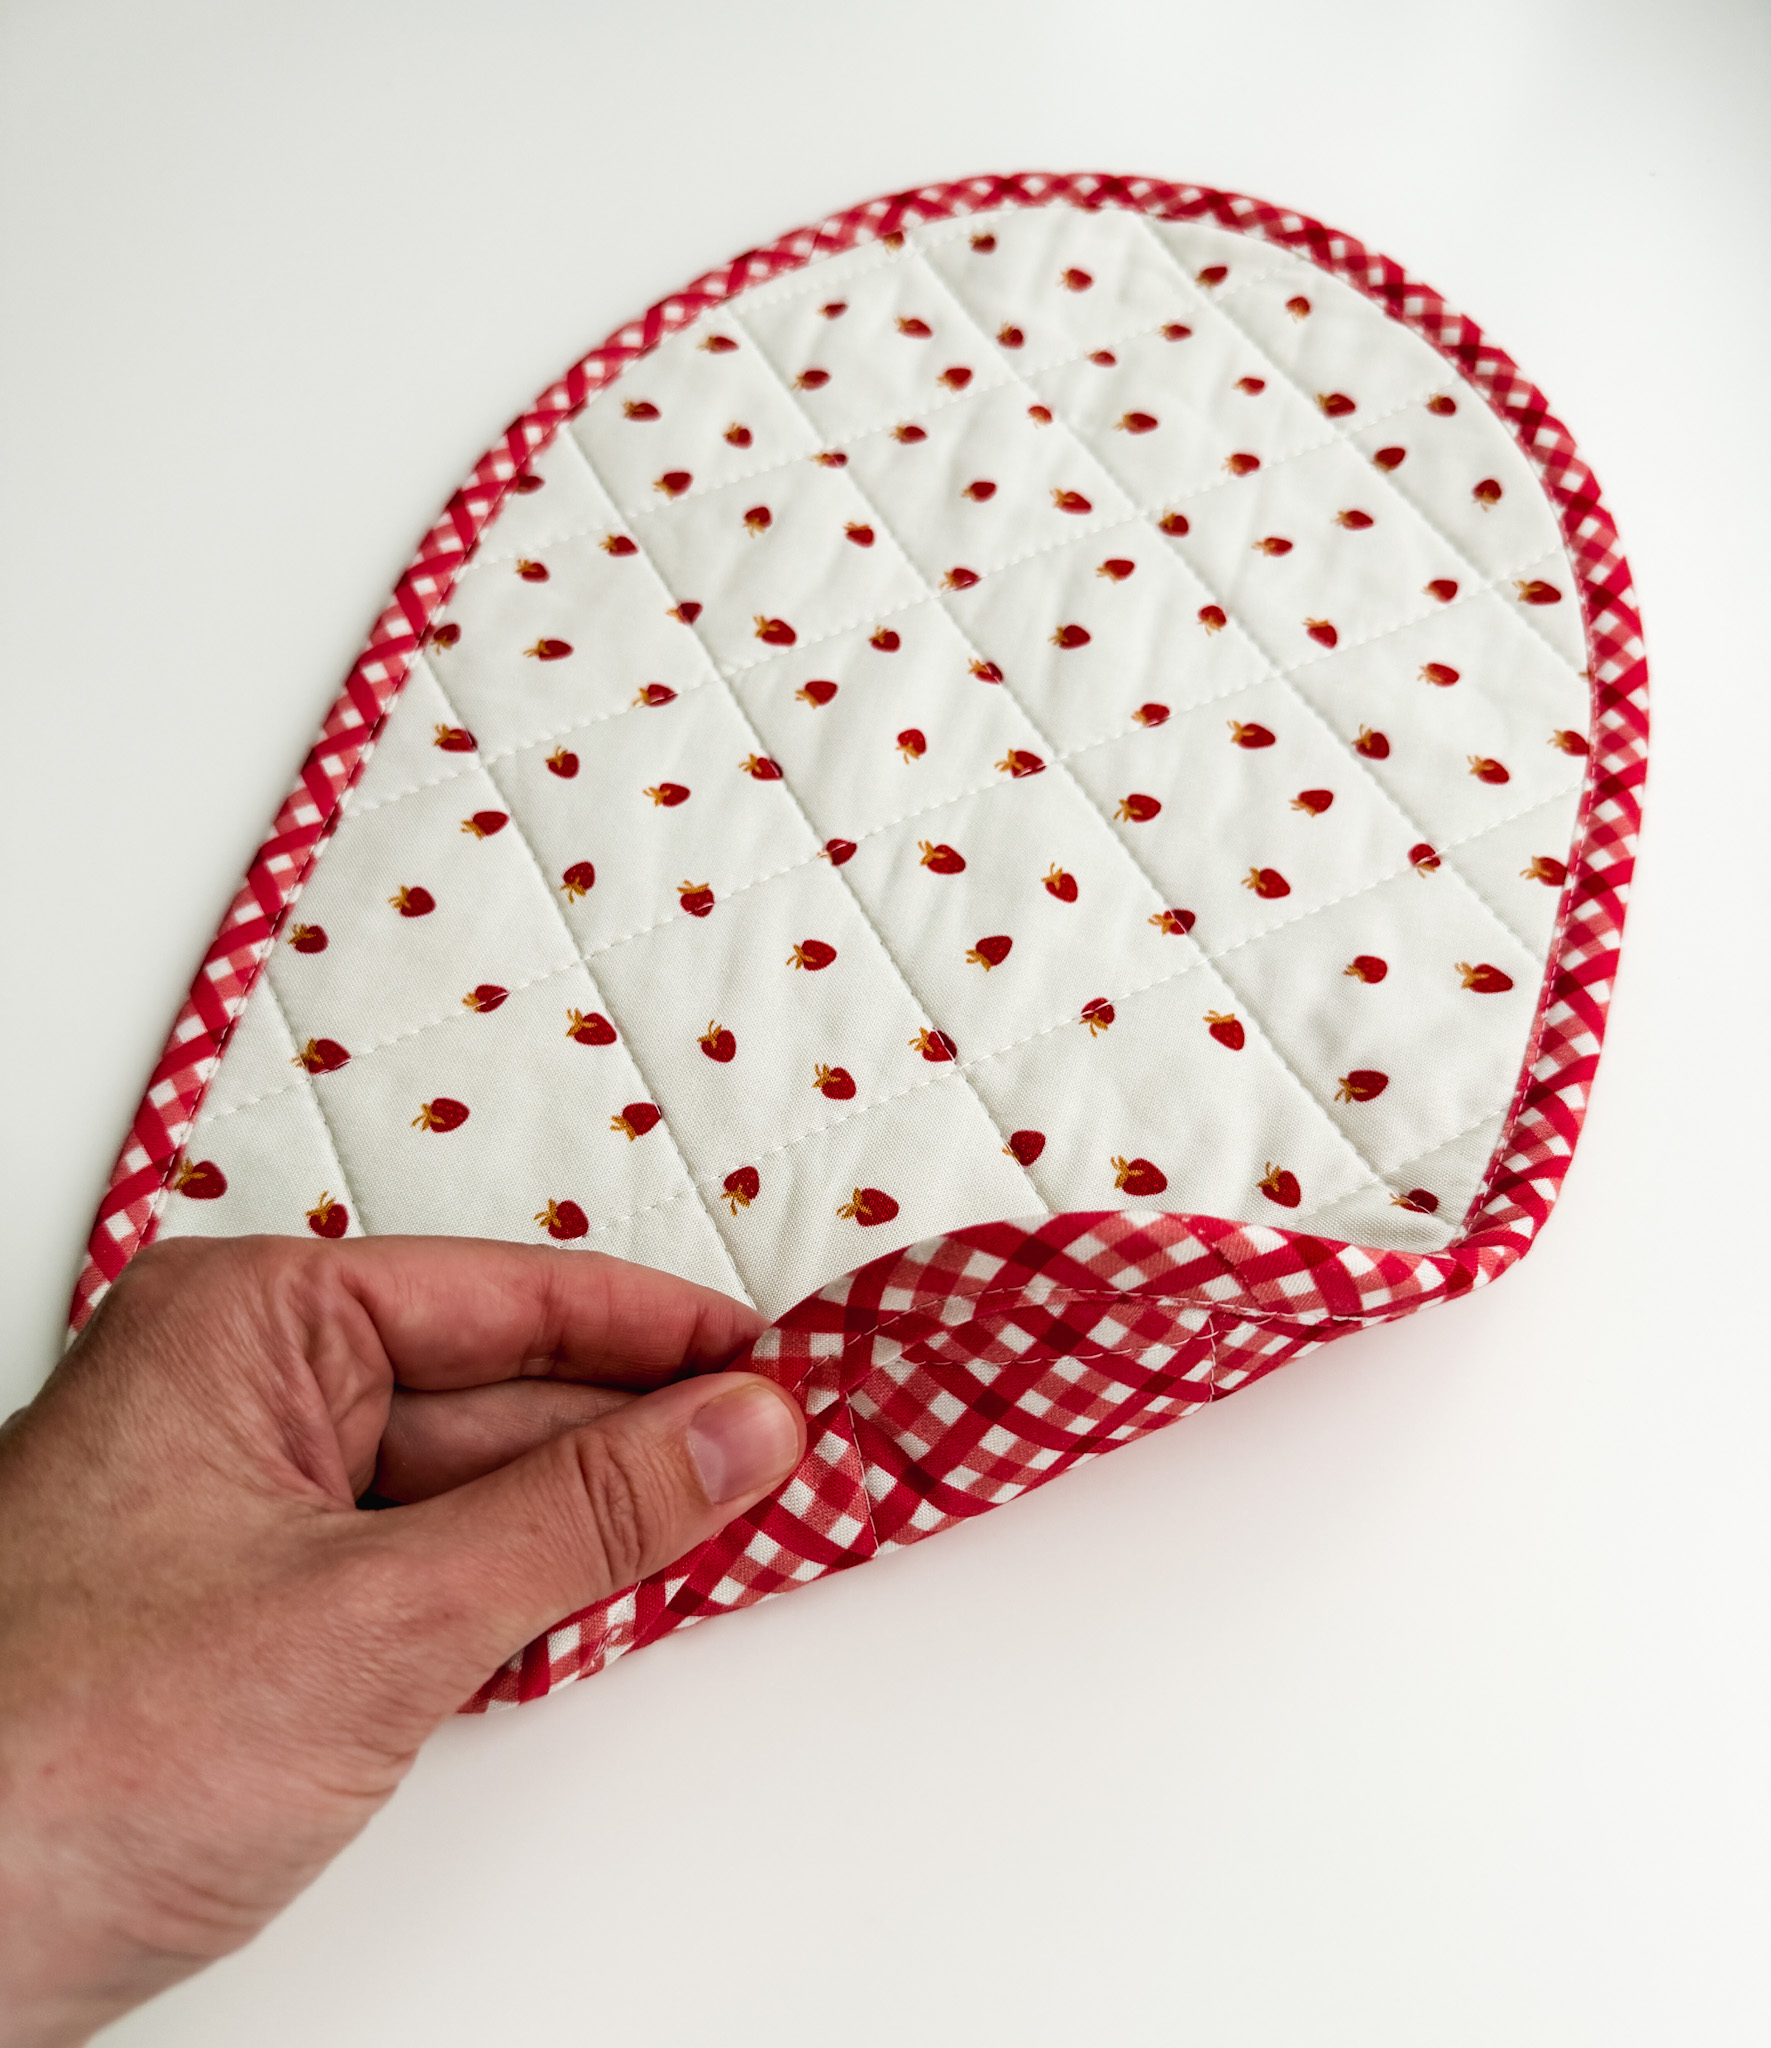
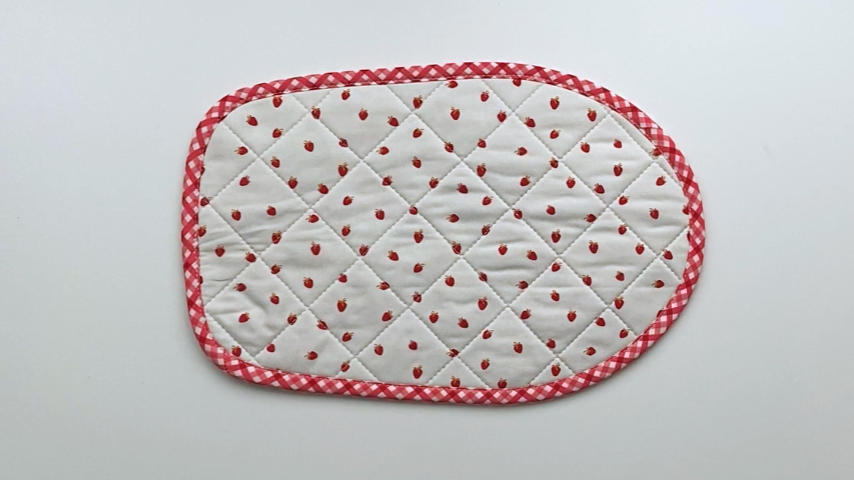

Your sliding mat is complete!