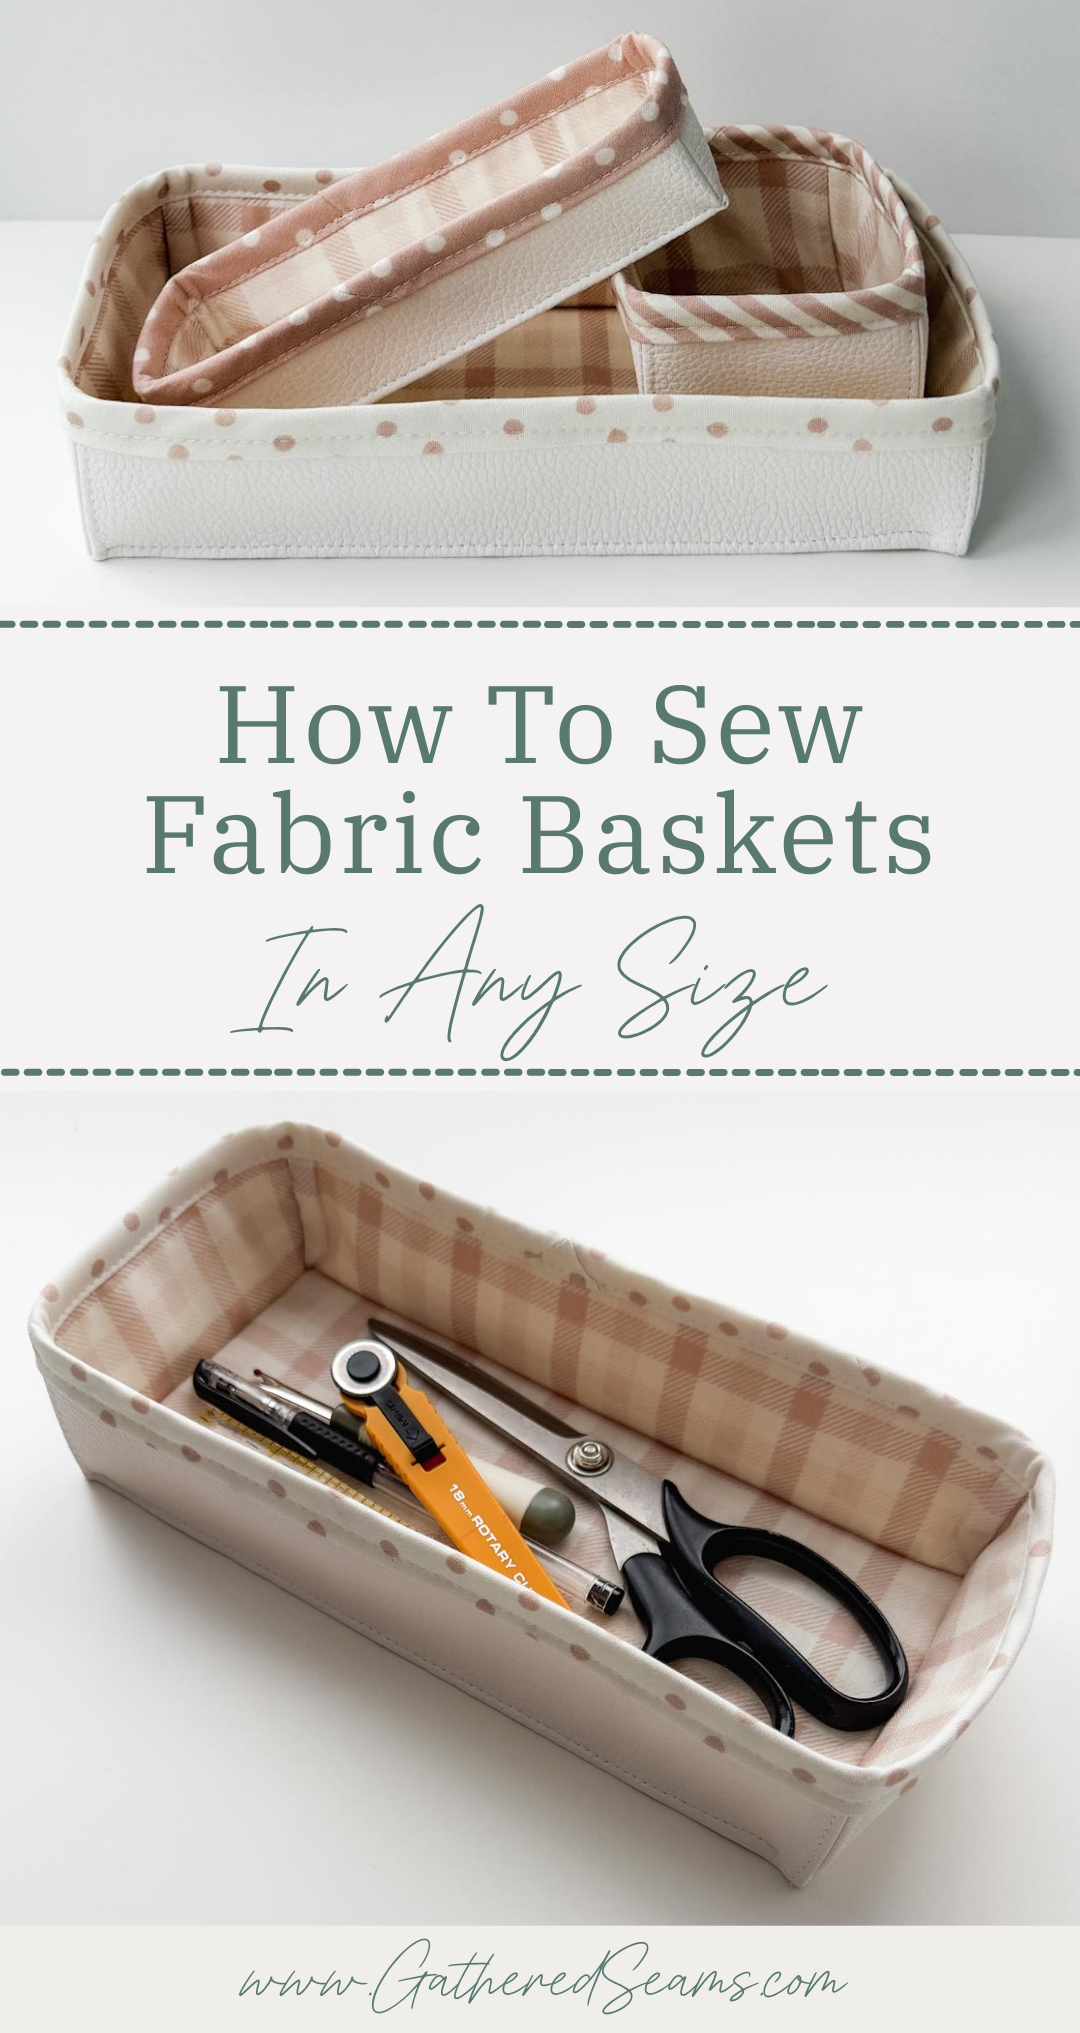
How To Sew A Fabric Basket (in any size) | Pattern Formula
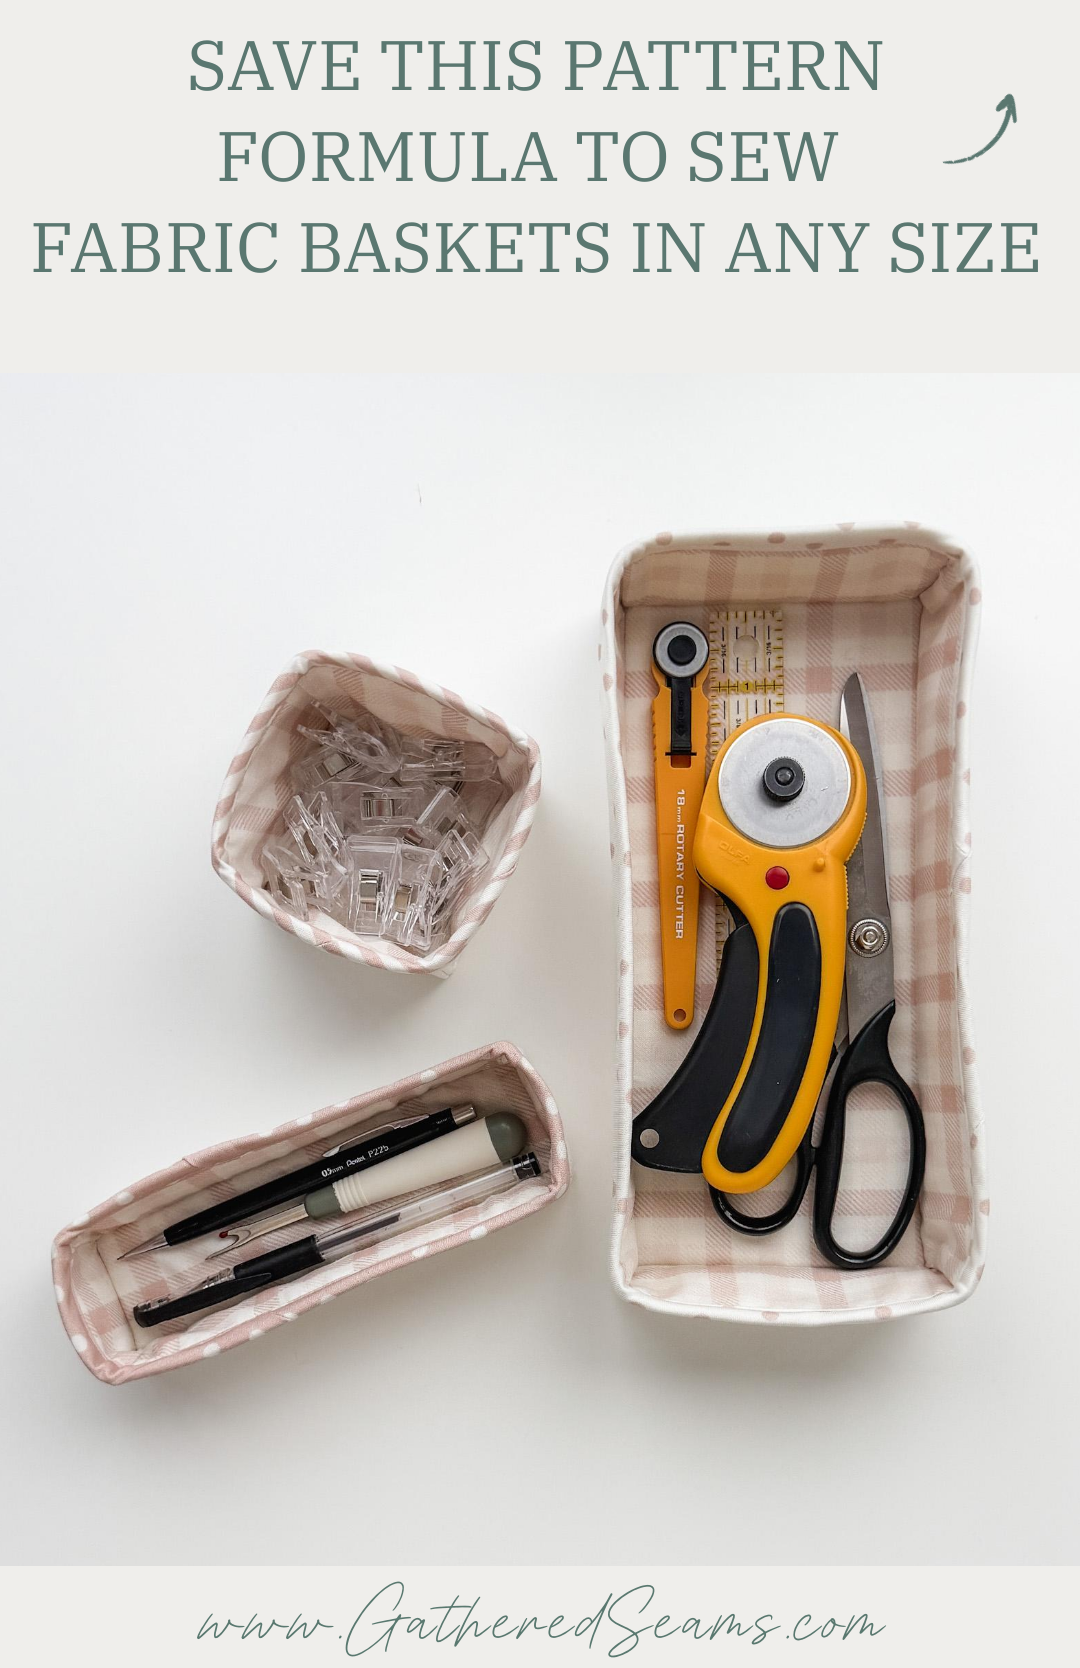
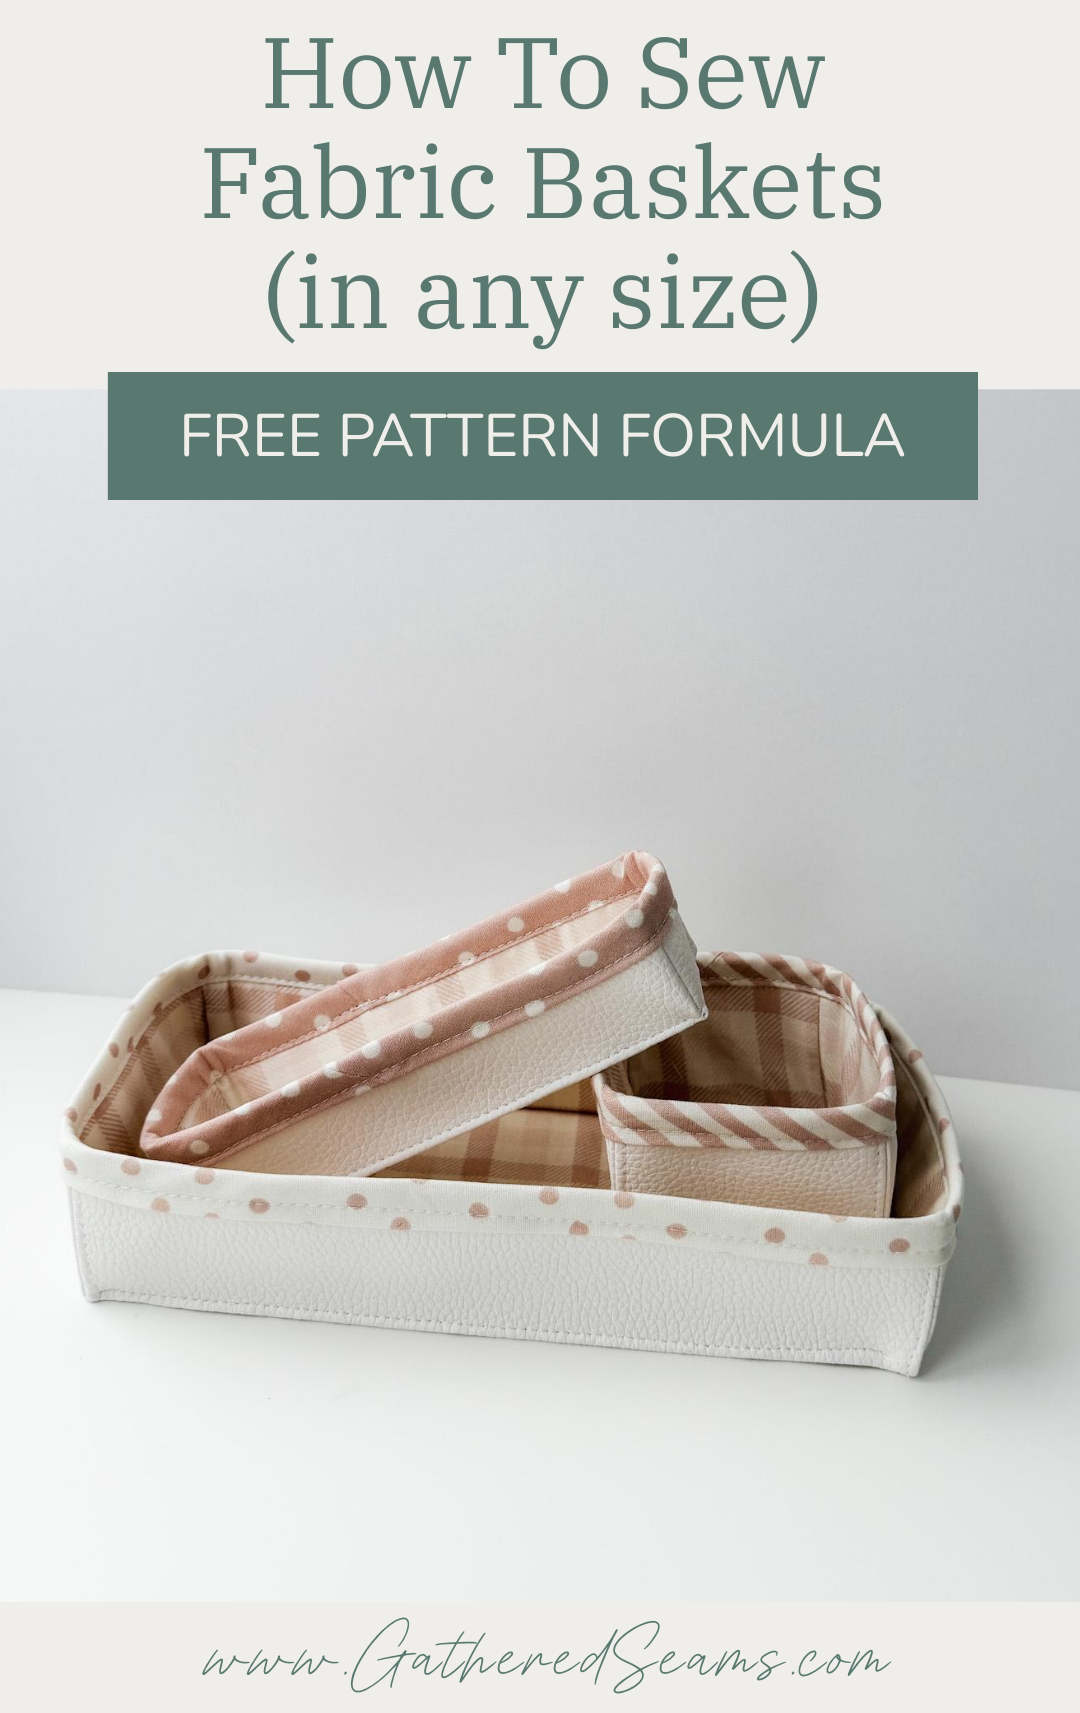
When I’m sewing, I feel like I spend just as much time searching for my tools and moving them around as I do actually sewing. So I decided I needed to add a bit of organization to my sewing room with baskets.
These fabric baskets are easy to sew and have enough structure to contain their contents.
I wanted them to have more of a true boxy shape, so I played with the pattern a bit. Here are a few features that give these fabric boxes their shape and sturdiness:
- Vinyl exterior – this gives them more structure. Alternatively, you can use an interfacing or heavier-weight fabric such as canvas or denim.
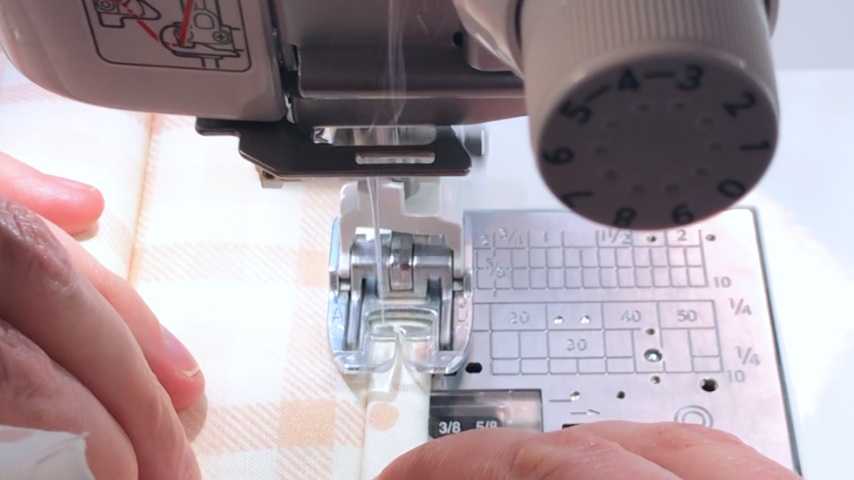
- Edgestitching – I run a line of stitches about 1/16” – 1/8” away from the folded edge around the bottom four edges. This helps bring the sides in so they don’t splay out.
- Topstitching corners – This step is optional, but I stitched on either side of each corner seam to hold the seam allowance open, which I think give the corners a cleaner look. If you’re not using vinyl, you can simply press the seams open.
- Bias tape – I used bias tape to finish the top edges, which gives a clean look and adds a bit more structure.
Materials
- Exterior fabric (a heavier-weight or quilted fabric is ideal to add structure)
- Lining fabric
- 1/2″ double-fold bias tape (2″ wide strip when unfolded)
- Thread
Tools
As an Amazon Associate, I earn from qualifying purchases (see full disclosure here).
- Sewing machine
- Walking foot (highly recommended if you’re sewing with vinyl or when quilting. This is the universal one I purchased for my Baby Lock, which is a different machine than what’s shown in the photos)
- Clips
- Temporary fabric marker (these are the ones I use)
- Ruler
- Rotary cutter
- Scissors
- Soft-faced hammer (optional, but helps flatten seams when working with vinyl)
Pattern Formula
You can easily make these fabric baskets in any width, length, and height you want by following the formula below.
If you want to make larger fabric baskets, you may need to use two pieces of fabric sewn together. In which case, I would simply determine your measurements using the formula below, sew the two pieces of fabric together, press open the seam, then cut out your square/rectangle, with the seam entered.
*This formula is based on a 1/2” seam allowance
1 – Desired Size
Determine the width and length you’d like your finished basket to be on the inside, as well as the finished height.
For example, I wanted the baskets I’m sewing in this tutorial to be:
- 9” wide (inside the basket)
- 4” long (inside the basket)
- 2” high
2 – Seam Allowance (W/L)
Add 1-1/2” to the width and length for seam allowances (1/2” for the seam on the left, 1/2” for the seam on the right, and 1/2” for the seam allowance of the height).
For example:
- Width: 9” + 1-1/2” = 10-1/2”
- Length: 4” + 1-1/2” = 5-1/2”
Now we have our width and length plus seam allowance.
3 – Seam Allowance (H)
Subtract 1/2” from the desired height (because if you have an edge that is 2” long, and you sew 1/2” away from that line, the sewn line will be 1/2” longer than the cut edge. And we want our sewn seam to be 2”, so the cut edge must be 1-1/2”).
For example:
- Height: 2” – 1/2” = 1-1/2”
Now we have our height with seam allowance factored in.
4 – Pattern Piece W/L
We’ll use our W/L/H with seam allowance numbers for the next steps.
To cut out a square or rectangle that will include the bottom and sides of our basket, we’ll use the following formula:
- Height x 2 = Total height
- Width + Total height = width of square/rectangle
- Length + Total height = length of square/rectangle
For example:
- Height x 2: 1-1/2” x 2 = 3” (Total Height)
- Width (10-1/2”) + Total Height (3”) = 13-1/2”
- Length (5-1/2”) + Total Height (3”) = 8-1/2”
I will cut my fabric into a rectangle that is 13-1/2” x 8-1/2”
5 – Lining W/L Size (Optional)
This step is optional, but you can cut your lining slightly smaller based on the thickness of your fabric.
My vinyl is about 1/16” thick, so when I set the lining inside the basket, it’s top edge will go past the top edge of the vinyl. And we want the top edges to line up.
So I cut the rectangle for my lining 1/8” shorter on the width and length (because the left side and right side will be raised 1/16” by the thickness of the vinyl: 1/16 x 2 = 1/8”).
You can also skip this step if you’re using a thinner fabric, or if you simply want to trim the top edge of your lining back after you set it in place.
6 – Corners
To determine the size of squares you cut out of the corners, you will take your desired height and subtract the seam allowance (we’ve completed this calculation already).
This will be the height and width of your square cutout.
For example:
- Desired Height (2”) – Seam Allowance (1/2”) = 1-1/2”
- Square cutout = 1-1/2” x 1-1/2”
7 – Bias Tape
To determine how much bias tape you need, add together the length of each outside edge of your pattern piece (don’t include the square cutouts).
This measurement includes seam allowance, so your bias tape will be longer than the perimeter of your basket, but we’ll need extra length to join the ends of the bias tape, and it’s always to have a piece that is a little longer than you need than have one that’s too short.
How to sew a fabric basket
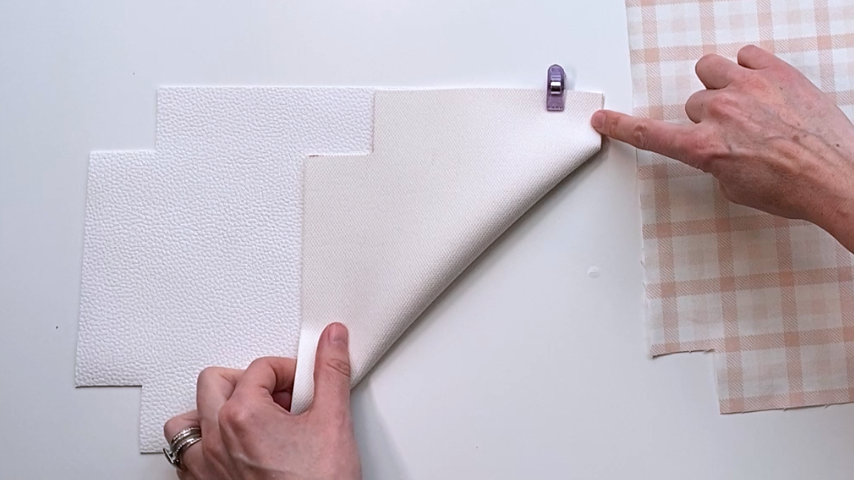
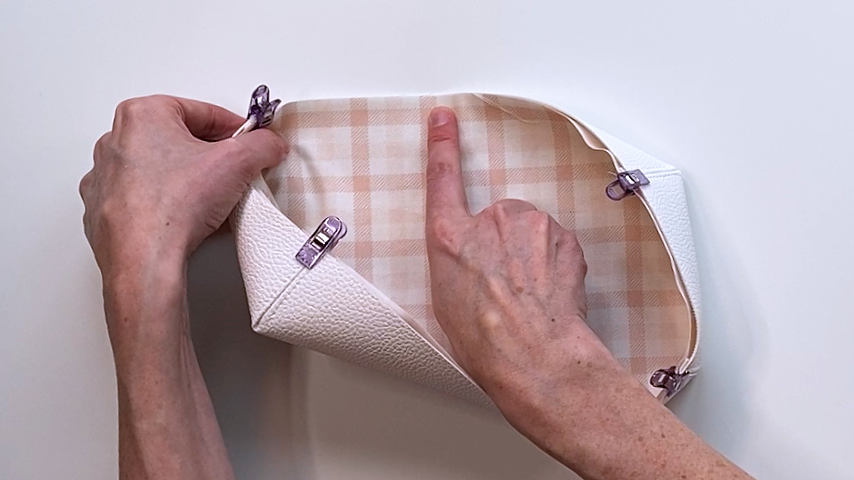
Step 1
Fold your corners right sides together so that top edges meet and the edges of the box corners line up.
Using a 1/2” seam allowance, sew the corners together on your outer fabric, and then on your lining.
Be sure to back-stitch at the start and end of each seam and use a shorter stitch to ensure your seams are sturdy.
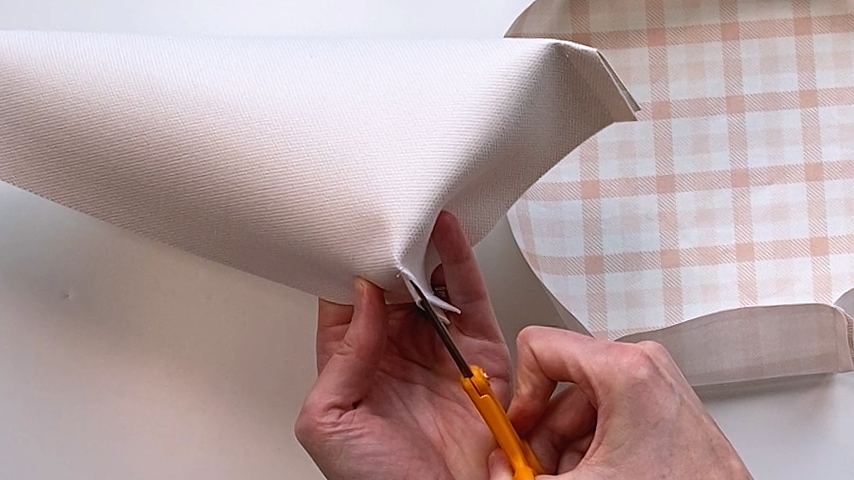
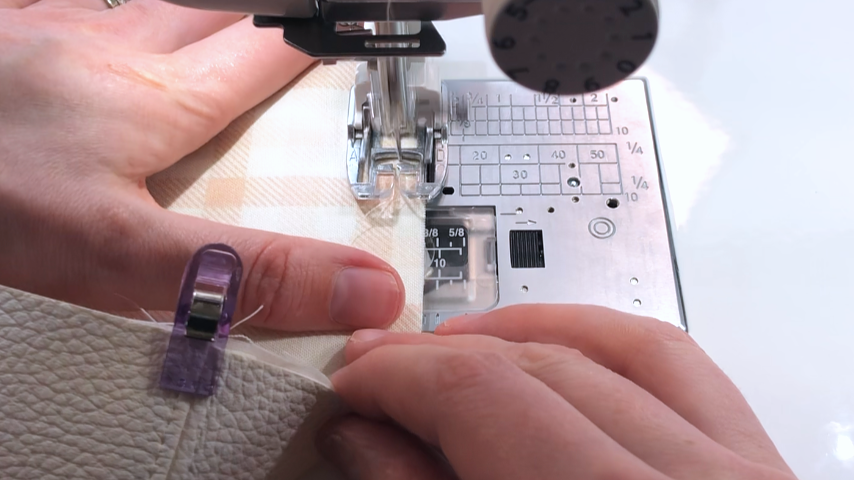
Step 2 (optional)
For the outer fabric, I like my corners to be crisp. So I snip the point of the seam to about 1/16” – 1/8” away from the stitching, so I can open the seam. If your fabric is a looser weave, you may want to skip this step so that your fabric doesn’t fray and compromise the integrity of the seam.
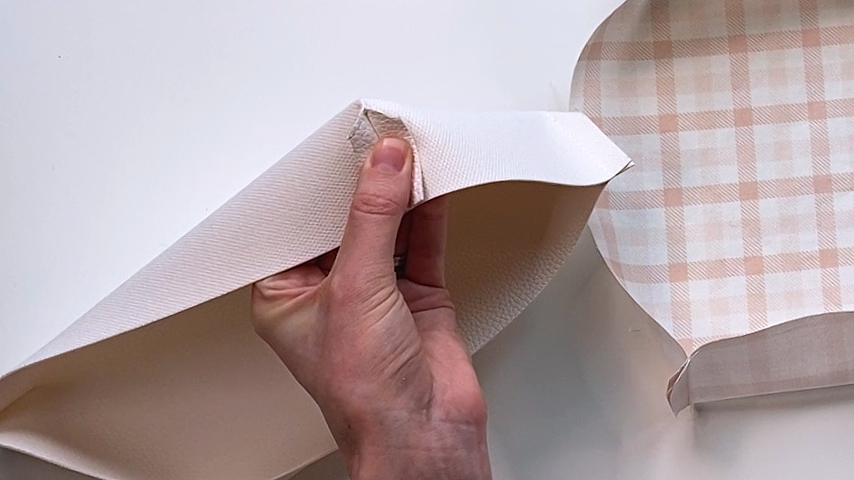
Then I topstitch on either side of the seam on each corner, making sure the seams are open.
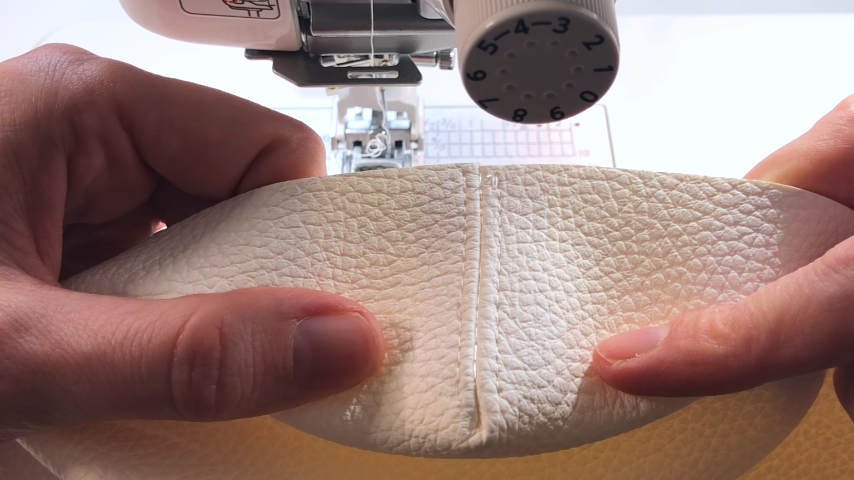
If you’re using a woven fabric, you can simply press your corner seams open. Because I can’t press vinyl, I topstitch on either side of the seam to hold the seam allowance open.
I only complete this step on my outer fabric.
The lining fabric’s seam allowance can simply be pressed to one side of the seam.
Step 3
Trim the seam allowance on each corner so it is about 1/4” away from the stitching.
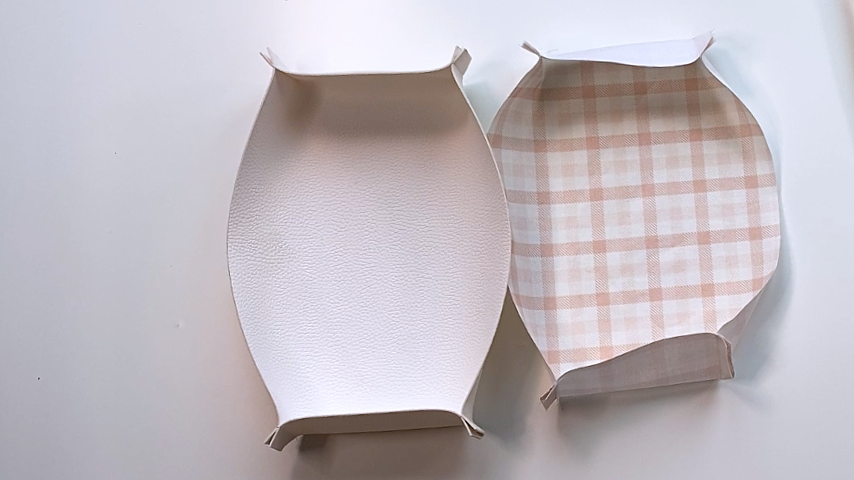
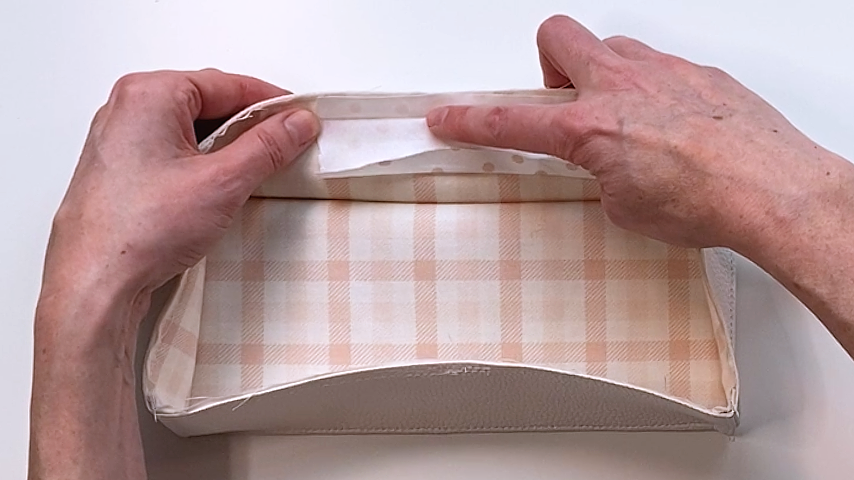
Step 4
Set your lining in your outer piece with right sides together.
If the top edge of your lining is higher than the top edge of your outer piece, cut the lining down so it is the same height of your outer box.
Baste the outer box and lining box together around the top edge (sew about 1/4” away from the cut edge).
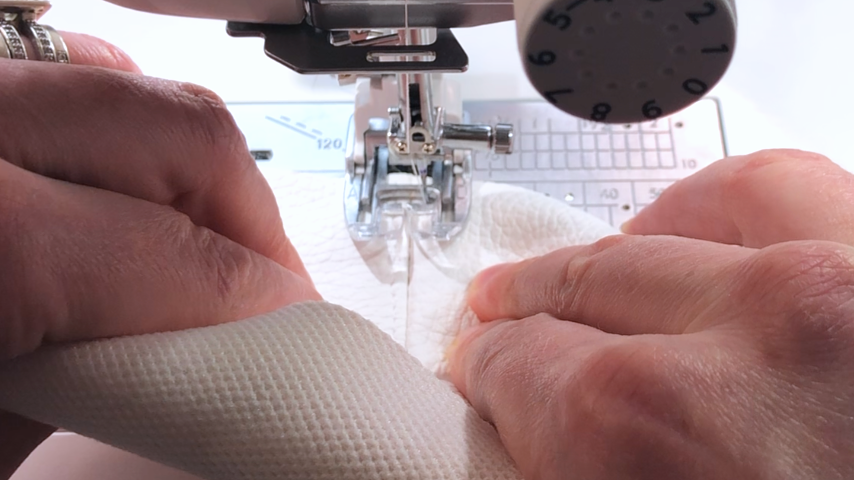
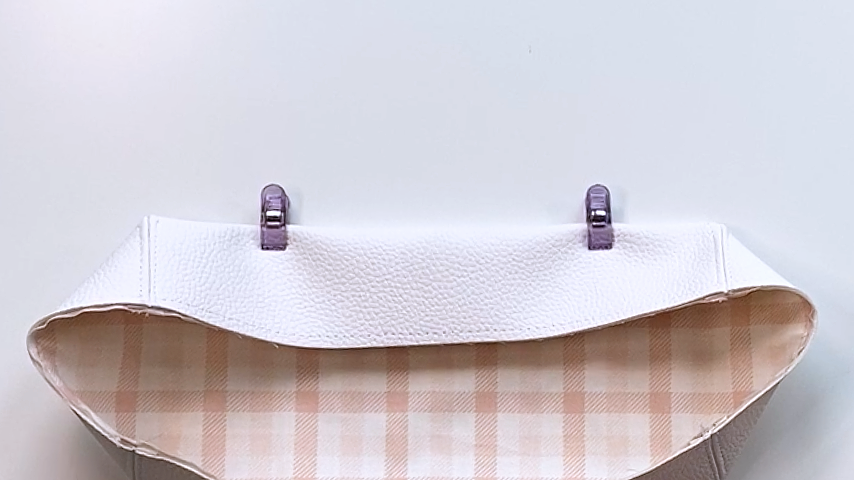
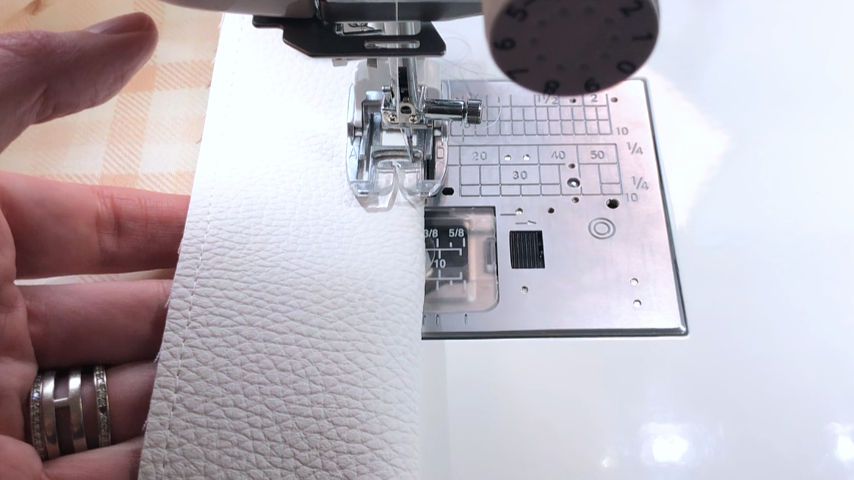
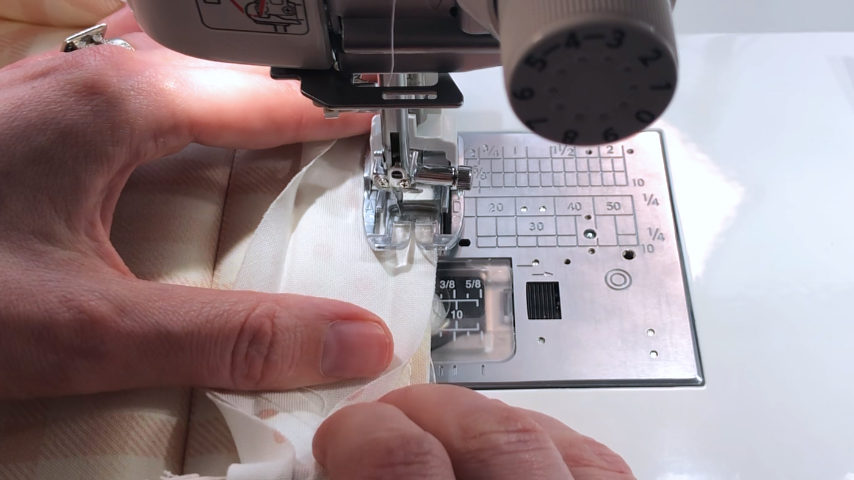
Step 5
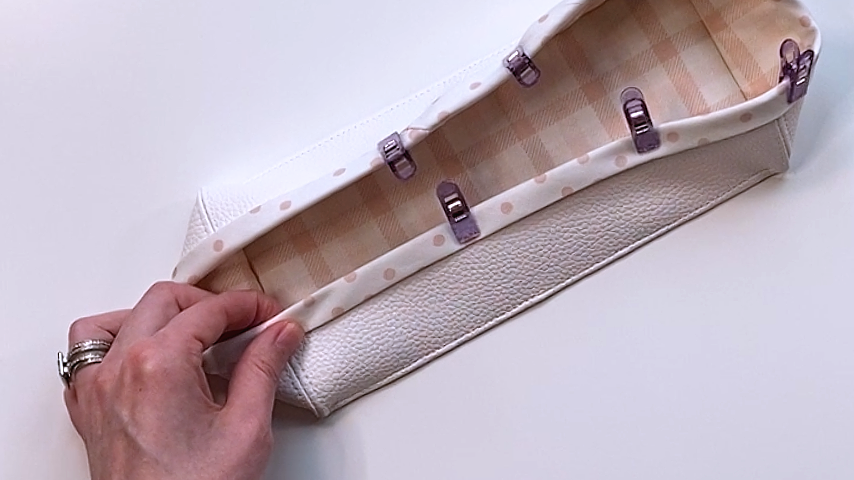
Now we can edgestitch our bottom edges.
Make sure that the lining is pressed tight against your outer fabric and fold one bottom edge flat.
Sew about 1/16” – 1/8” away from the folded edge, backstitching at the start and end.
The thicker your outer fabric is, the further away from the edge you’ll need to stitch to ensure you’re catching the lining. For example, if you’re working with quilted fabric, you’ll likely need to sew about 1/8” away from the folded edge.
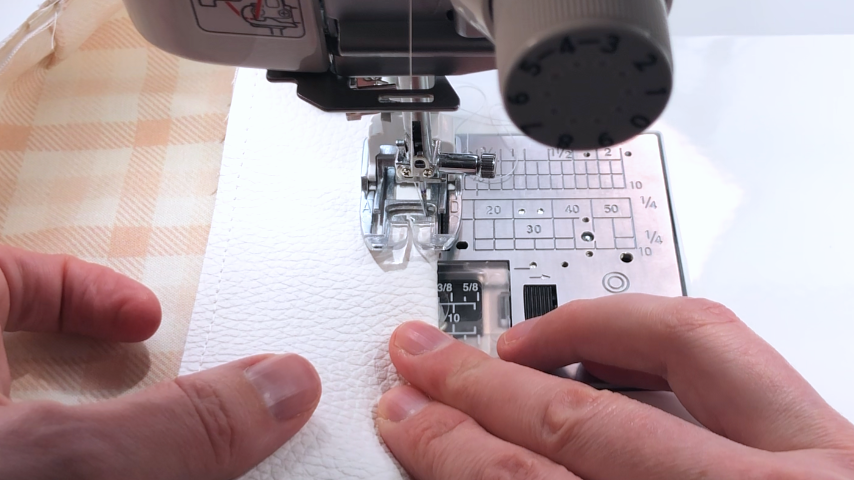
As I sew, I stop and run my hand under the fold to ensure the lining is sitting tight to the outer fabric.
Repeat this along each bottom edge.

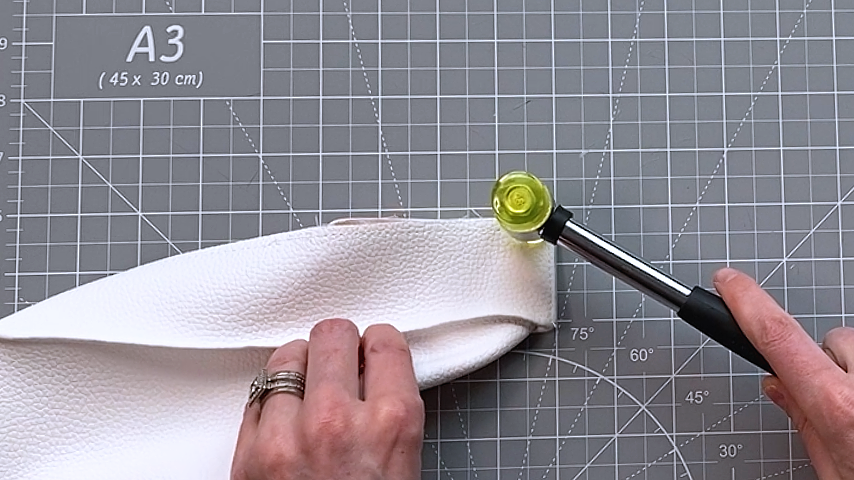
If you’re working with vinyl, you can use a soft-faced hammer to work the corner seams into a 90-degree angle. If you’re using a woven fabric, you can use your fingers or an iron to press each corner if needed.
Step 6
Sew the bias tape around the top edge of your basket to finish off the top of the basket.
Sew the bias tape to the inside, stitching in the fold.
Then fold the bias tape over to the other side and clip into place, ensuring it’s evenly covering the line of stitching.

Sew from the first side of the bias tape, about 1/16″ – 1/8″ inside the bias tape seam, which will ensure your stitches catch the second side of the bias tape.