How To Sew a Drawstring Jewelry Pouch | Free Pattern
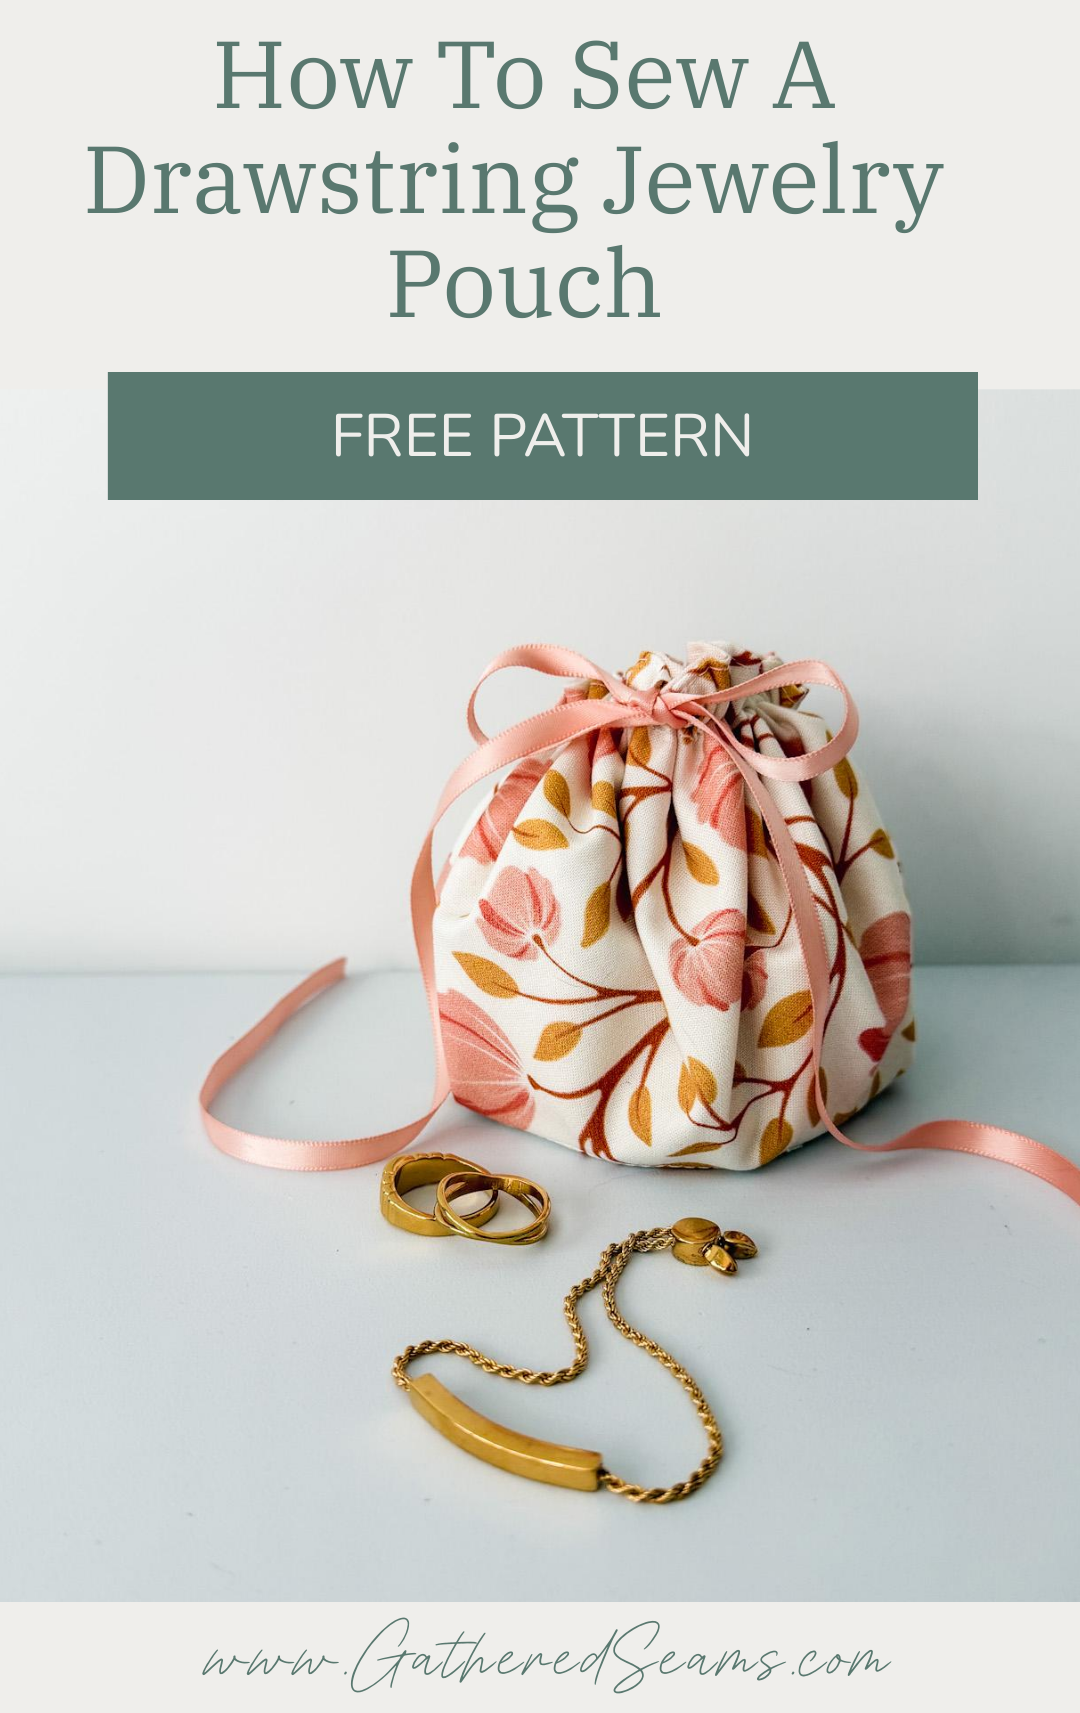
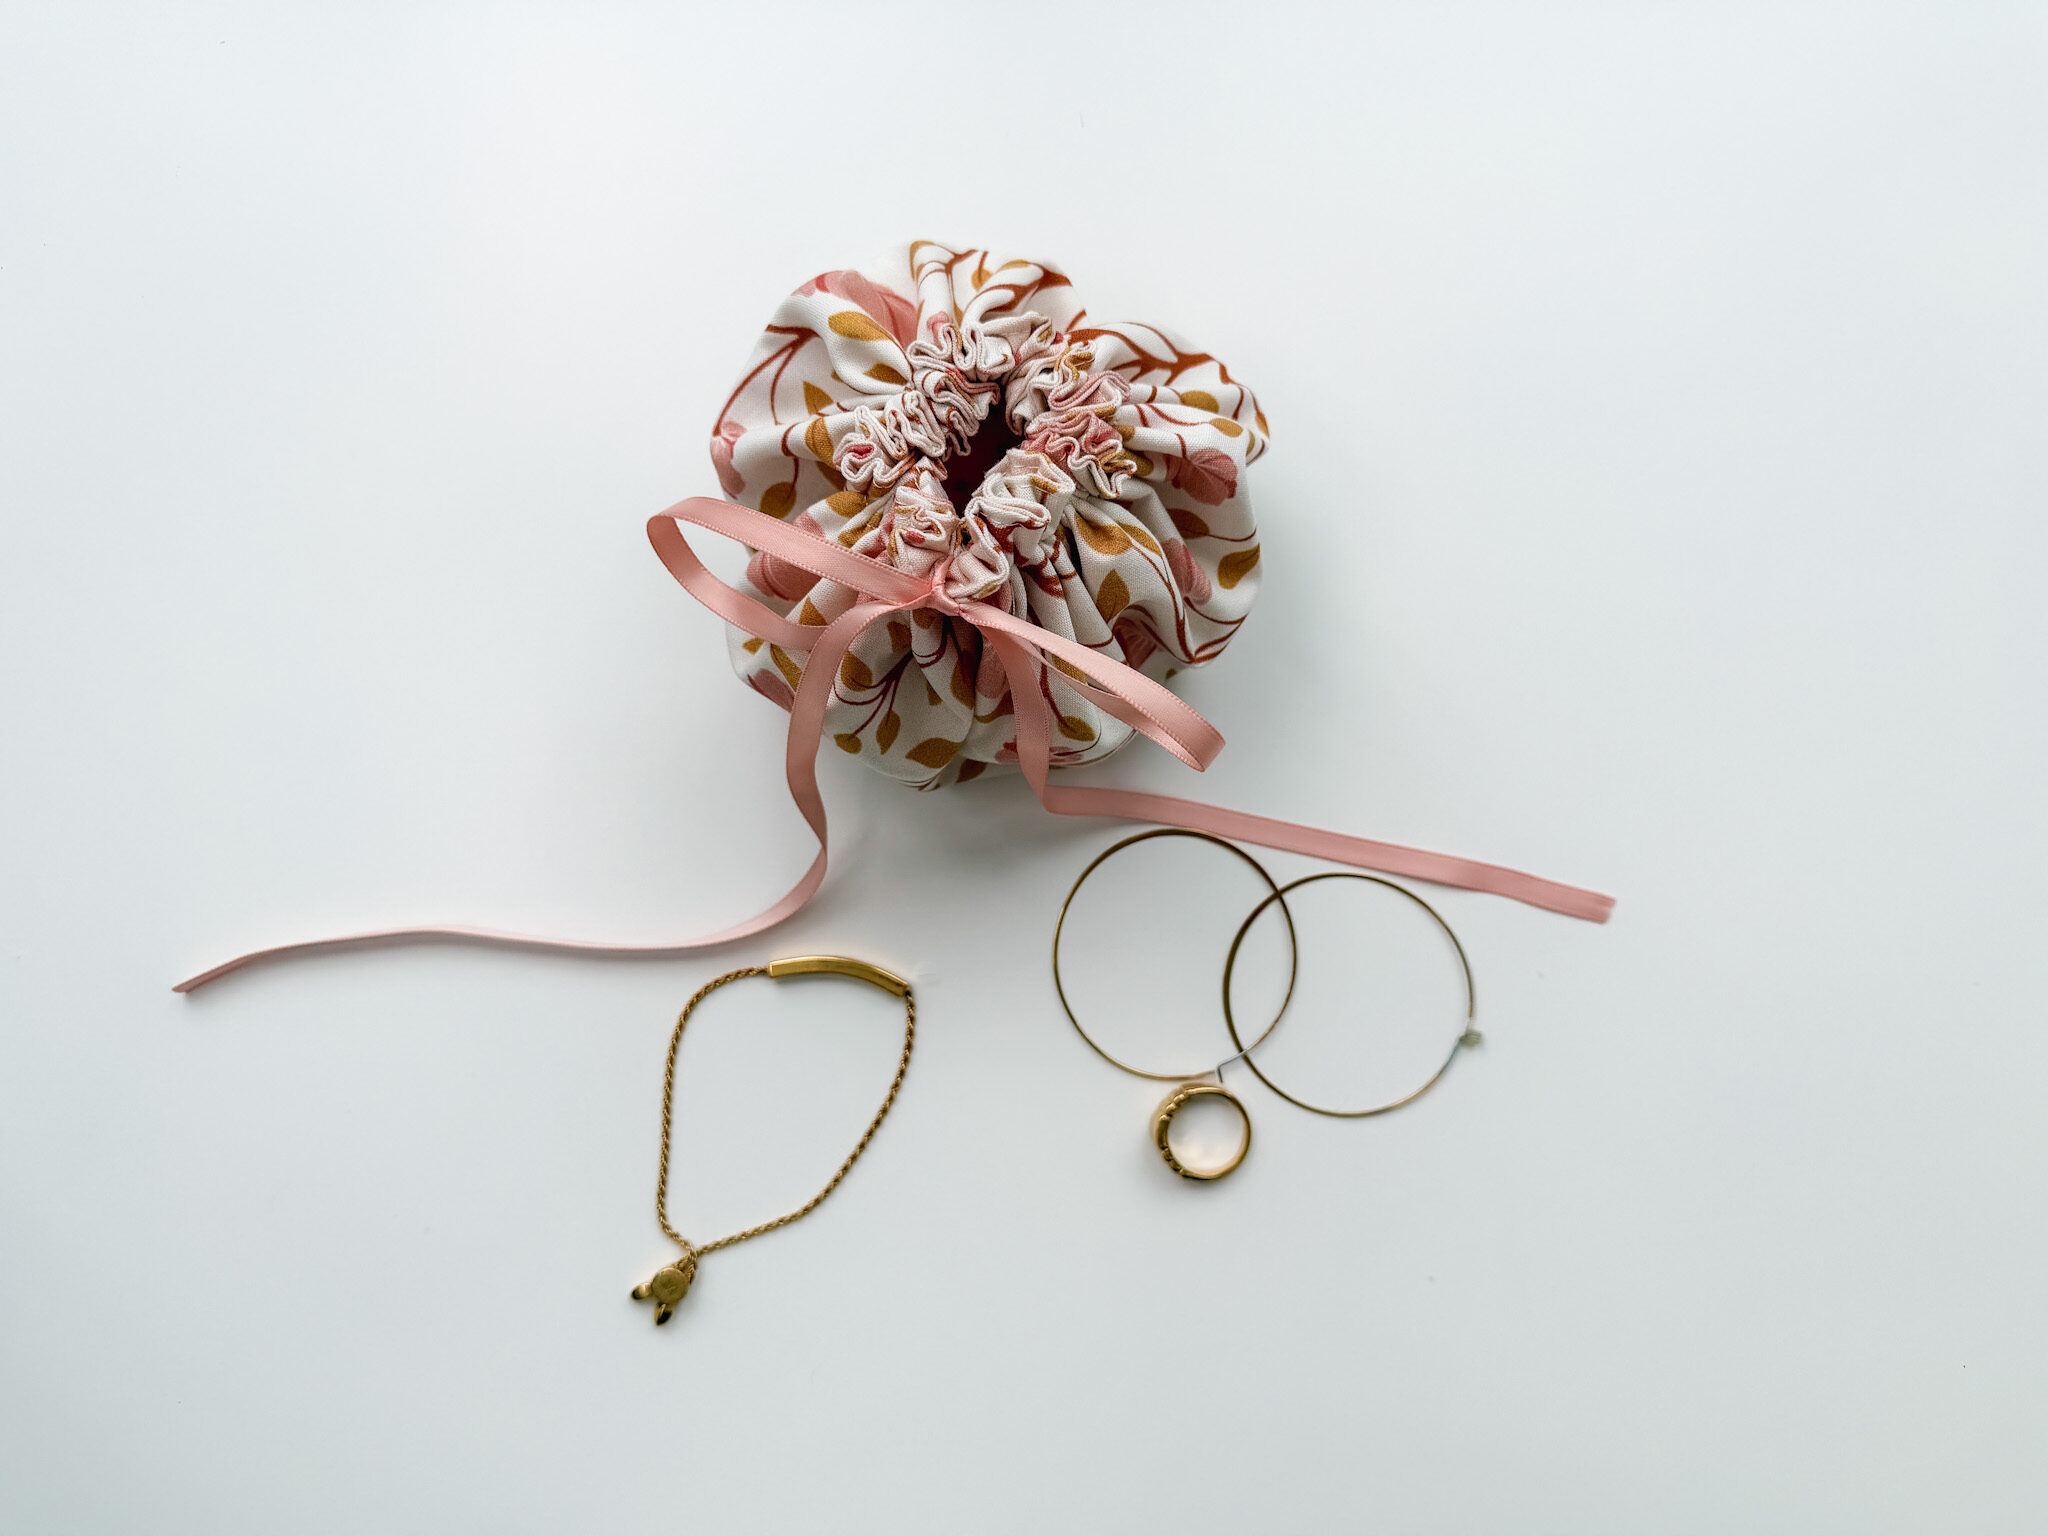
This is a simple sewing project to keep your jewelry organized in your drawer or when going on a short trip.
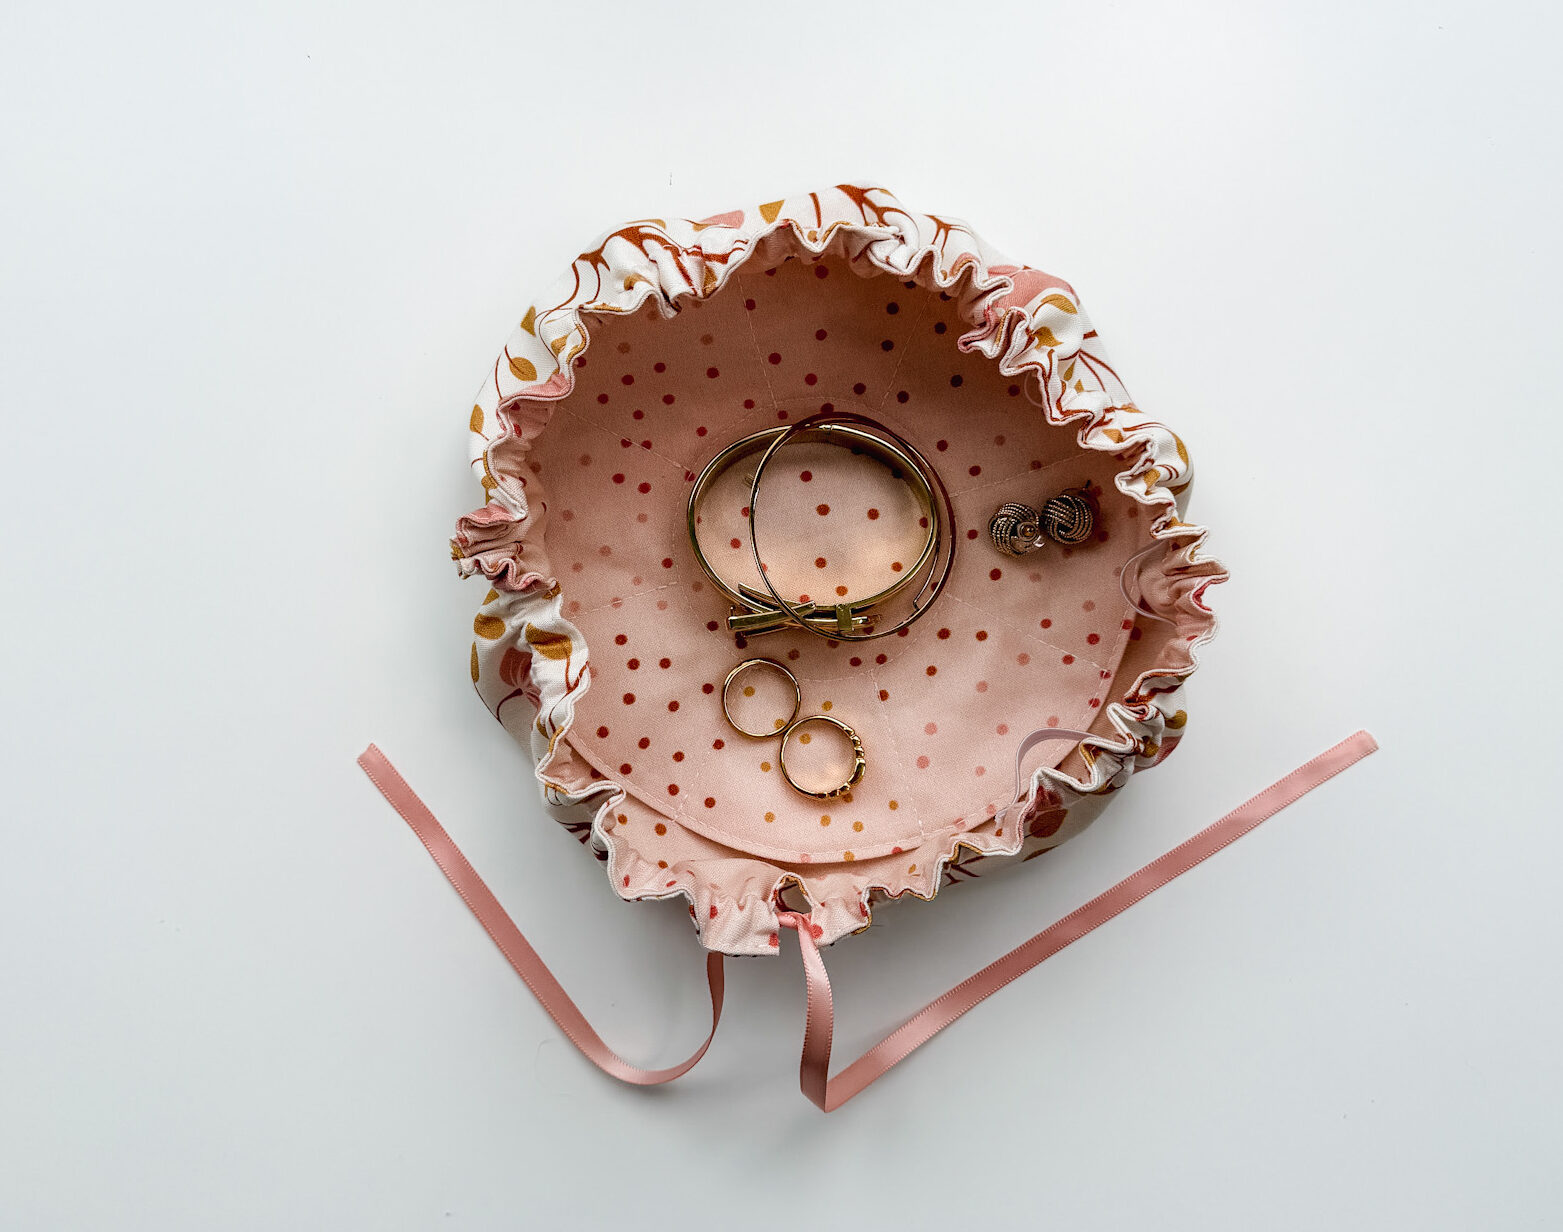
The pouch has 8 interior pockets, as well as optional loops to secure necklaces and help ensure they don’t get tangled. There’s a spot in the center for larger items such as bracelets and watches.
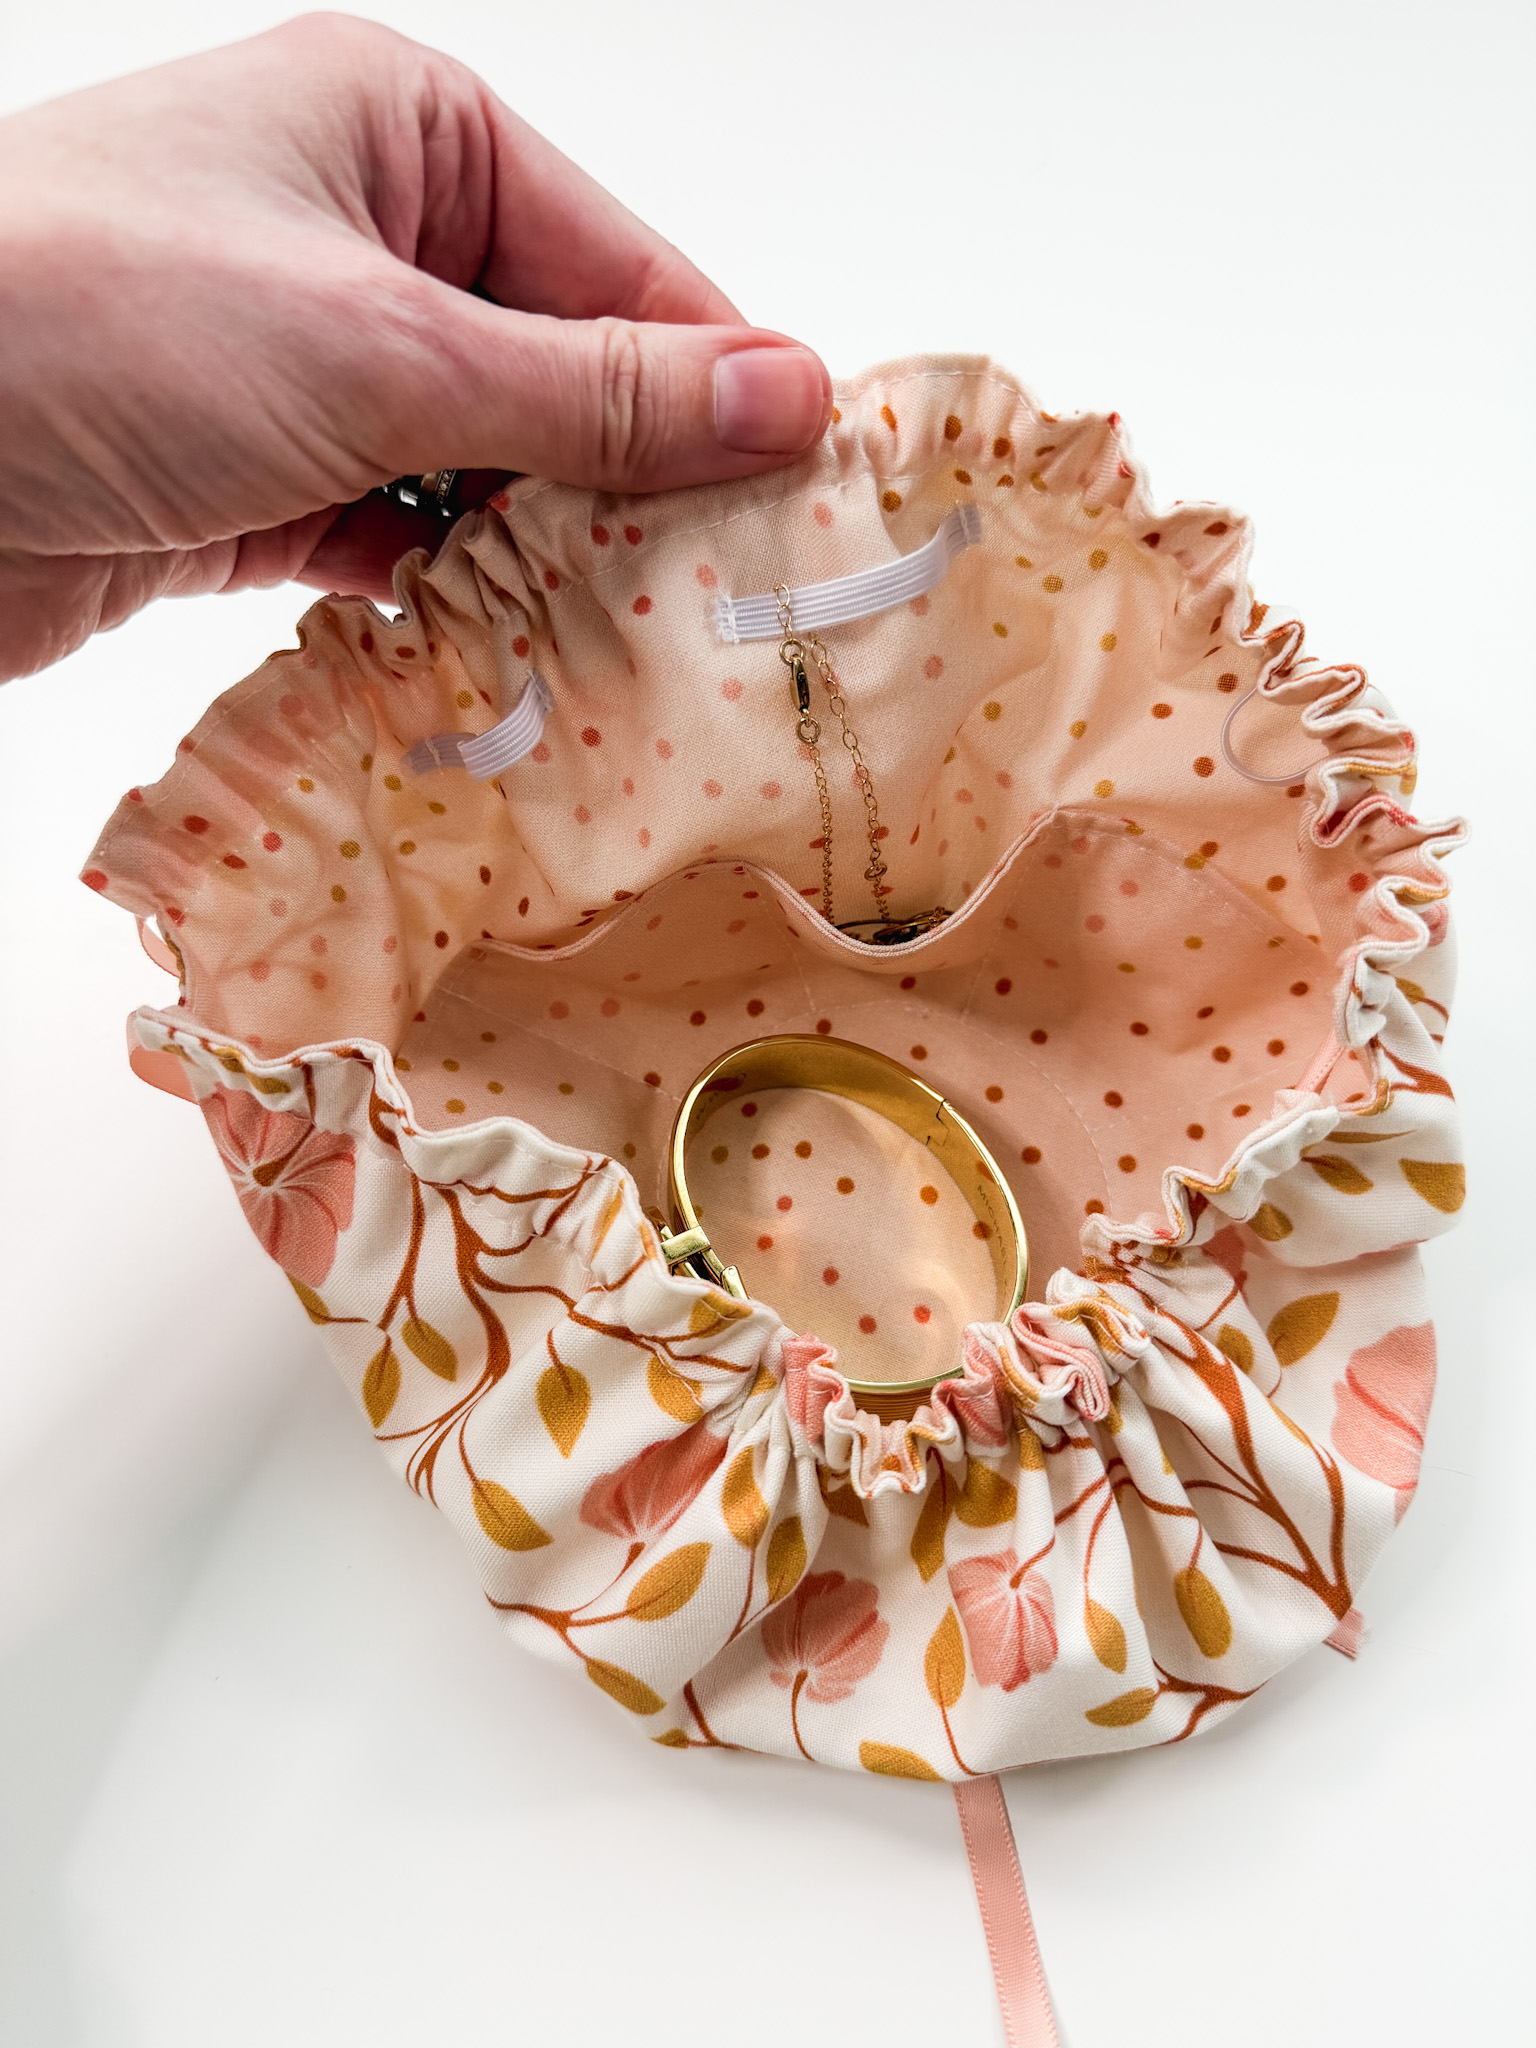
Because this pouch only has a drawstring closure, it’s best to keep it in another bag with a zipper closure to ensure nothing falls out. Also, keep in mind that there are no closures on the interior pockets. So this pouch is best used for storing jewelry at home, or when you know your bag won’t be tossed around.
Materials
- Outer fabric
- Lining fabric
- Thin ribbon or rope (I used 1/4″ wide ribbon)
- 1/4″ wide elastic (optional; for adding hang loops for necklaces)
- Thread
Tools
- Sewing machine
- Iron
- Scissors
- Temporary fabric pen

How to sew a drawstring jewelry pouch
Step 1
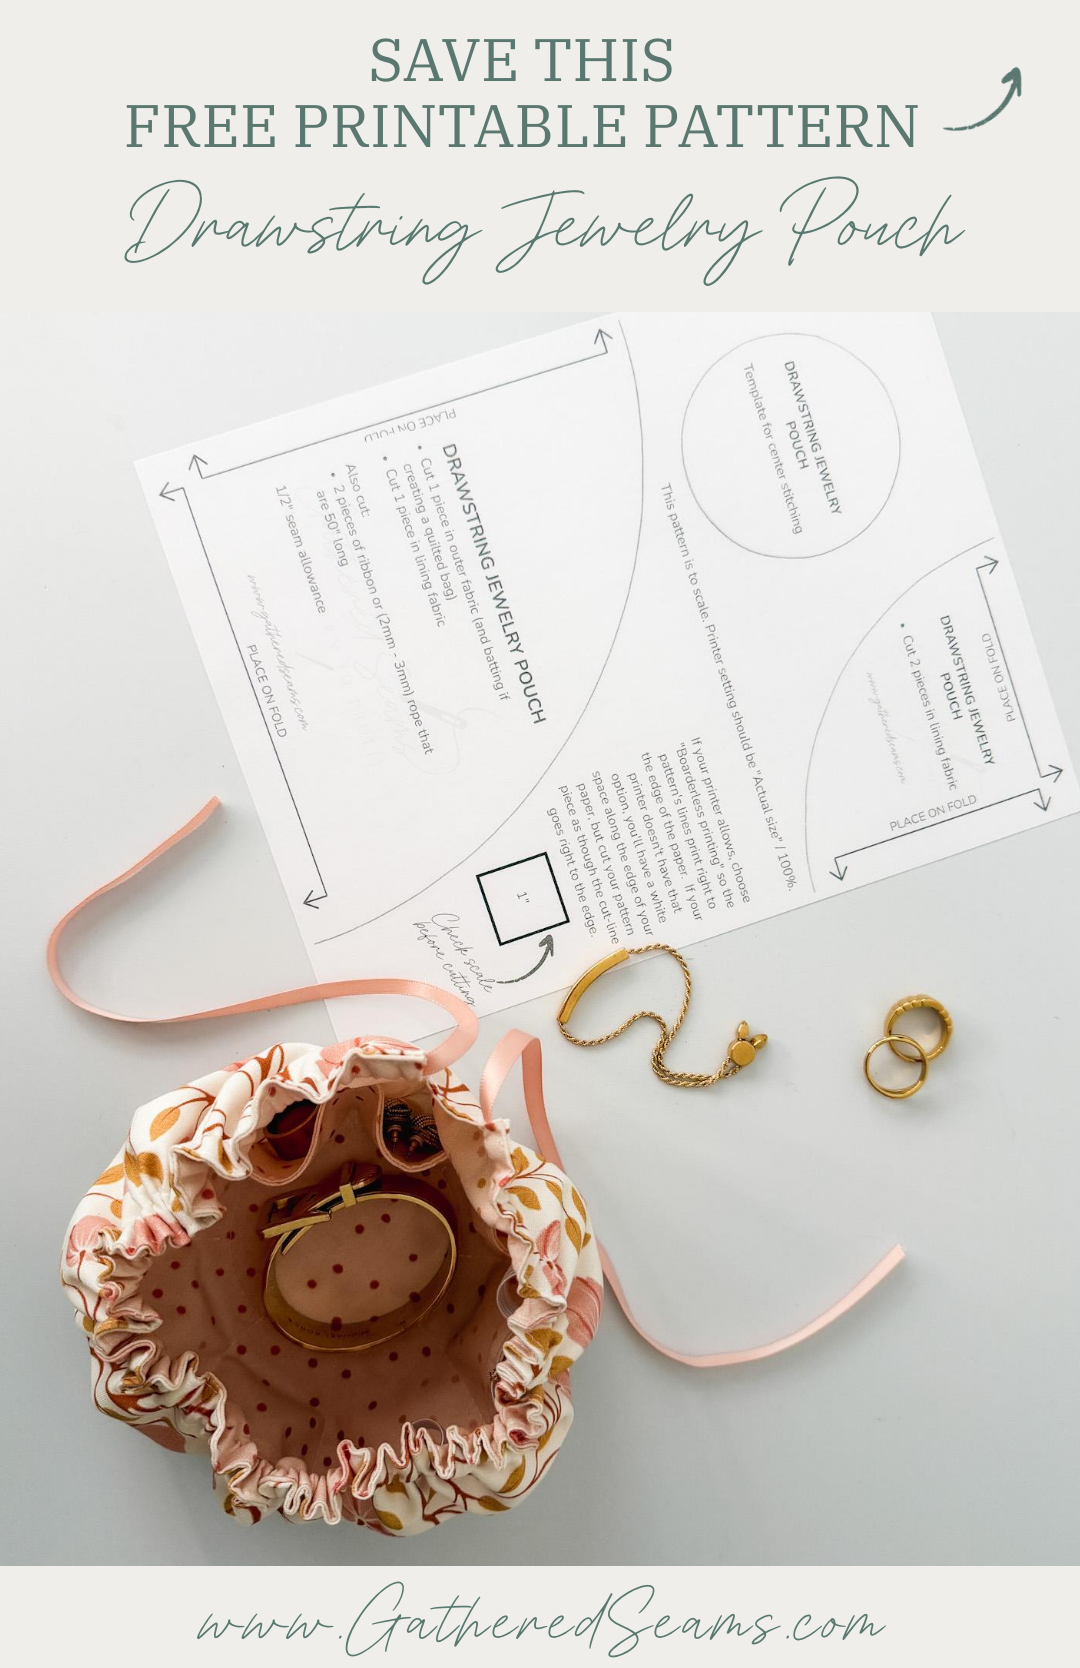
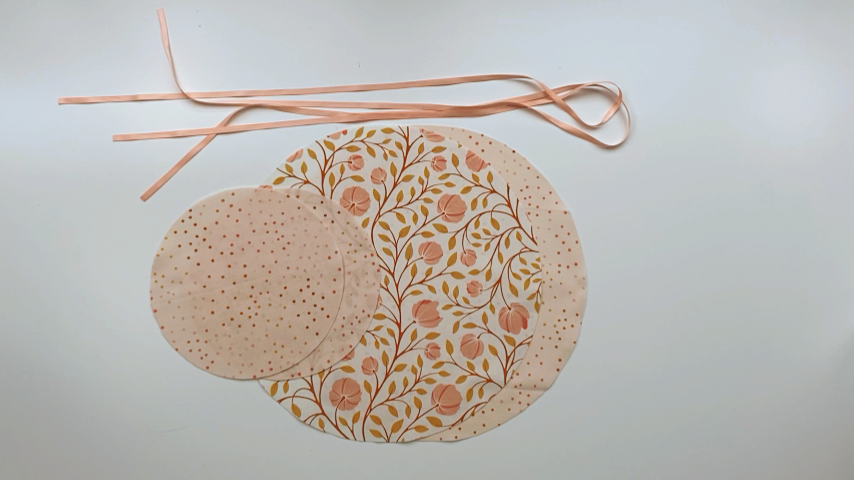
Print the free pattern and cut out your pieces. You will need:
- Large circle:
- 1 piece in outer fabric
- 1 piece in lining fabric
- Small circle:
- 2 pieces in lining fabric
- 1 piece of ribbon 45″ – 50″ long
- Optional: 2″ pieces of elastic (I used 1/4″ wide). Cut as many as you would like for loops to hang necklaces.
Step 2
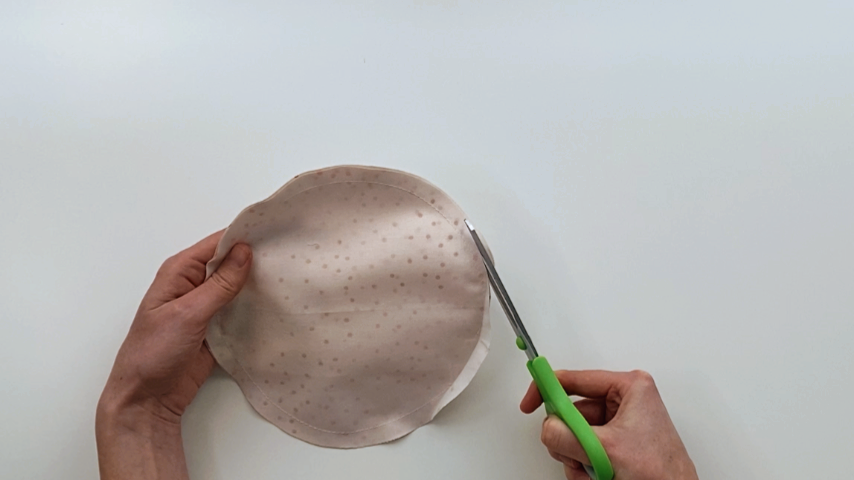
Place the two smaller circles wrong sides together and sew around the circumference using a 1/2″ seam allowance and leaving a 2″ – 3″ opening to turn the circle right side out.
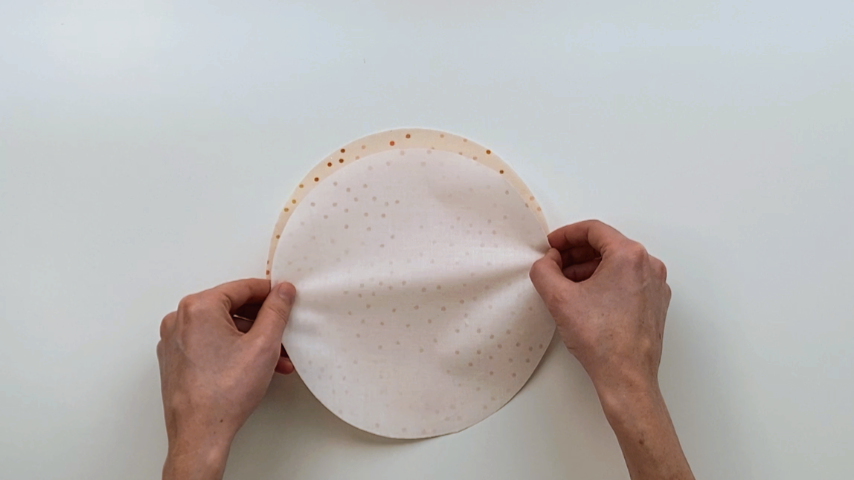

Press the seam allowance back around the opening (it’s easier to get a consistent seam allowance now than when turned right side out).
Trim the seam allowance down by 1/2, leaving the seam allowance at the opening as is.
Turn the circle right side out.
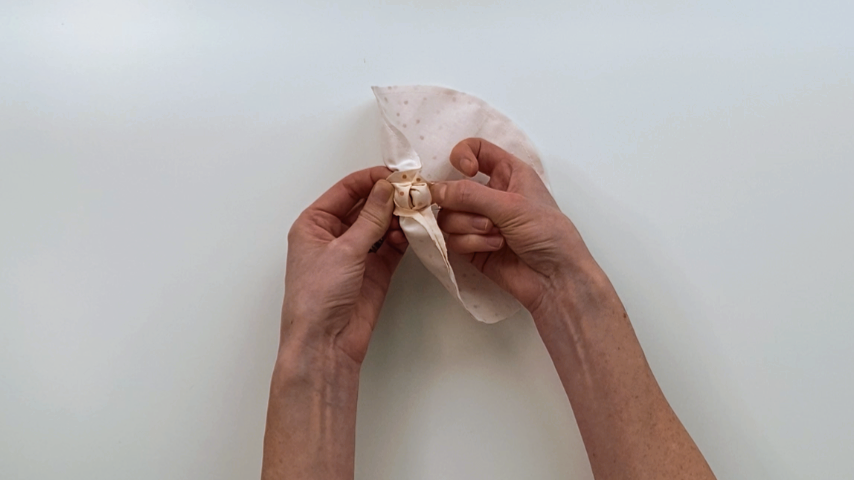
Then press the edges.
Step 3
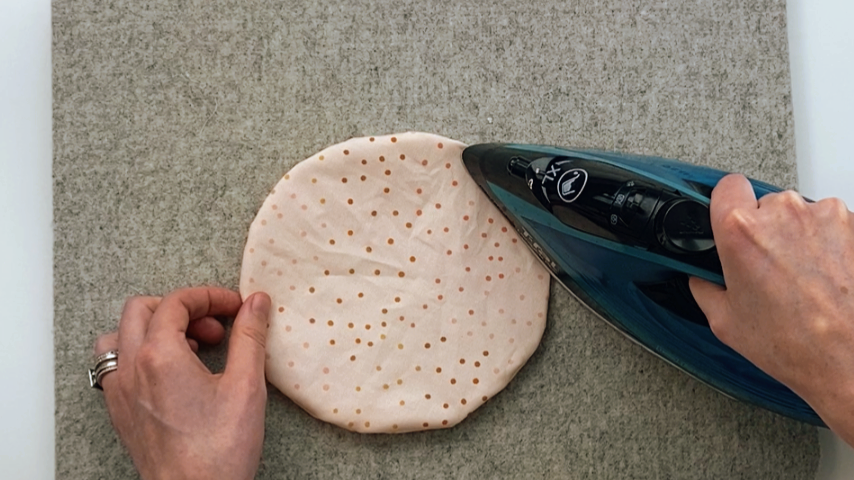
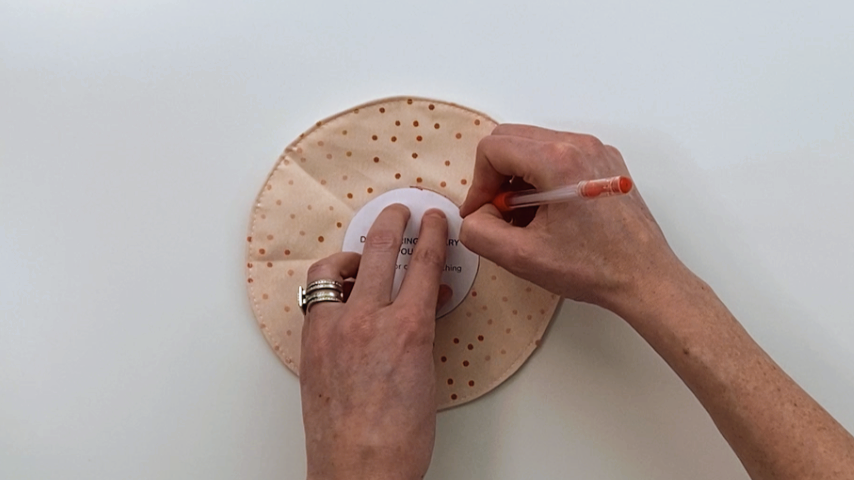
Fold the pocket circle in half three times until you have a pie shape and use your fingers or an iron to crease the edges.

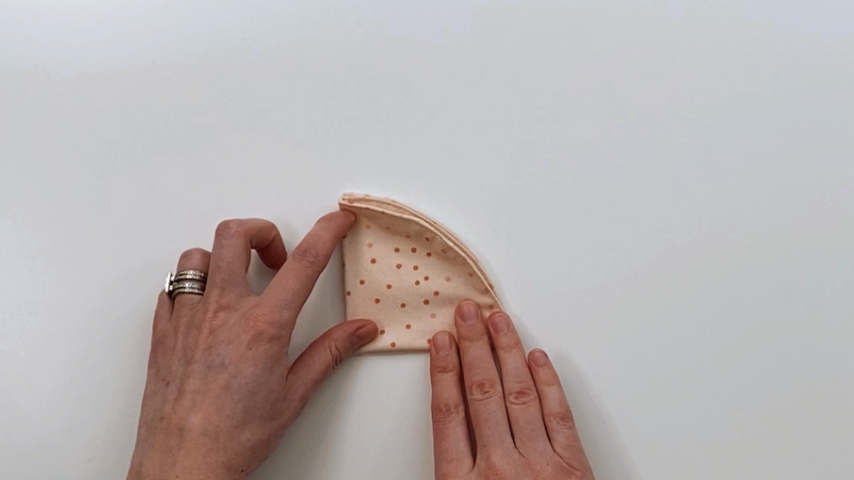
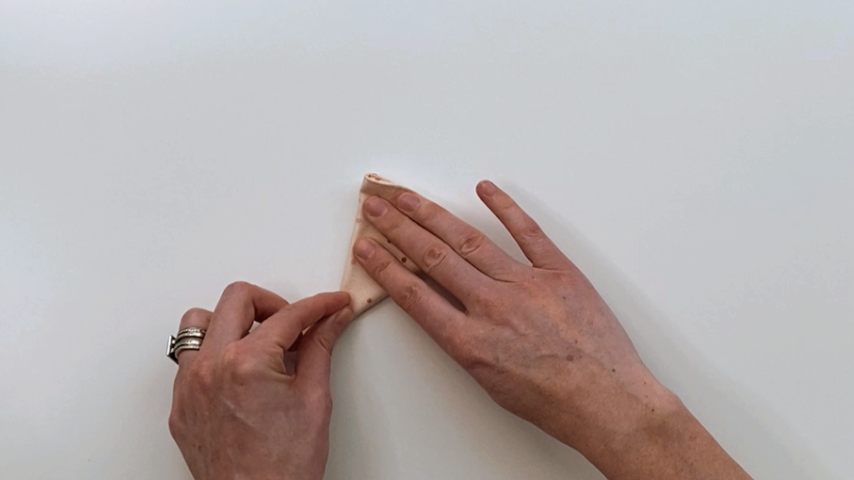
Centre the smallest circle template and use a temporary fabric pen to trace around the outside.
Step 4
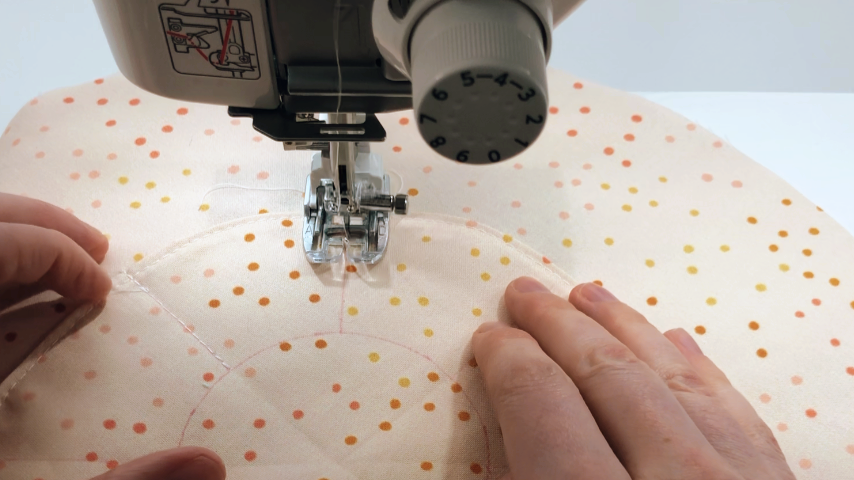
Center the pocket circle on the larger lining circle. It should be about 3-1/4″ away from the edge.
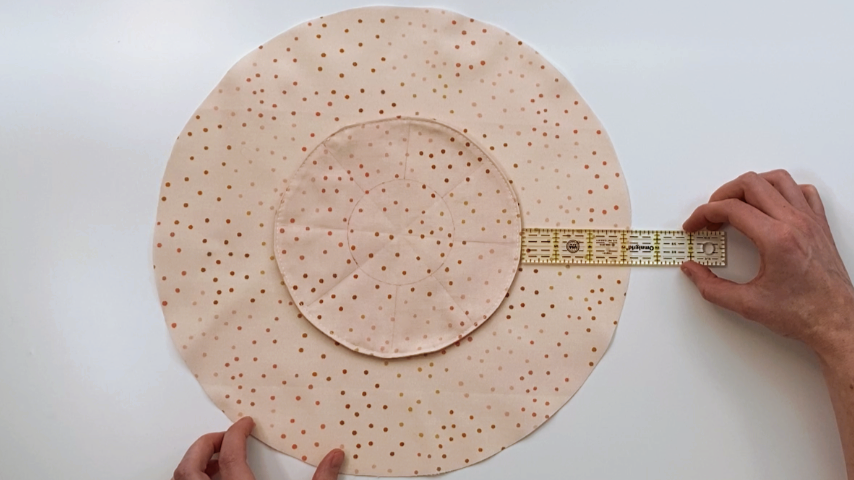
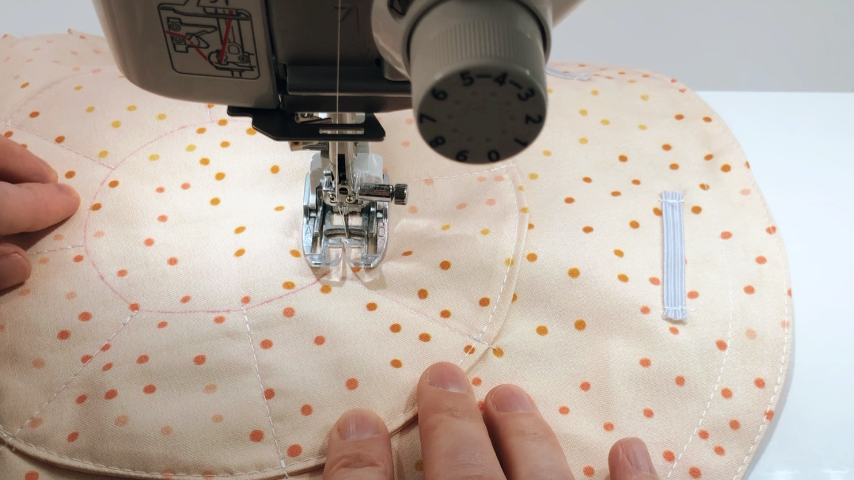
Sew along the creases around the pocket circle to create individual pockets. Only sew up to the traced line of the inner circle.
Optional: add your elastics, placing them about 1.5″ away from the edge of the large circle.
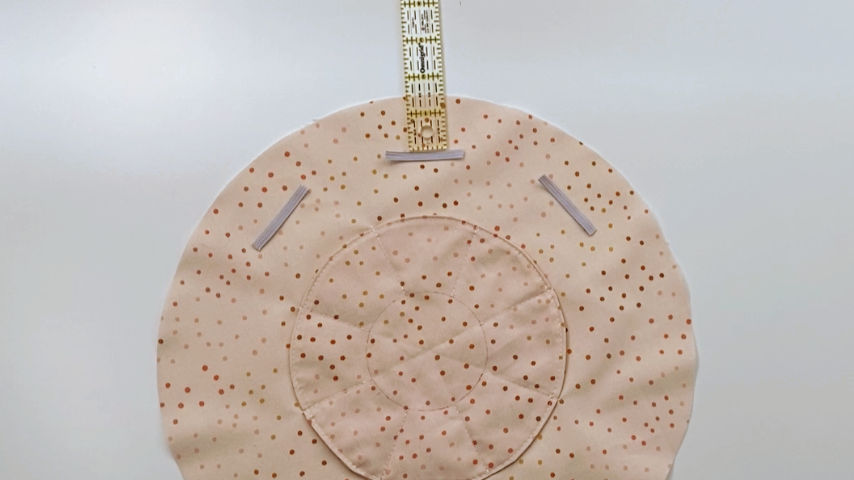
Sew on both ends of each elastic.
Step 5
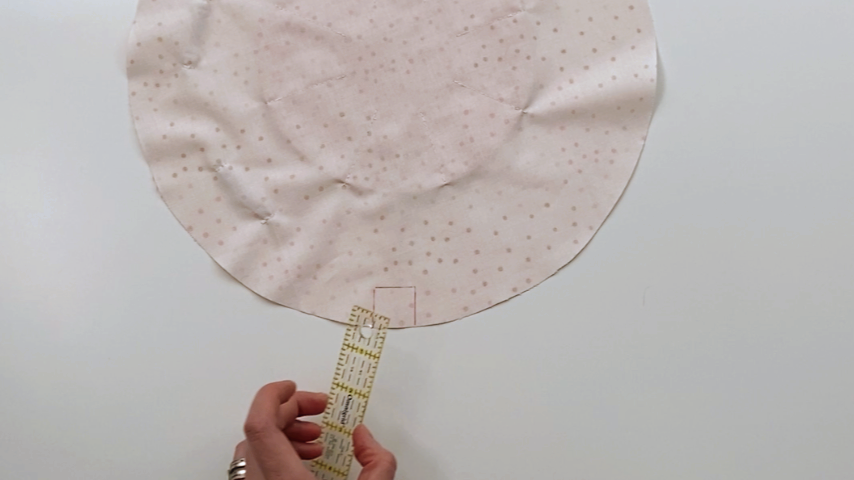
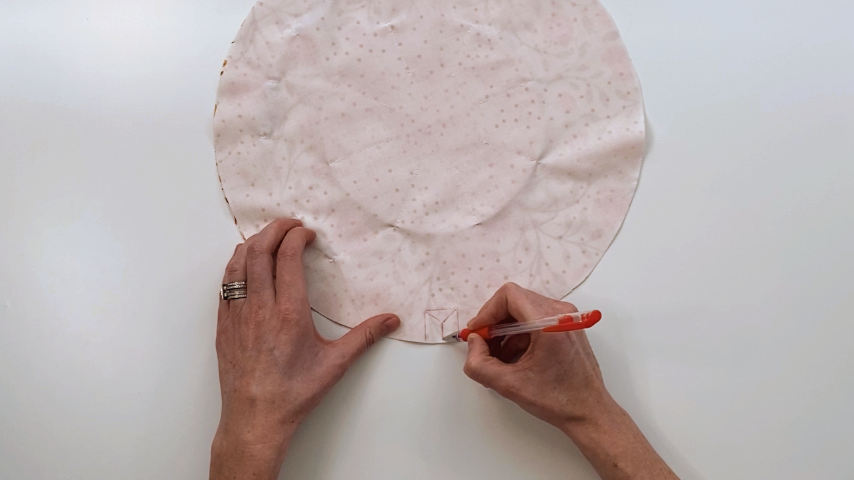
On the back side of your lining piece, draw a 1″ x 1″ square (bottom doesn’t need a line) along the edge.
Place your lining and outer circle right sides together.
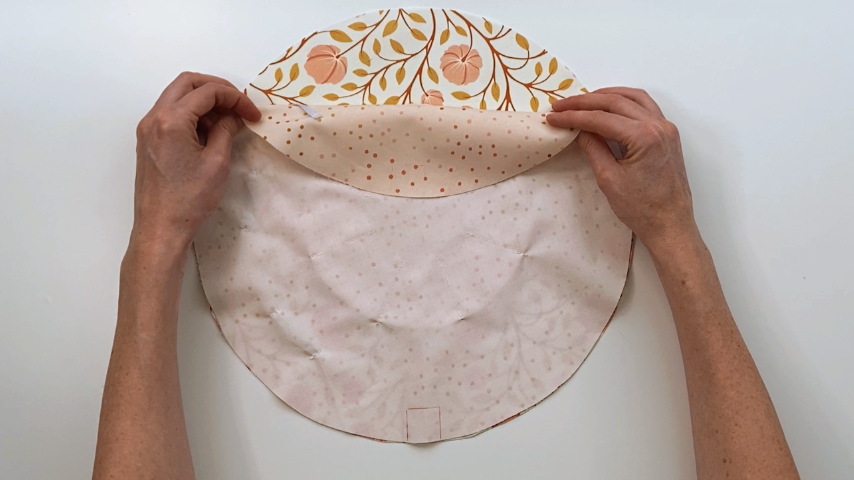
Then sew along the top line of the square. Do not sew down the sides.
Step 6
Draw a “Y” in the middle of your square.
Then cut up the centre line and to each corner. Don’t cut your stitching.
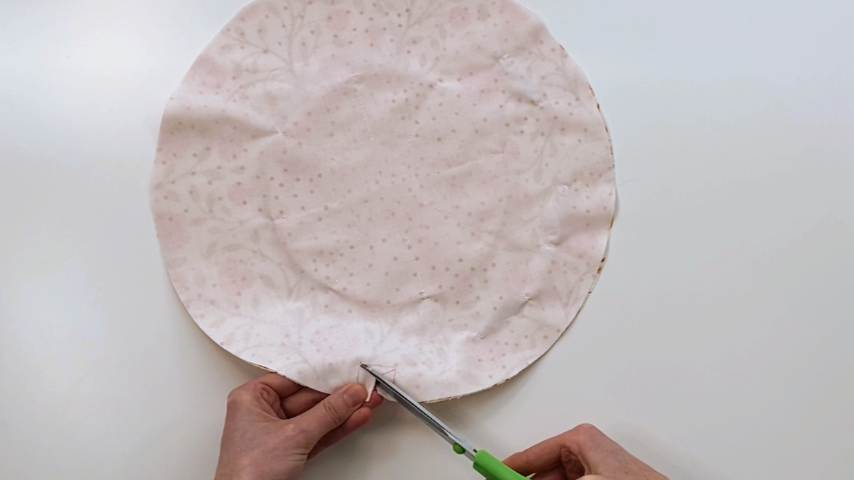
Fold back the left and right side of that opening and press.
Flip the circle over and repeat on the other side.

Step 7
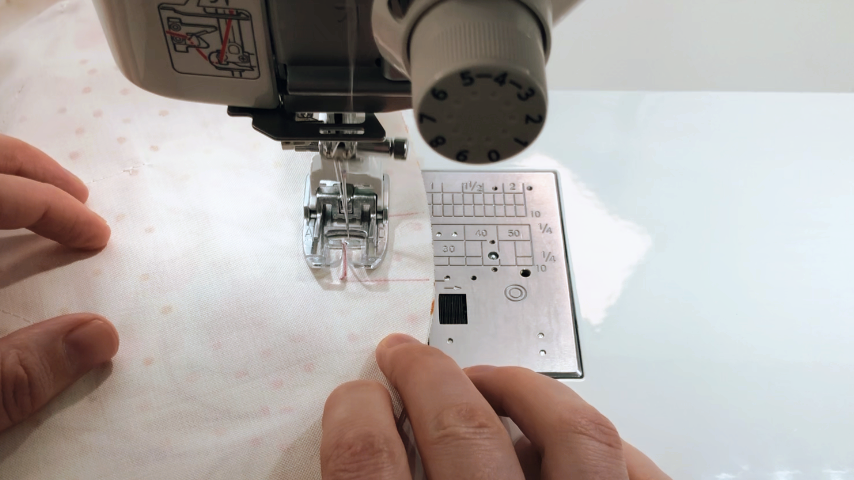
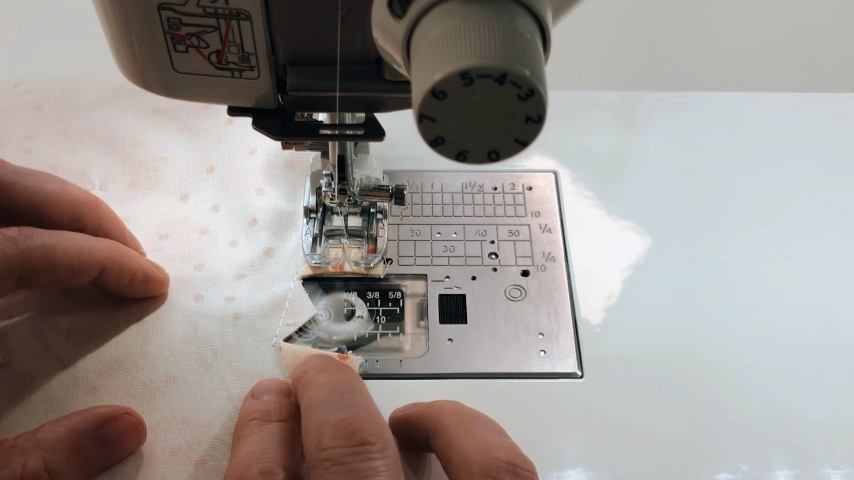
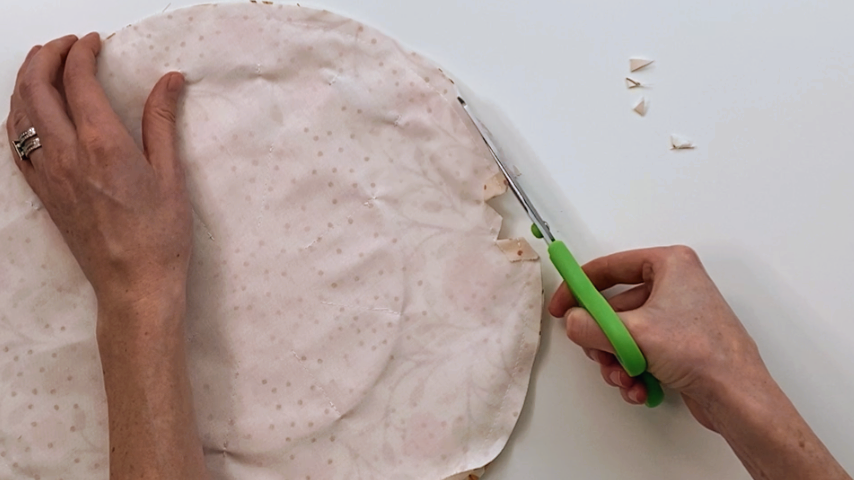
Sew around the circumference of the circle using a 1/2″ seam allowance and leaving a 3″ opening to turn the circle right side out.
When you come up to the square, backstitch, then start sewing on the other side of the opening, backstitching to start.
Press the seam allowance back at the opening.
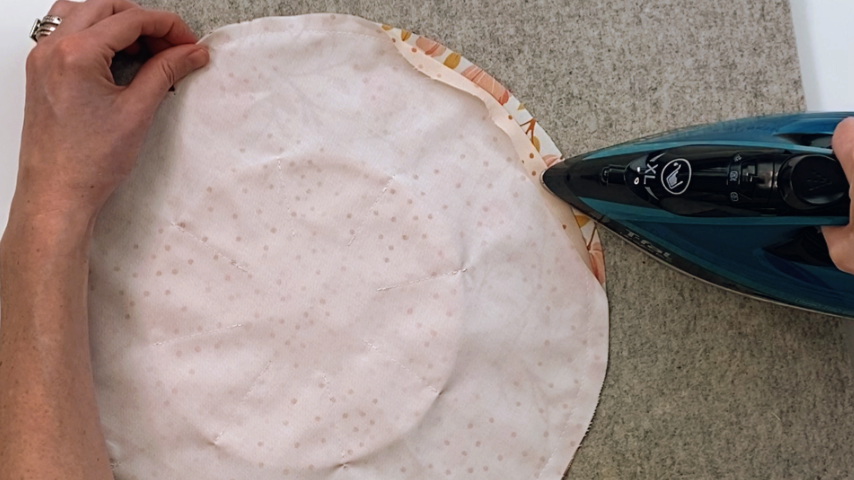
Clip the seam allowance at a 45-degree angle on either side of the square. Trim the seam allowance down by half, leaving the seam allowance at the 3″ opening as is.
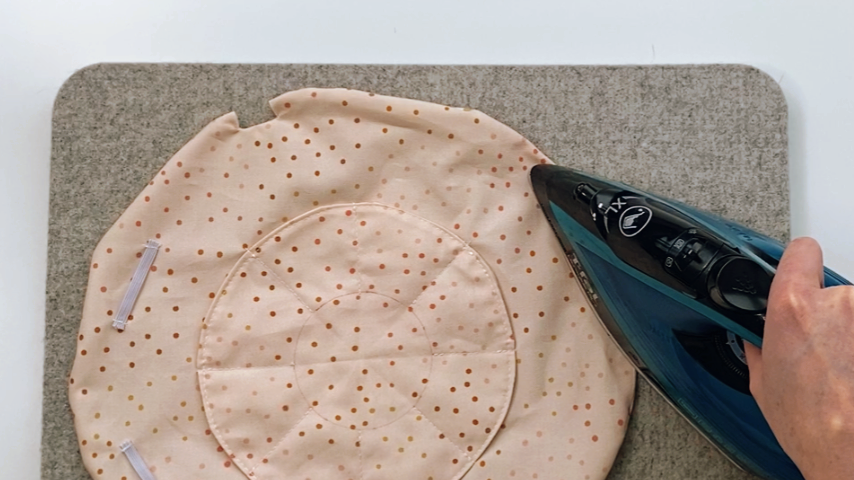
Turn the pouch right side out and press the seam.
Step 8
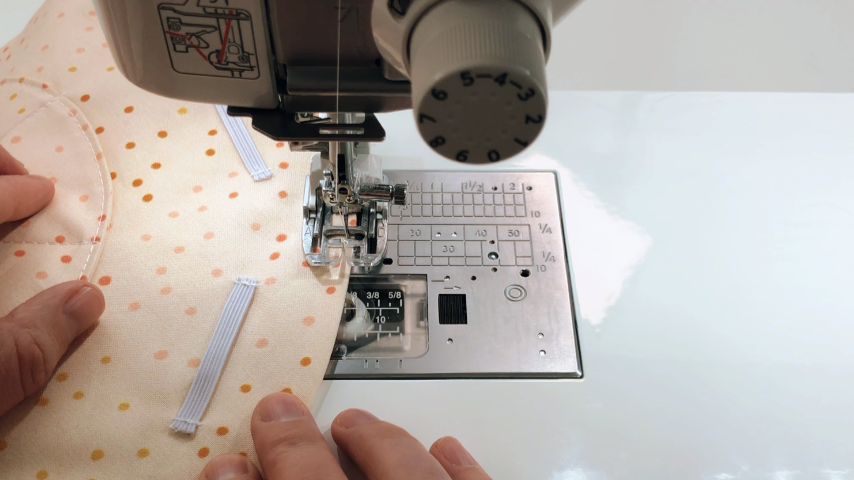
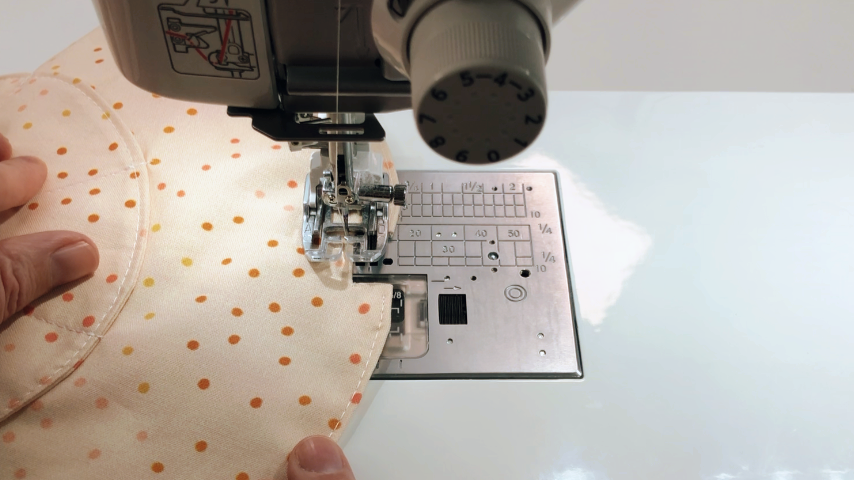
Top stitch 1/8″ away from the outer edge, 1/8″ in from the bottom of the square opening, and around the inner circle you traced.
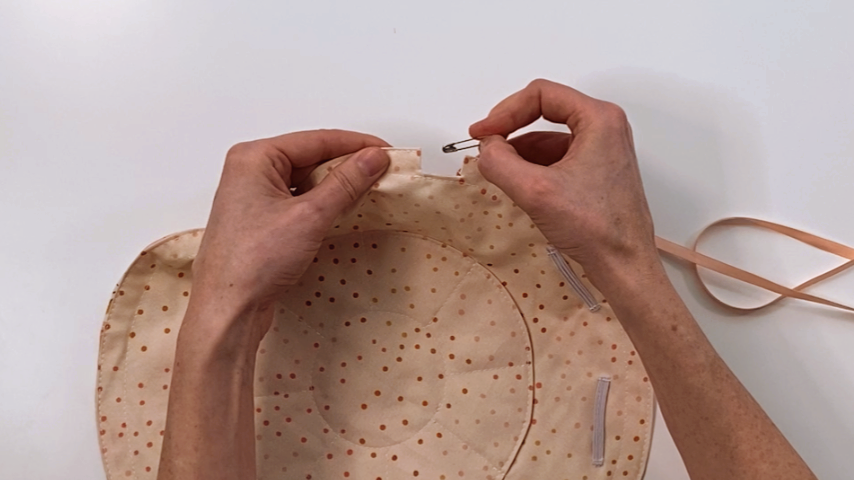
Step 9
Use a safety pin or bodkin to thread the ribbon through the channel.