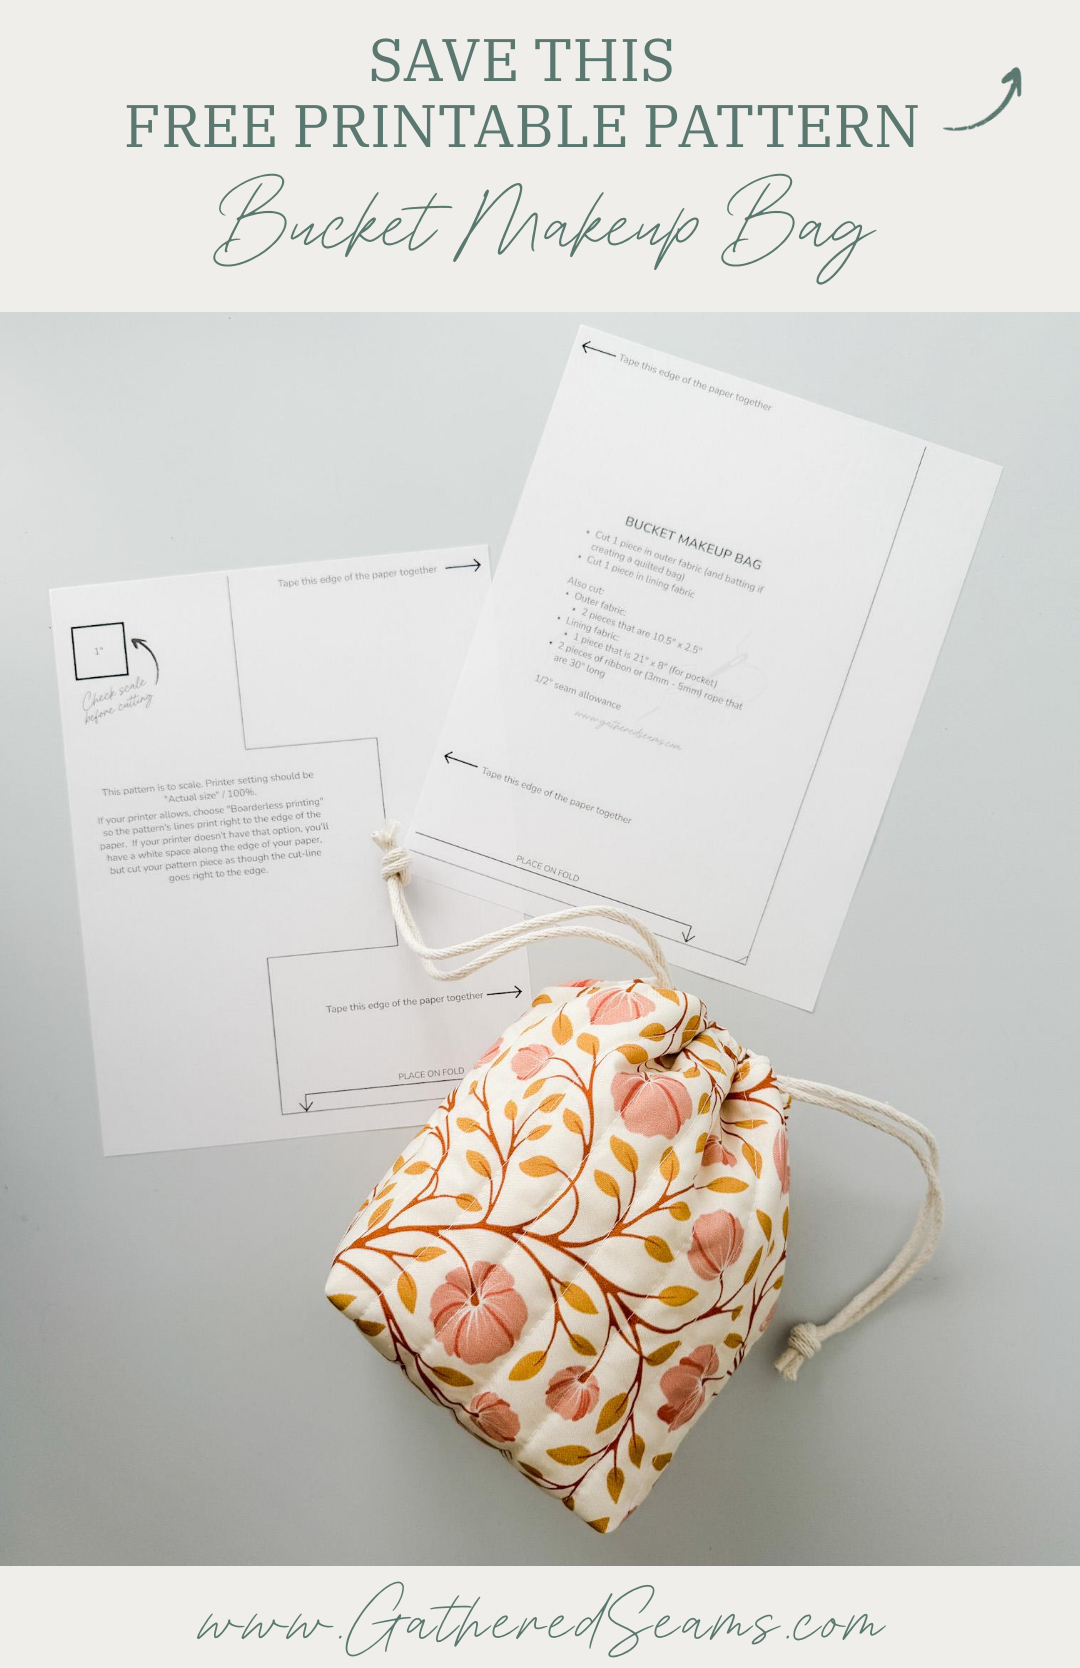
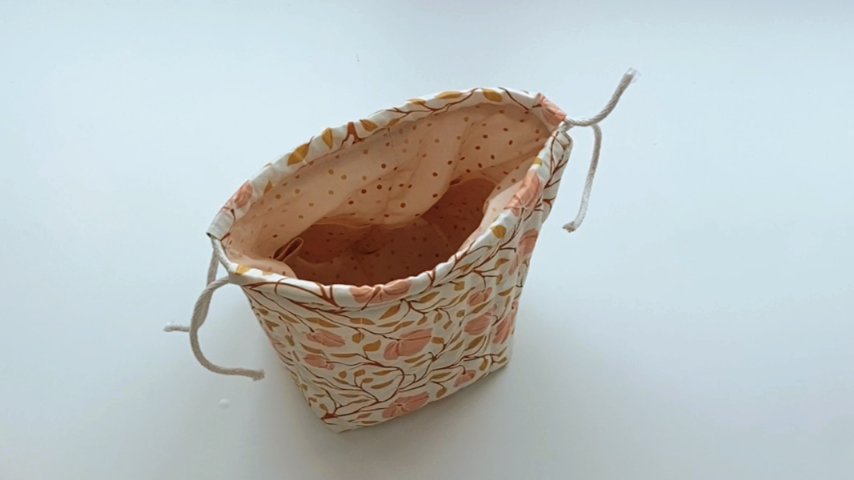
How To Sew A Bucket Makeup Bag | Free Sewing Pattern
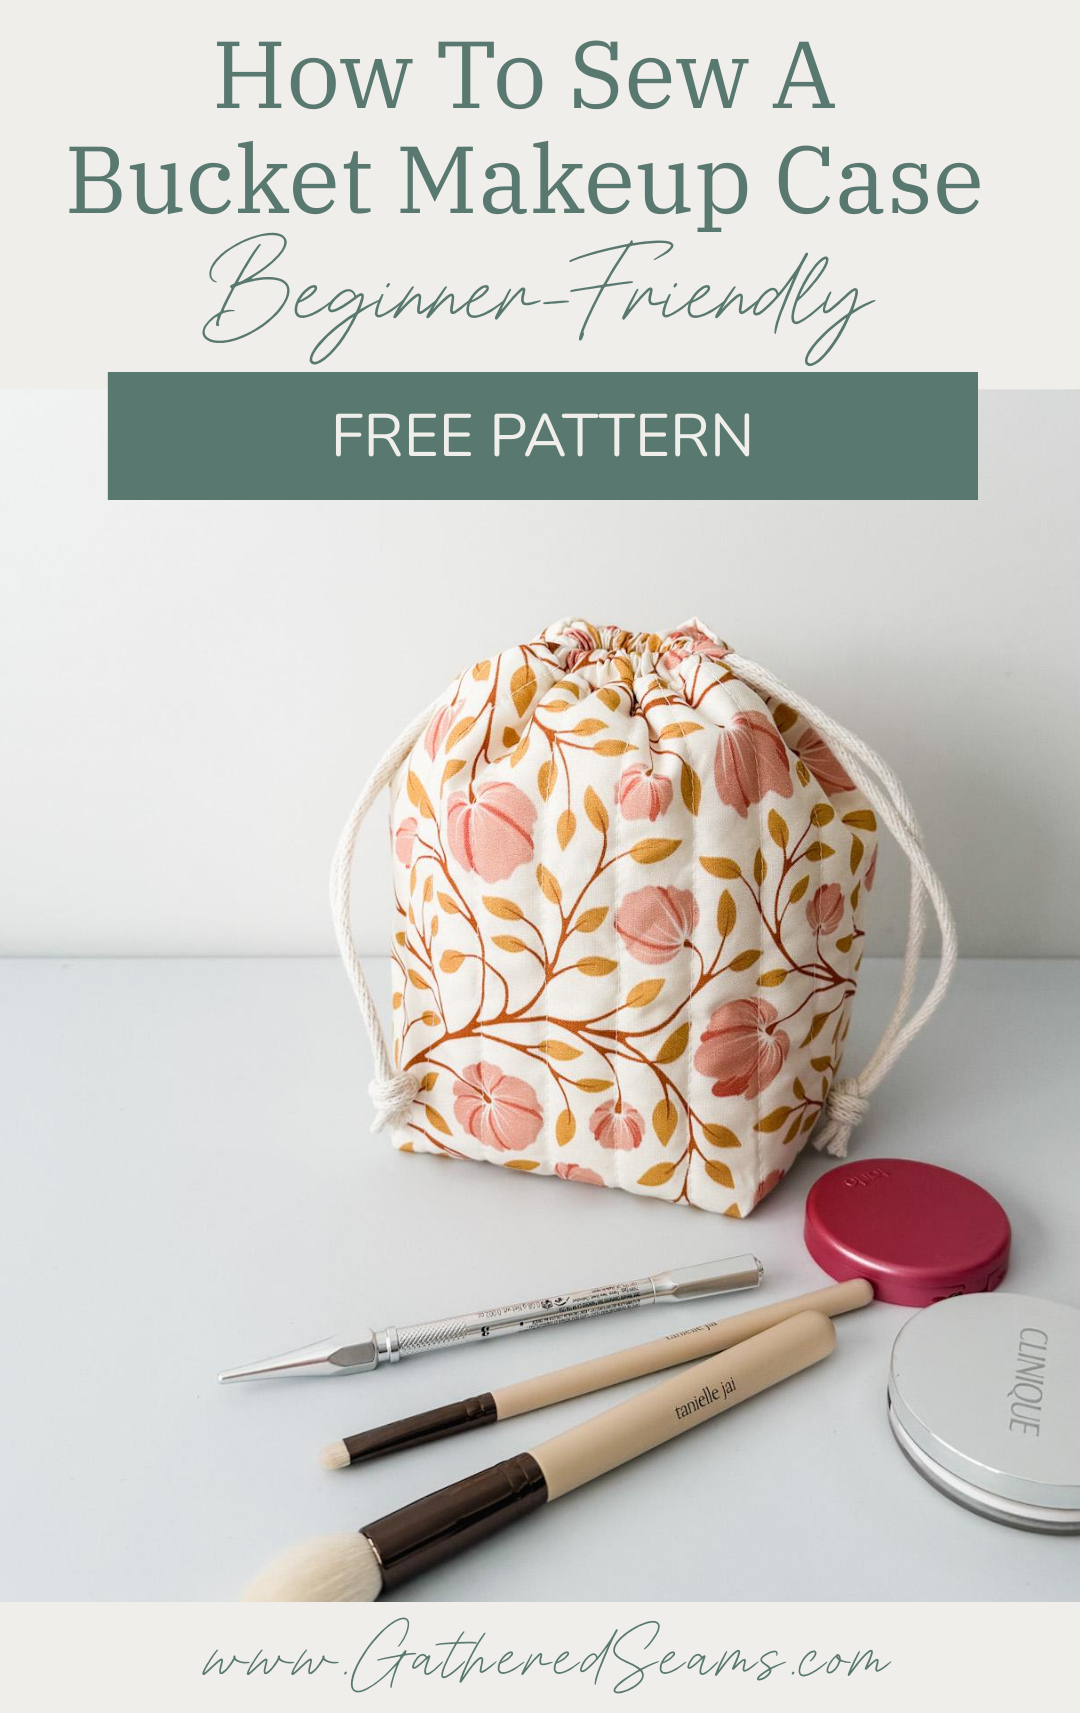
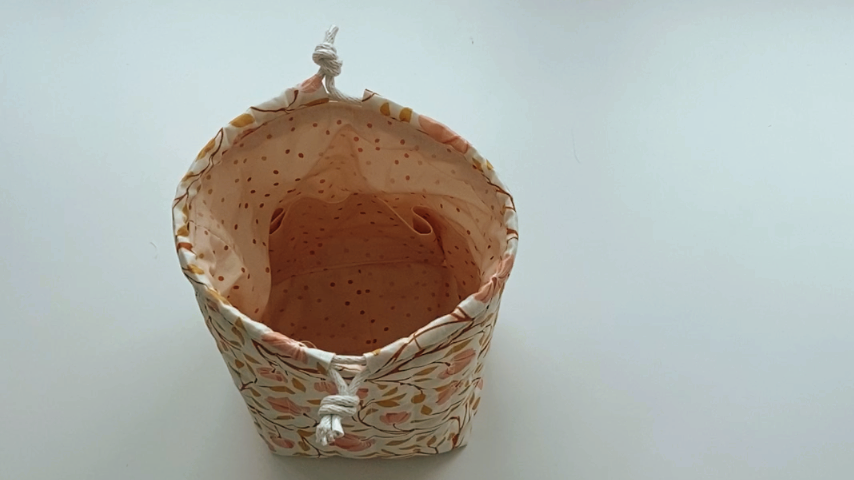
This is a beginner version of a bucket bag because it’s not actually a cylinder. The bottom is a box shape, making it easier to sew.
Materials
- Outer fabric
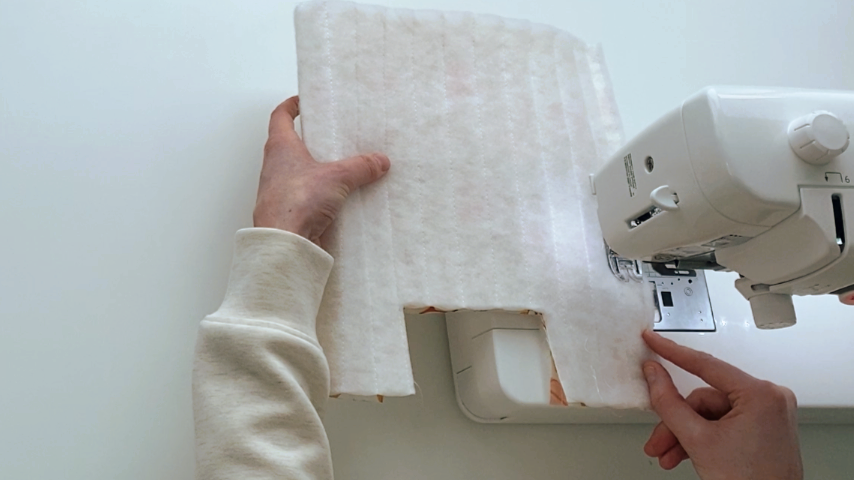
- To add structure to your makeup bag, you can either add batting or use a medium-weight fabric. I use a quilting cotton and extra loft polyester batting.
- Lining fabric
- Ribbon or rope (a 3mm – 5mm rope is ideal)
- Thread
Tools
- Sewing machine
- Walking foot (if creating a quilted bag)
- Iron
- Scissors or rotary cutter
- cutting mat
- pins
- clips
- temporary fabric marker

Step 1
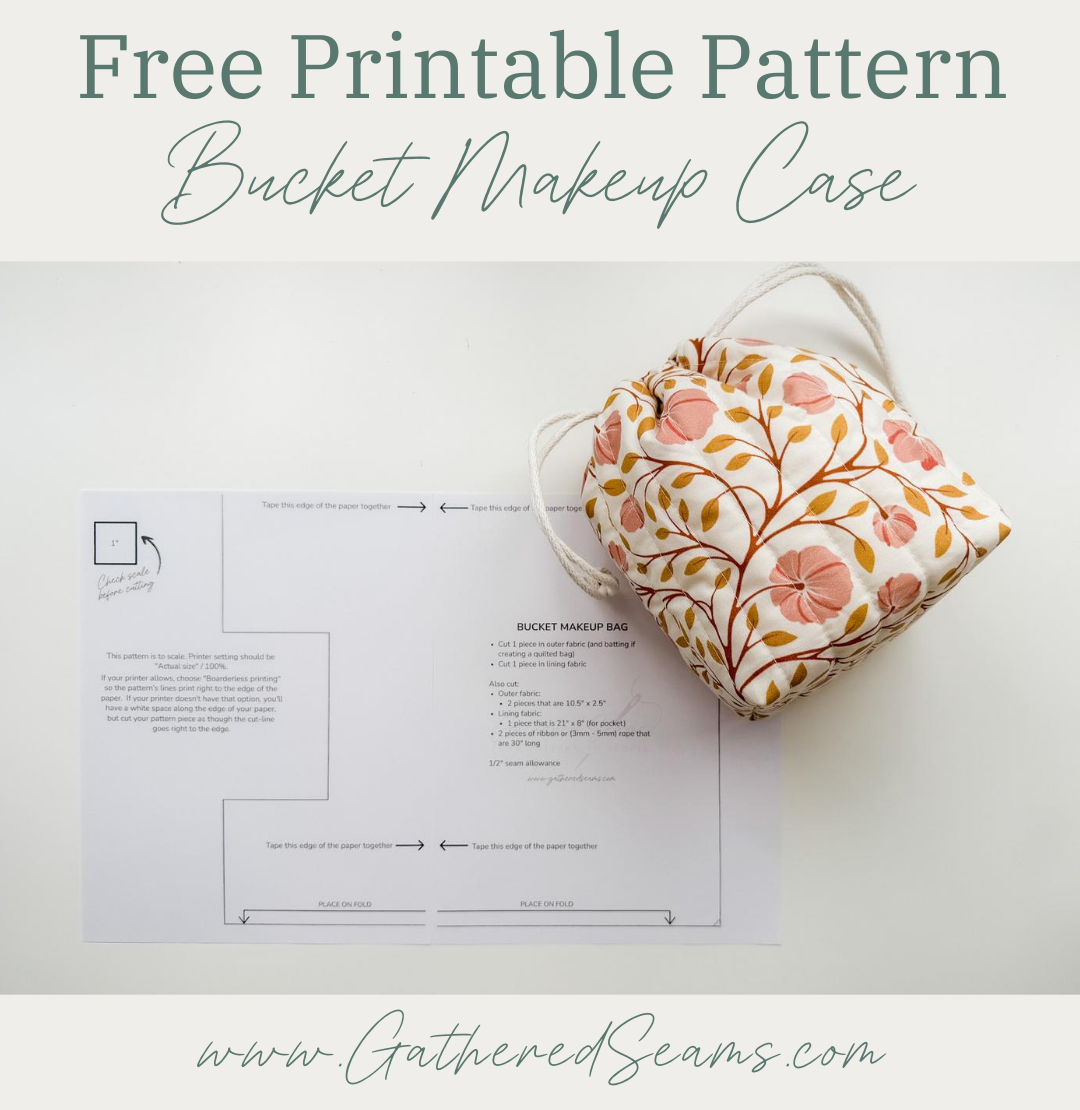
Print your pattern pieces, tape them together, and cut them out. When taping the two pieces of paper together, butt up the two edges (don’t overlap).
In your pattern piece, you’ll need:
- 1 piece in your outer fabric
- 1 piece in your batting (if creating a quilted bag)
- 1 piece in your lining fabric
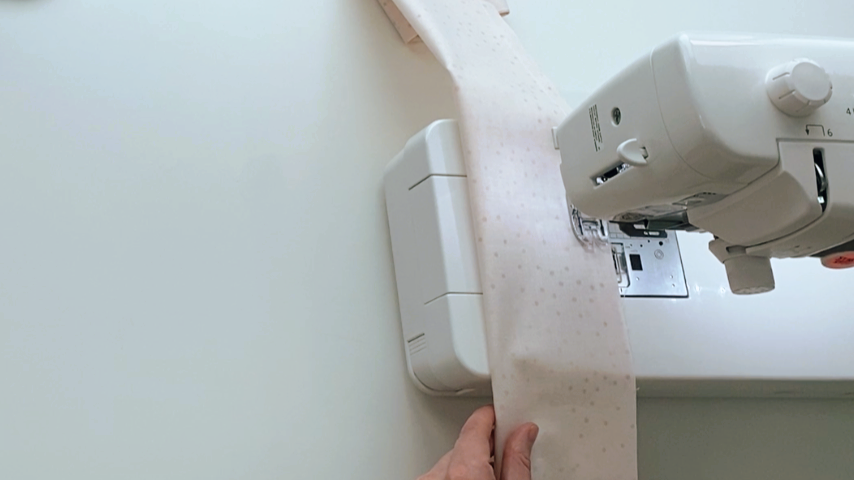
*If creating a quilted bag, cut a rectangle an inch or two bigger than your pattern piece and quilt the fabric first. Then cut out your pattern piece from the quilted fabric. Fabric can shift a lot when quilting so it’s best to quilt it before cutting to ensure accurate pattern pieces.
You will also need to cut:
- Outer fabric:
- 2 pieces that are 10.5″ x 2.5″ (for drawstring)
- Lining fabric:
- 1 piece that is 21″ x 8″ (for the pocket)
- Ribbon or rope (3mm – 5mm)
- 2 pieces that are 30″ long
Step 2
Sew the pocket first by folding the lining fabric piece that is 21″ x 8″ in half lengthwise, with right sides together.
Sew along the long side using a 1/2″ seam allowance.
Press the seam open, then turn the pocket right side out.
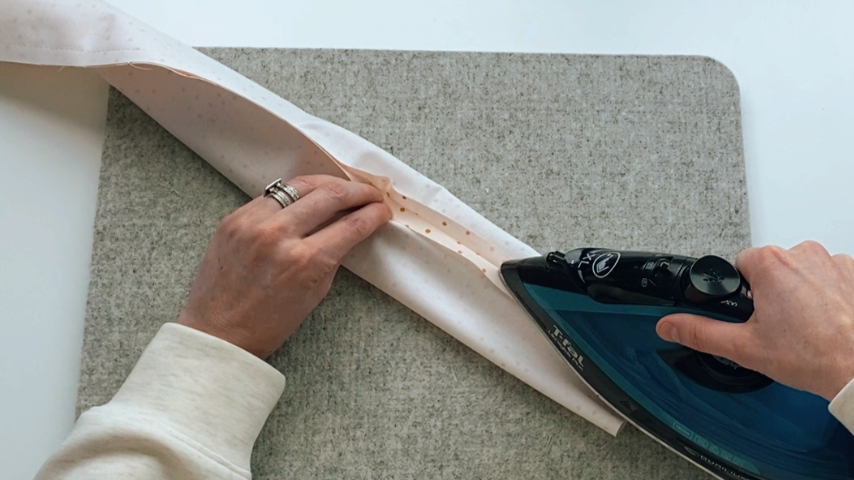
Press again so the seam is along the bottom edge.
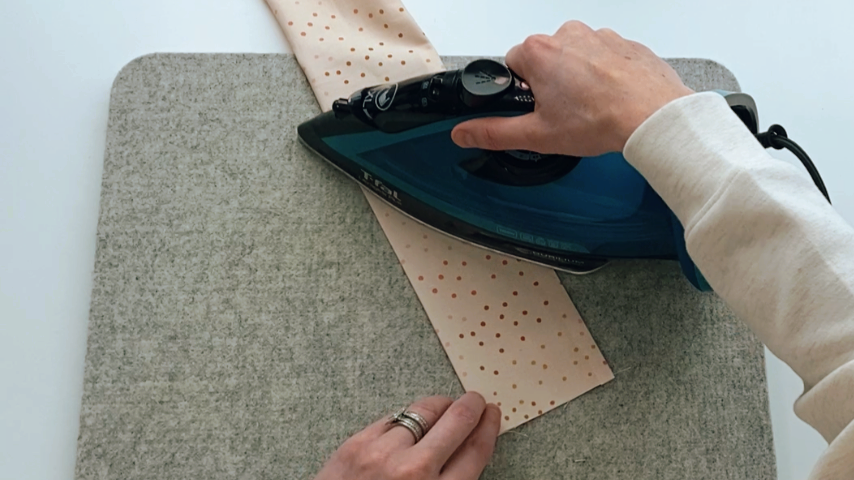
Topstitch along the top (folded) edge)
Step 3
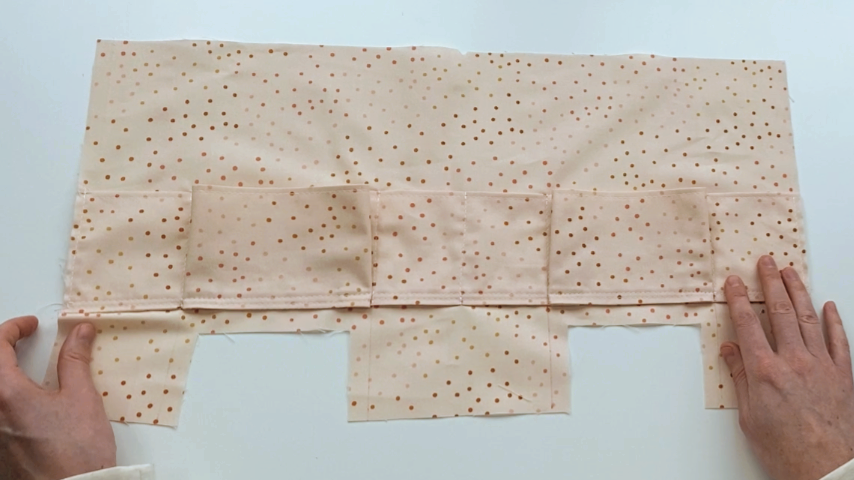
Place your pocket 5/8″ above the top of the two square cutouts.
Baste the two ends in place, then sew along the bottom edge, about 1/4″ away from the bottom of the pocket.
Add vertical stitches to create pockets in a variety of sizes (to hold different sizes of makeup brushes, lip balm, compacts, etc.).
*I’ve simplified the pocket from what’s shown in the photo below.
Step 4
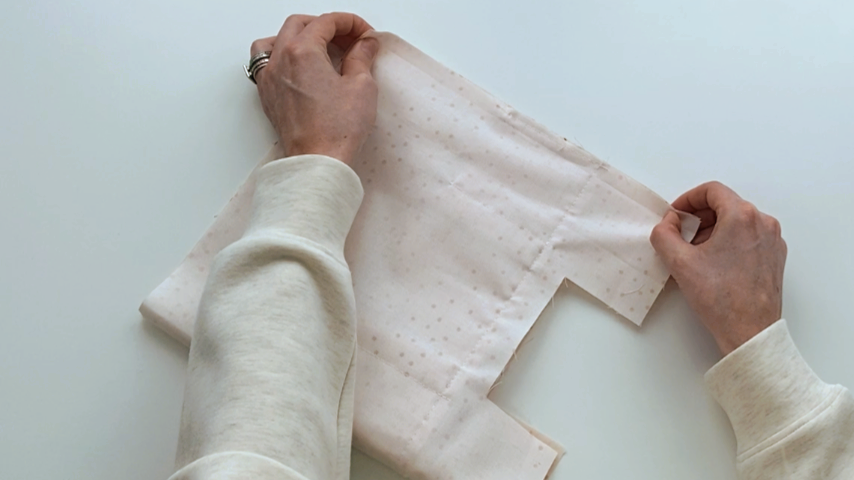
Fold the lining pattern piece lengthwise, right sides together, and sew down the side using a 1/2″ seam allowance. Press the seam open.
Step 5
Fold the lining so the center mark and the seam line up, and the bottom cutouts line up as well.
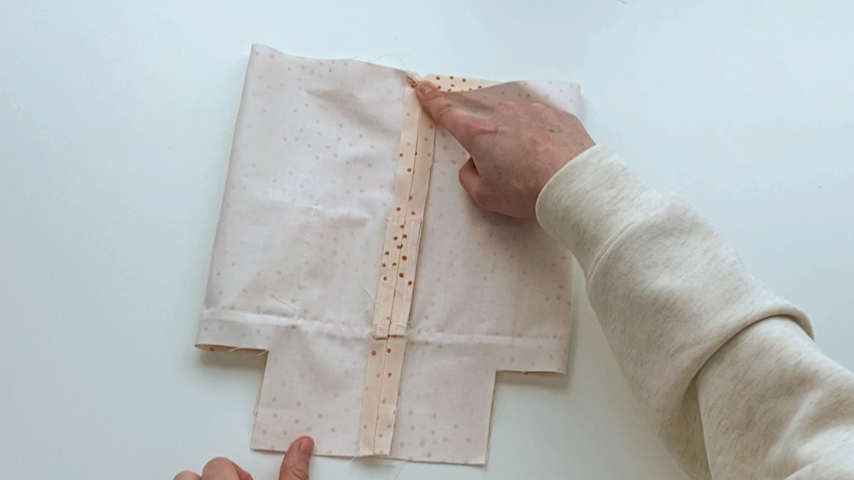
Sew along the bottom edge using a 1/2″ seam allowance.
Press the seam open.
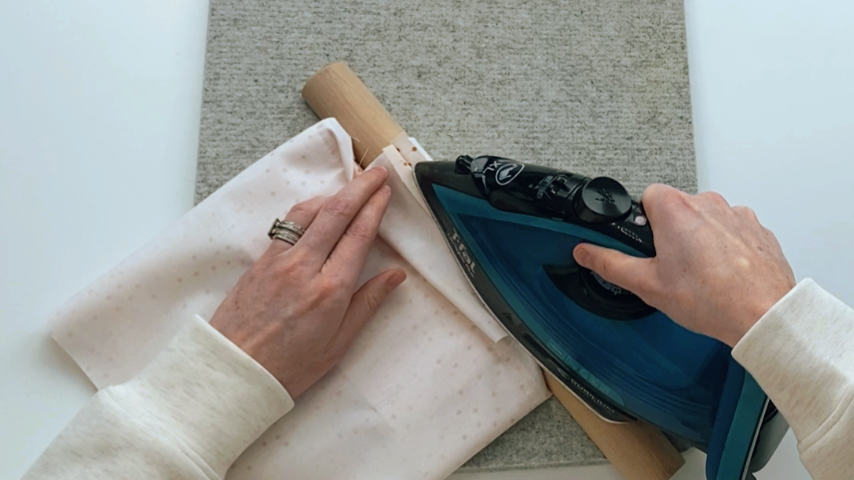
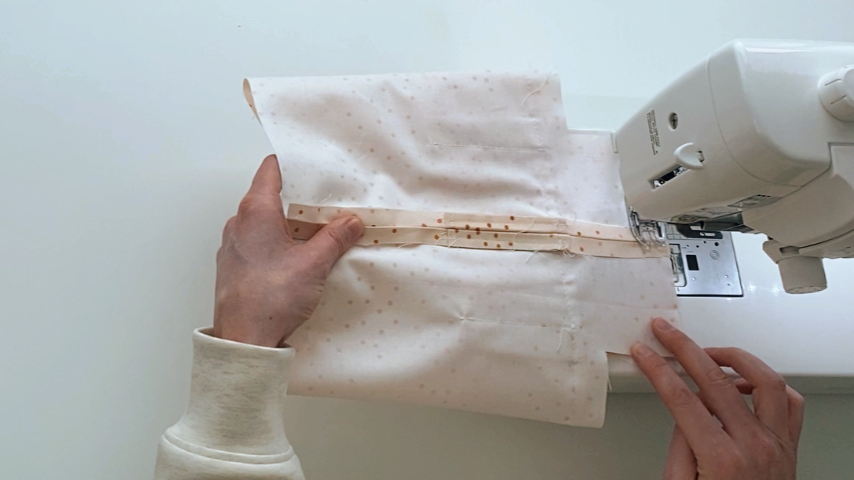
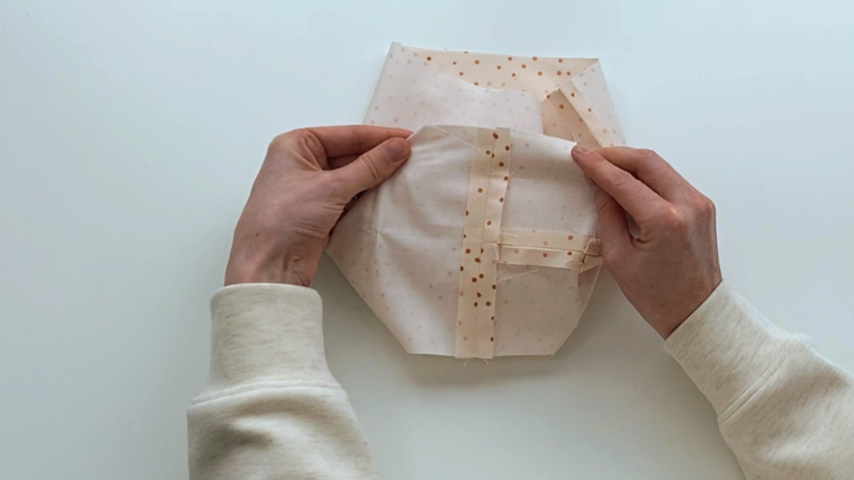
Line up the edges to create a box corner and sew along the edge of both corners.
Step 6
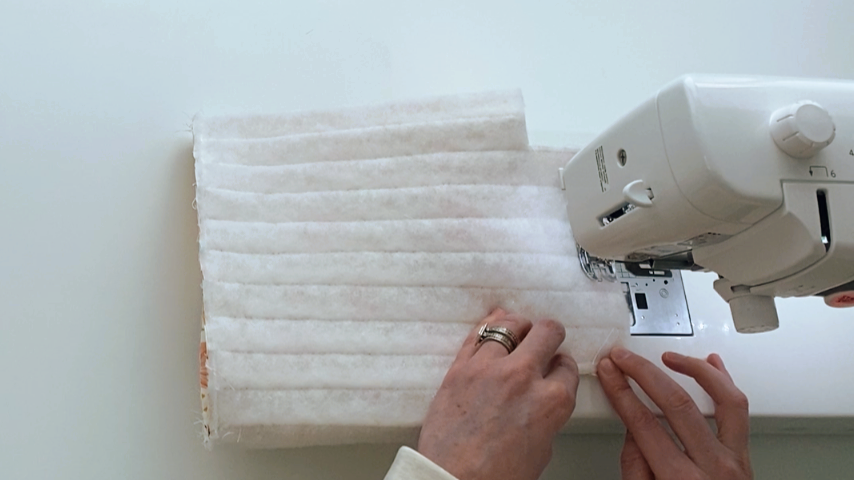
Fold your outer piece in half lengthwise with right sides together, and sew along the short edge using a 1/2″ seam allowance.
Press the seam open unless you’ve used polyester batting.
Step 7
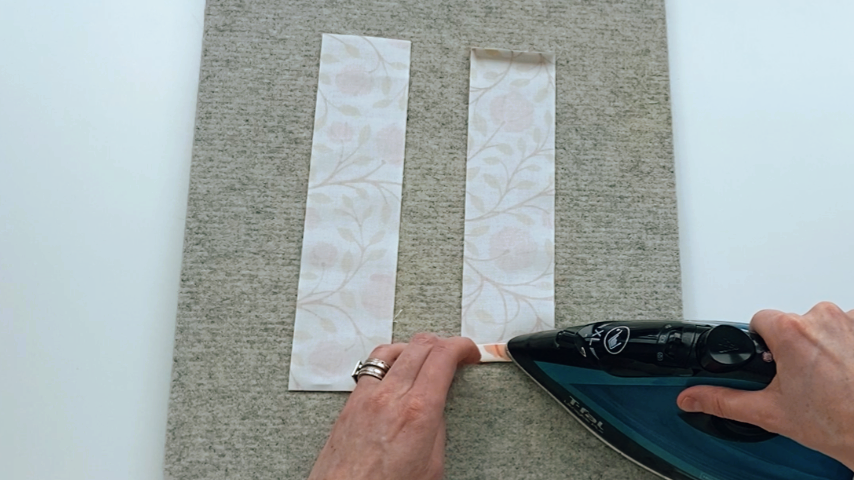
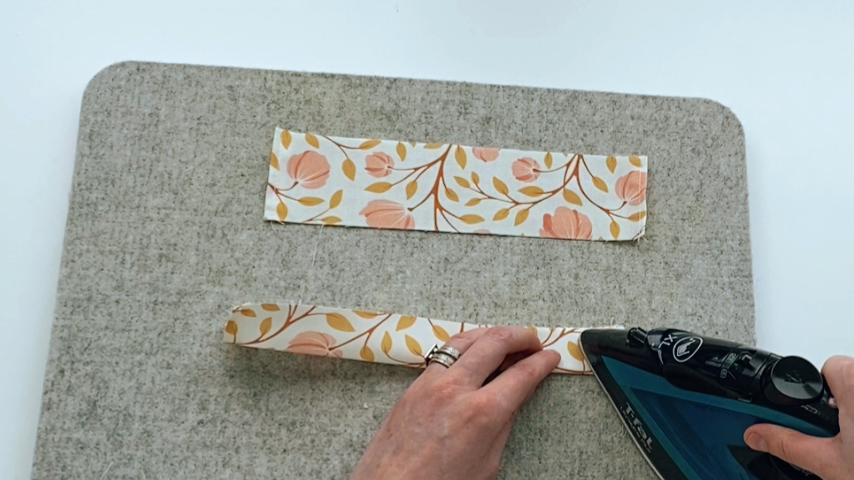
Take your two 10.5″ x 2.5″ pieces and fold each short end in by 1/2″. Press into place, then topstitch.
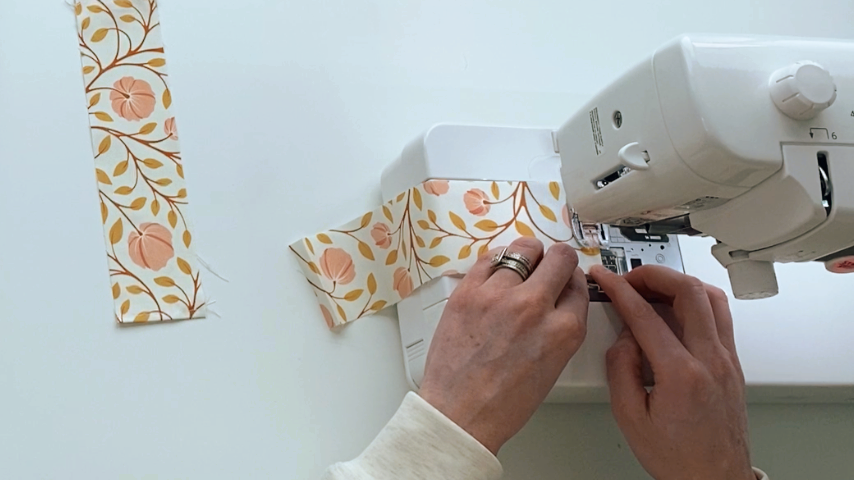
Fold those two pieces in half lengthwise, wrong sides together, and press.
Find the center of the drawstring pockets and line one up with the center mark and the other with the seam.
Baste the drawstring pockets to the top of the outer bag.
Step 8
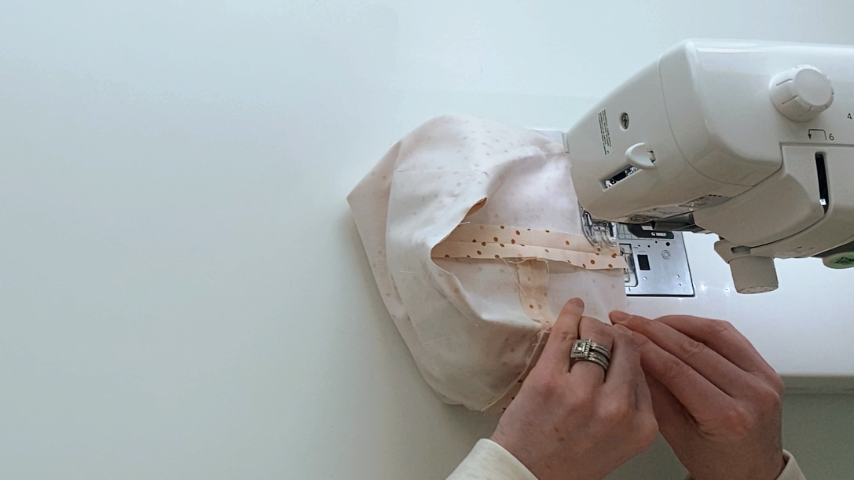
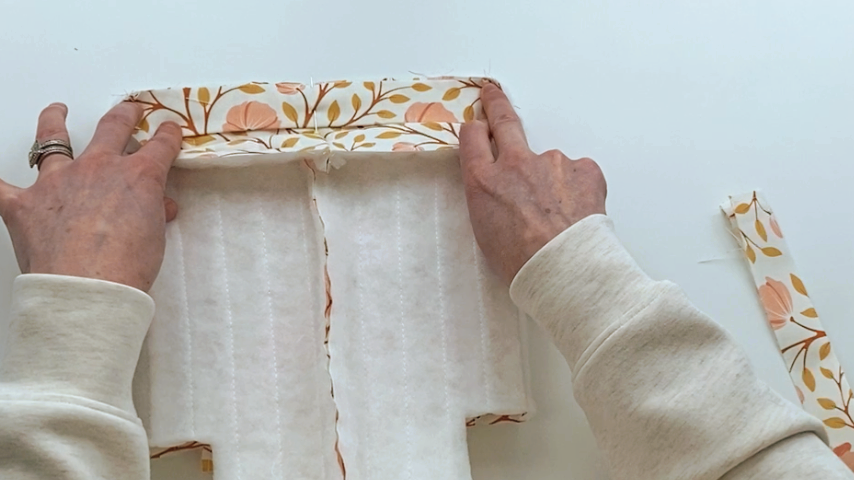
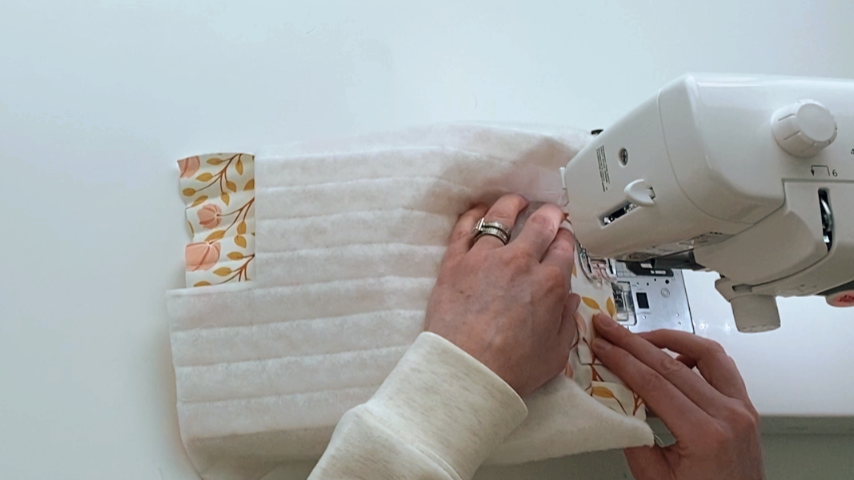
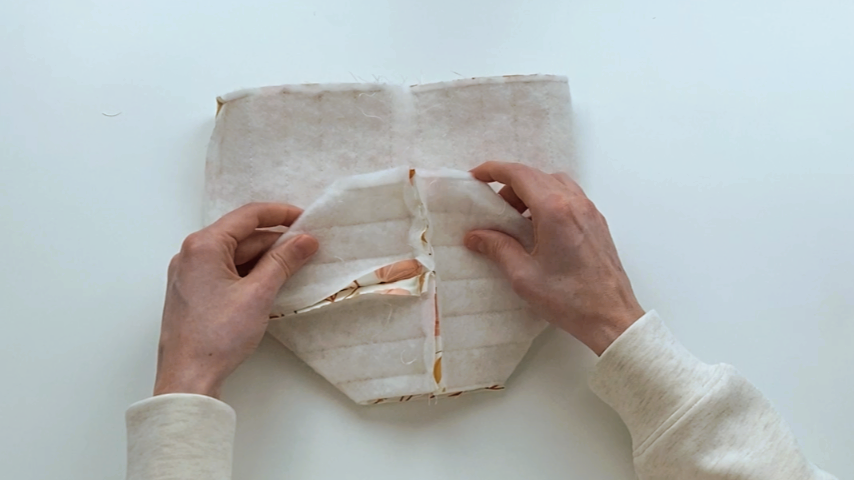
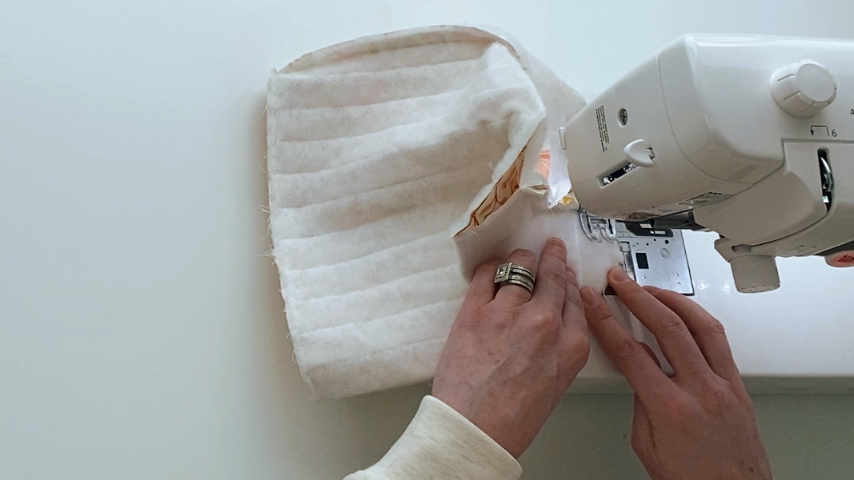
Fold the outer piece so the center mark and the seam line up, and the bottom cutouts line up as well.
Sew along the bottom edge using a 1/2″ seam allowance.
Press the seam open, unless you’re using polyester batting.
Line up the edges to create a box corner and sew along the edge of both corners.
Step 9
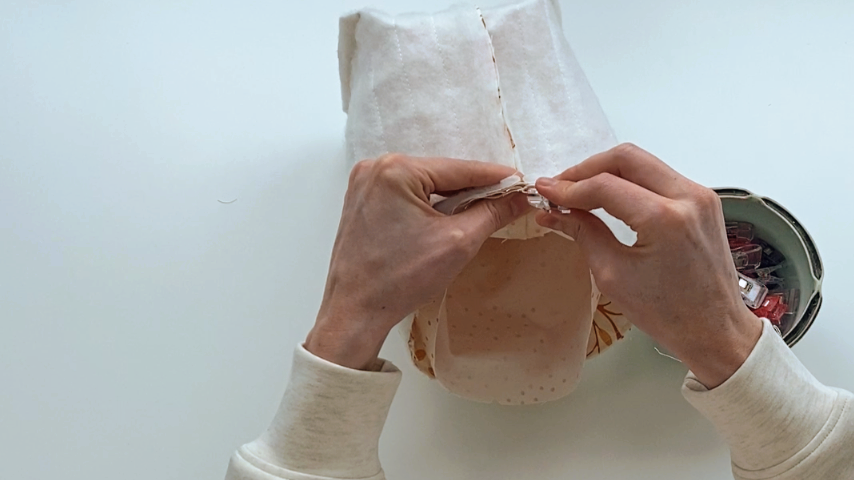
Turn the lining right side out and tuck it into the outer part of the bag so right sides are together.
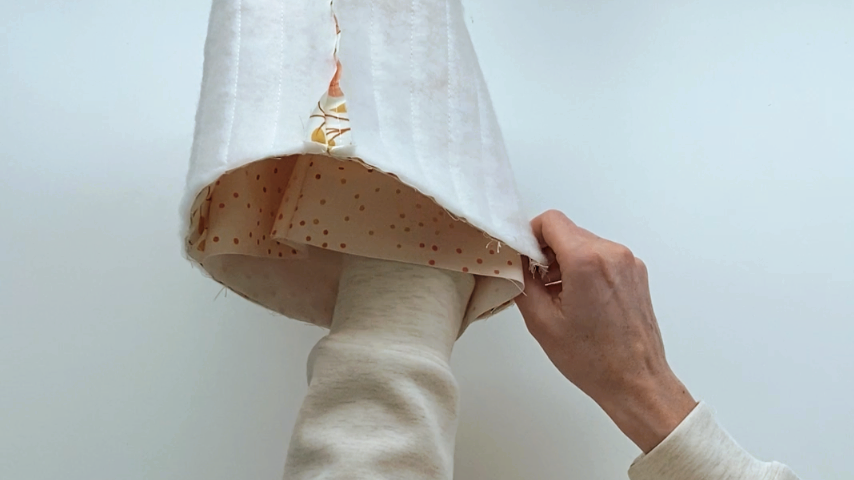
Line up the back seams and top edges and clip into place.
Step 10
Using a temporary fabric marker, mark two lines about 4″ apart along the top edge of the bag. You won’t sew between these so you have an opening to turn the bag right side out.
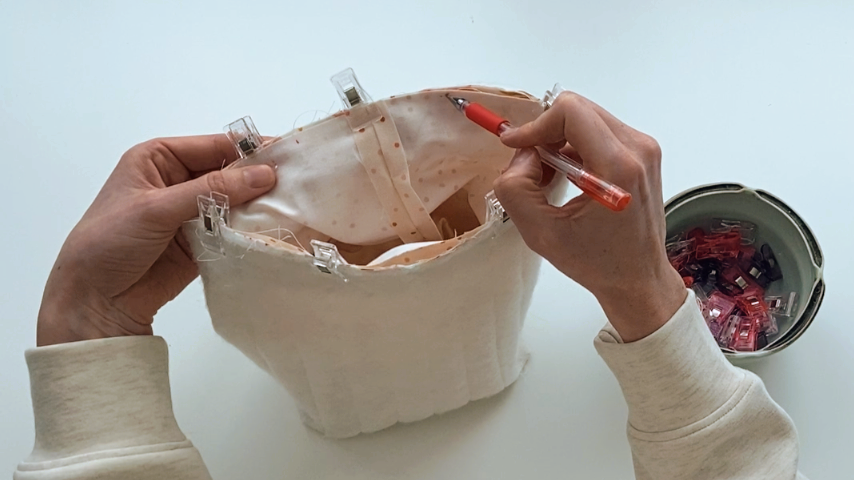
Using a 1/2″ seam allowance, sew around the top edge of your bag, stopping and starting at the marks.
Step 11
Press the seam allowance back where the opening is, then turn the bag right side out.
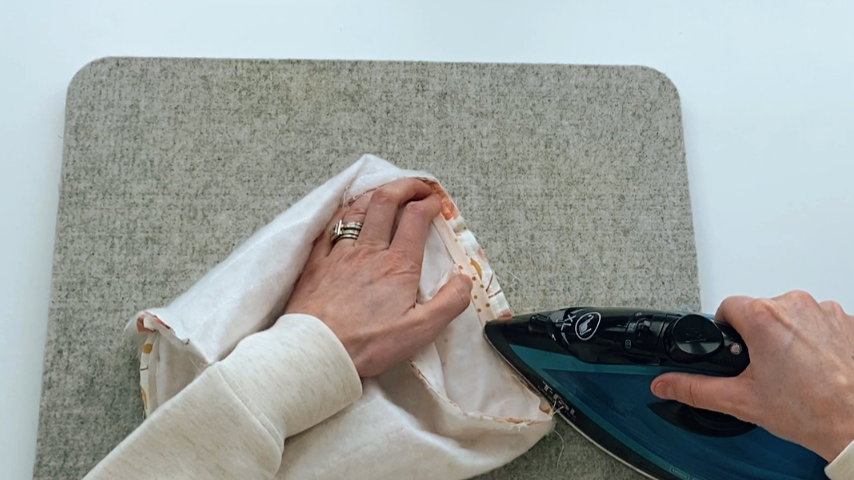
Step 12
Press around the top edge of the bag. Just use the tip of the iron and move quickly if you used polyester batting so that you don’t melt or flatten the batting too much.
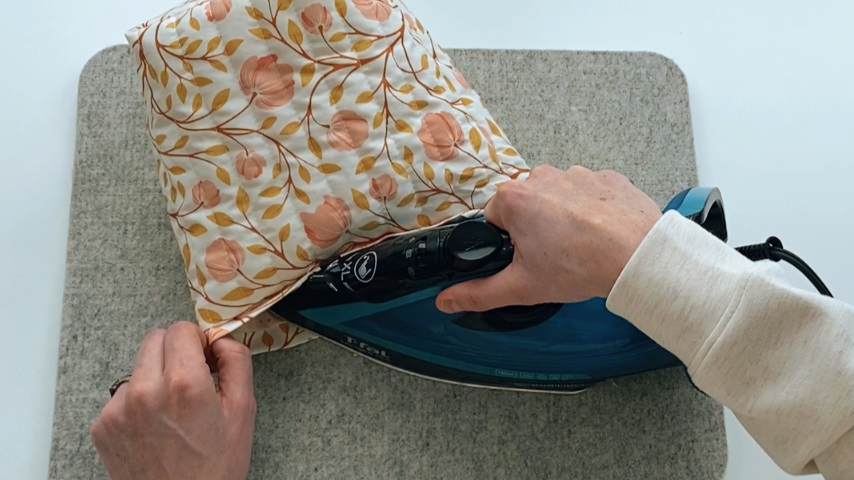
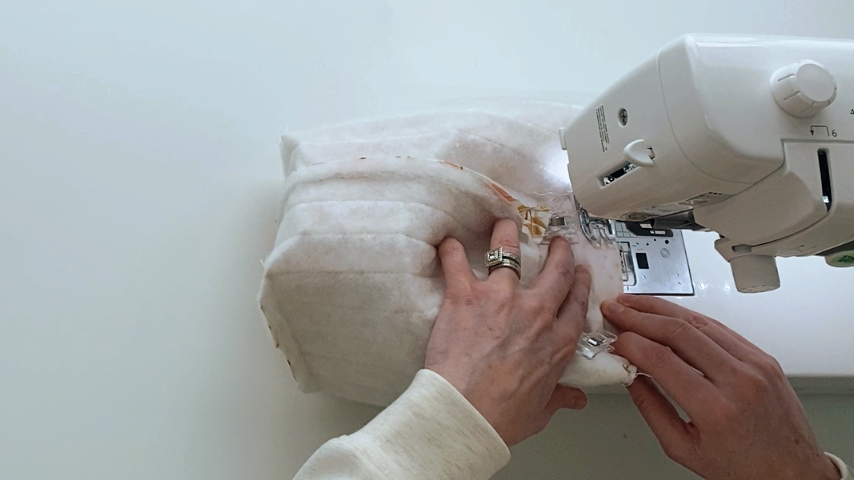
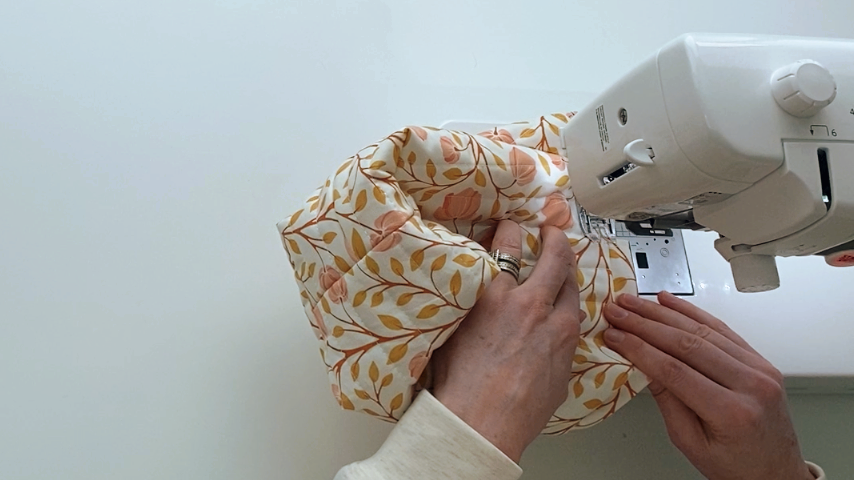
Top stitch around the top edge of the bag to close up the opening and secure the outer fabric and lining together.
Step 13
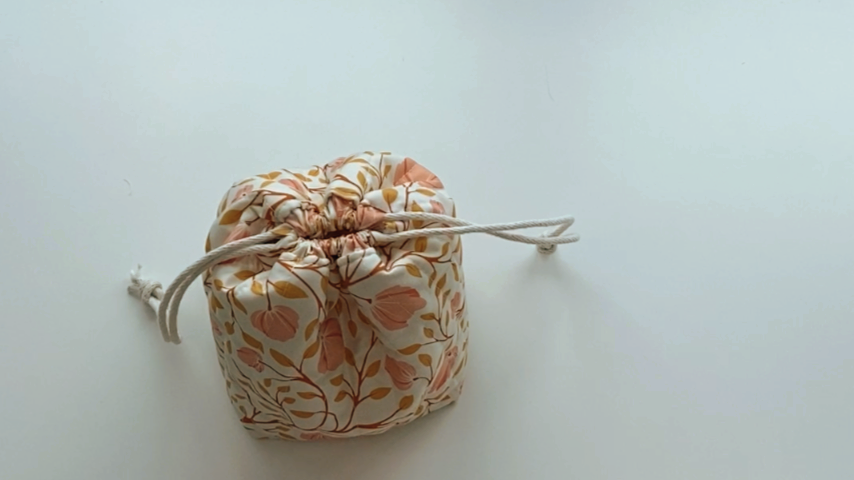
Use a safety pin or bodkin to thread the ribbon/rope in on one side of the bag, all the way around, coming out on the same side.
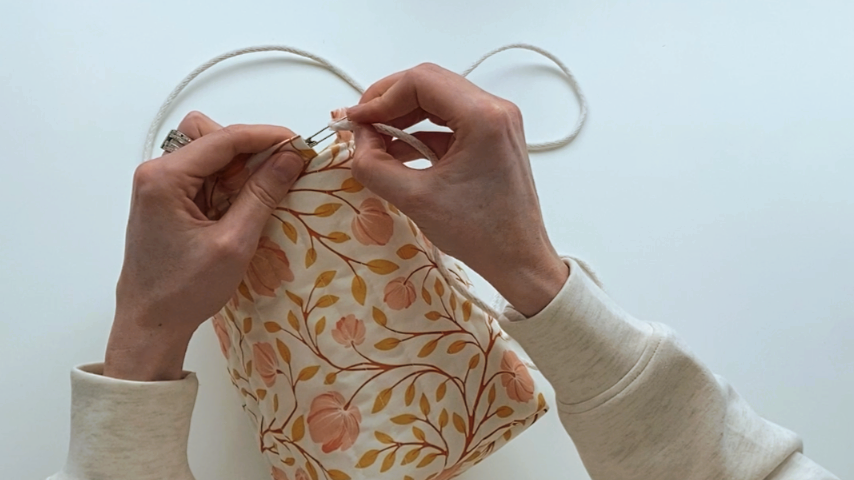
Then thread your second piece of ribbon/rope in from the opposite side, going all the way around and exiting out the same side you started.
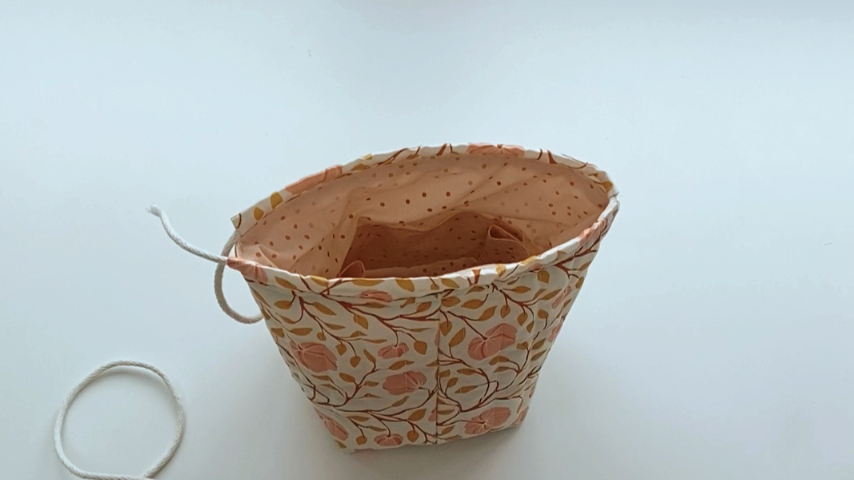
Tie the two ends of the ribbon/rope together and cut off any excess.