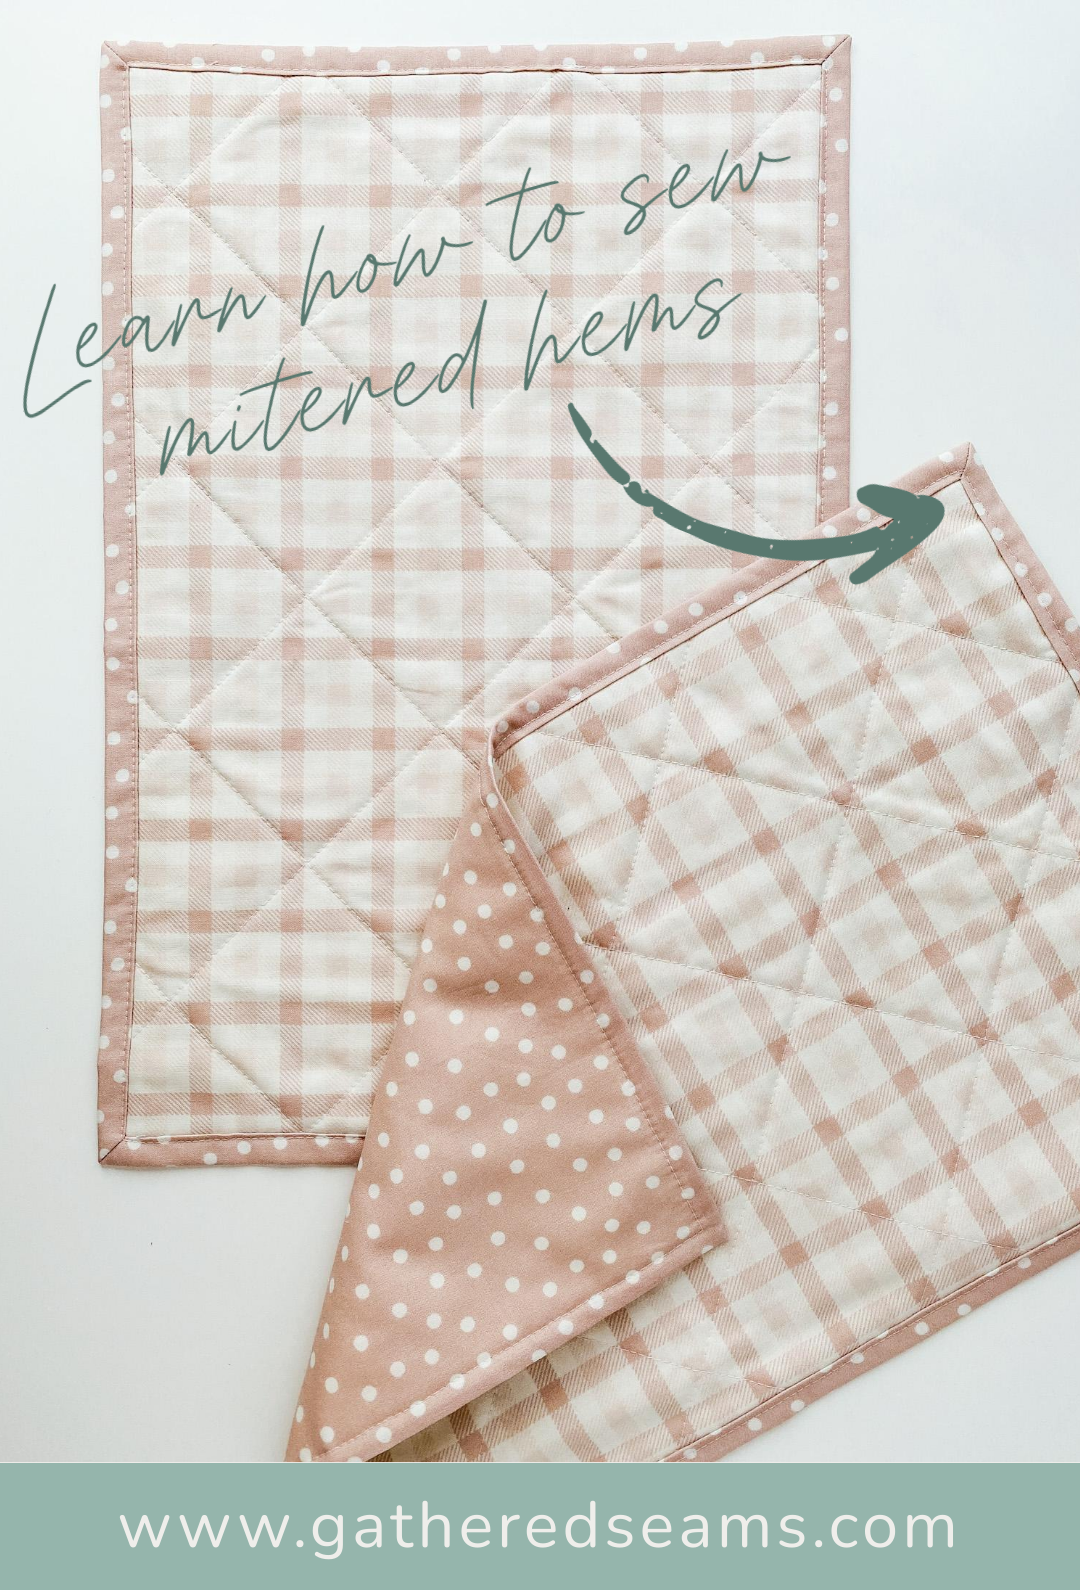
How to Sew Placemats to Sell (with Mitred Corners)
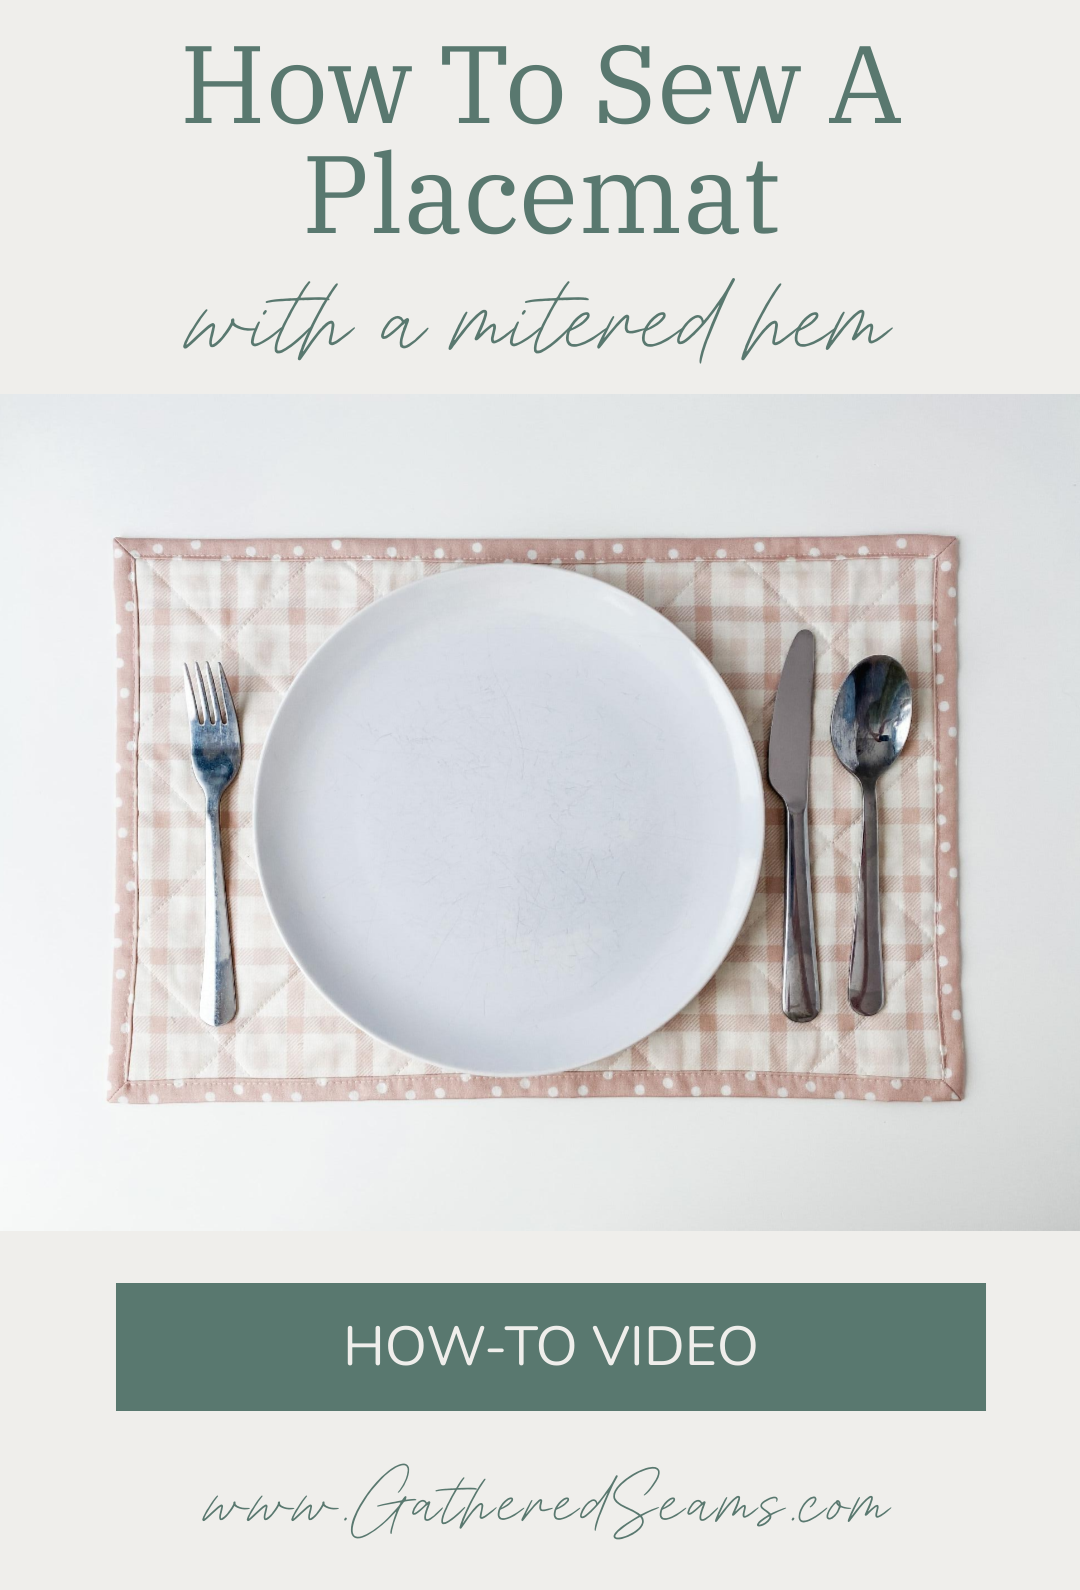
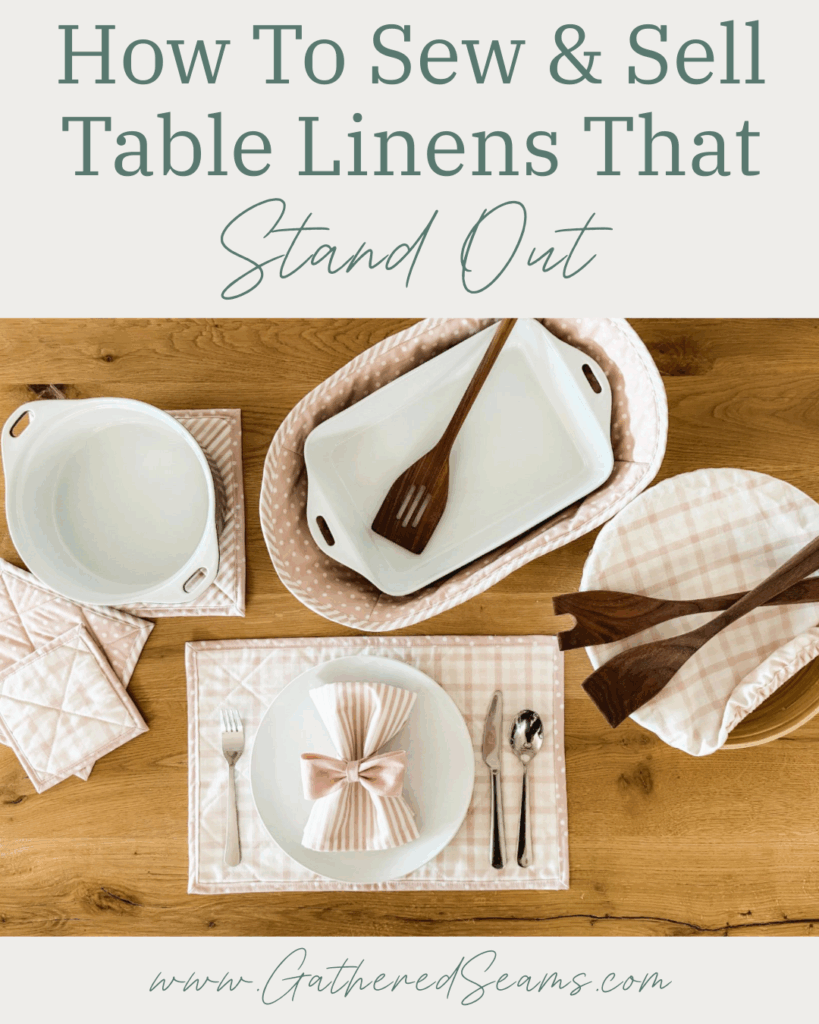
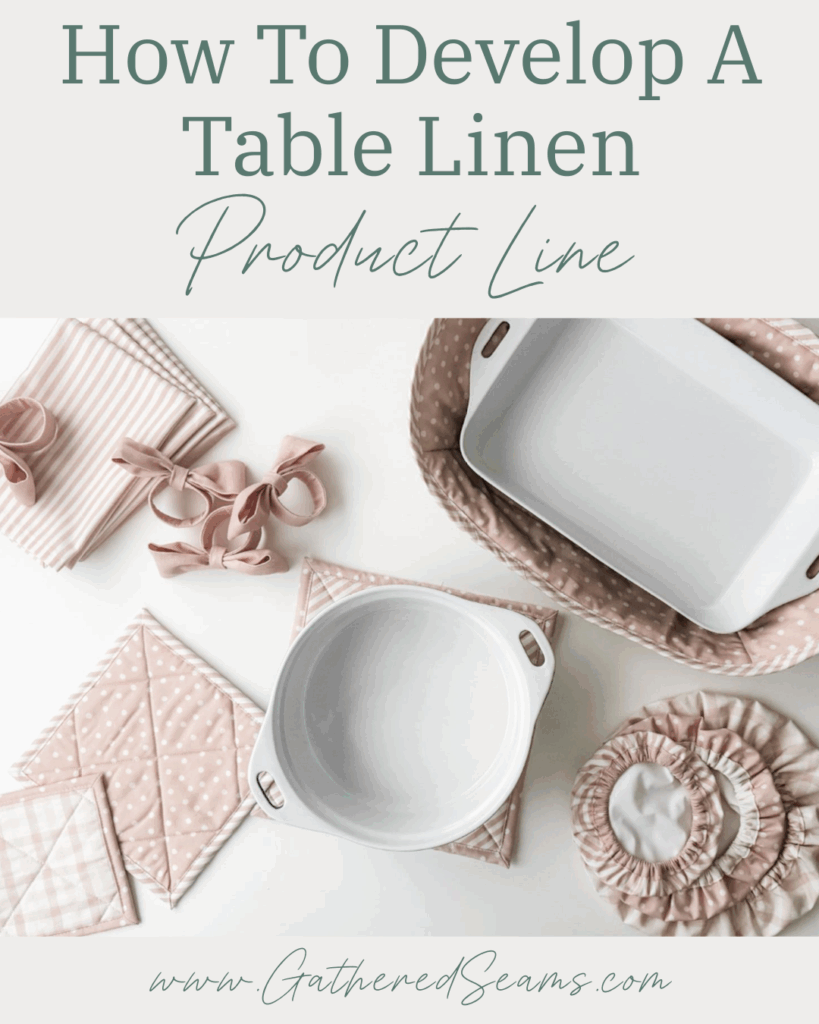
Placemats are an easy sewing project and you can sew matching/coordinating coasters, napkins, or other table linens to build your product line when you’re sewing to sell.
Sewing placemats to sell
Placemats are a great product to sell because they’re:
- an everyday-use item – many people use placemats on a regular basis, which makes them a year-round, in-demand product.
- a good gift item – these can be packaged and presented as a giftable item, especially for housewarmings.
- a good bundle item – most people require more than one placemat, so you can bundle 2, 4, 6, or 8 placemats together and sell them as a set, which raises your value and units per transaction (VPT & UPT).
Materials
As an Amazon Associate, I earn from qualifying purchases.
- Top fabric
- Cotton, linen, or a cotton blend are ideal. You can also use a heavier fabric, such as canvas or denim.
- If you want your placemats to be wipeable, you can use an oilcloth. However, you will need to take different steps when pressing the fabric as you’ll melt the coating if you follow the guidelines outlined in this article.
- Batting/interfacing (optional)
- Fusible fleece or cotton batting for heat protection.
- Fusible interfacing can be used instead for a thinner placemat that has a bit of structure (but little heat protection).
- If you’re using a thicker fabric (e.g. canvas), you can skip the batting/interfacing if you prefer.
- Fusible fleece or cotton batting for heat protection.
- Thread
Material suggestions
A variety of materials can work for placemats, but below are a few tips to help you choose the right ones.
- Durable – it’s likely the placemats will need to be washed fairly regularly, so you want to choose a fabric that will wash well.
- Absorbent – a natural fibre fabric such as cotton or linen, will help absorb spills and protect the table.
- Wipeable – alternatively, for a more kid-friendly placemat, you may choose a water-resistant material such as:
- oilcloth
- laminated cotton
- vinyl/PVC
- PUL (polyurethane laminant)
- adding a clear vinyl over your fabric
- Insulation – fusible fleece or cotton batting will make your placemats more sturdy and can add some heat protection. However, it’s not a requirement.
Tools
- Sewing machine
- Scissors
- Fabric clips
- Fabric marker
- Temporary fabric glue (optional)
- Point turner (you can use a chopstick or knitting needle)
- Iron
How to sew a placemat with mitered corners
Step 1 – Press Fabrics & cut pattern pieces
Before cutting out your pattern pieces, press your fabric with steam to ensure you have a flat piece of fabric. Don’t press your batting.
Cut:
- bottom fabric = 14″ x 20″
- top fabric = 12″ x 18″
- batting or interfacing = 12″ x 18″
Step 2 – Sew batting to fabric
Use a quilting stitch to sew your top fabric and batting together. You can use any design you prefer; I stitched diagonal lines.
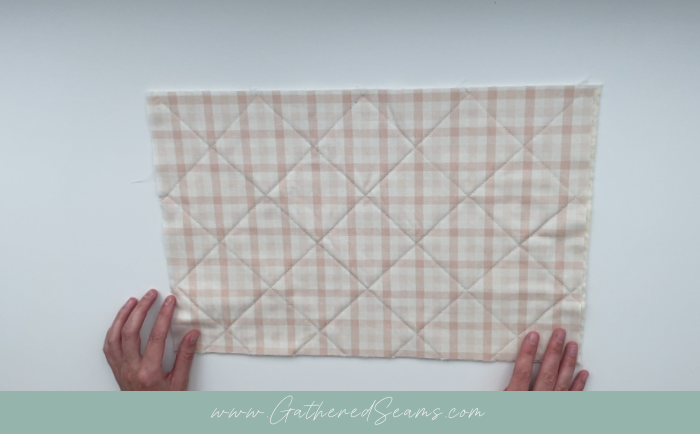
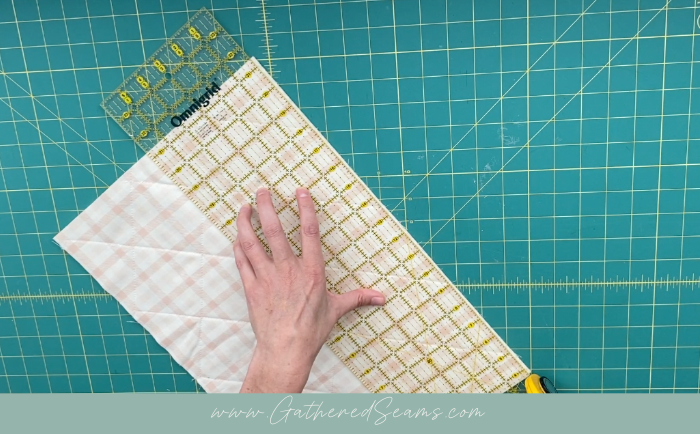
Cut that piece down to square it up and make it: 17-3/4″ x 11-3/4″. This will ensure it fits inside the mitered hem and doesn’t push the edges out.
Step 3 – Press hem
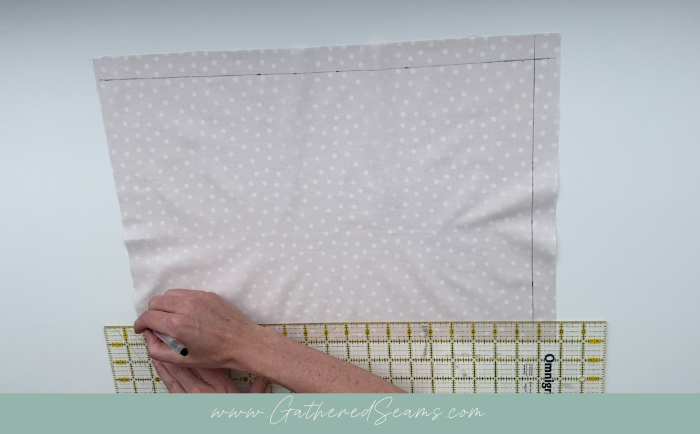
Take your bottom piece of fabric and, using your ruler and temporary fabric pen, mark a line 1″ away from each edge.
Fold the edge to meet that line and press into place.
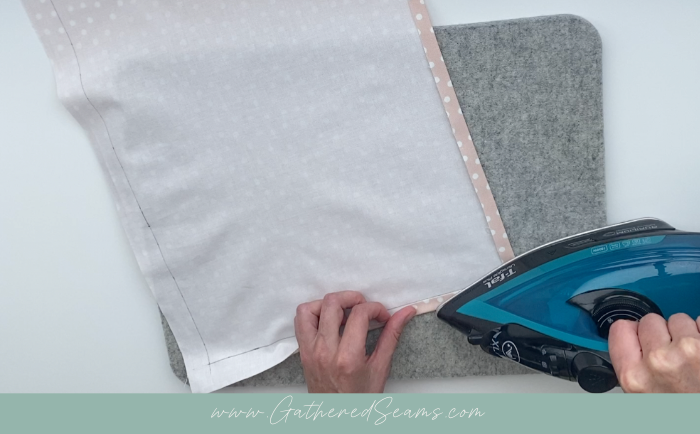
Repeat this on all four sides.
Step 4 – Mark a 45-degree angle
This step is a bit more challenging to explain, so please watch the video for clarity.
Keep your 1/2″ hems folded in and fold a corner in so you get a 45-degree angle and the crease runs straight through where the edges of the two hems meet.
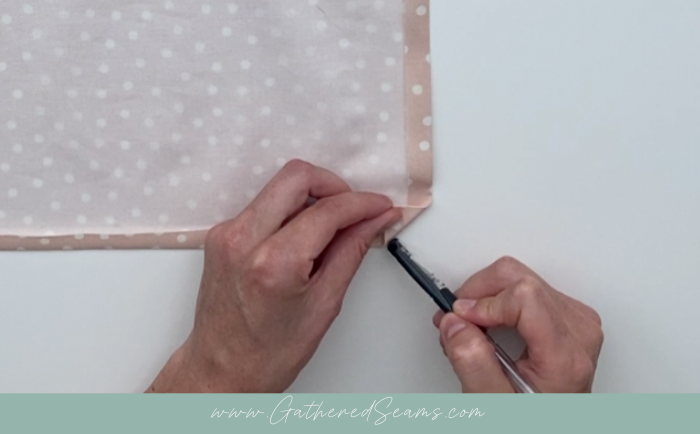
Using your temporary fabric marker, draw along that 45-degree crease.
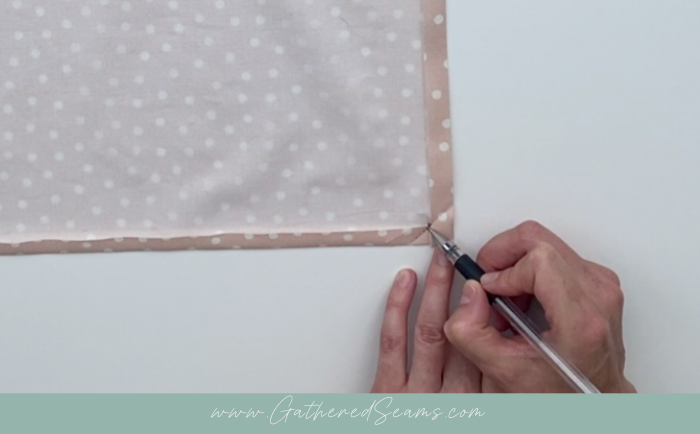
Repeat on all 4 corners.
Step 5 – Sew 45-degree corners
Keep the 1/2″ hem folded in and fold your piece of fabric diagonally, placing right sides together.
Make sure your edges are lined up and you have a perfect point at the top.
Sew along the 45-degree line you drew.
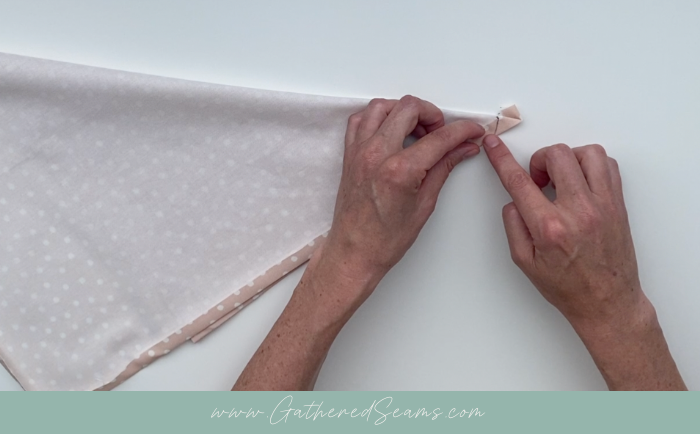
Use a shorter stitch and start with your needle on the fabric, then backstitch to sew to the first edge. This will ensure your thread doesn’t get knotted and your fabric doesn’t bunch.
Sew along the line, then backstitch at the end.
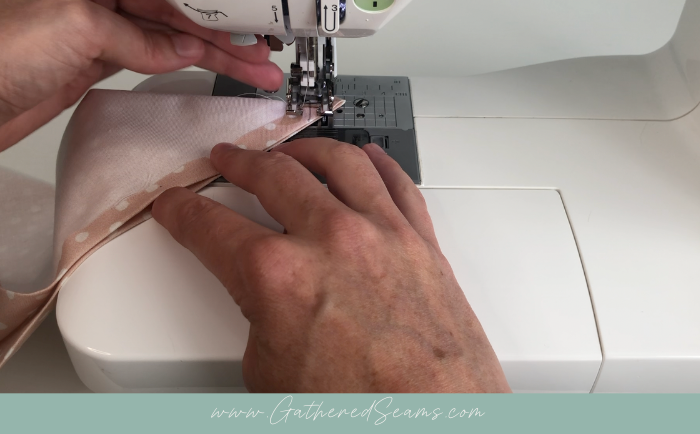
Repeat this on all 4 corners.
Step 6 – Snip corners and turn
Cut off the excess fabric in the corners, leaving about a 1/8″ seam allowance to reduce the bulk inside the corners.
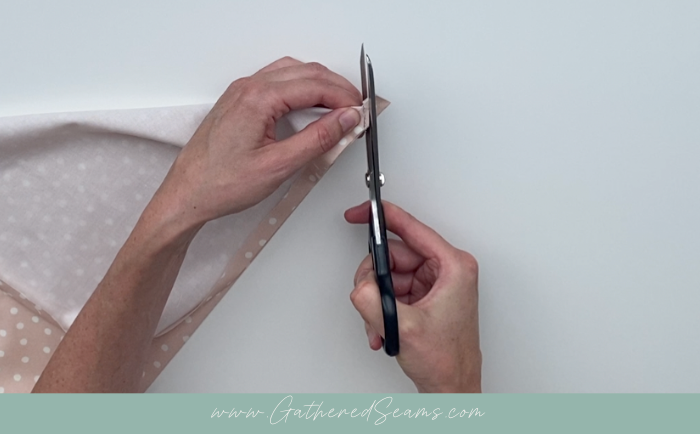
Turn the corners right side out and use a point turner to fully push the corners out.
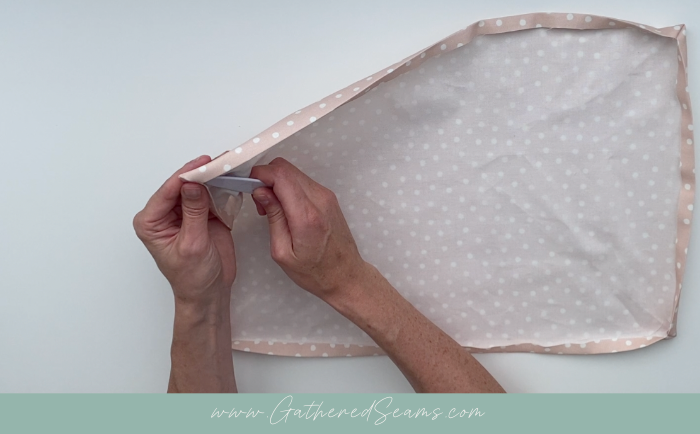
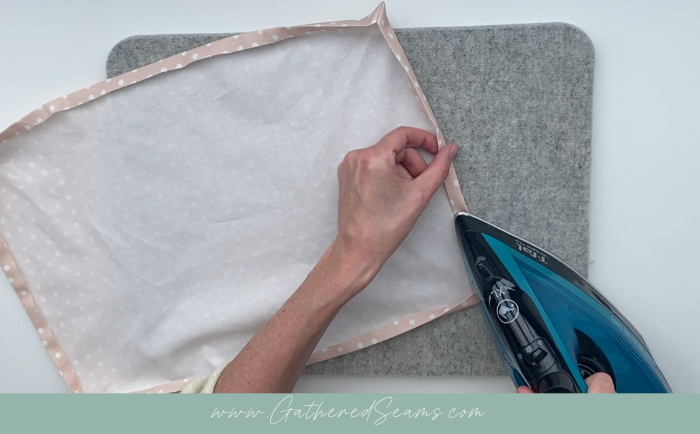
Step 7 – Fold hem again
Fold your hem in another 1/2″ along all 4 sides and press.
Step 8 – Set top piece inside hem
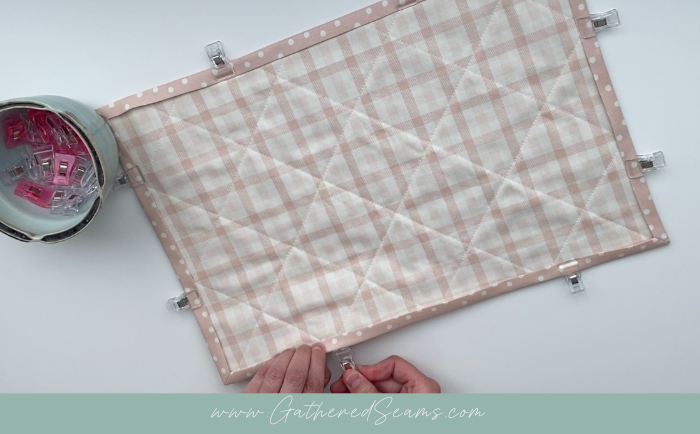
Set your top piece on top of your bottom piece and ensure it is about 1/8″ smaller than the bottom piece on all 4 sides. Cut a bit off if you need to.
Ensure the top piece is centered on top of your bottom piece and tuck the edges under the bottom’s hem.
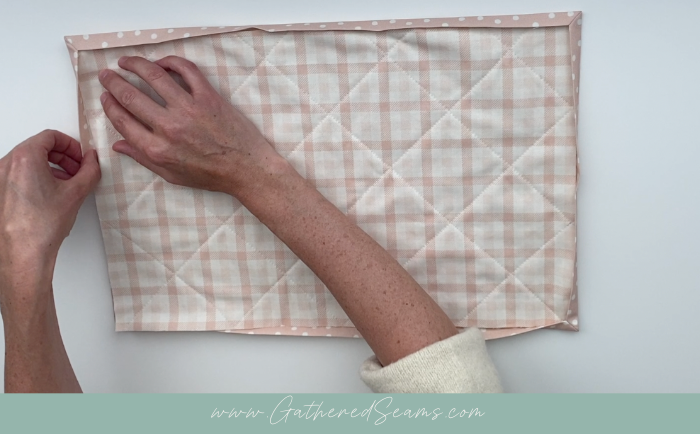
Press the mitered hem, which will make it easier to top-stitch, then clip into place.
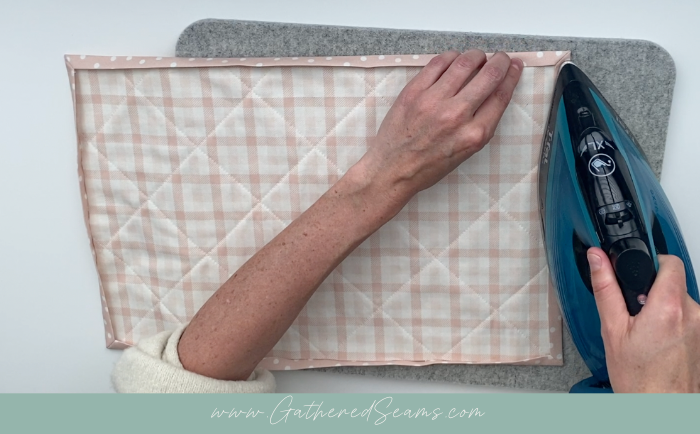
Step 9 – Topstitch
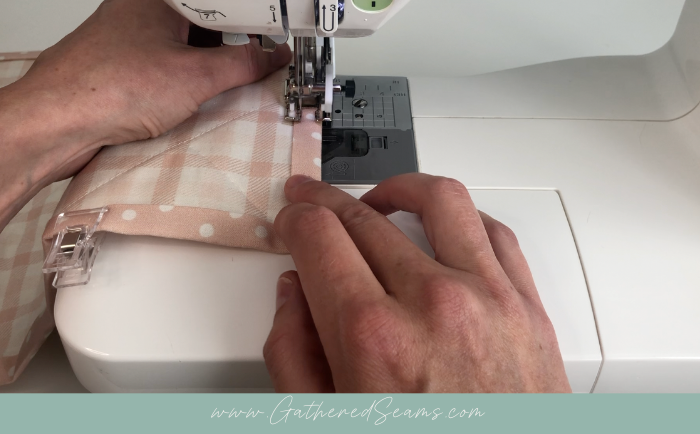
Topstitch about 1/8″ in from the inner edge of the hem.
I use a longer stitch for this step and my walking foot to ensure the fabric doesn’t bunch as I sew.
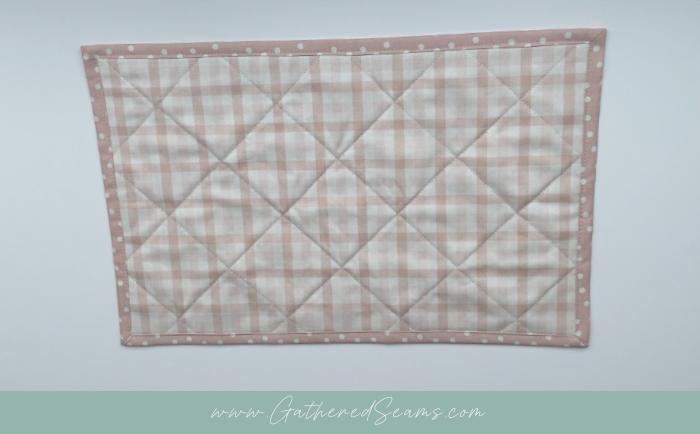
Press the edges again.

Your placemat is finished.
Now it’s time to sell your placemats! Next steps:
