How To Sew an Adjustable Bowl Cover | Free Patterns
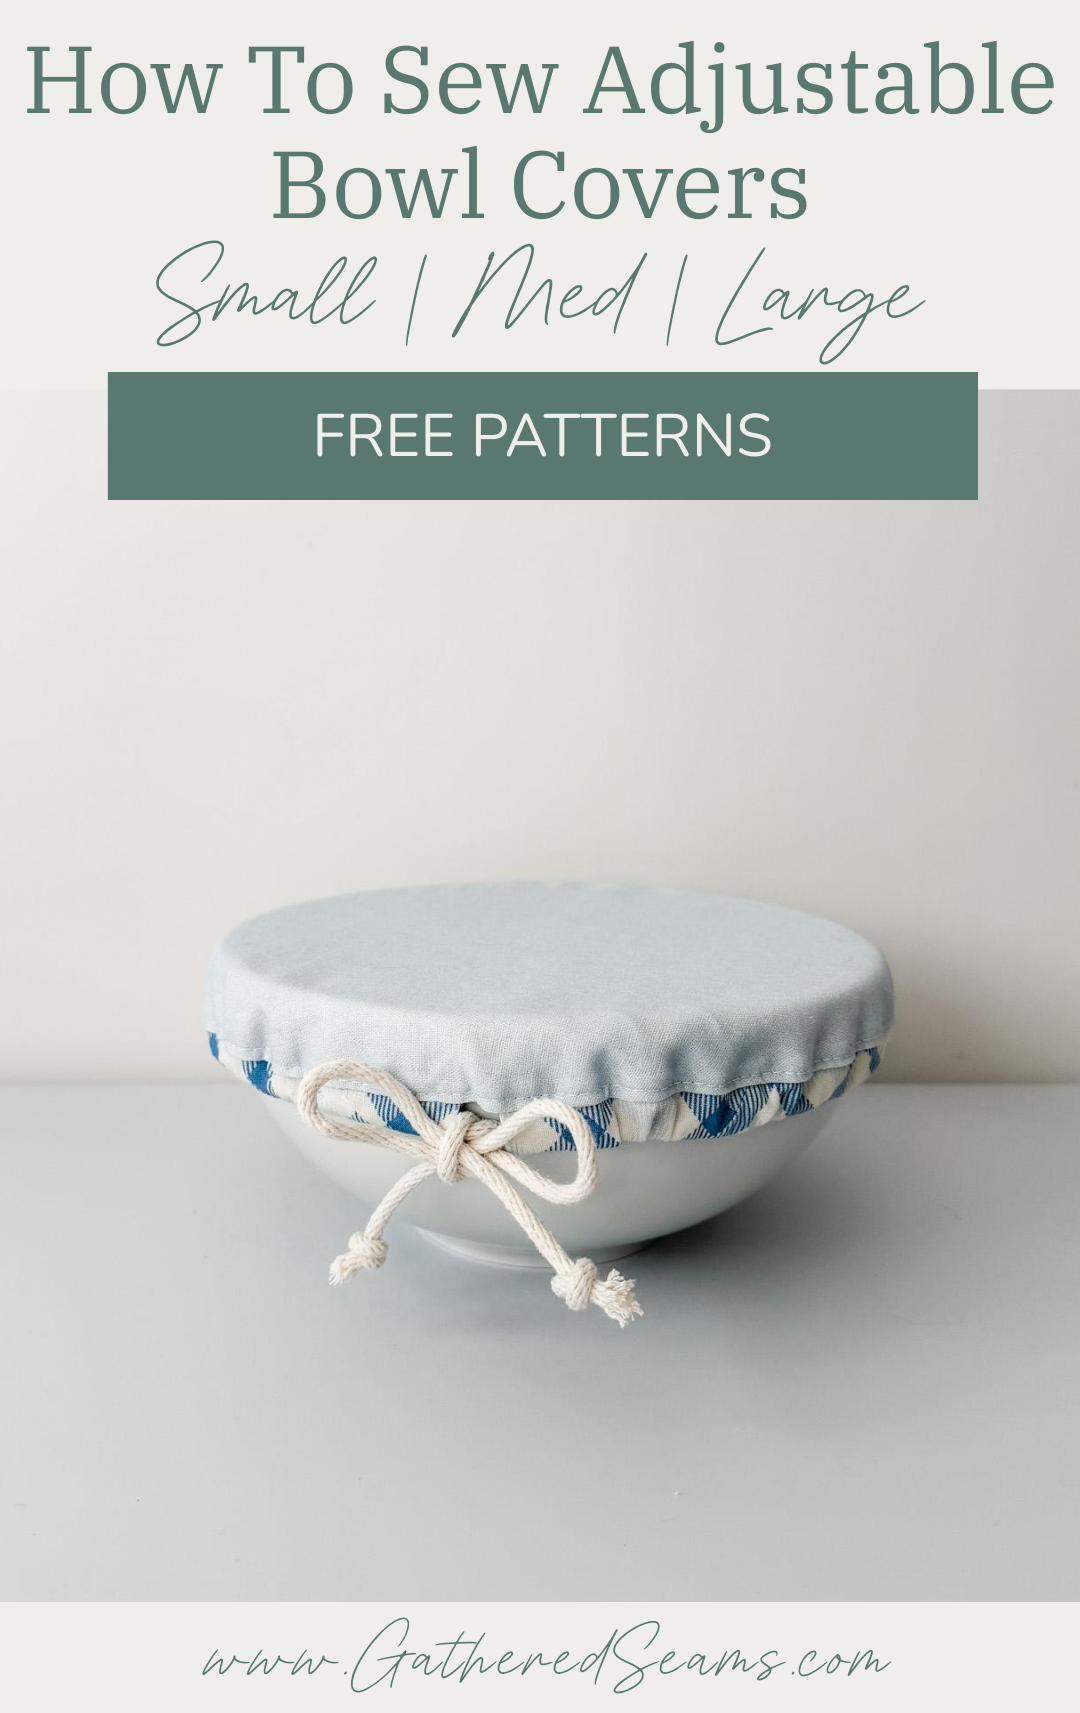
Sometimes, traditional bowl covers can be tricky to fit over the top of a bowl. If you have mobility issues with your hands or want a cover that will fit a wider range of bowl sizes, this is a good alternative.
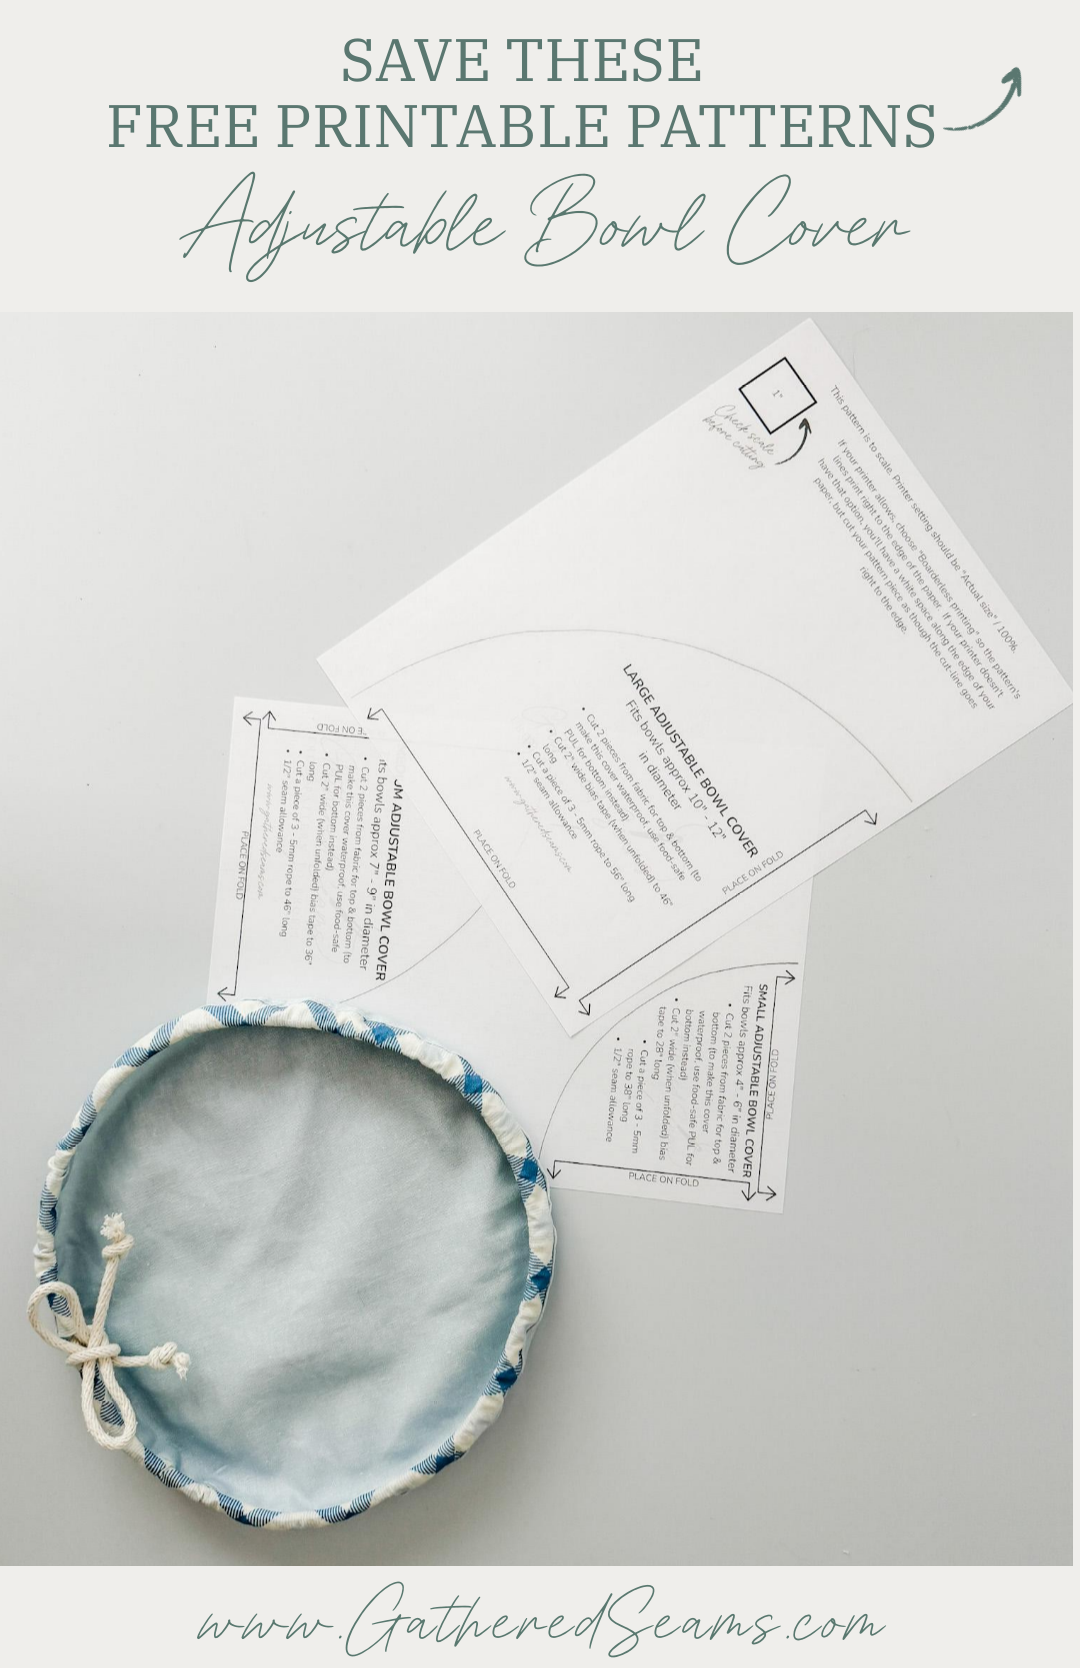
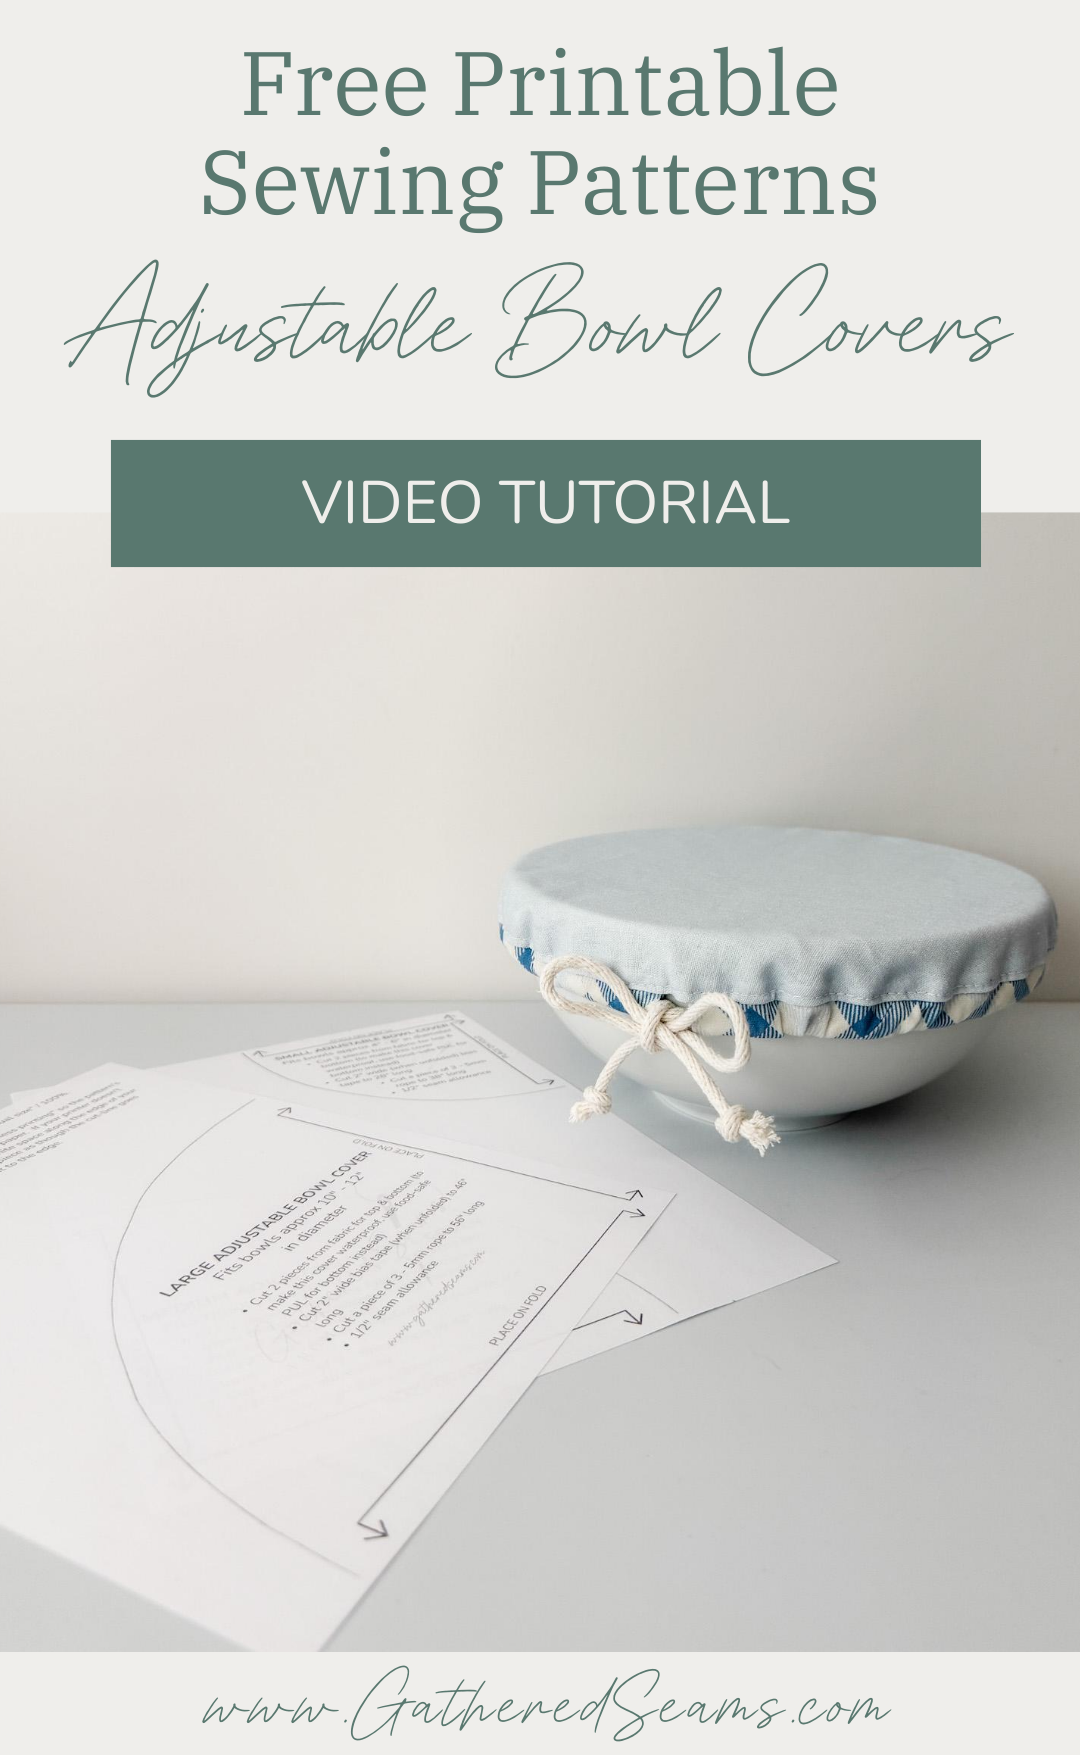
This free printable pattern comes in small, medium, and large sizes, designed to fit approximately:
- Small – fits bowls approximately 4″ – 6″ in diameter
- Medium – fits bowls approximately 7″ – 9″ in diameter
- Large – fits bowls approximately 10″ – 12″ in diameter
You can use a natural material for both layers of these covers (e.g. cotton or linen), or use a food-safe waterproof fabric such as food-safe PUL or waxed canvas for the bottom layer.
- Breathable – using cotton or linen for both layers will make these covers breathable. Ideal if you’re using it to cover items such as salad or vegetables, when you don’t want to trap moisture in as it can make the food soggy.
- Non-breathable – using a waterproof fabric for the bottom layer will make these covers non-breathable. Ideal if you’re covering items such as casseroles or food you don’t want to dry out. It’s also ideal if you’re using these covers to proof dough.
Bowl covers are often used for:
- keeping food fresh
- covering leftovers
- keeping bugs out of food at outdoor events
- transporting food to potlucks
- proofing dough


Materials
- Natural fabric (cotton or linen is ideal)
- Food-safe waterproof fabric (e.g. food-safe PUL, food-safe waxed cotton, food-safe nylon, food-safe laminated cotton) if you want the covers to be non-breathable.
- *2″ wide (when unfolded) bias tape
- Thread
*Length varies based on the size you’re making. Please see each pattern piece for lengths.
Tools
- Sewing machine
- Fabric clips
- Scissors
- Safety pin or bodkin
- Fabric clips
- Iron
How to sew adjustable bowl covers
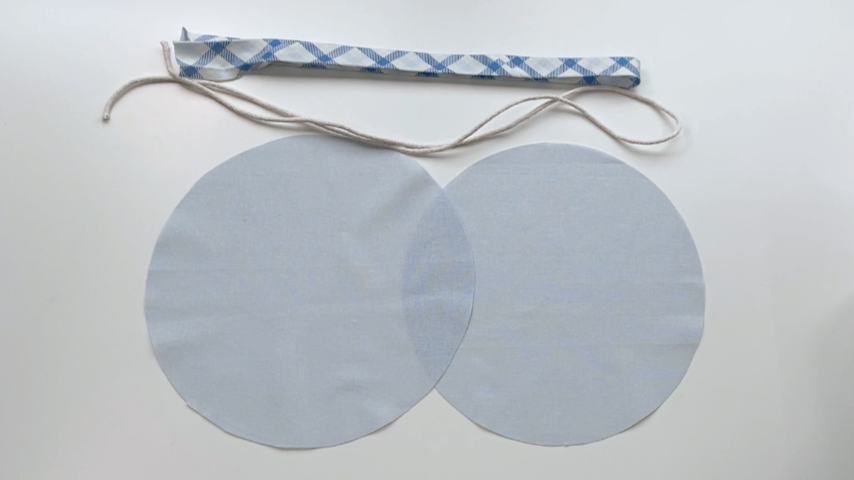
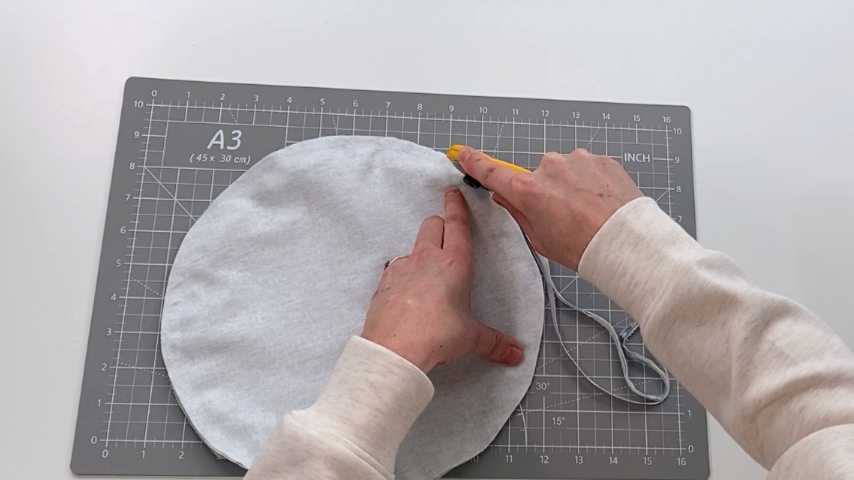
Step 1
Print your free pattern and cut out your fabric pieces, as well as your bias tape and rope or ribbon.
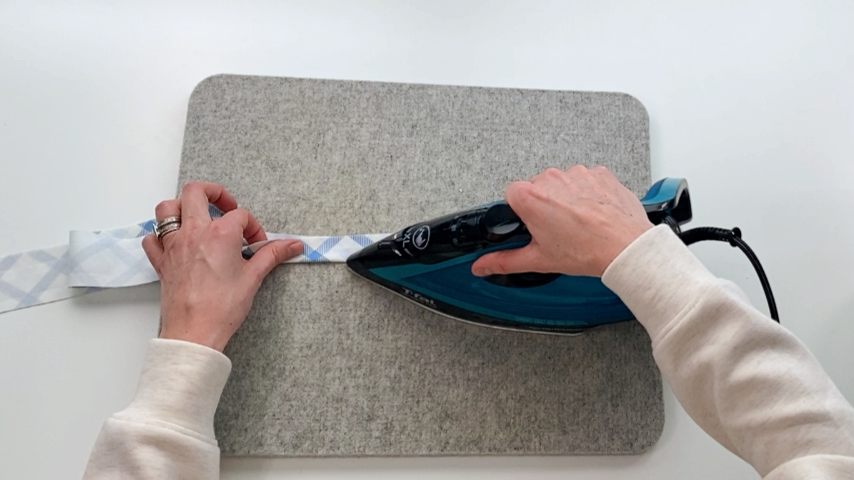
Step 2
Unfold your bias tape and press out any folds. Trim the seam allowance on any joining seams to be sure your safety pin or bodkin doesn’t get stuck in them when threading the rope through.
Fold the bias tape in half and press.
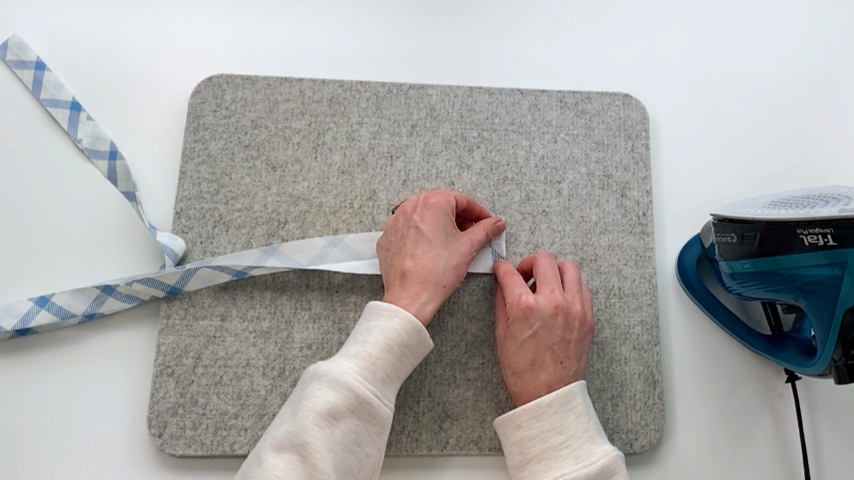
Then fold one end in by 1/2″ and press.
Step 3
Baste your bias tape to the right side of your top pattern piece, starting with the folded-in end, and sewing about 1/4″ away from the edge.
Stop sewing 4″ – 5″ away from the start of your bias tape, and trim off any excess so you can fold the end in 1/2″ and have about a 1/2″ gap between the start and end of the bias tape.
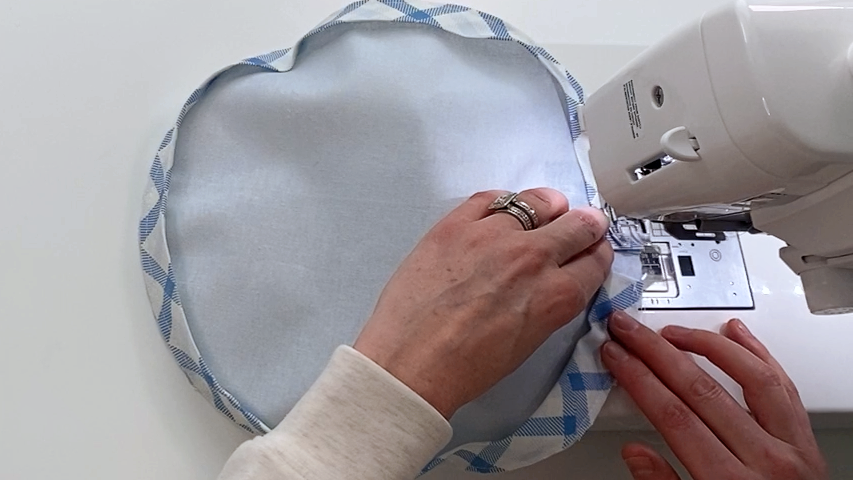
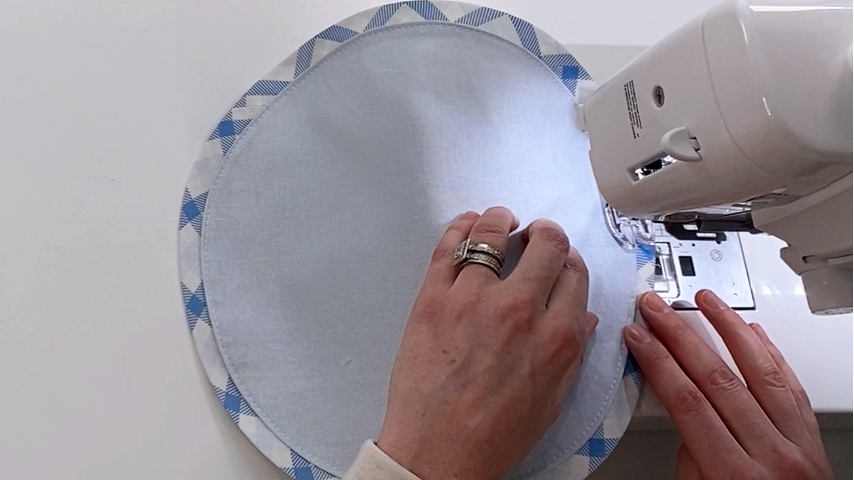
Step 4
Place your two circles right sides together and sew around the circumference, leaving a 2″ – 3″ opening. Use a 1/2″ seam allowance.
Step 5
Press back the seam allowance around the opening.
Then trim the seam allowance around the circle to about 3/8″, leaving the seam allowance as is where the opening is.
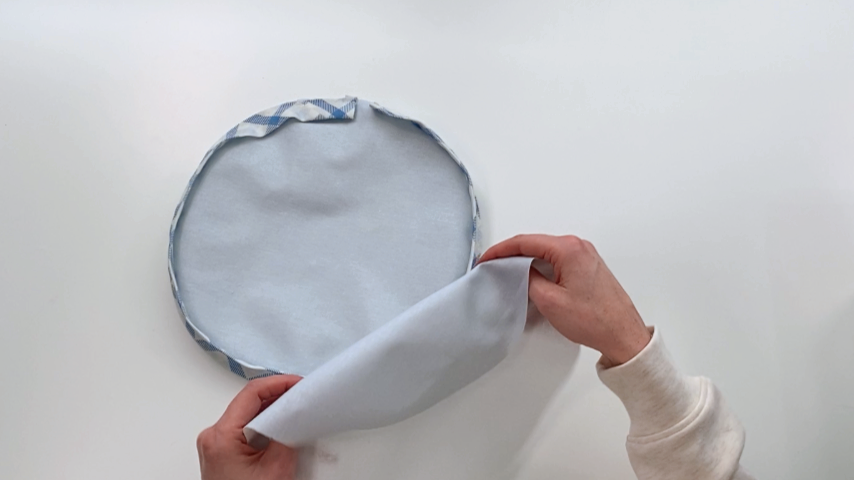
Step 6
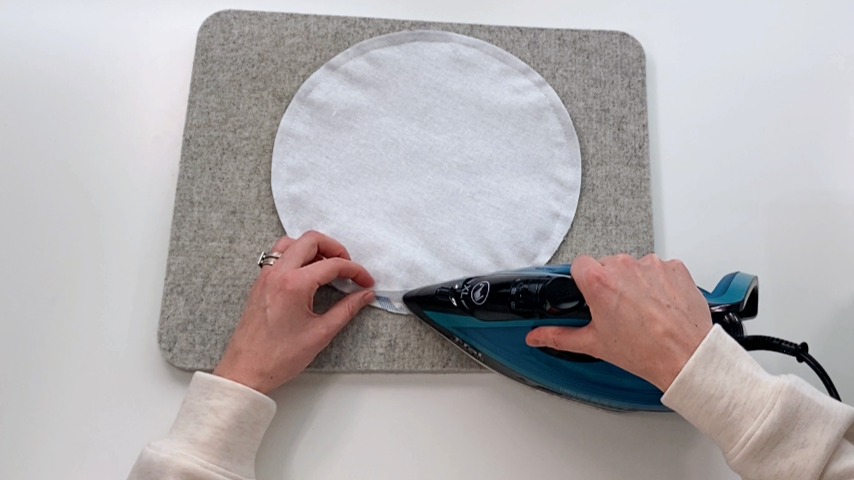
Turn the cover right side out.
Press the seam and the cover to get any creases out.

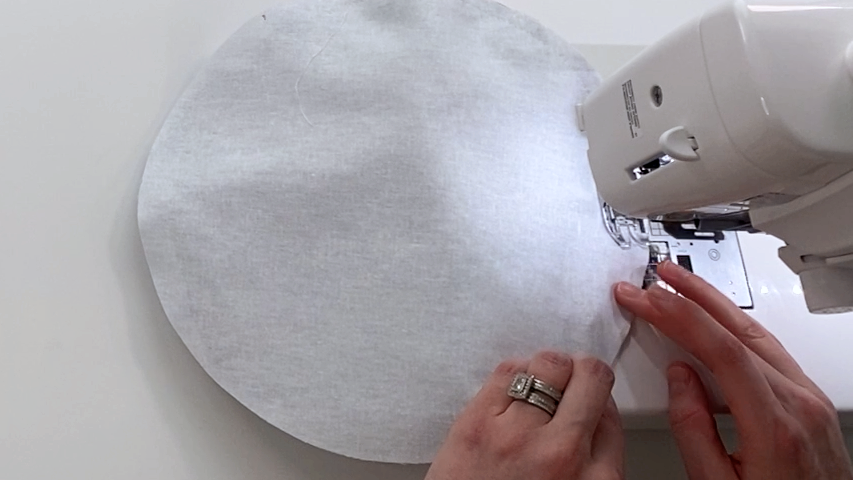
Step 7
Top stitch around the cover.
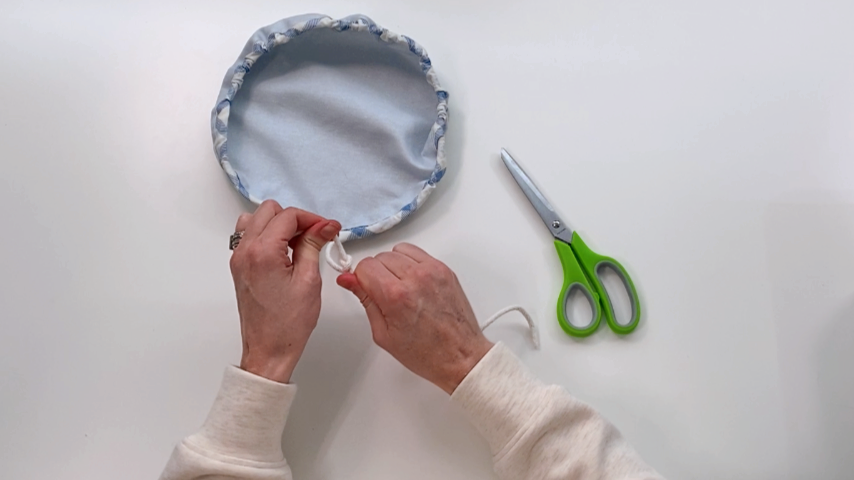
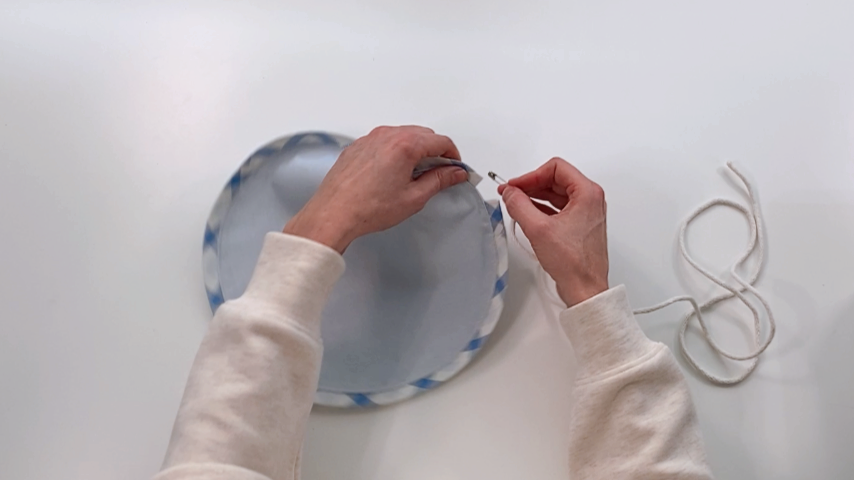
Step 8
Use a safety pin or bodkin to thread your rope through the bias tape. I put a piece of tape on the end of my rope to ensure it didn’t unravel as the safety pin was pulling it through.
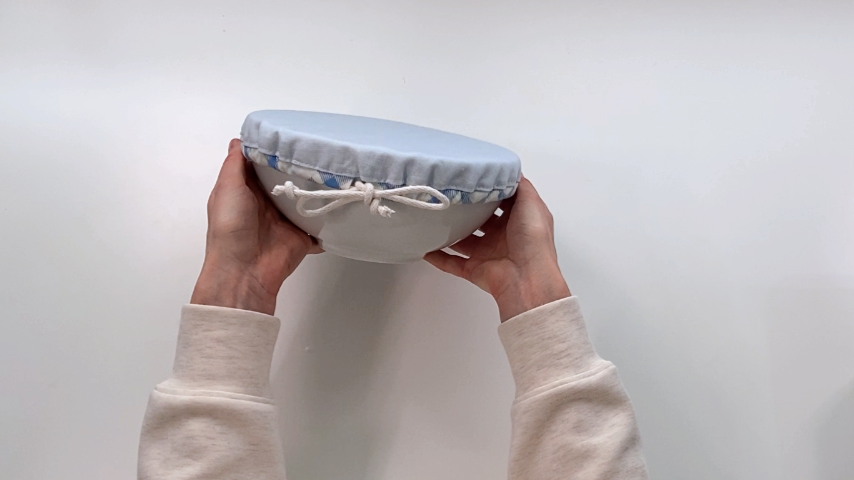
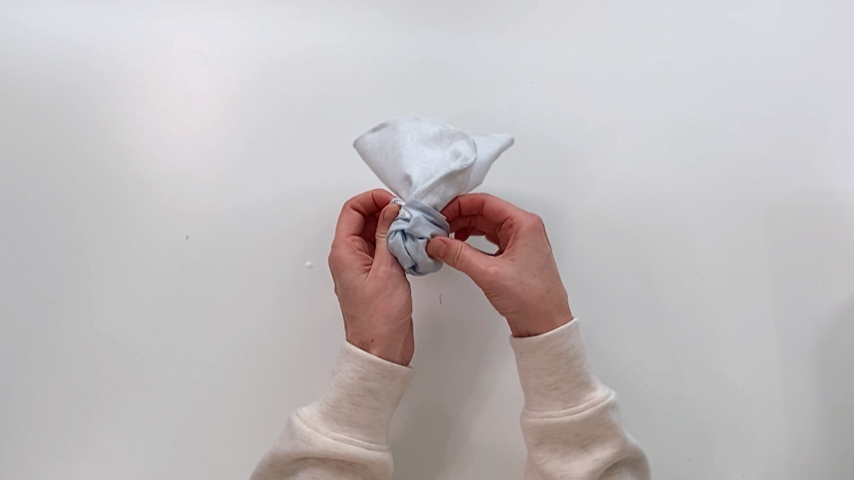
Step 9
Tie a knot in each end of the rope and trim any excess.