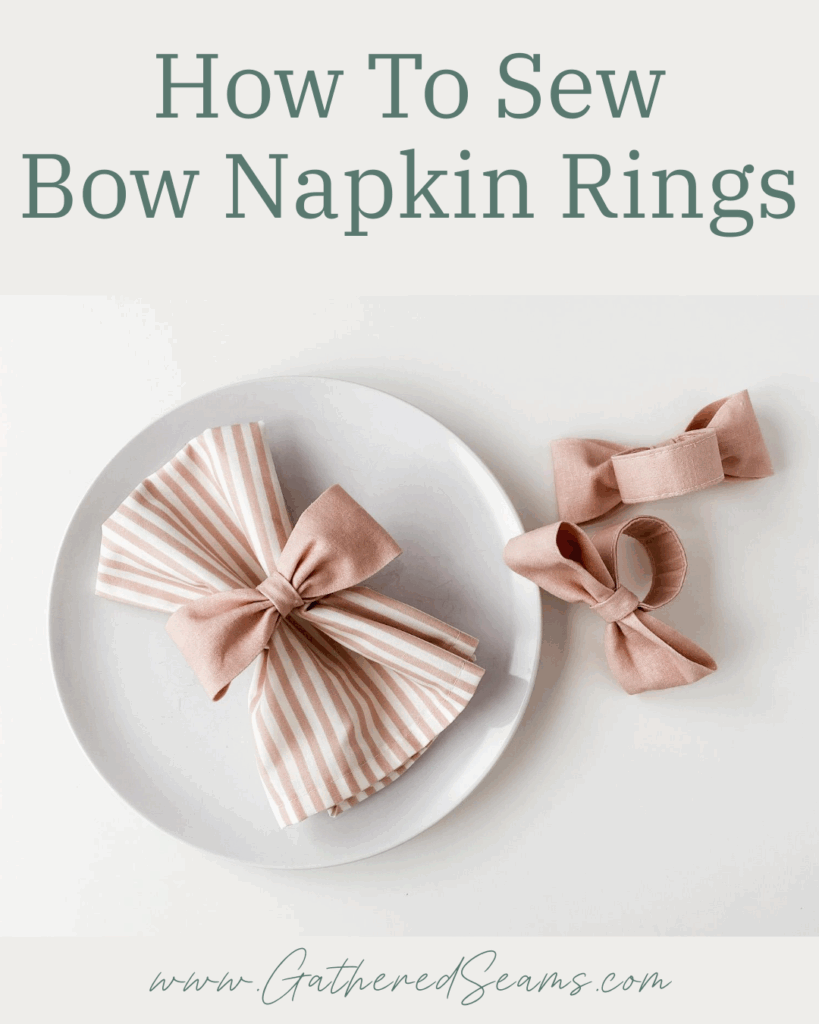
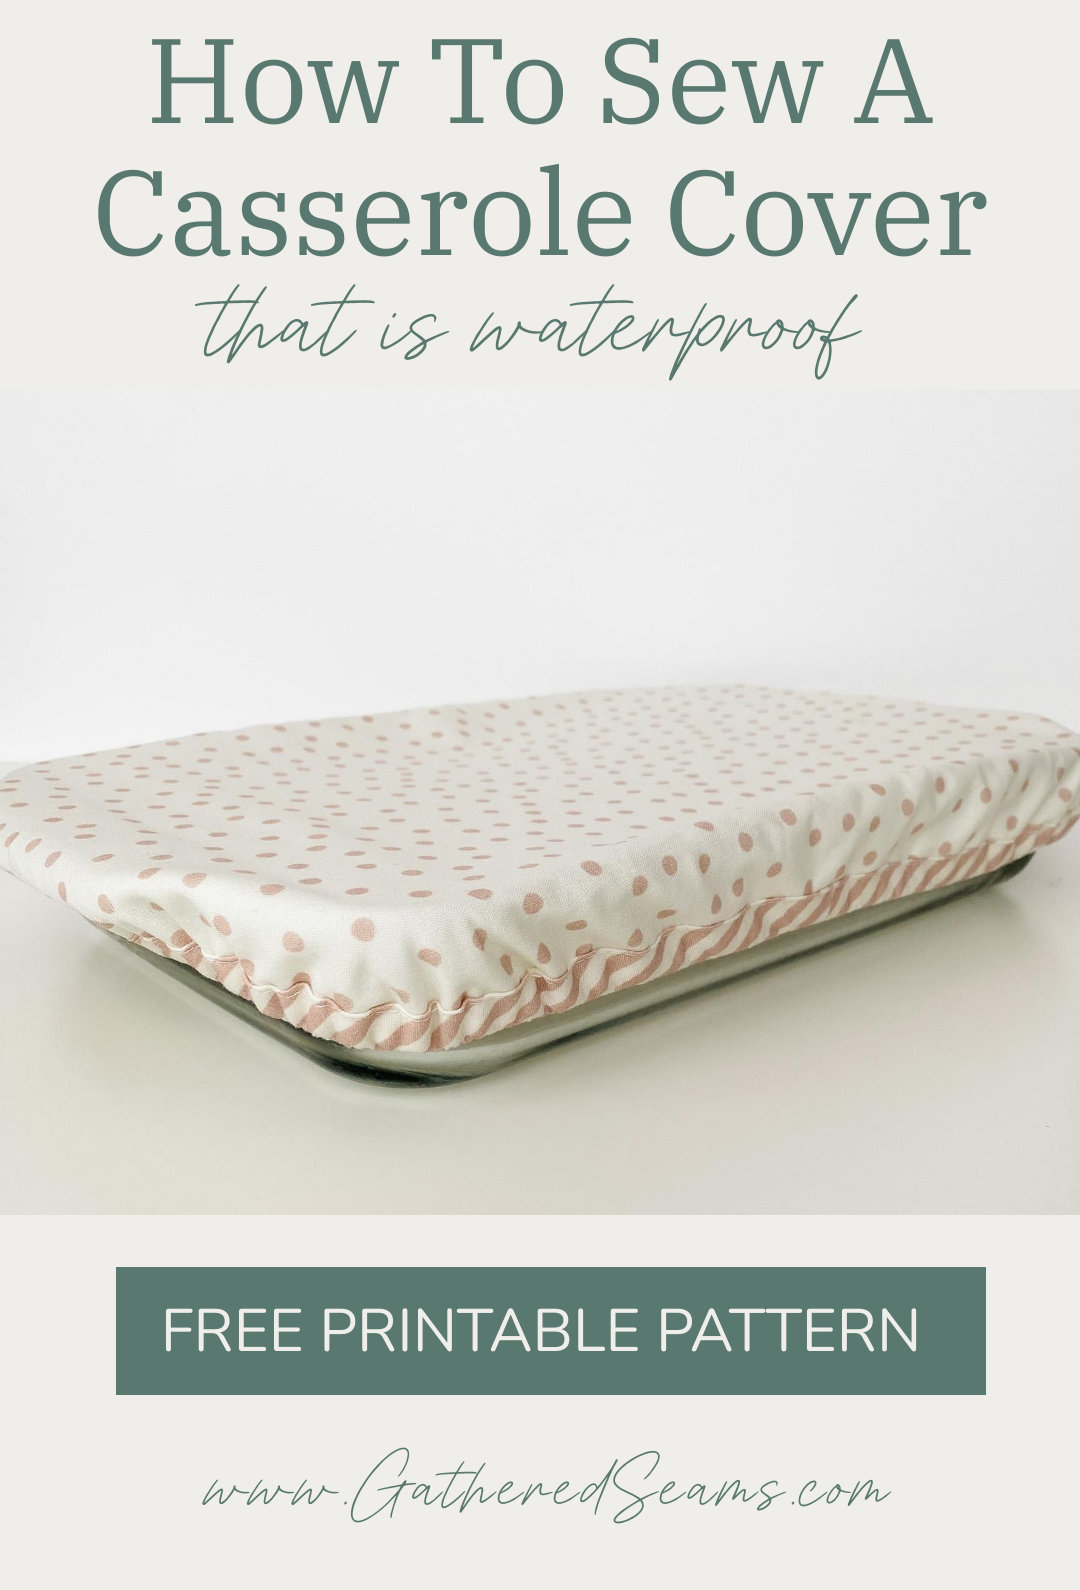
How To Sew a Waterproof Casserole Cover
Reusable casserole covers are a great item to sew and sell because they will save your customers money in the long run. No need for plastic wrap or tin foil when covering casseroles that are:
- prepped and being stored in the fridge before baking
- cooked and being taken to a potluck
- leftovers and need to be stored in the fridge
What makes this bowl cover pattern different
- Waterproof – Using a food safe waterproof fabric for the interior of the cover creates a seal that traps in moisture. This ensures the casserole won’t dry out.
- Bias tape – I used bias tape to finish the edges and create a channel for the elastic, which I think gives it a more polished look (is ideal when sewing to sell).
- Sizing – This casserole cover pattern was designed for a 9” x 13” casserole dish. However, I’ve tested it on small (8″ x 10″), medium (9″ x 13″), and large (11″ x 15″) casserole dishes, and it fits all 3. I’ve also included a pattern piece for am 8″ x 8″ casserole dish.
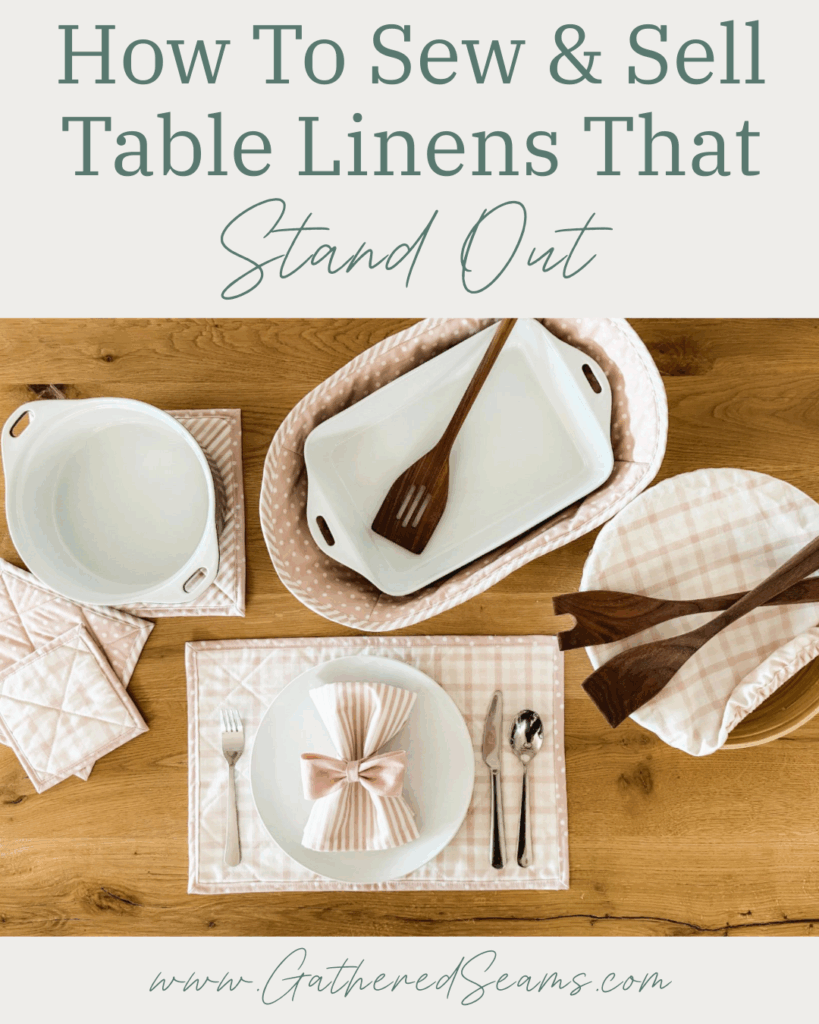
Sewing casserole covers to sell
Waterproof casserole covers are an ideal item to sew and sell at craft shows or on Etsy.
- Eco-friendly appeal – a casserole cover will replace single-use plastic wrap and tinfoil, making it environmentally friendly.
- Money-saver – anything that’s reusable will save your customers money in the long run, making it an easy sell.
- Low costs – although food-safe waterproof fabric is a little more expensive, you don’t need much of it to make this cover and it doesn’t take long to make. This will keep your costs low.
- Higher value perception – many consumers see a casserole cover as a valuable item because it can be used over and over and reduce how much Saran wrap and tinfoil they need to buy.
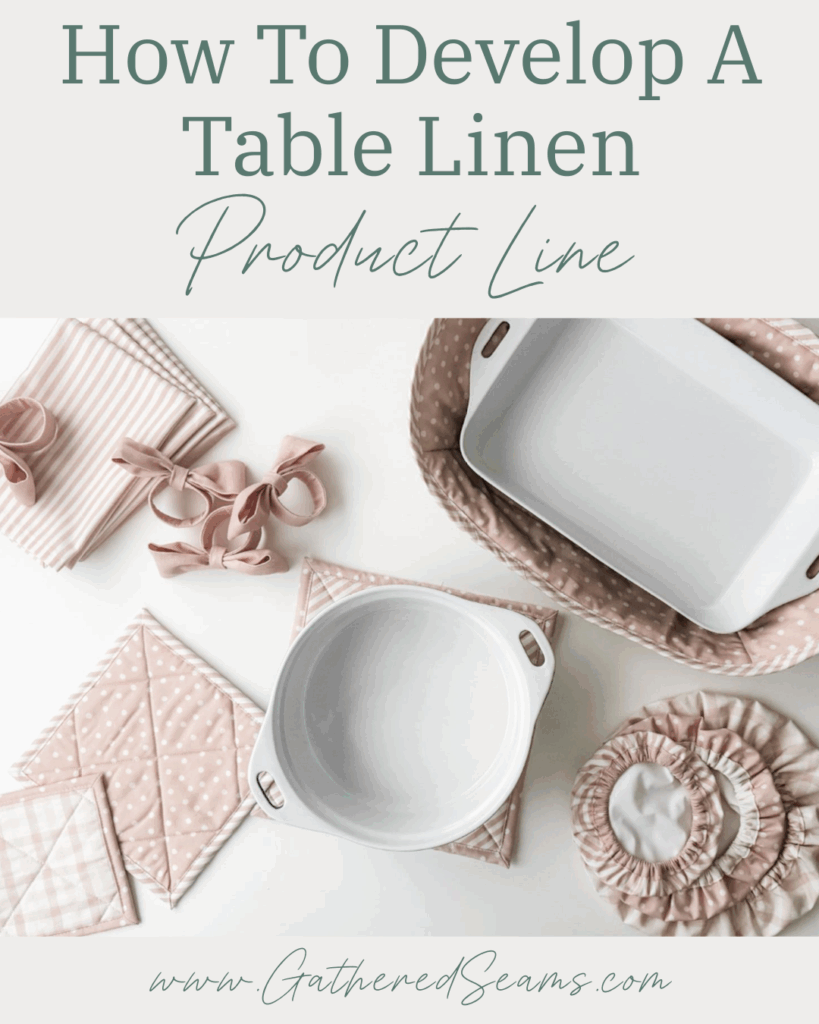
When selling casserole covers at craft shows or online, you may want to offer a set (small, medium, large) or different shapes, such as:
- square casserole dish cover (included in the pattern pdf)
- loaf pan cover (when baking meatloaf)
- round pie cover (for covering quiches or meat pies)
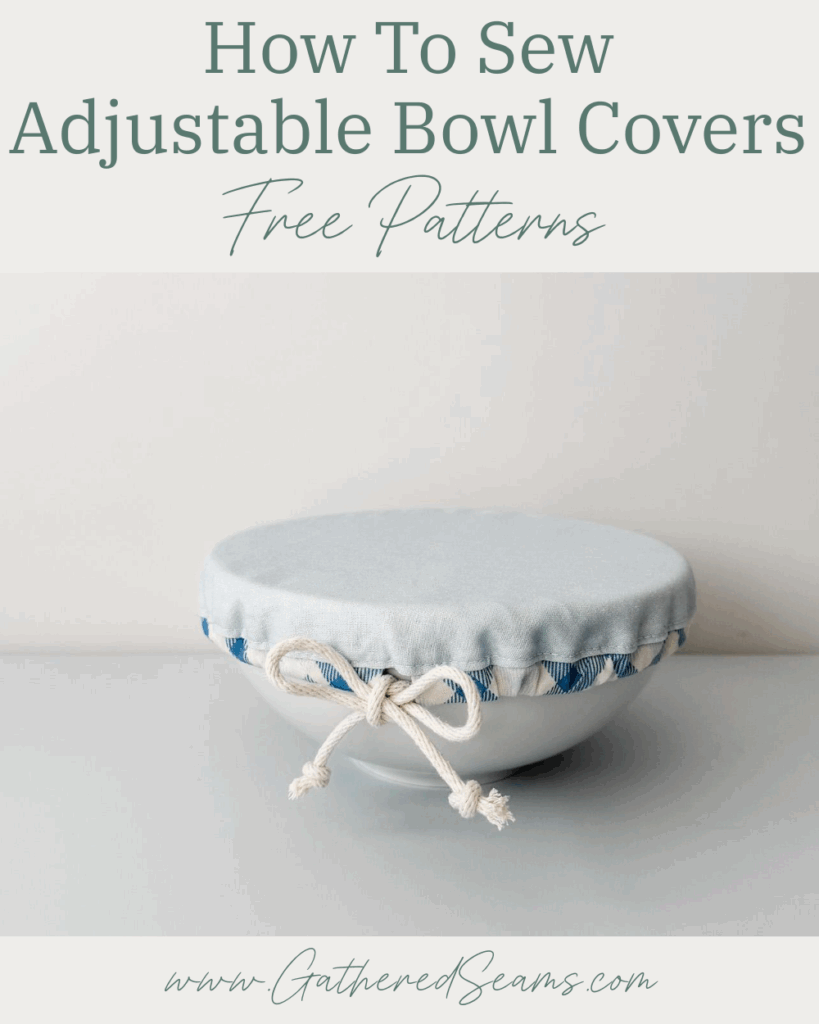
- round bowl covers (get the free patterns for small, medium and large here)
Materials
As an Amazon Associate, I earn from qualifying purchases.
- Top fabric (cotton or linen are ideal)
- Food-safe waterproof fabric (food-safe PUL, food-safe waxed cotton, food-safe nylon, food-safe laminated cotton)
- Bias tape (approx 58″) – this should be a minimum of 1/2″ wide when double-folded; wider is better to ensure you have enough room to thread your elastic through the bias tape.
- 23″ of 1/4” wide elastic
- Thread
Tools
- Sewing machine
- Scissors
- Safety pin or bodkin *It’s important that your safety pin/bodkin is small enough to fit inside the binding, which is about 3/8″ wide once stitched.
- Fabric clips
- Iron

How to sew a waterproof casserole cover with bias tape
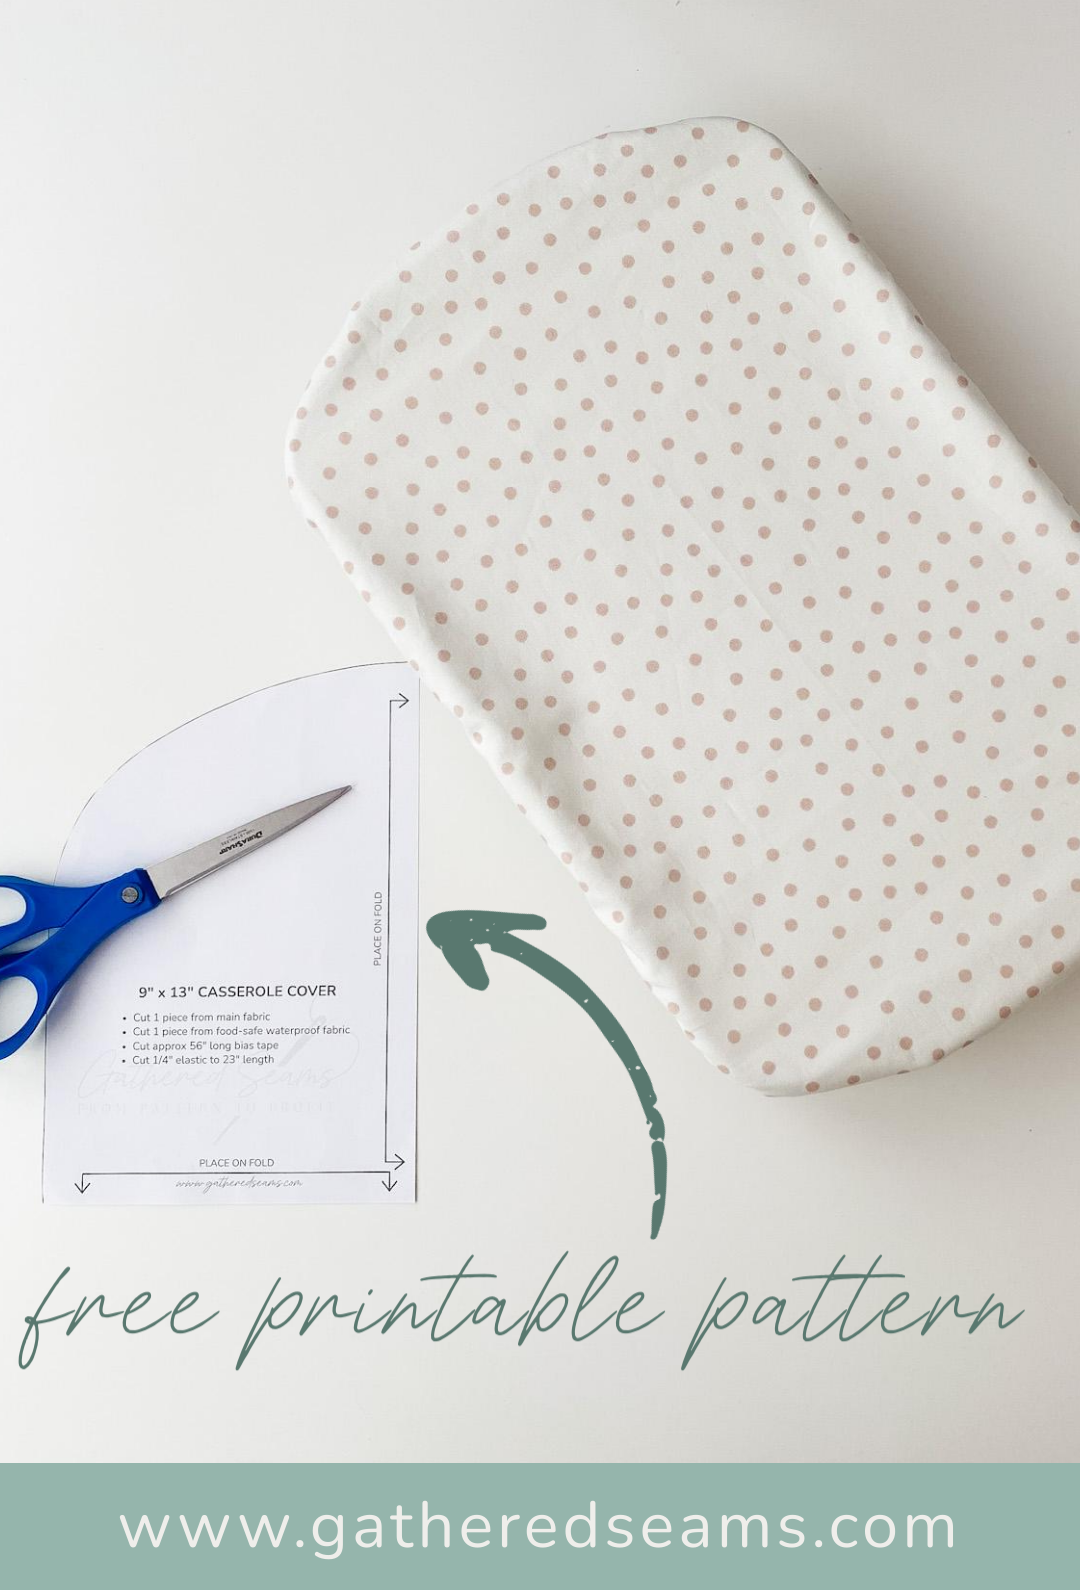
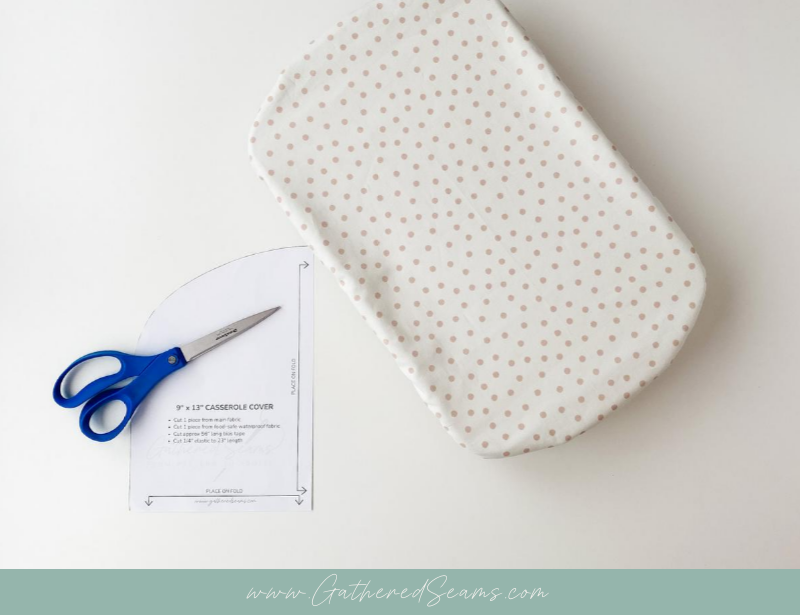
Step 1 – Cut out pattern pieces
Print your free patterns and cut them out.
You’ll need to cut your pattern piece in:
- Top fabric (cotton or linen is ideal)
- Food-safe plastic
You’ll also need to cut:
- Approximately 58″ of bias tape
- 23″ of 1/4″ wide elastic
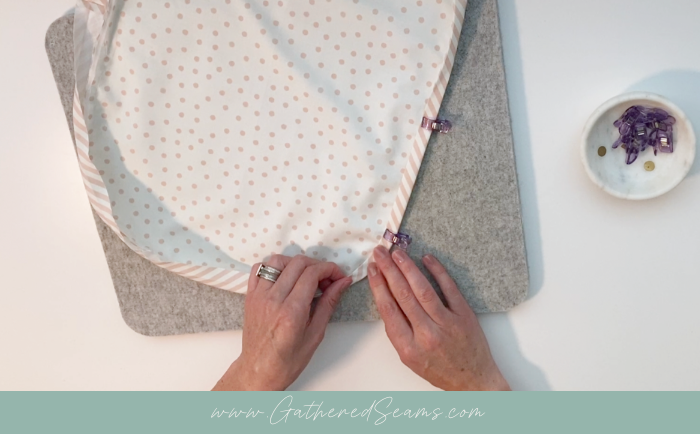
Step 2 – Sew first side of bias tape
Place your cotton and waterproof fabric pieces together with wrong sides together and clip around the edges.
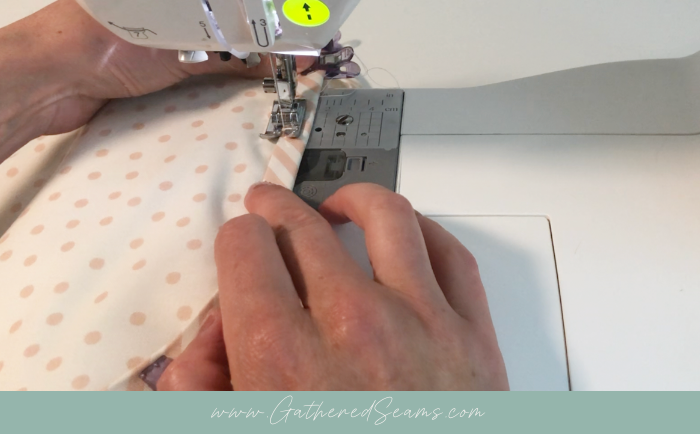
Sew your bias tape to the plastic side of your cover first.
Leave about 3″ of bais tape free at the start and end of your stitching, and leave about a 3″ gap between the start and end of your bias tape.
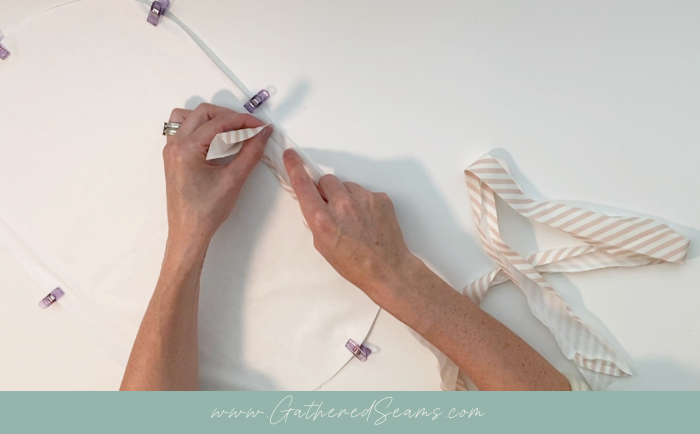
Step 3 – Join bias tape ends
Clip your two loose ends into place and fold them back so they meet in the middle of the 3″ opening.
Fold the ends so there is about a 1/8″ gap between them.
Use your fingers to crease those folds, then use a temporary fabric pen to mark those creases on the wrong side of the bias tape (which will make it easier to see where that crease is when sewing).
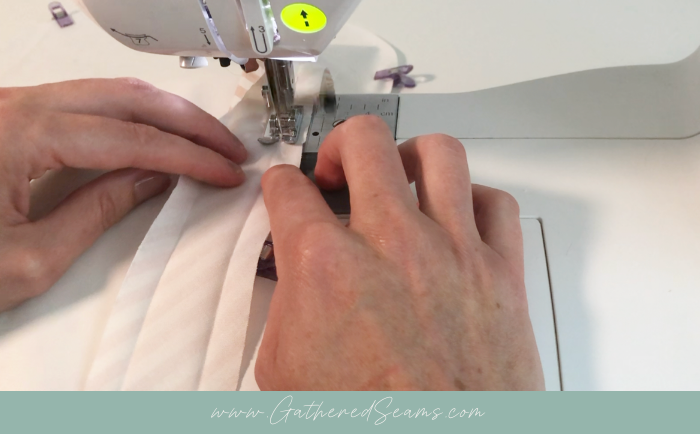
Line those creases up, pin them into place, then sew along the line to join the two ends of the bias tape.
Check to ensure your bias tape is the right length to sit flat, and if it is, cut off the ends.

Finger-press the seam open, and finish sewing the bias tape down.

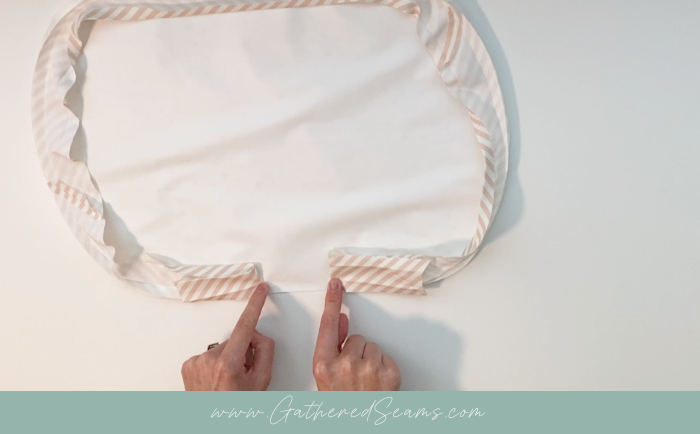
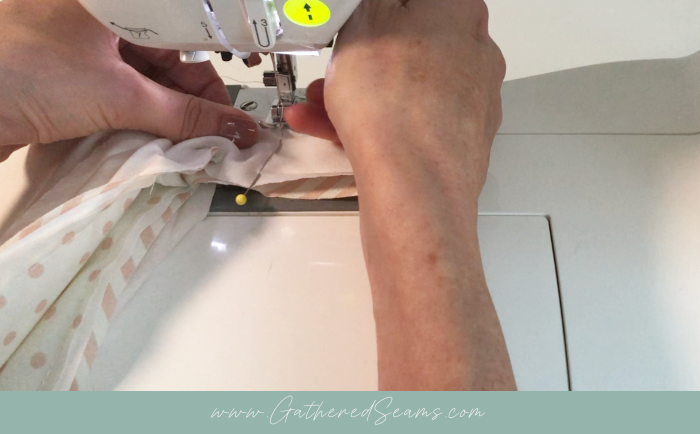
Step 4 – Flip bias tape & press
Fold the bias tape over to the right size of the casserole cover and clip into place to ensure the folded edge of the bias tape covers the line of stitches (from sewing the first side of the bias tape on).
Leave a 1″ – 2″ opening when you topstitch the other side of the bias tape down. Keep your stitching close to the inside edge of the bias tape, so you’ll have enough room to feed the elastic and safety pin through the channel of the bias tape.
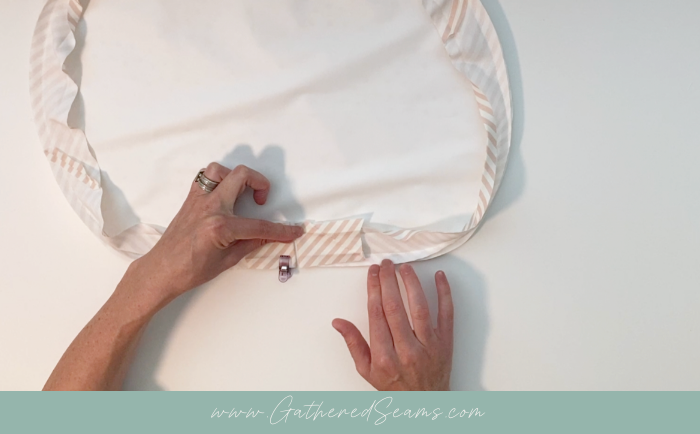
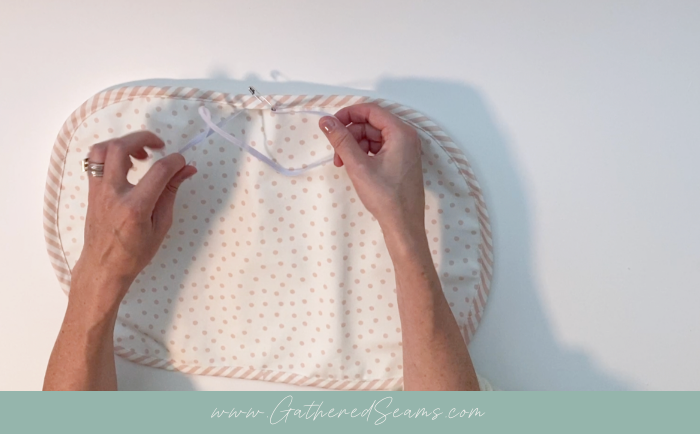
Step 5 – Thread elastic through bias tape
Cut a piece of 1/4″ elastic be 23″ long. Attach a safety pin to one end of your elastic and start threading it through the opening left in your bias tape.
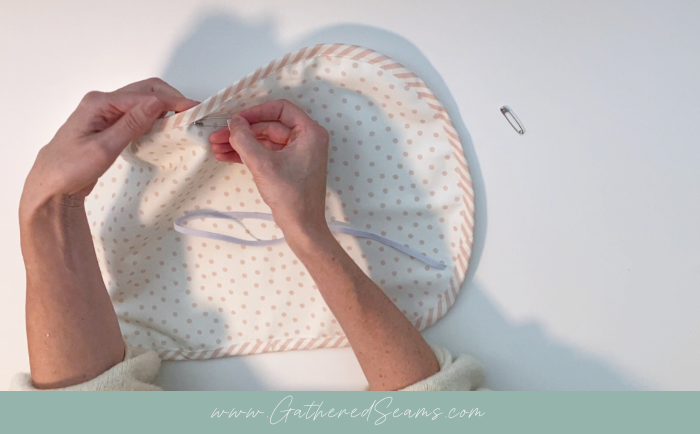
Attach a safety pin to the other end of the elastic and pin it to the bias tape; this will ensure the end doesn’t accidentally get pulled through.
Once you have looped the elastic all the way around the casserole cover, remove the safety pins and use a balloon knot to secure the two ends together.
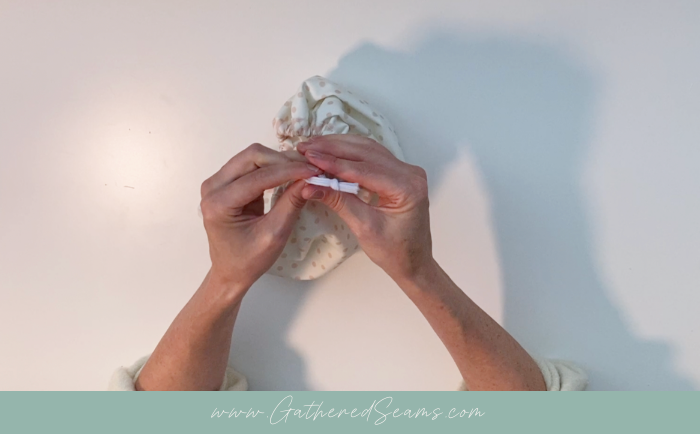
Work the knotted end into the channel of the bias tape.
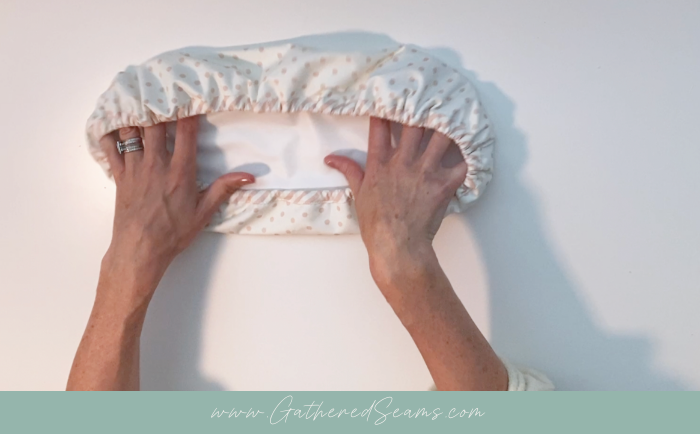
Step 6 – Sew bias tape opening closed
Finish topstitching your bias tape to close the opening.
Work the fabric around the elastic to ensure the gathers are distributed evenly.
Now it’s time to sell your casserole cover!