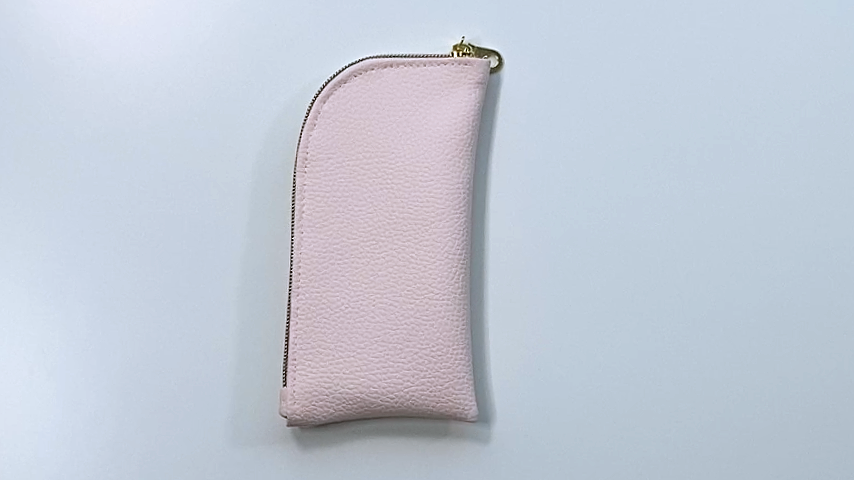
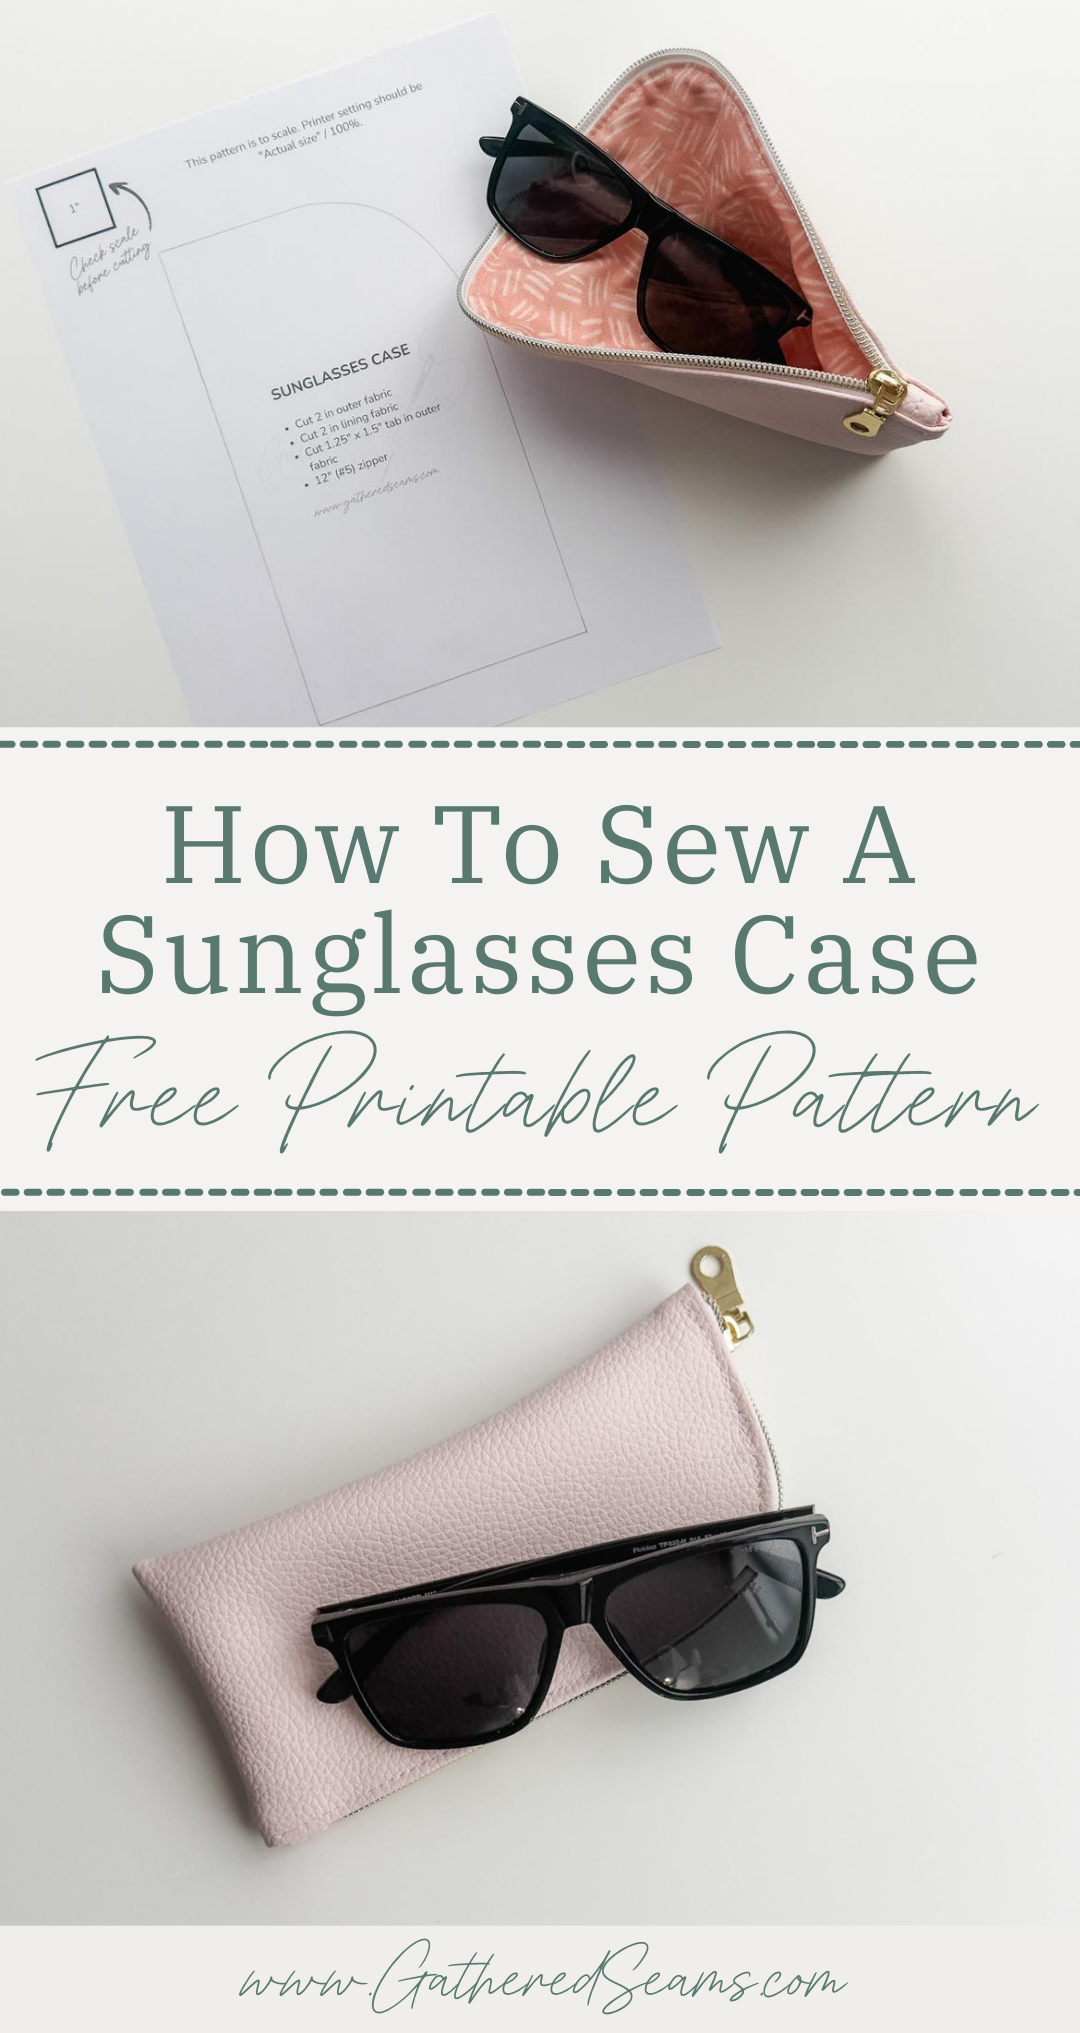
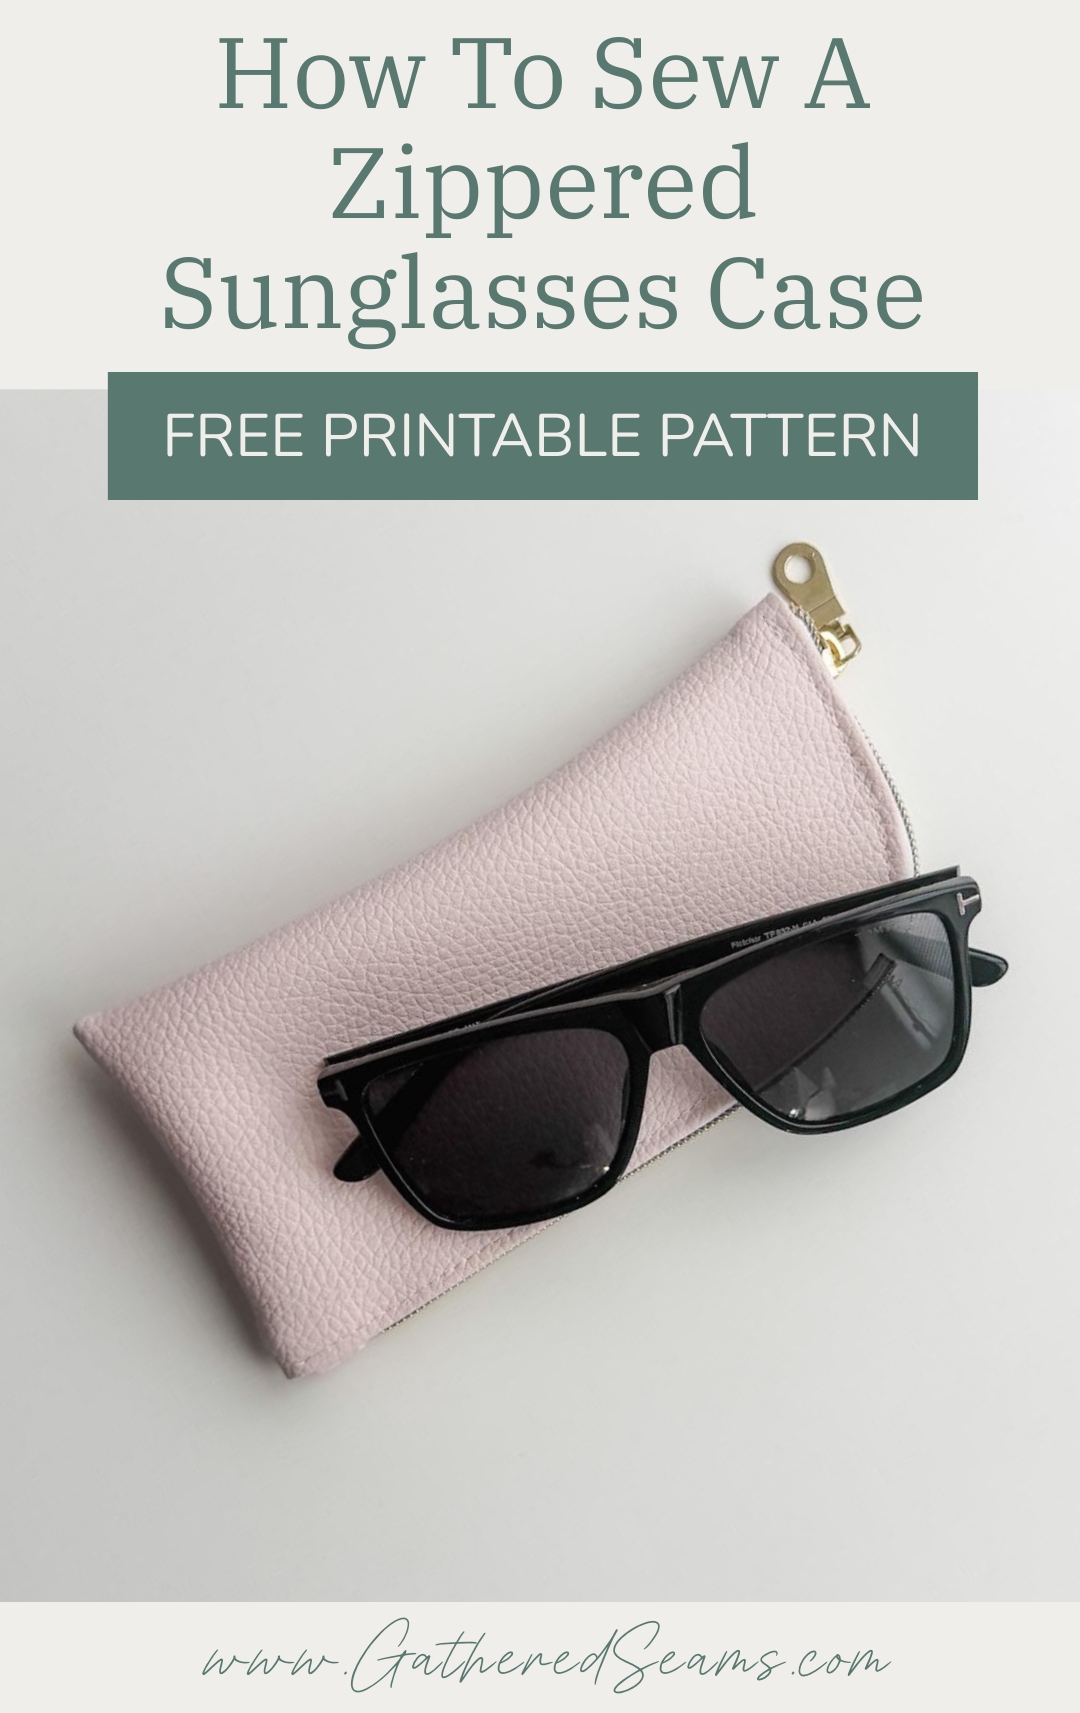
How To Sew a Sunglasses Case | Free Printable Pattern
Almost everyone wears sunglasses, so a sunglasses case is a great item to sew and sell at craft shows.
This sunglasses case is zippered, so it is a bit more of an advanced project.
I made mine with a vinyl exterior, which adds another level of trickiness to this pattern. But you could easily use a quilted material, or a bit of a heavier fabric to give the case some structure.
Sewing sunglasses cases to sell
Sunglass cases make a great add-on item when you’re selling bags and purses.
Most people have multiple pairs of sunglasses, and maybe even multiple pairs of glasses. So it’s a common item consumers buy.
It’s also a great way to use scrap pieces of fabric and increase your profits.
Sunglass cases should be made in fabrics that match or coordinate with the bags you’re selling. When people see a sunglasses case in a matching fabric to the bag they’re holding, they make the connection quicker that the two items work great together.
Materials
- Exterior fabric (a heavier-weight or quilted fabric is ideal to add structure)
- Lining fabric
- Thread
- #5 zipper
Tools
As an Amazon Associate, I earn from qualifying purchases (see full disclosure here).
- Sewing machine
- Walking foot (highly recommended if you’re sewing with vinyl or when quilting. This is the universal one I purchased for my Baby Lock, which is a different machine than what’s shown in the photos)
- Clips
- Temporary fabric marker (these are the ones I use)
- Ruler
- Rotary cutter
- Scissors
- Point turner
- Wonder Tape (optional but makes sewing in zippers easier)
- Soft-faced hammer (optional, but helps flatten seams when working with vinyl)
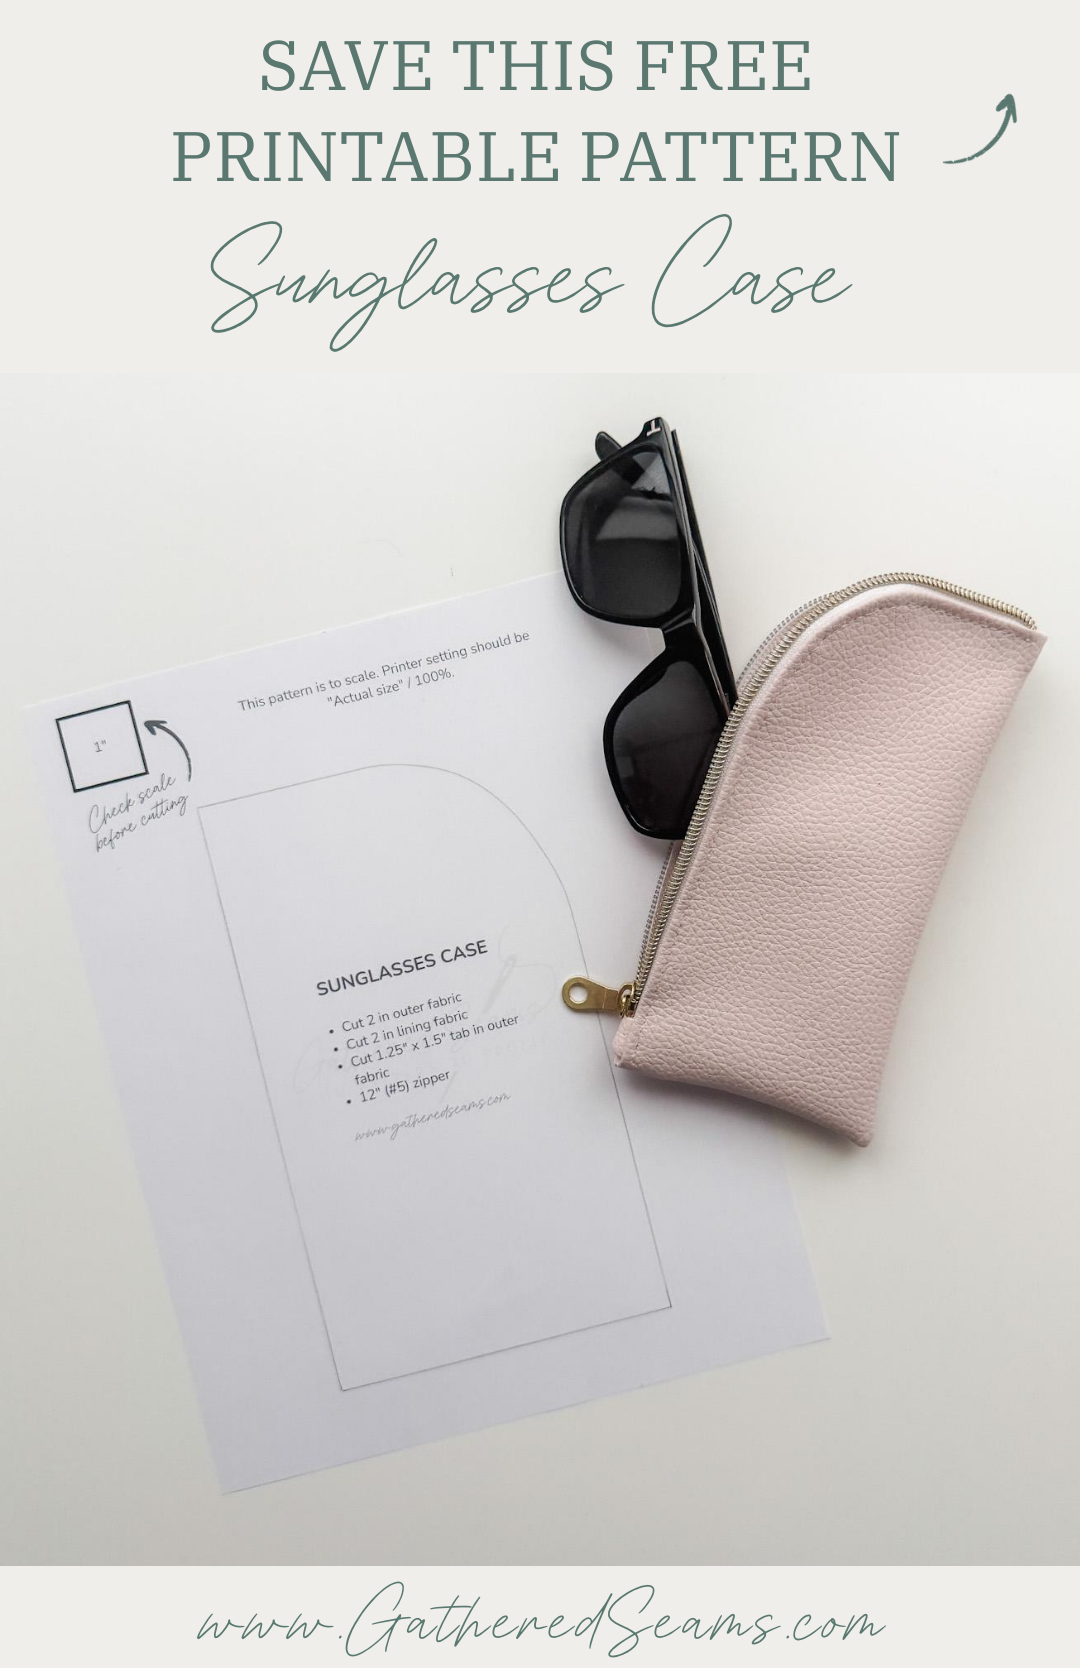
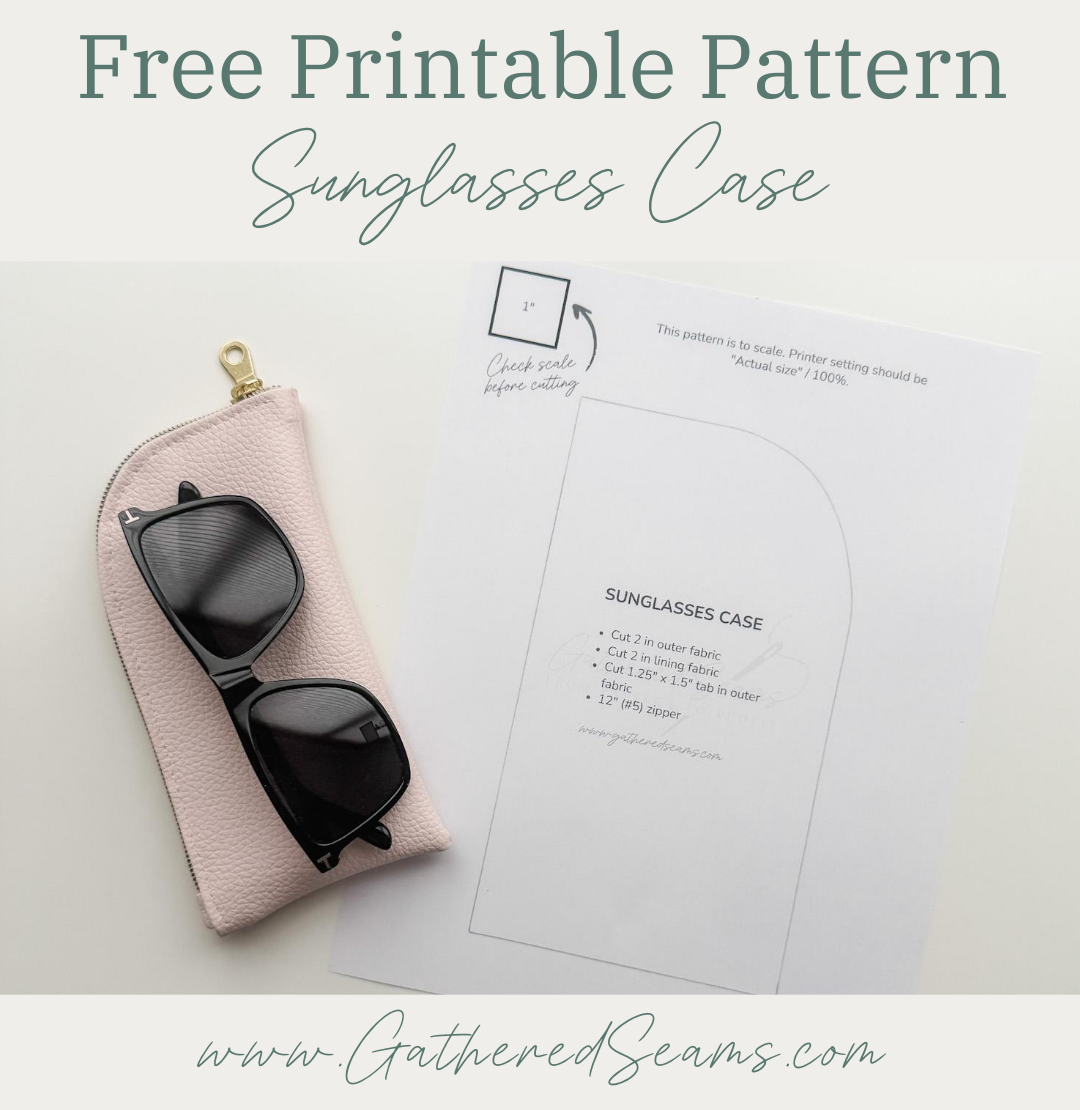
Free Printable Pattern for A Zippered Sunglasses Case

Step 1
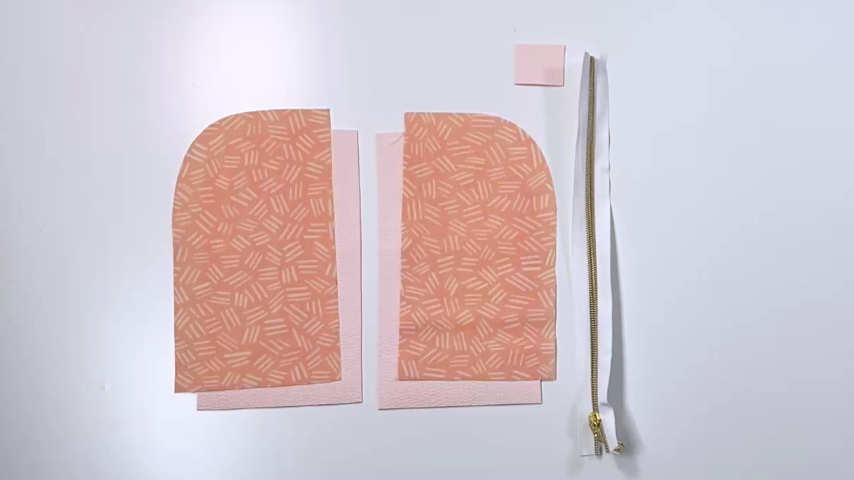
Download the free printable pattern and cut out your pattern pieces.
You will need:
- 2 pieces in your exterior fabric
- 2 pieces in your lining fabric
- 1 1-1/4” x 1-1/2” piece in your exterior fabric (for the zipper tab) *If you’re not using vinyl, cut the piece 1-1/4” x 2” long.
- #5 zipper cut to 12” long
Step 2
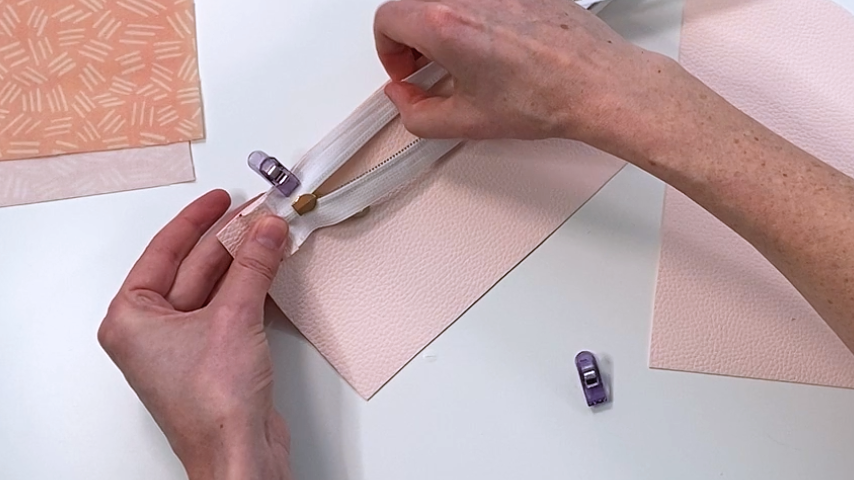
Sew the tab to the end of the zipper.
Make sure you are sewing the tab at the end that the zipper opens toward.
Place right sides together and sew across the end using a 1/2” seam allowance.
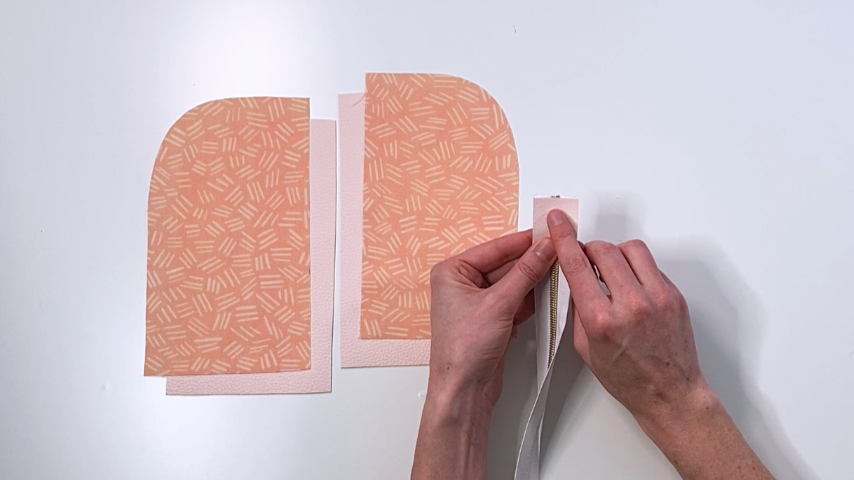
Then fold the tab to the back and topstitch so you catch the bottom layer of the tab.
Because I’m using vinyl, I don’t fold the back of the tab under, since it won’t fray. This reduces the bulk.
If you’re using a woven fabric, cut your tab 1-1/4 “x 2” and when you fold the tab to the back of the zipper, fold it under by 1/2” first.
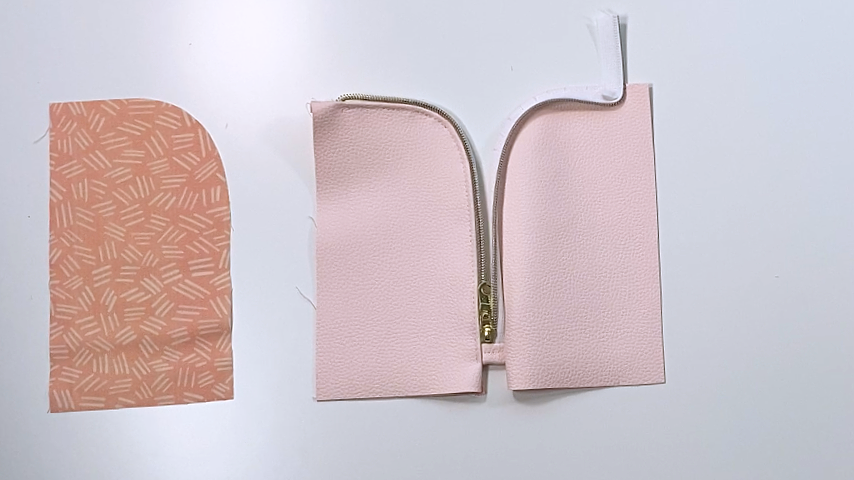
Step 3
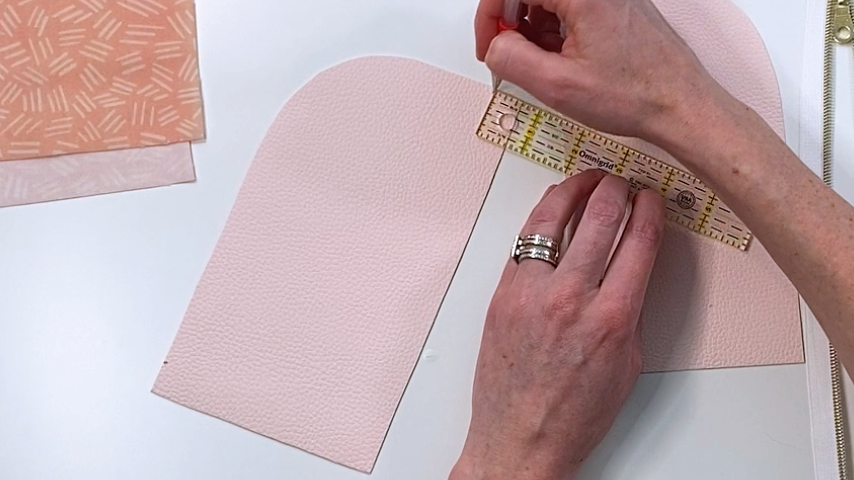
Mark a 5/8” seam allowance at the start and end of where your zipper will go, on the right side of your outer piece.
We’ll be sewing with a 1/2” seam allowance, but starting the zipper 5/8” away from the edge helps reduce the bulk in the seams.
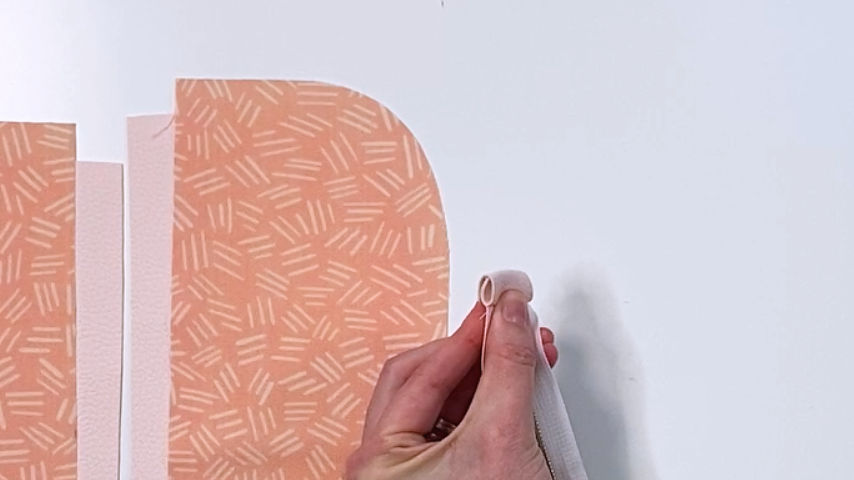
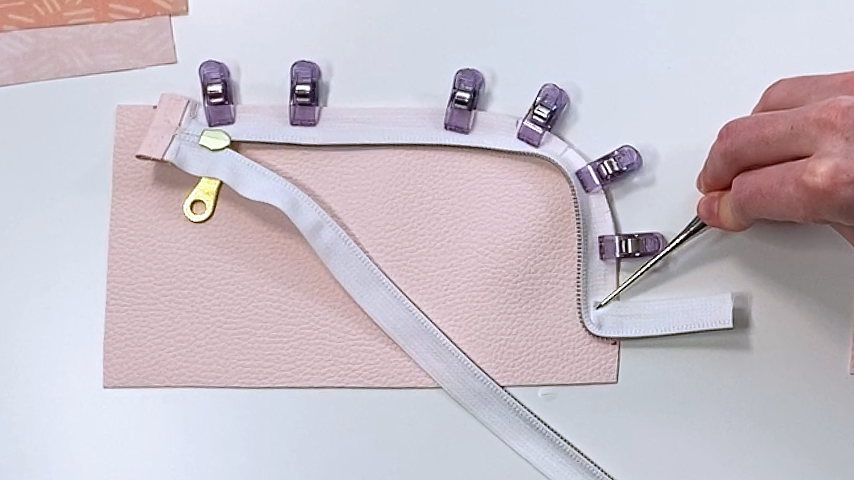
Place your zipper and outer piece right sides together and clip the zipper tab into place so it starts just after your 5/8” mark.
Continue clipping the zipper to the exterior piece and as you get to the curve, clip your zipper tape about 1/8” or up to the reinforcement line (You’ll notice a line on the zipper tape that runs parallel to your zipper, it’s subtle. That’s the reinforcement line and it will prevent your fabric from fraying beyond it if you add snips.)
Generally, I don’t snip zipper tape, but because this is a sharper curve, it’s very hard to get the zipper tape to sit flat without snipping.
As you get to the open end of your zipper, fold your zipper at a 90-degree angle so the teeth of the zipper end right before your 5/8” line and clip into place.
Baste your zipper to your outer piece.
Repeat those steps for the other side of your zipper.
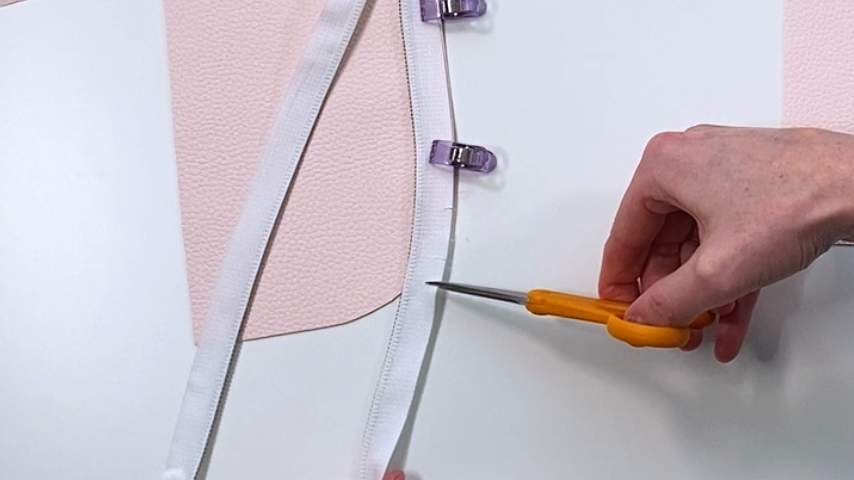
Snip V-shapes into your exterior fabric around the curve and trim back the seam allowance.
Then clip your lining into place, so the lining and outer piece are right sides together with the zipper sandwiched in between.
Use a zipper foot to sew the lining into place, stitching as close to the zipper as possible.
Cut V-shapes along the curve of your lining fabric, then trim the seam allowance to reduce bulk.
Topstitch around the zipper.
Cut any excess zipper that extends past the zipper tape on the open end.
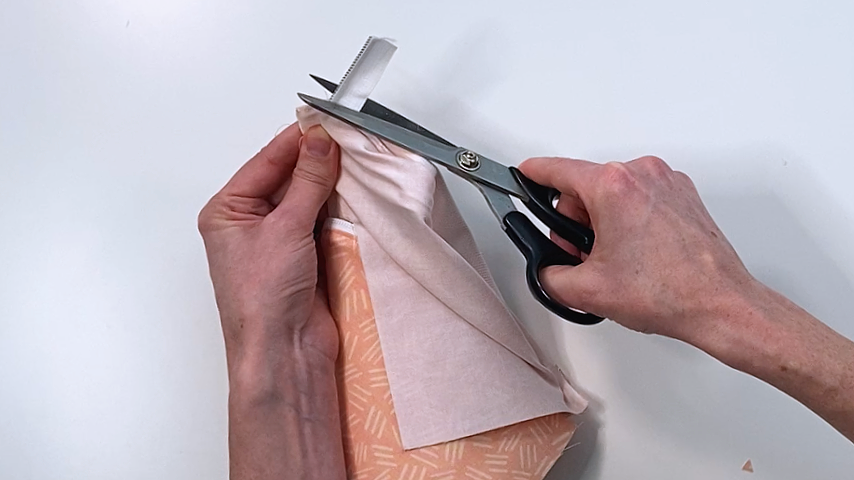
Repeat the steps to sew the lining to the zipper, trim the excess zipper, and topstitch.
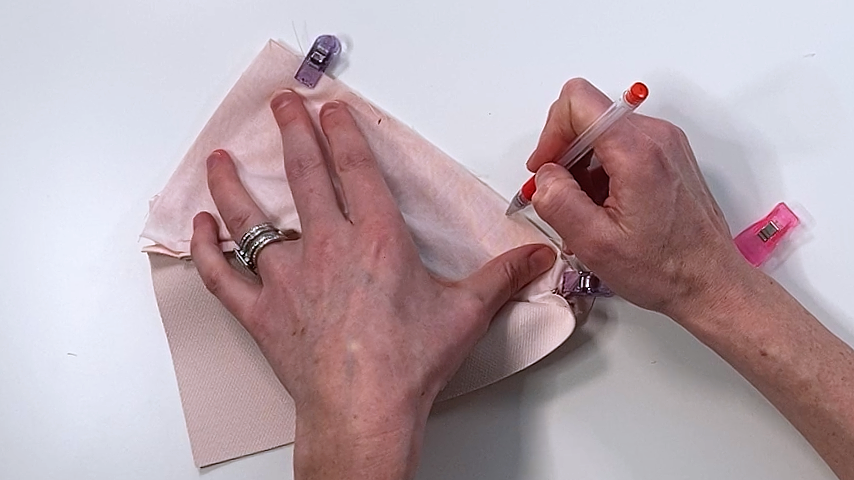
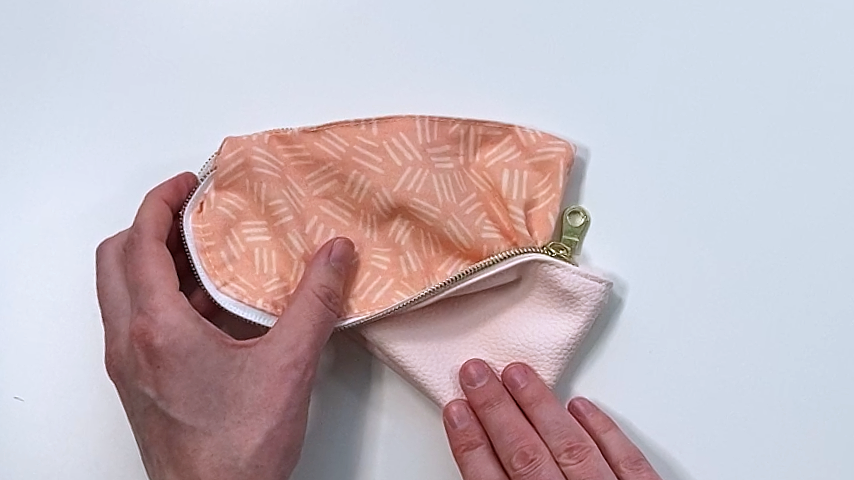
Step 4
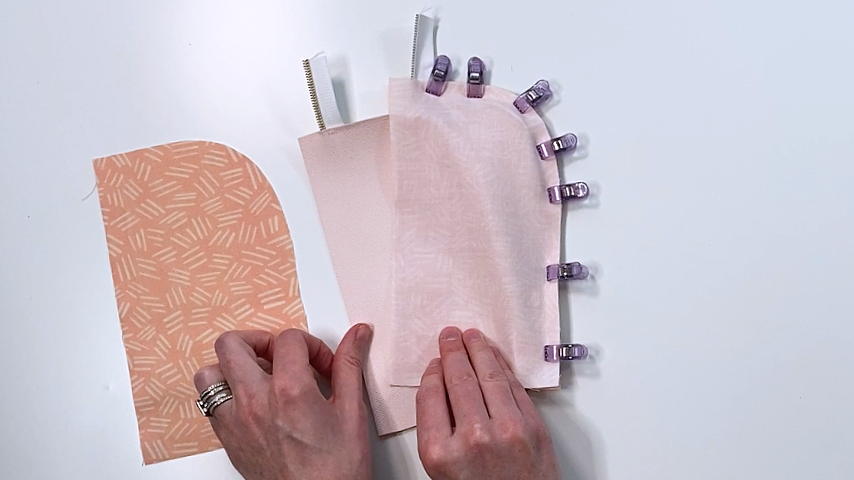
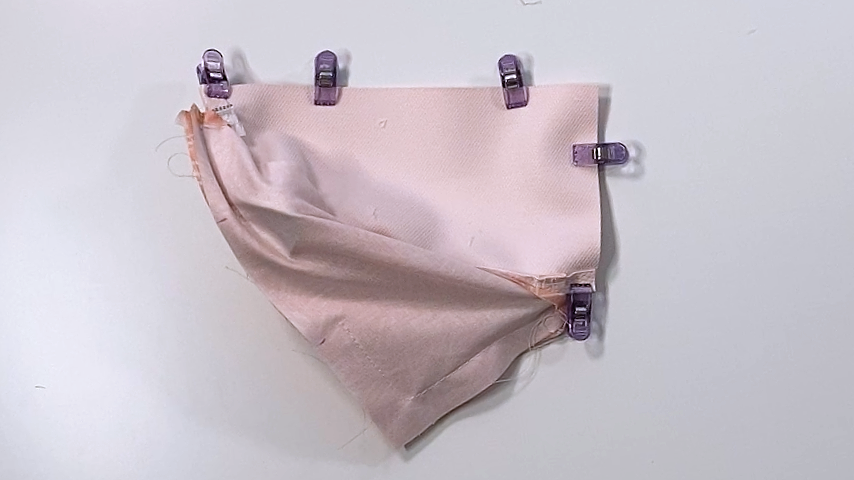
Fold the outer piece back and clip the non-zipper edges together.
Using a temporary fabric pen, mark 2 lines on the long straight edge of the lining about 3” – 4” apart. You won’t sew between these lines, and we’ll use the opening to turn our case right side out.
Sew your lining edges together.
Where the lining meets the outer fabric, sew with a 1/2” seam allowance. Then taper it to a 5/8” seam allowance. This will ensure the lining fits within the case, without extra bulk.
It helps to use a zipper foot for this step so you can get close to the zipper ends.
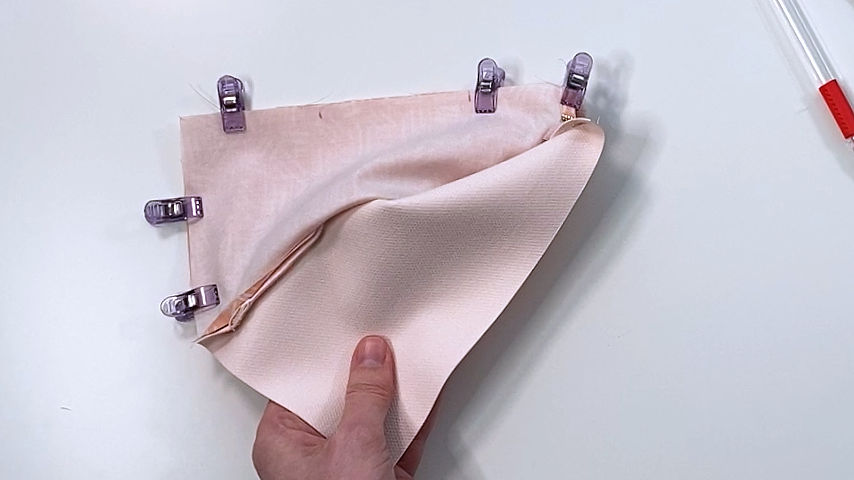
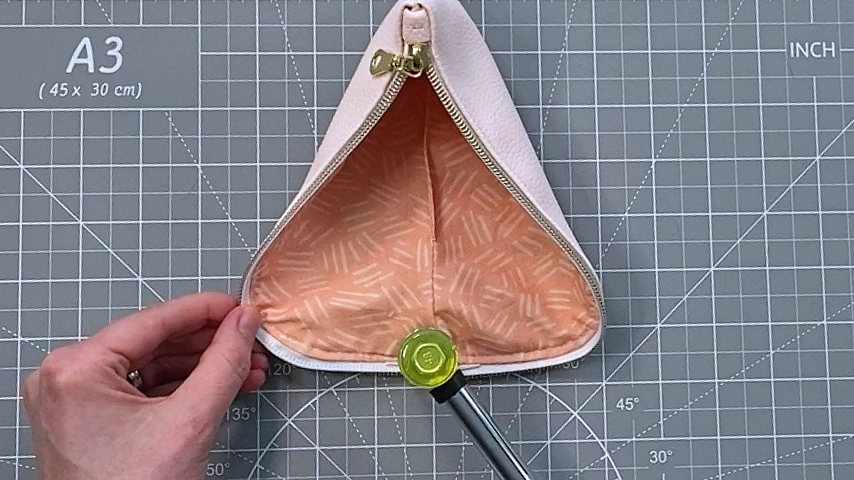
Step 5
Now fold the lining out of the way and clip the exterior edges together.
Sew around them using a 1/2” seam allowance.
Again, a zipper foot helps you sew close to the ends of the zipper.
Step 6
Trim the seam allowance and clip the corners on the non-zipper edges, for both the exterior and lining.
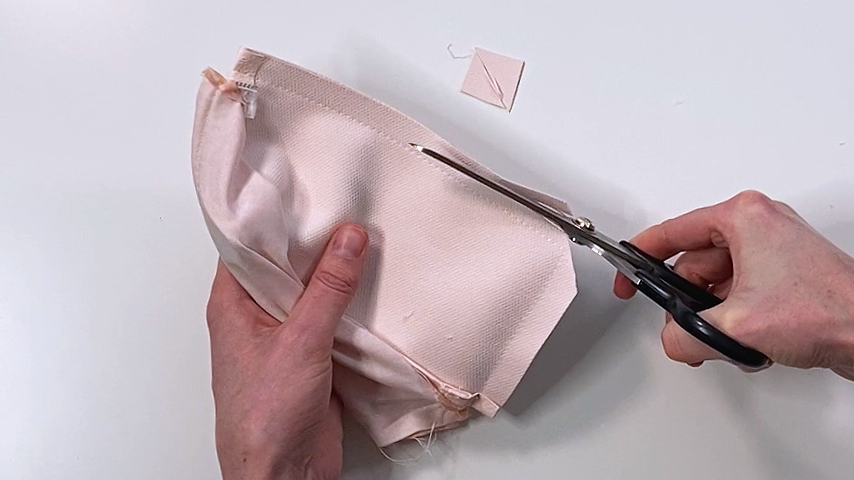
Be sure to cut the corners by each end of the zipper at an angle, to reduce the bulk.
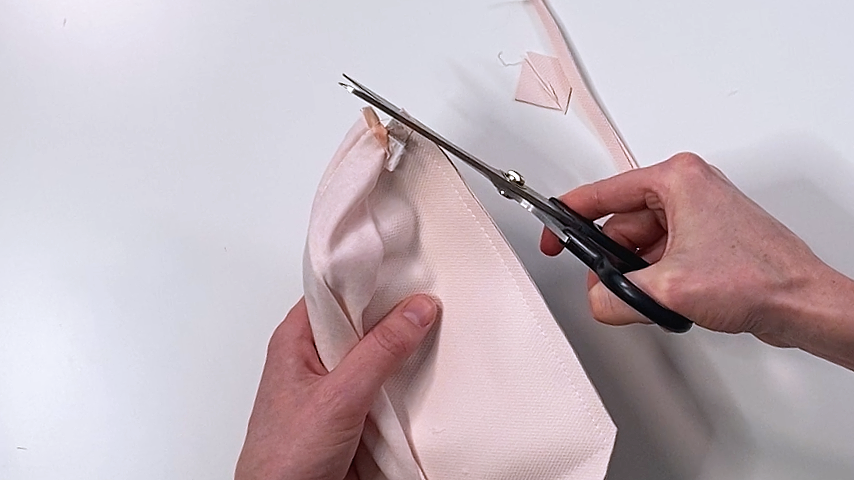
Leave the lining’s seam allowance in tact where the opening is.
Turn the case right side out and use a point turner to push the corners out.
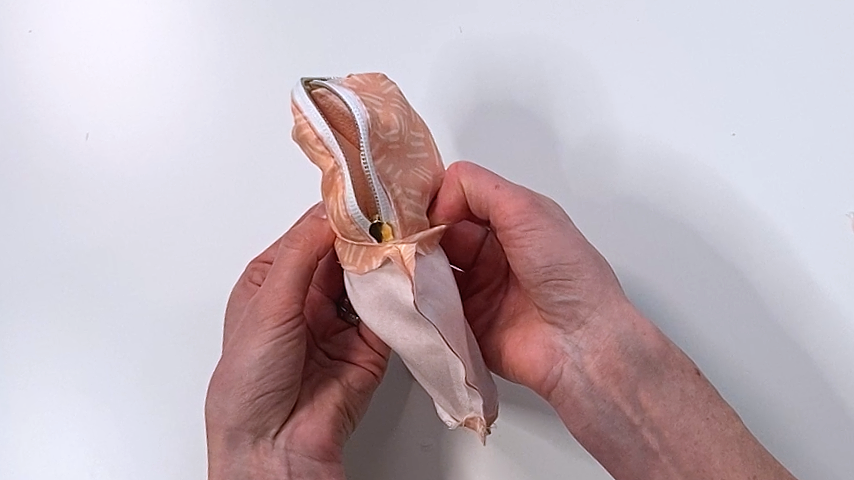
Stitch the opening closed.
If you’re working with vinyl, you can use a soft-faced hammer to flatten the seams on the non-zipper edges and any areas that have a bit of bulk.
Your sunglasses case is done!