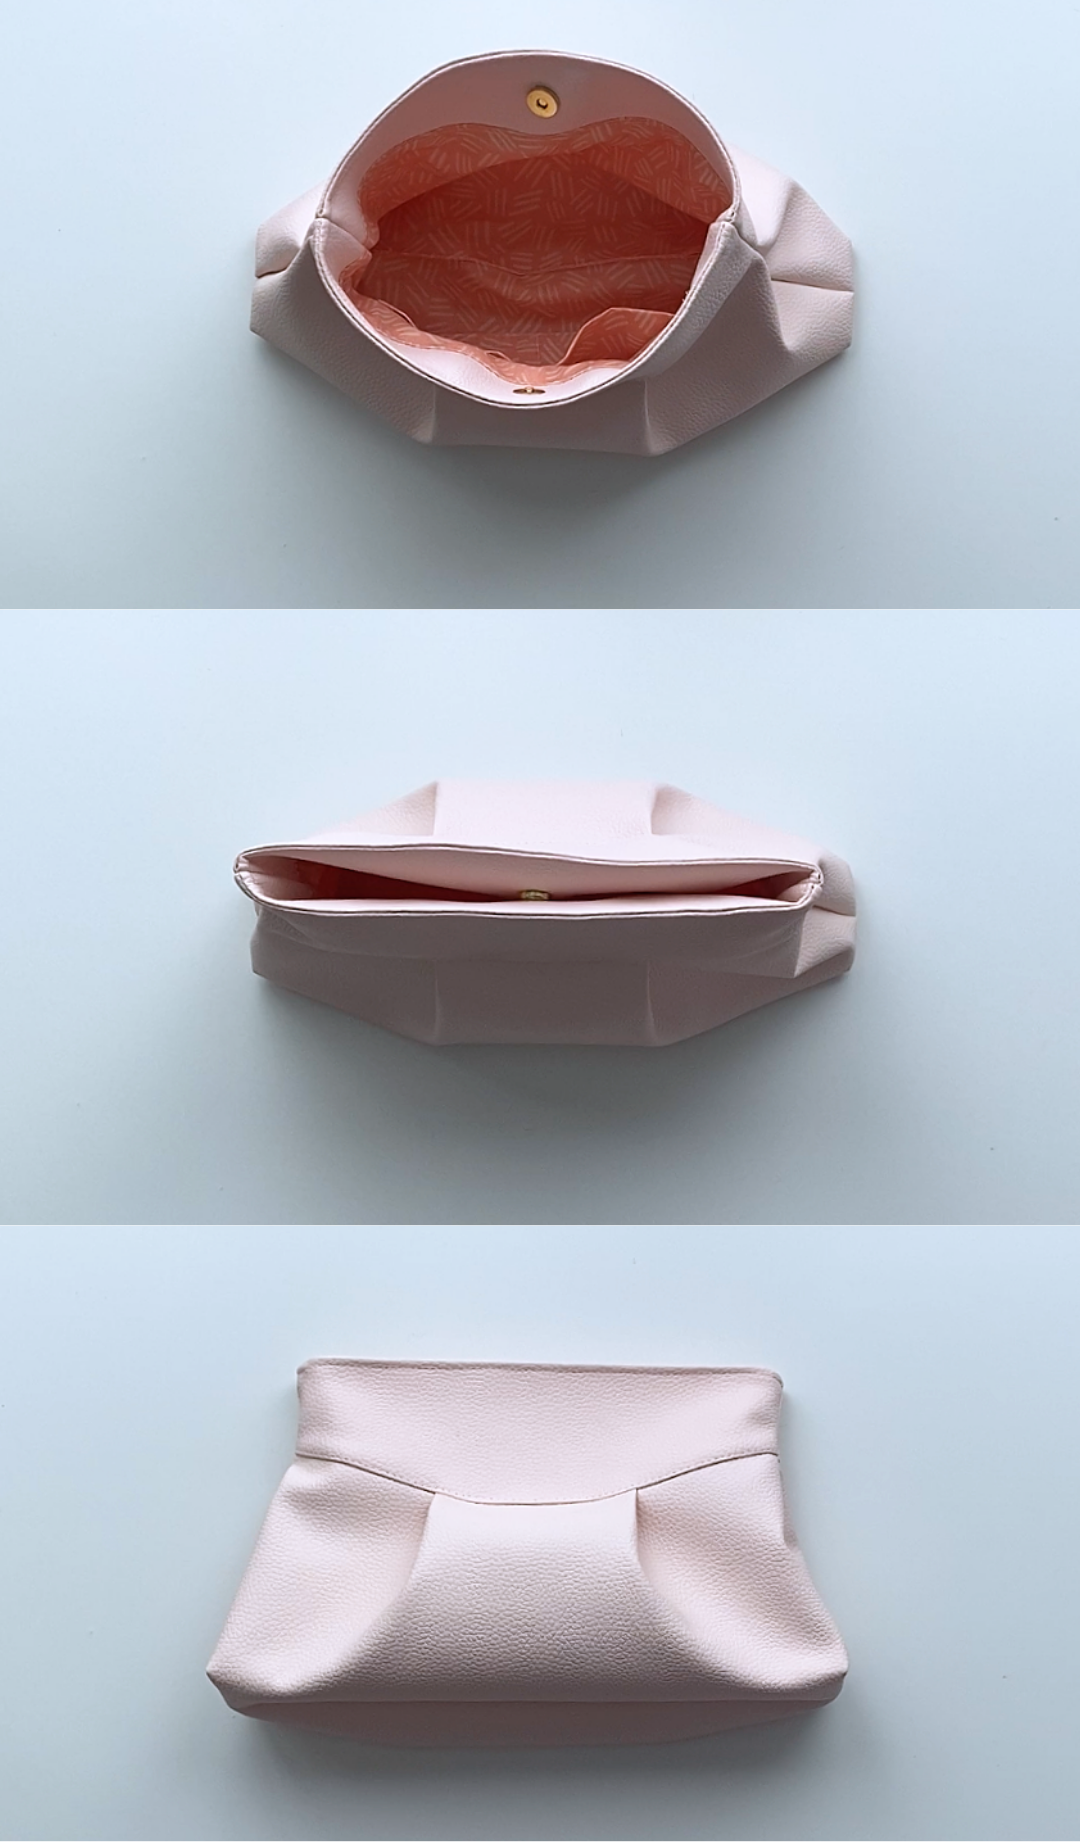
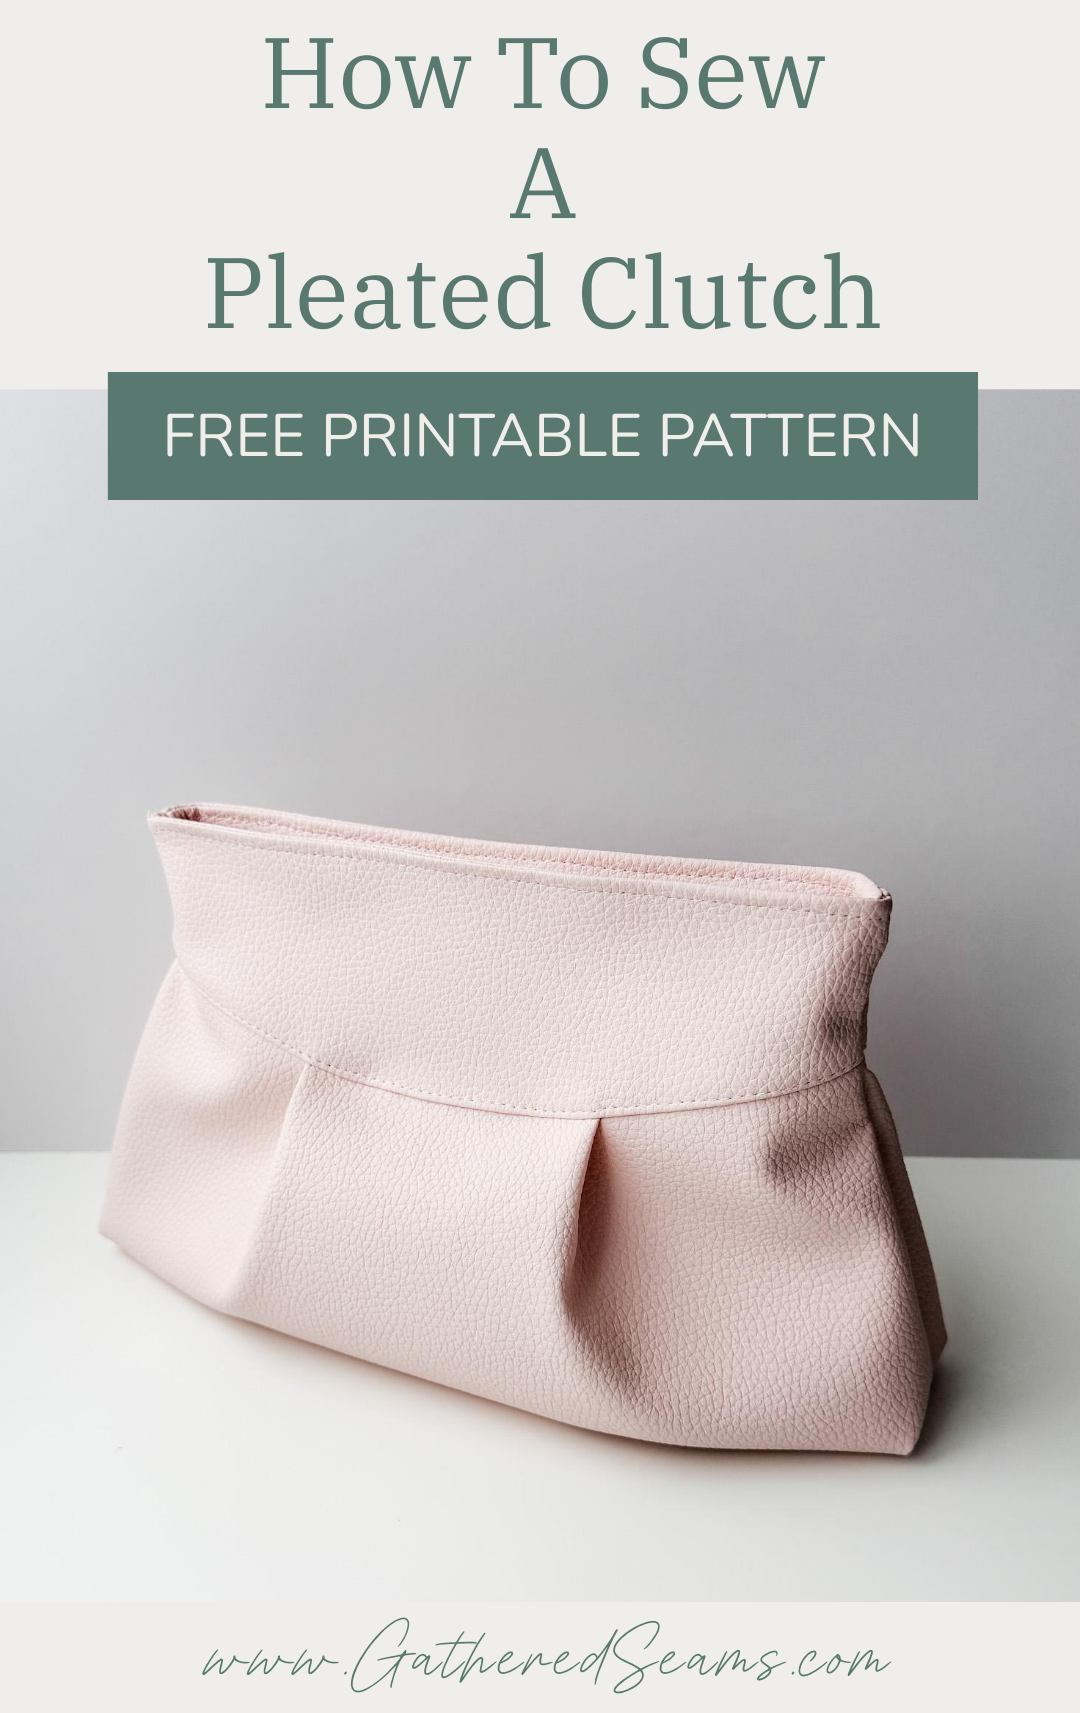
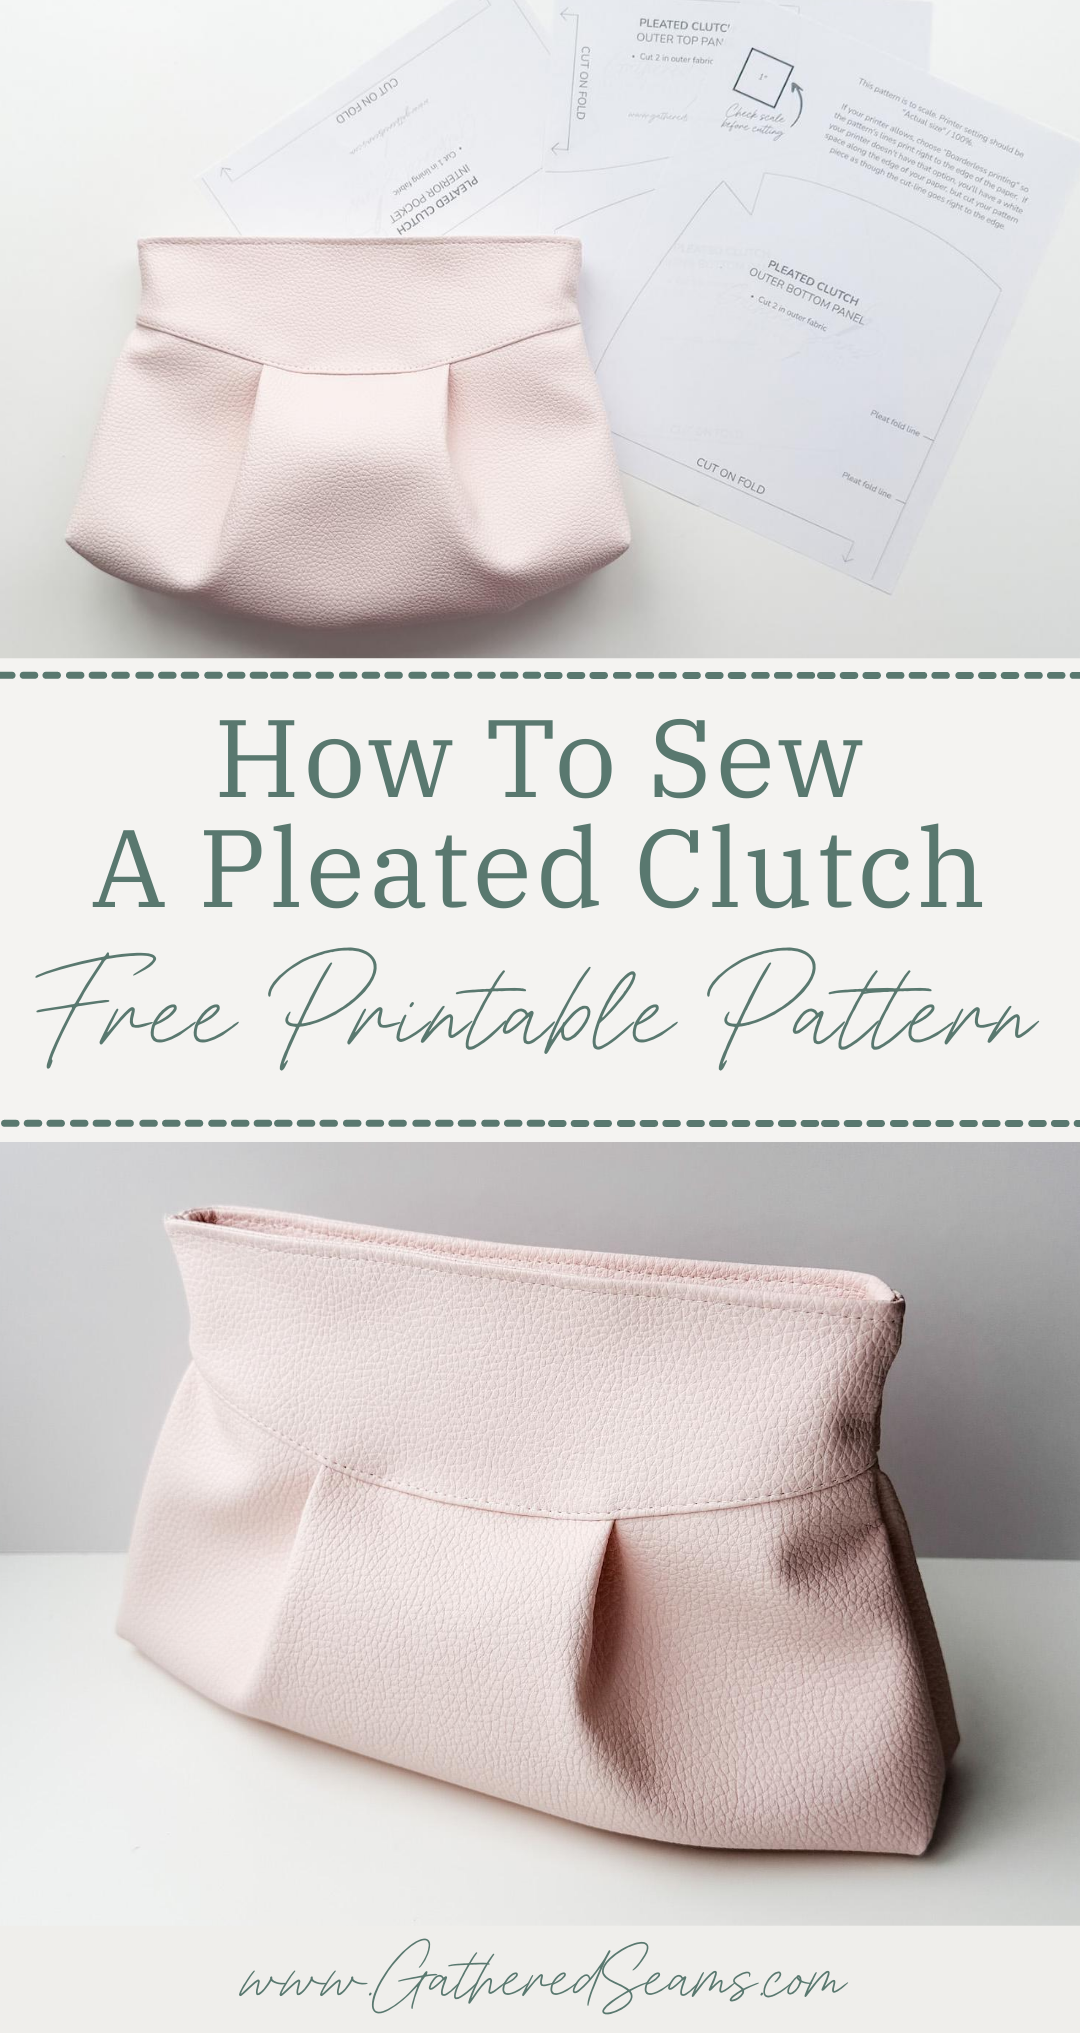
How To Sew A Pleated Clutch | Free Printable Pattern
I love this style of clutch bag because it can be made more or less dressy depending on the fabric you use.
You could sew this bag using denim or canvas for a more casual bag, or layer satin and lace for a bridal-worthy clutch.
Whichever fabric you choose, you do want it to have some weight to it.
If you use a light-weight fabric, the bag will be too flimsy. However, you can add interfacing to add structure to a fabric.
Sewing the pleated clutch to sell
Clutch purses are a great type of bag to start with (if you’re a beginner sewist) because they tend to be quicker and easier to sew, and they don’t require adding straps.
Due to the size, you also don’t have to spend as much on materials.
If you’re starting your product line with clutch bags, decide on your target market and the style, materials, colours, etc. they’ll be drawn to.
When I started selling my clutches, I had everything from bridal-style bags to casual and basic. Too much variation made it hard for me to position myself in the marketplace. How could a bride take my designs seriously when they’re sitting next to colourful prints designed for kids?
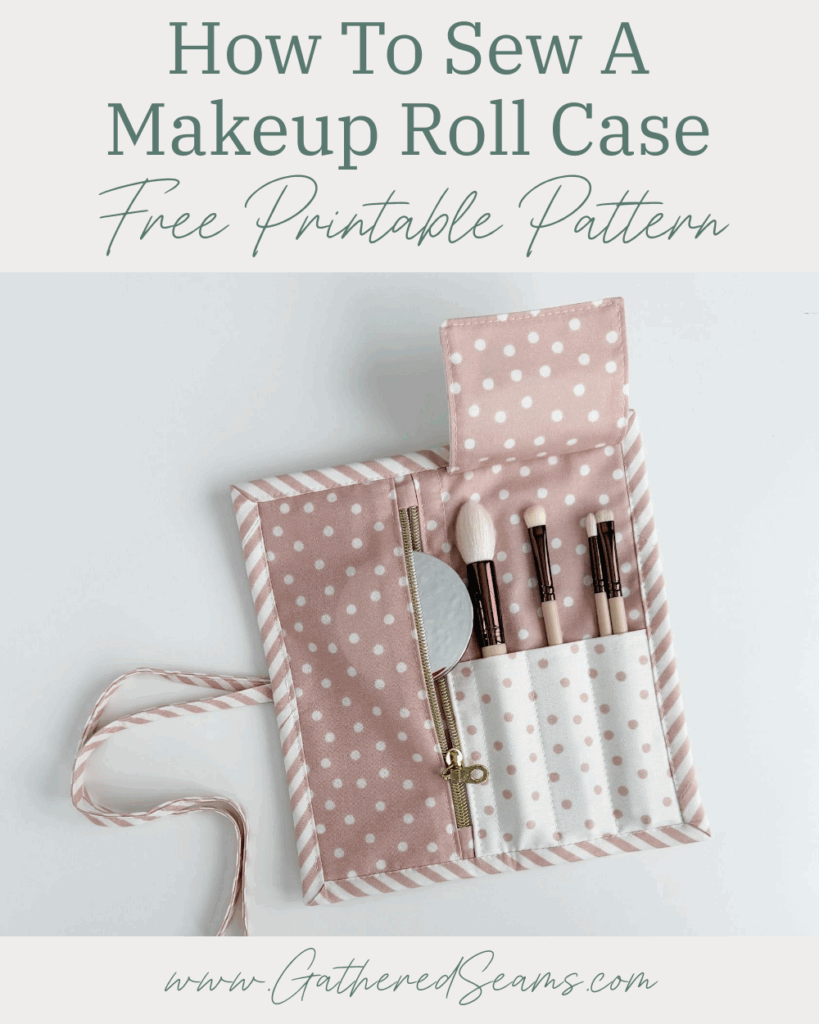
You also want to surround your clutches with other items your target market is likely to use with them. Consider the items your target market will keep in their bags and the accessories you can make for them. For example:
- smaller bags to organize the contents of their bag (such as this zipper pouch)
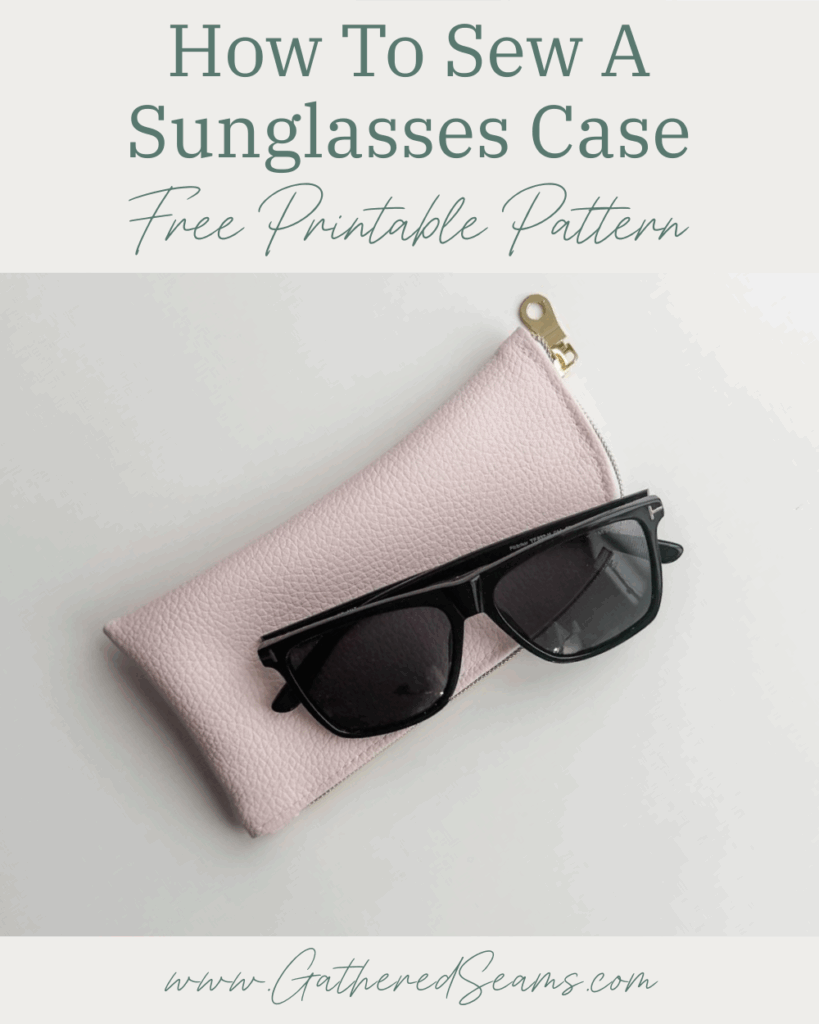
- sunglasses case
- credit card case
- coin purse
- wallets
- key chains
- tissue case
Another option is for your clutches to have hidden connector pieces so straps can be clasped onto them to turn a clutch into a purse or wristlet. Then the straps can be sold separately.


Materials
As an Amazon Associate, I earn from qualifying purchases (see full disclosure here).
- Exterior fabric – a heavier-weight fabric is ideal, or you can add interfacing for more structure
- Lining fabric
- Thread
- Magnetic snap (I used 14mm)
Tools
- Sewing machine
- Walking foot (highly recommended if you’re sewing with vinyl or when quilting. This is the universal one I purchased for my Baby Lock, which is a different machine than what’s shown in the photos)
- Clips
- Temporary fabric marker (these are the ones I use)
- Ruler
- Scissors
- Point turner
- Soft-faced hammer (optional; helps flatten seams when working with vinyl)
- Fabric glue (optional; I used it on the vinyl to keep the bottom seam allowance open)
- Hump jumper (optional; helps your sewing machine get over thick seams)
Step 1
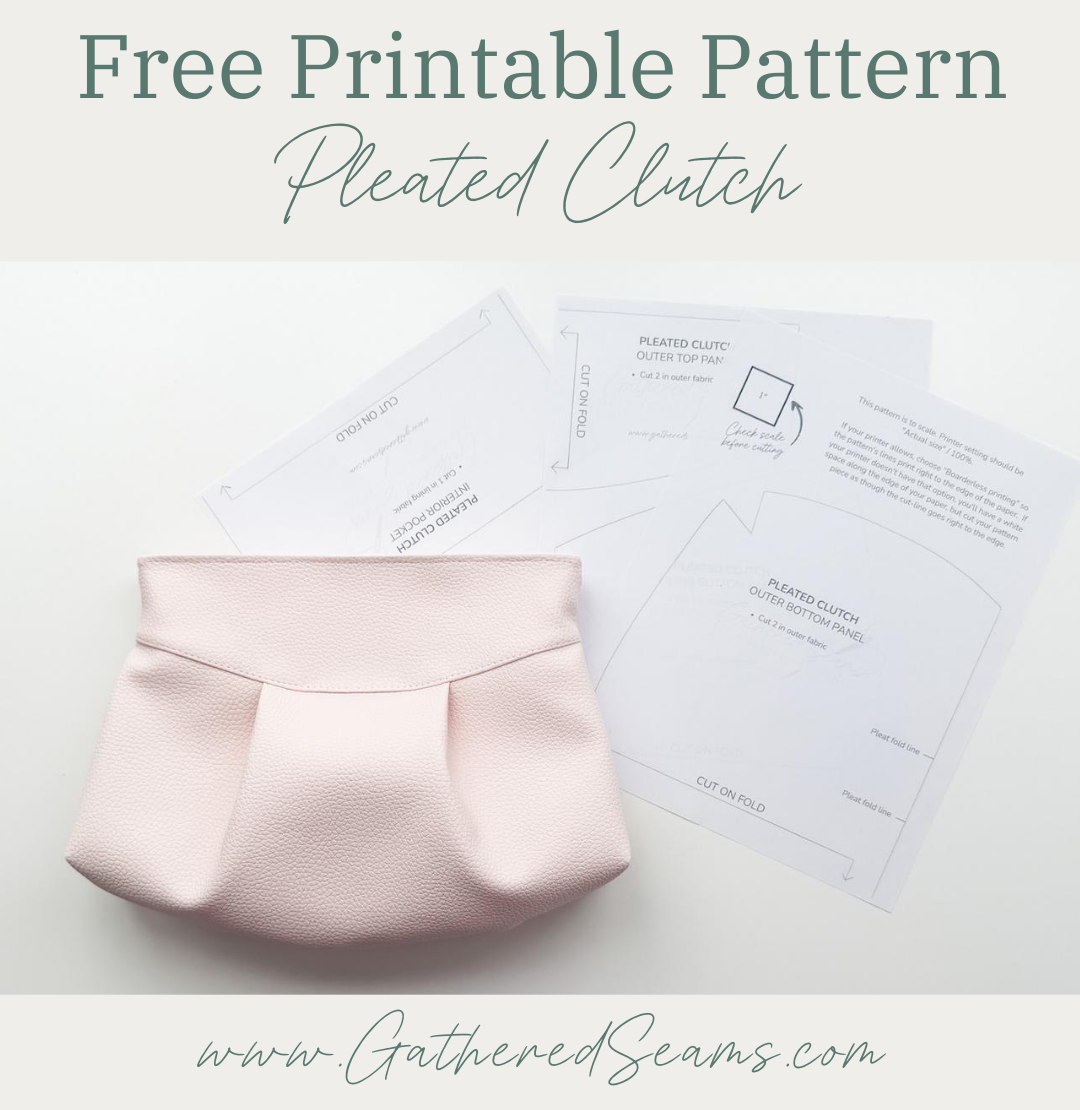
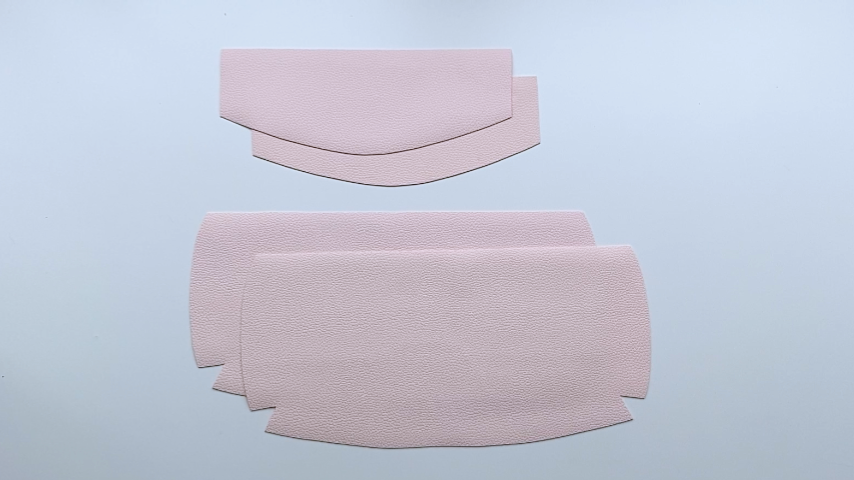
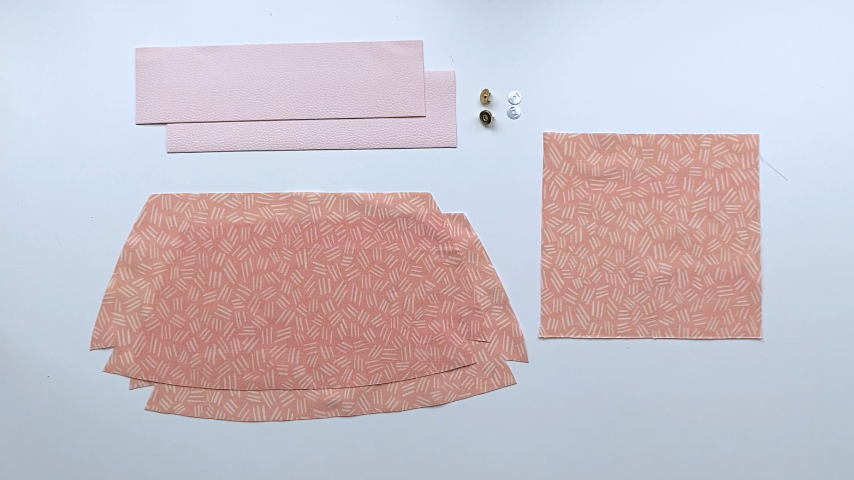
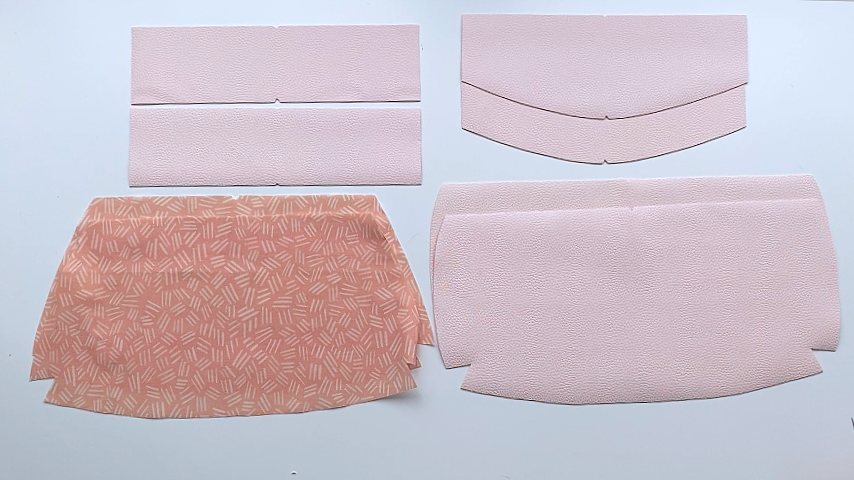
Download the free pattern and cut out the pattern pieces.
For the top panel of your lining, you can cut this out of your outer fabric or your lining fabric. It is going to show slightly when the bag is closed, so I used my outer fabric. However, if you’re working with vinyl, your machine may have some trouble going through all the layers when topstitching in the final step, so you may want to use a lighter fabric.
In addition to each pattern piece, you’ll also need a magnetic snap (I used a 14mm one).
This pattern uses a 1/2” seam allowance unless mentioned otherwise.
Exterior pattern pieces:
Interior pattern pieces:
Step 2
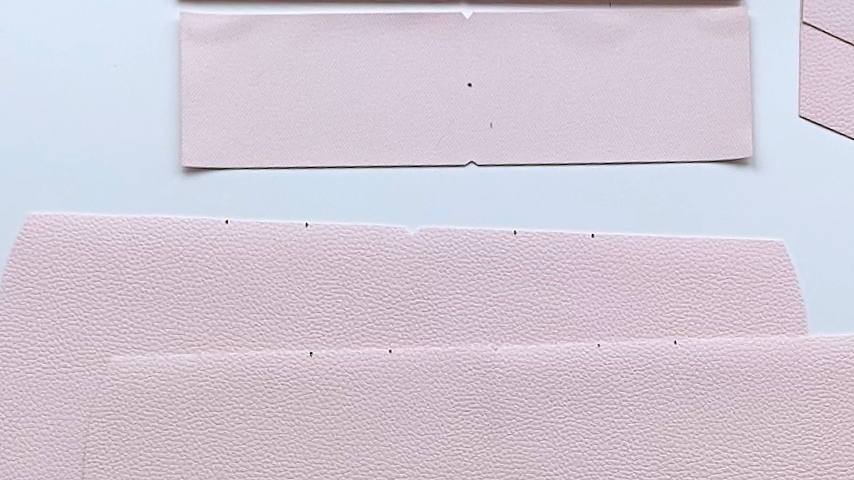
Begin by clipping the centre marks:
- Bottom panels
- clip the center at the top of outer and lining pieces
- Top panels
- clip the center at the top and bottom of your lining pieces
- clip the center at the bottom of your outer pieces
Use a temporary fabric marker to indicate:
- Pleat fold marks along the top of the bottom outer pieces (I marked these on the right side of my outer fabric)
- Magnetic snap closure placement on the lining’s top panel. This should be centred, both width and height-wise (i.e. 5.5” in from a side and 1.5” down from the top).
Step 3
Sew your pocket by folding it lengthwise, right sides together (it should be 8” wide by 4-1/4” tall when folded).
Mark two lines along the bottom for the opening and sew around the cut edges using a 1/2” seam allowance (skipping the opening).
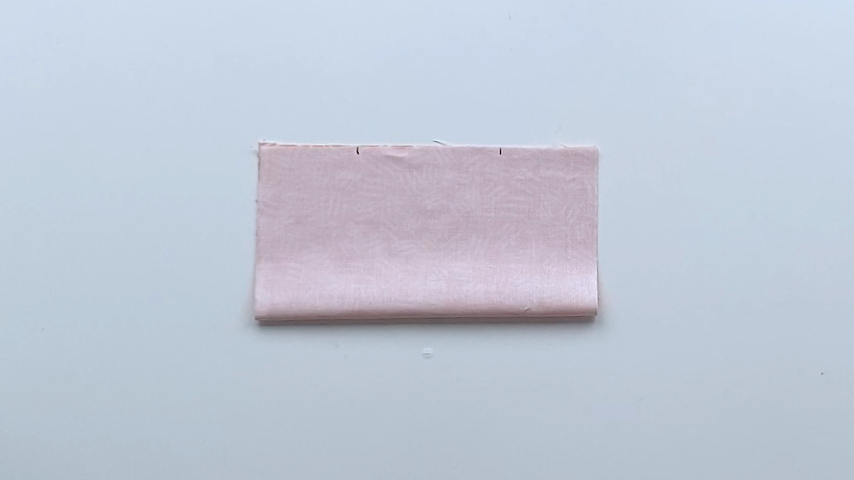
Trim the seam allowance and clip the corners. However, do not cut the seam allowance where the opening is.
Press the seam allowance back at the opening, then turn the pocket right side out.
Use a point turner to get the corners fully out, and then press.
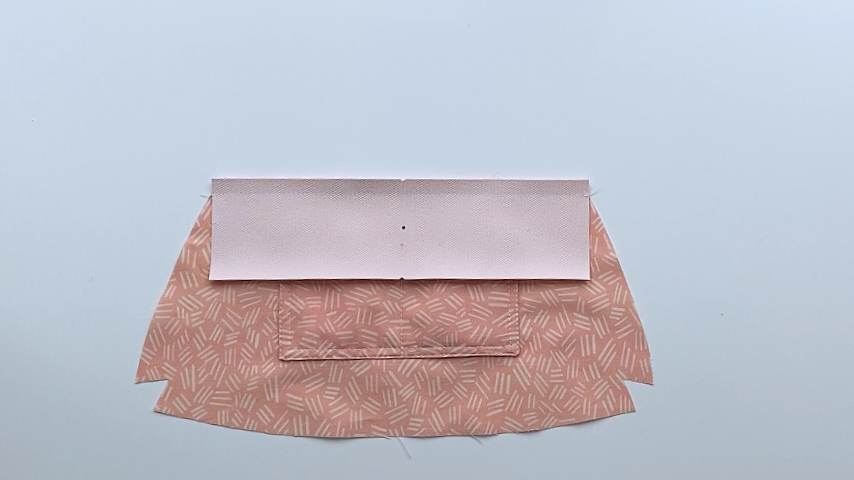
Center the pocket on one of the bottom lining panels and set it 1-1/2” down from the top edge.
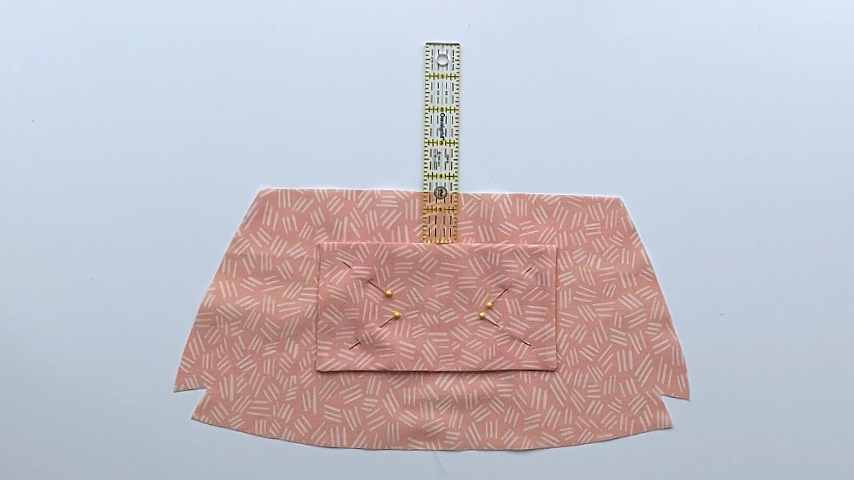
Sew around the two sides and the bottom. I run two lines of stitching about 1/4” away from each other.
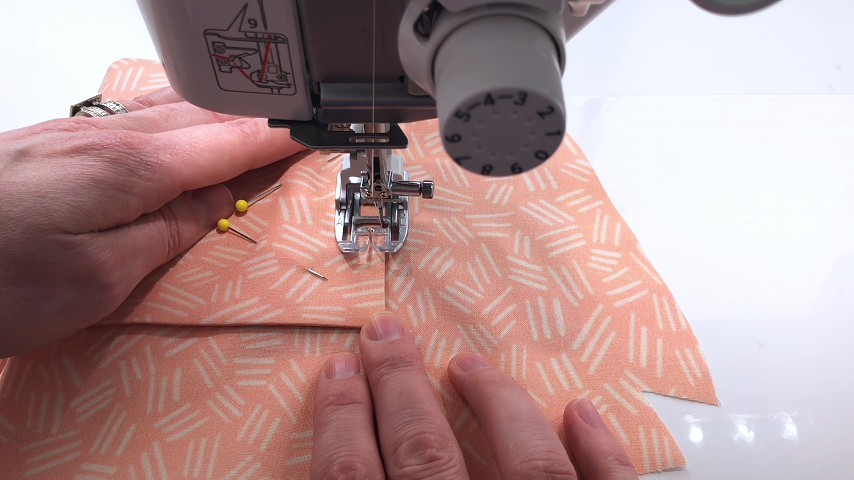
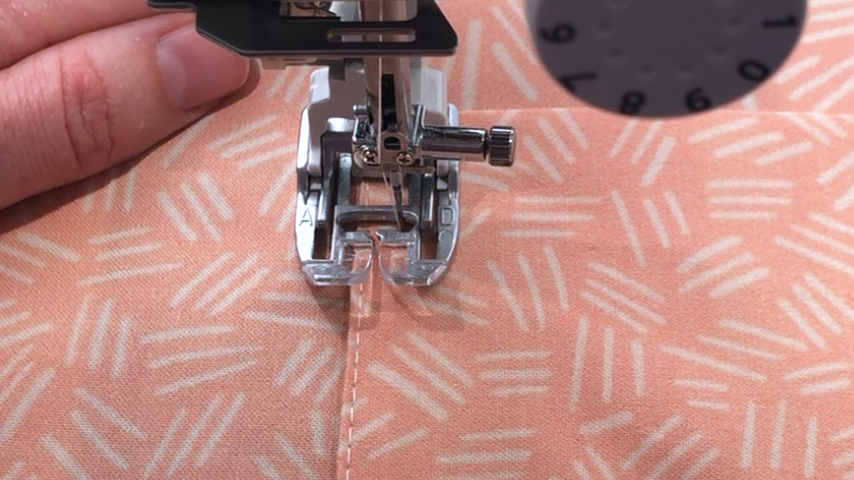
And add additional vertical lines of stitching to create dividers (I stitched one line down the centre).
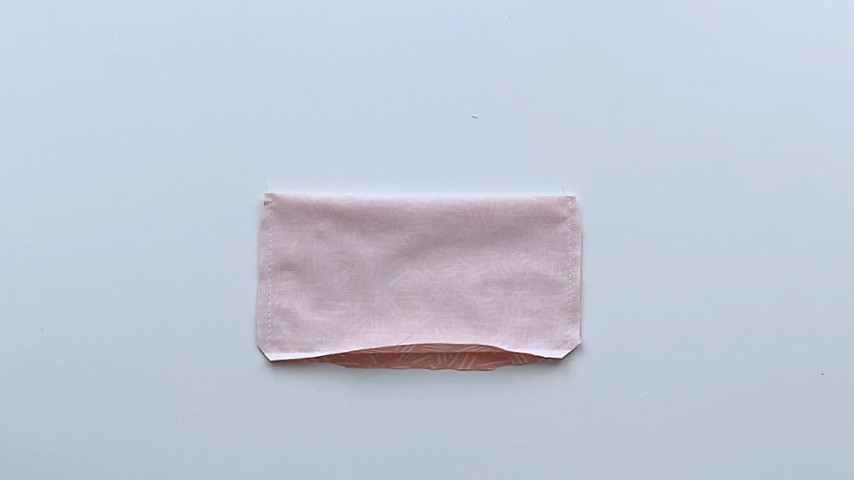
Step 4
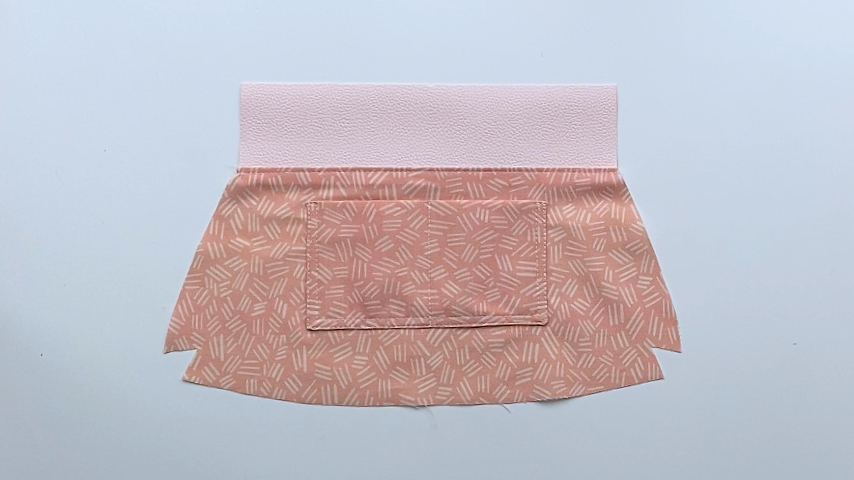
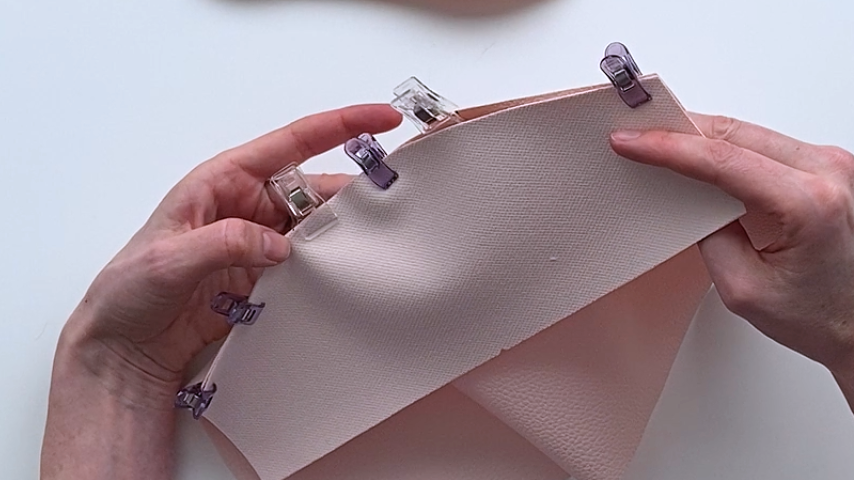
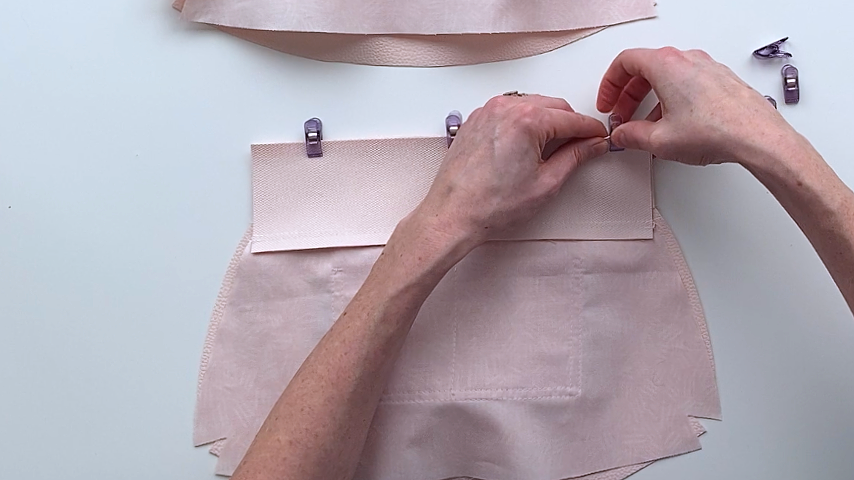
Place the bottom lining panel right side together with the top lining panel, clipping the top edges together.
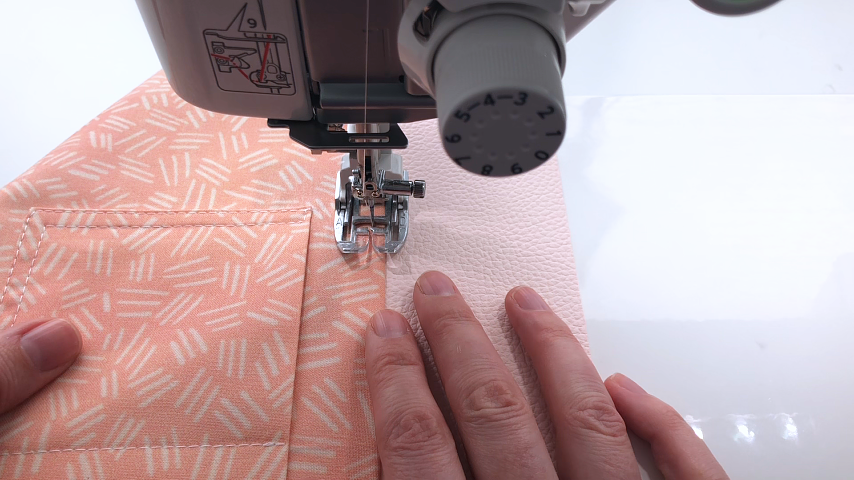
Using a 1/2” seam allowance, sew along the top edge.
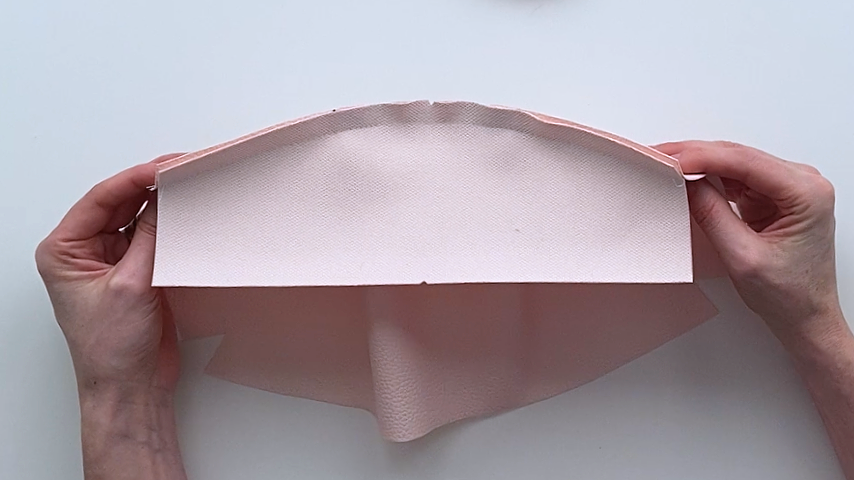
Then topstitch the lining into place.
Repeat for the other two lining pieces.
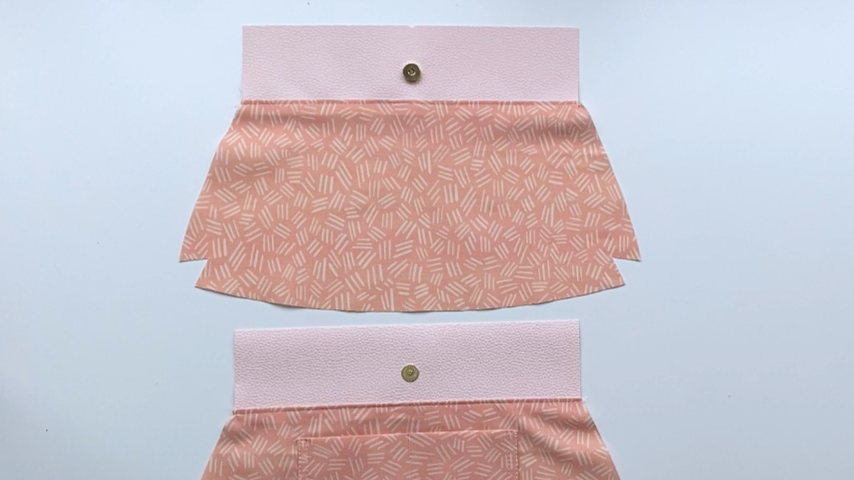
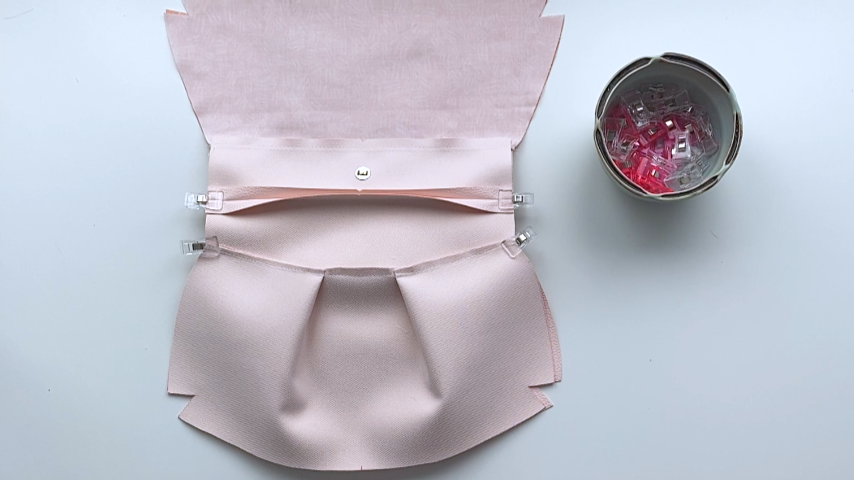
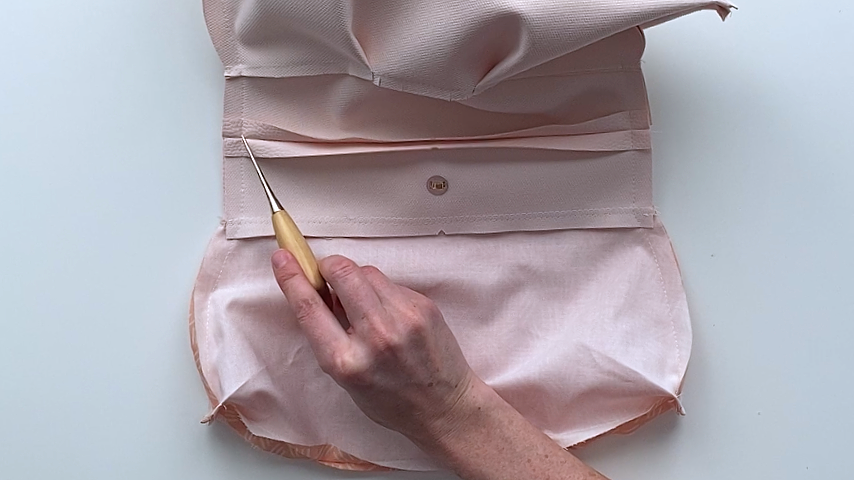
To finish your lining pieces, add the magnetic snaps. I use a seam ripper to cut the short lines.

Step 5
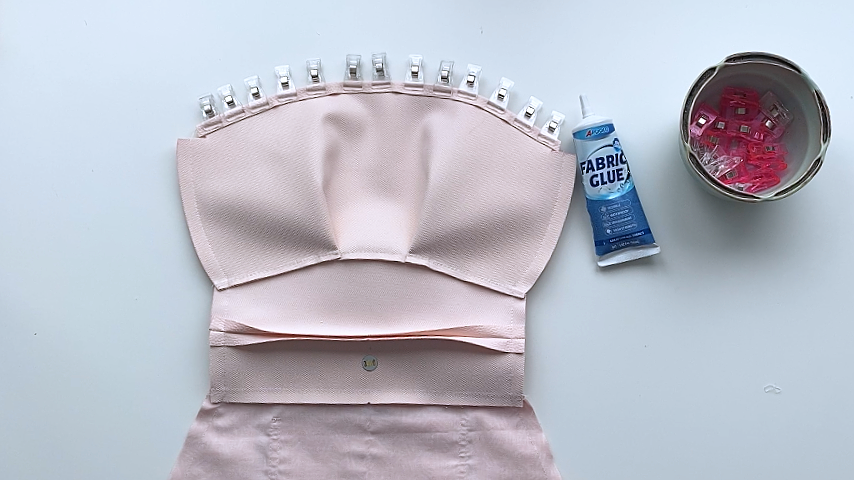
Create your pleats on the bottom outer panels by folding the two marked lines together. Make sure your pleats are going in opposite directions.
Simply clip them into place (don’t stitch them yet).
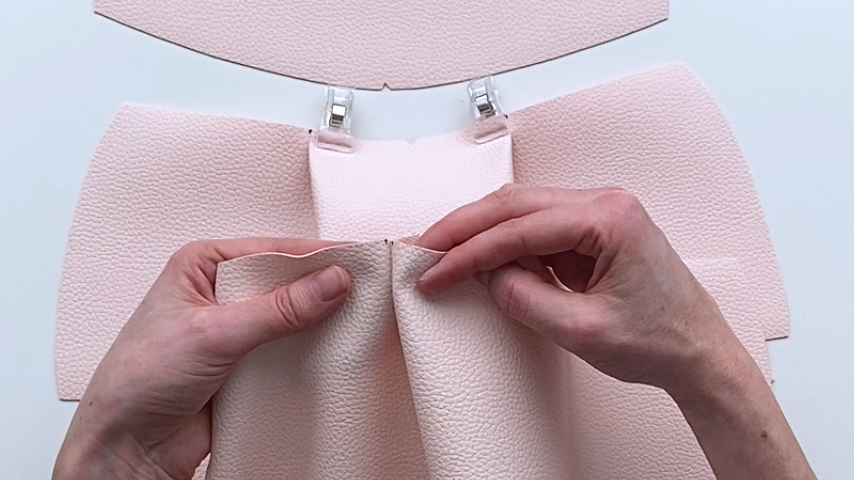
Then place the bottom outer panel on the top outer panel, right sides together.
Line up the centre points and clip into place, then line up the outer edges and clip into place.
Adjust your pleats as needed to ensure your bottom piece is the same length as the bottom of your top piece (depending on the thickness/thinness of your material, you may need to let your pleats in or out a little).
Clip the edges together, then sew together using a 1/2” seam allowance.
Cut notches out of the seam allowance of the top panel, then trim the seam allowance.
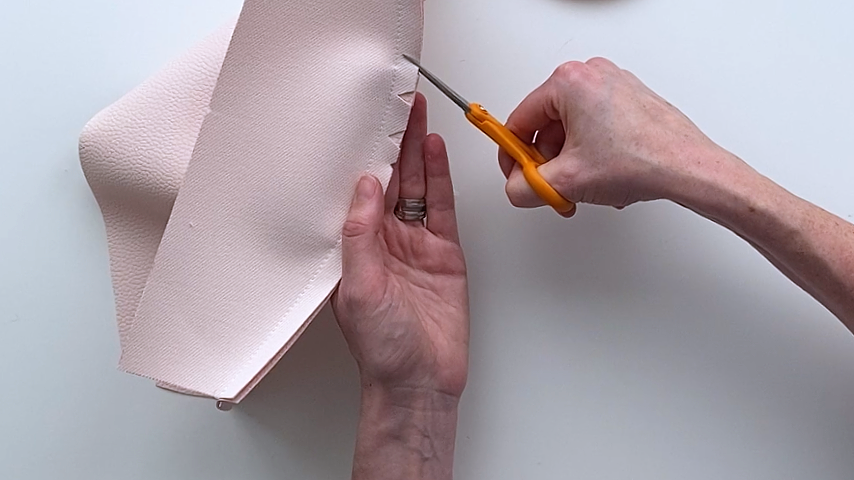
Press the seam allowance up, or use a soft-faced hammer if working with vinyl, to work it into place.
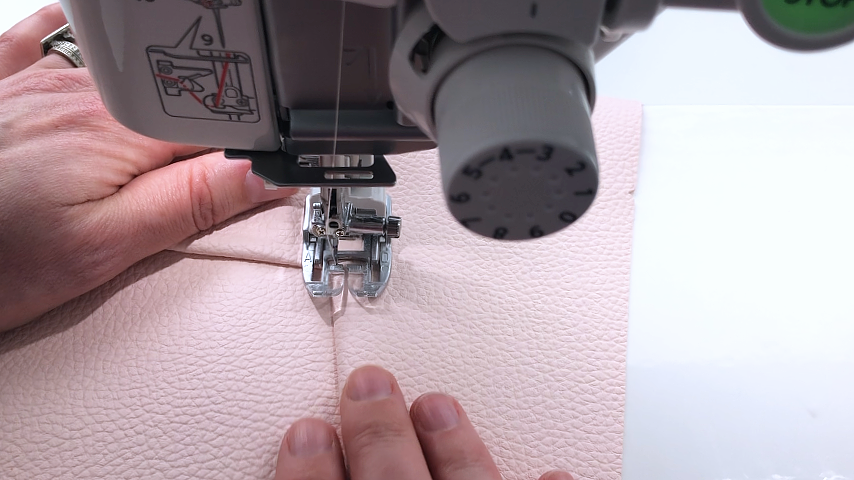
Then, topstitch along the bottom of the top panel (making sure your stitching is catching both seam allowances.
Repeat for the other two outer panels.
Step 6
Place one lining piece and one outer piece right sides together and clip along the top edge.
Sew the top edges together using a 1/2” seam allowance.
Repeat for the other lining and outer piece.
Step 7
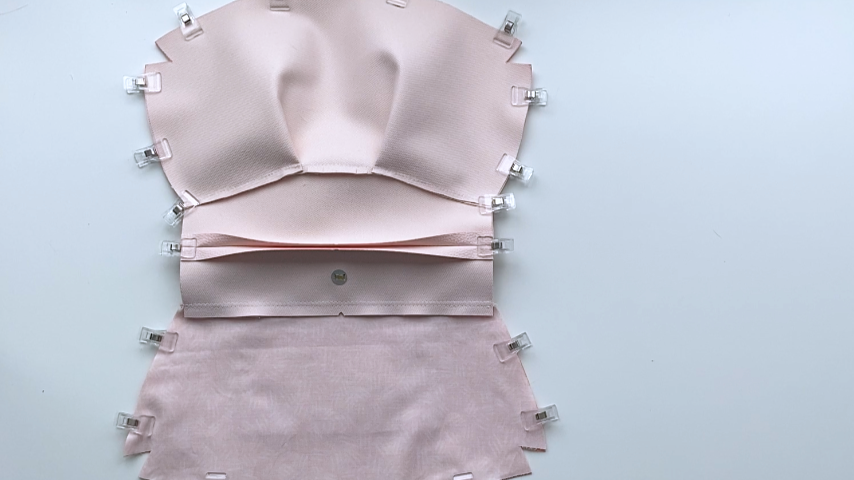
Place the front and back pieces right sides together, line up the seams and clip together.
Then, continue clipping the edges together.
Mark two lines along the bottom of your lining so you don’t sew between them and have an opening to turn the bag right side out.
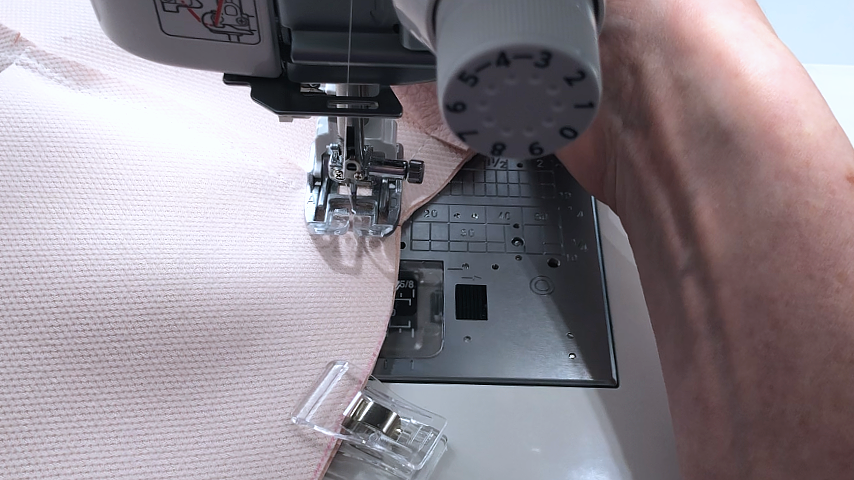
Use a 1/2” seam allowance to sew all around the bag.
If you’re using vinyl or a thicker material, you may need to use a hump jumper to get over the seam where the top of the lining and outer panel meet.
When you get to the bottom of the top panels, keep your needle down, then pivot the material so you’re following the line of the outside edge.
Step 8
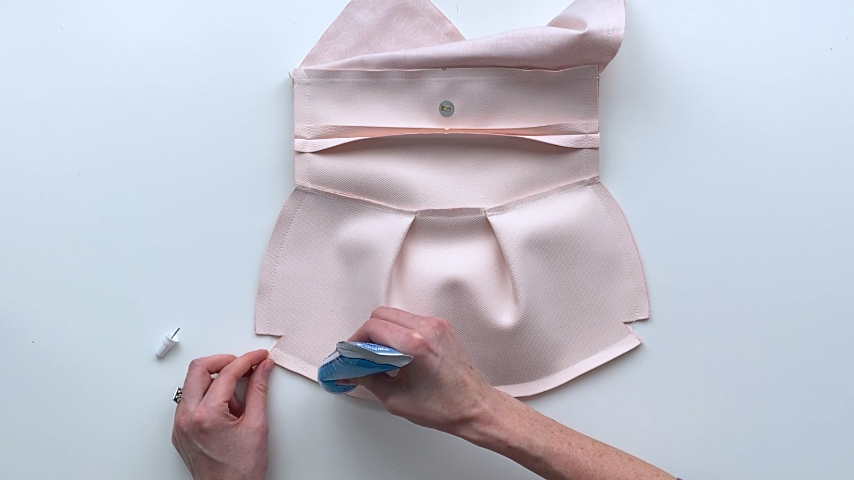
This is optional, but if you’re working with vinyl, you may want to glue the bottom seam allowance open, so it helps your bag sit flat.
If using a woven fabric, you can simply use an iron to press the seams.
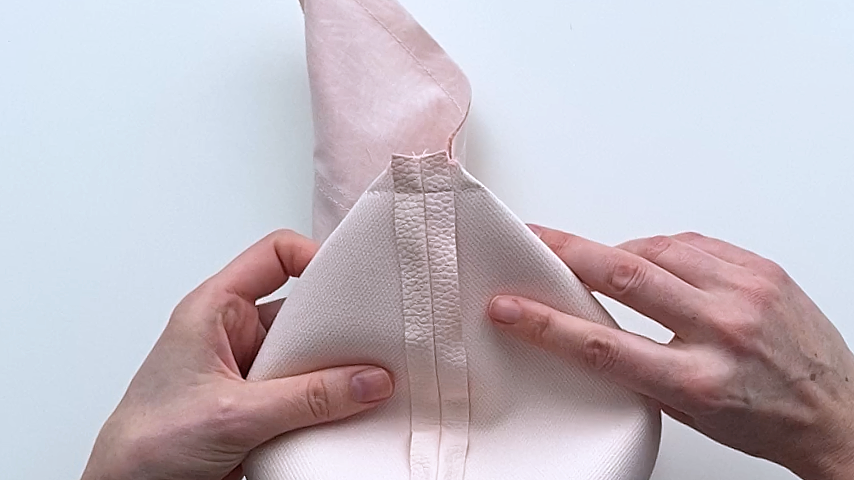
Then you can sew the corners closed by lining up the side seam with the bottom seam and sewing across the opening using a 1/2″ seam allowance.
Step 9
When working with heavier fabrics, trimming the seam allowance will be important.
To start, I reinforce the side seams where the top of the outer pieces and the interior pieces meet. I shorten my stitch length (to about 3mm) and sew about a 1/2″ above and below that middle seam.

Then I trim back my seam allowance around the bag (leaving the seam allowance where the opening in the bottom of the lining is.
I spend more time trimming the seam allowance around that middle seam. The photo below shows how I trim and grade the seam allowances:
Step 10
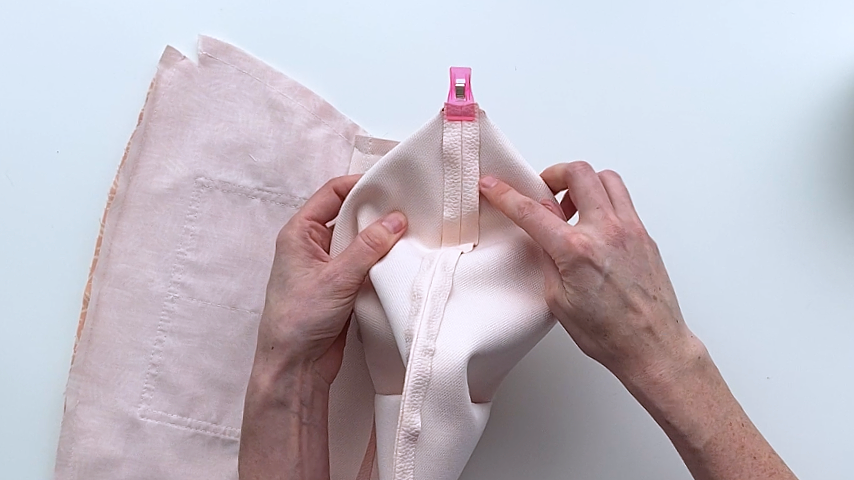
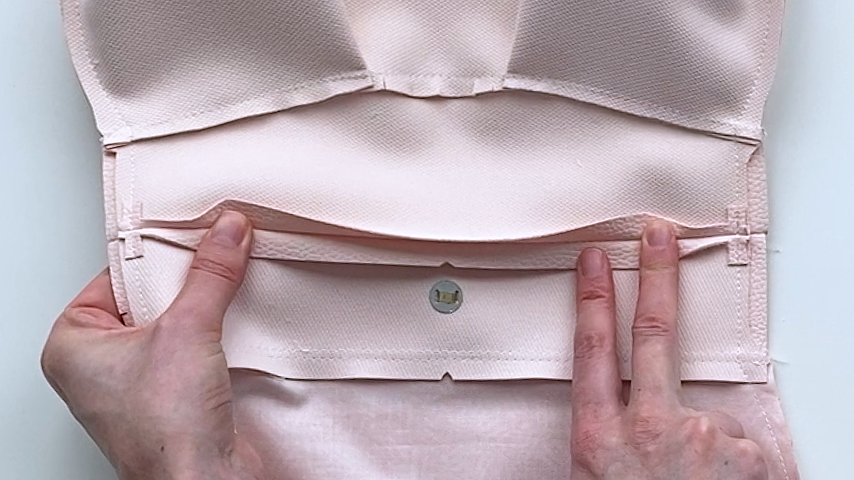
Before you close up the opening, use it to ensure the seams are open where the sides of your top outer panel and top lining panel meet.
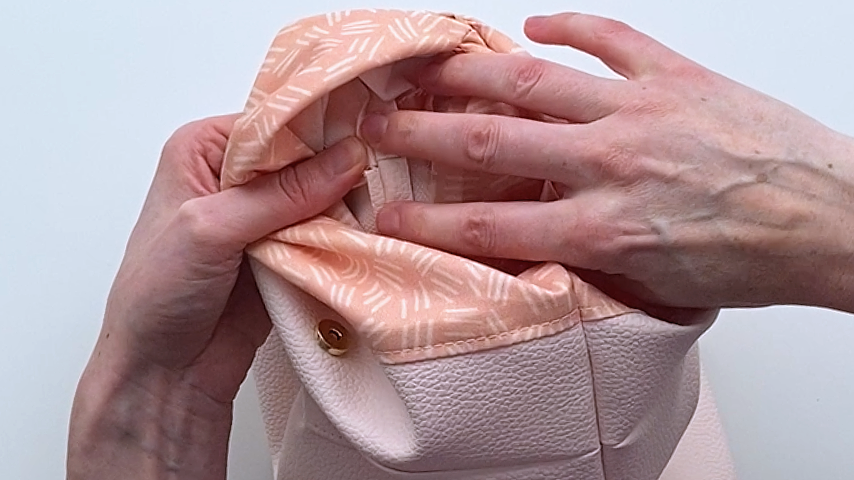
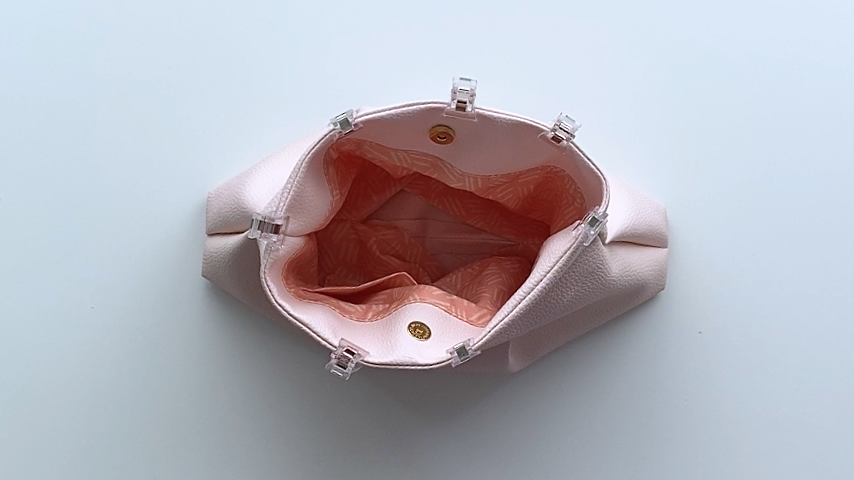
With those seams open (so the bulk of the fabric is more distributed), fold the lining down and clip the top edge into place.
If you’re working with vinyl or thicker material, you may want to use a soft-faced hammer to flatten the side seams and make them a bit easier to sew over.
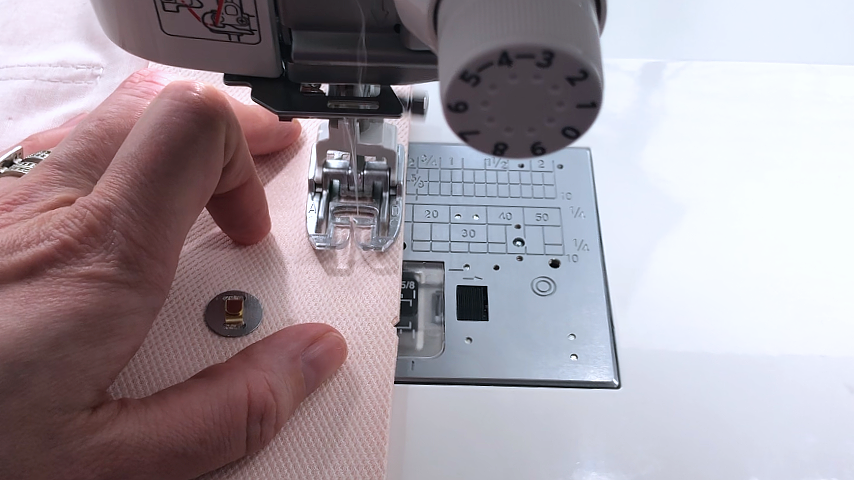
You may also want to move your needle position to the left, so that the sewing machine’s foot doesn’t bump into the magnetic snap.
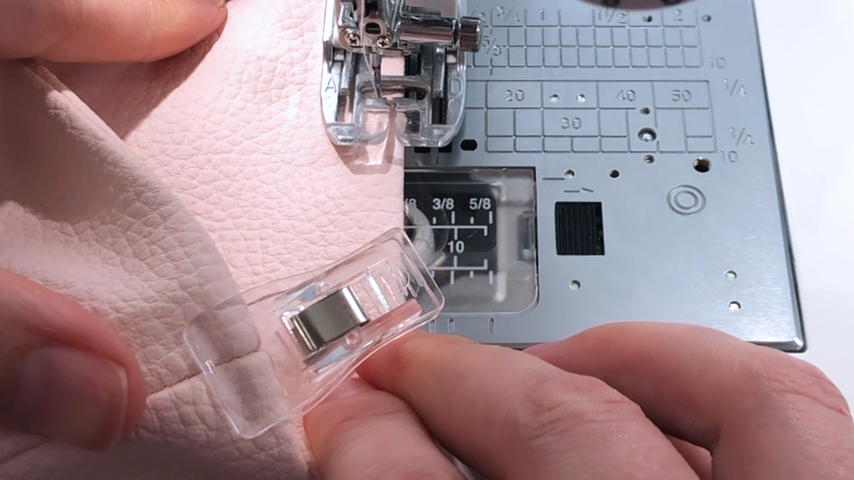
Finally, topstitch the opening in the lining closed.
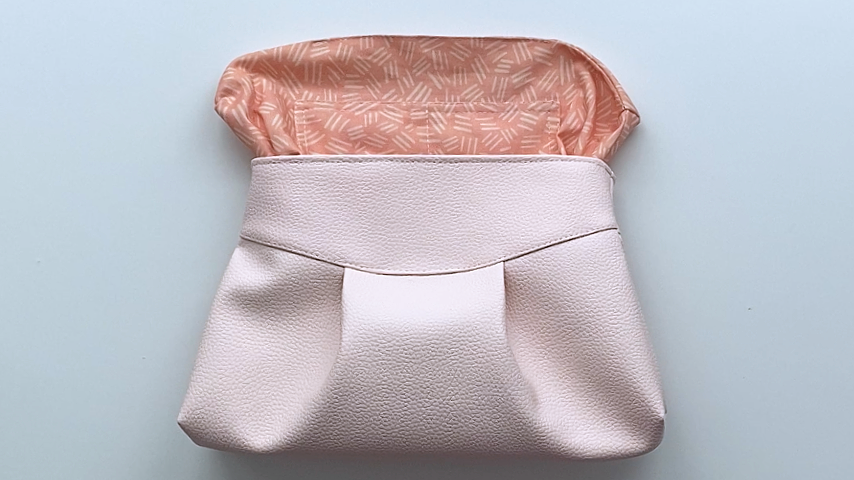
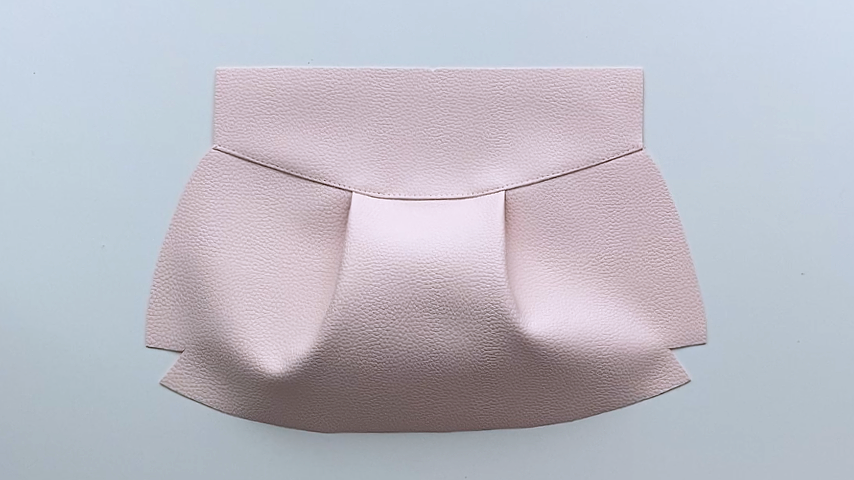
And your pleated clutch is finished!