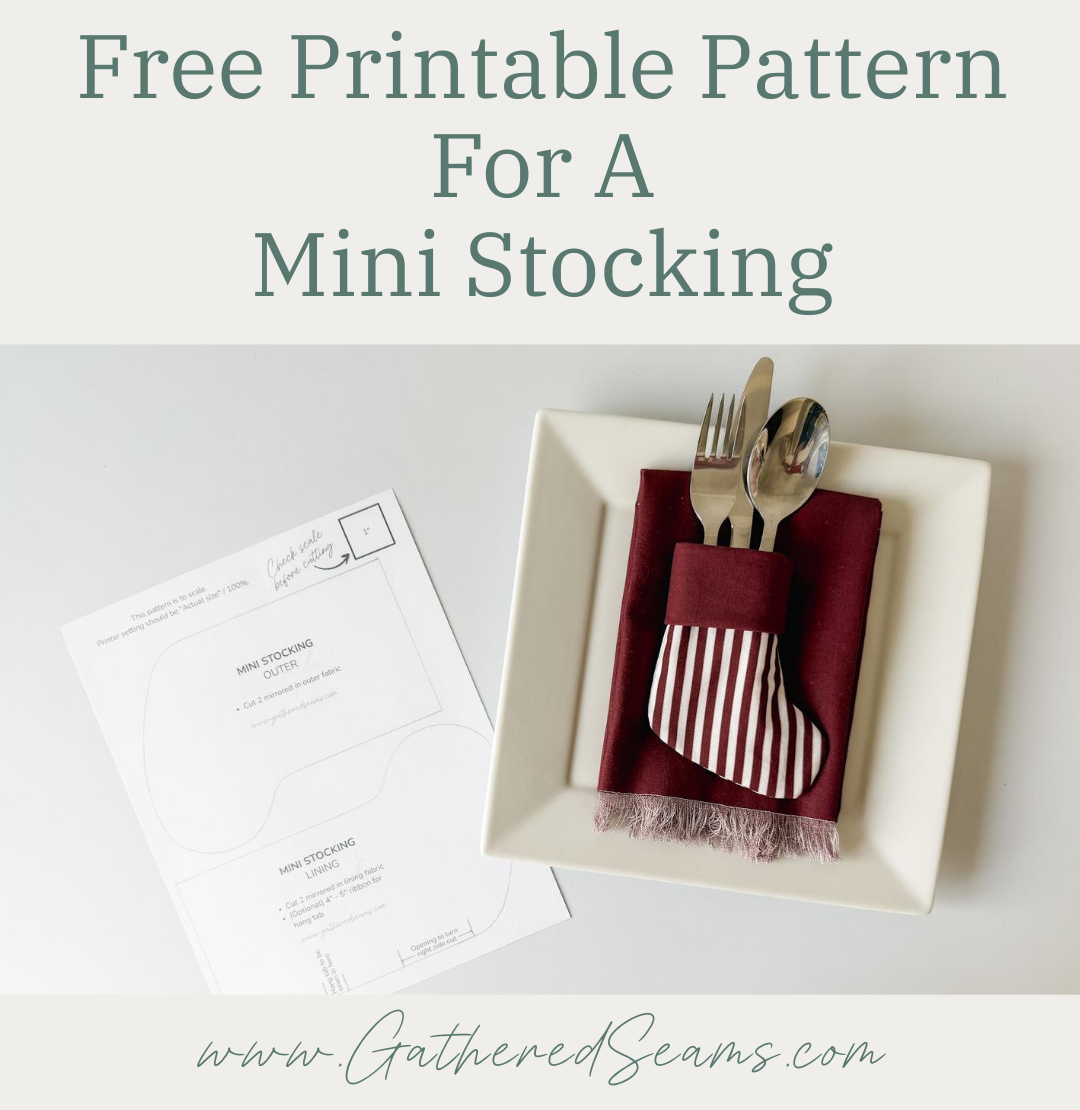
How To Sew A Mini Stocking | Free Printable Pattern
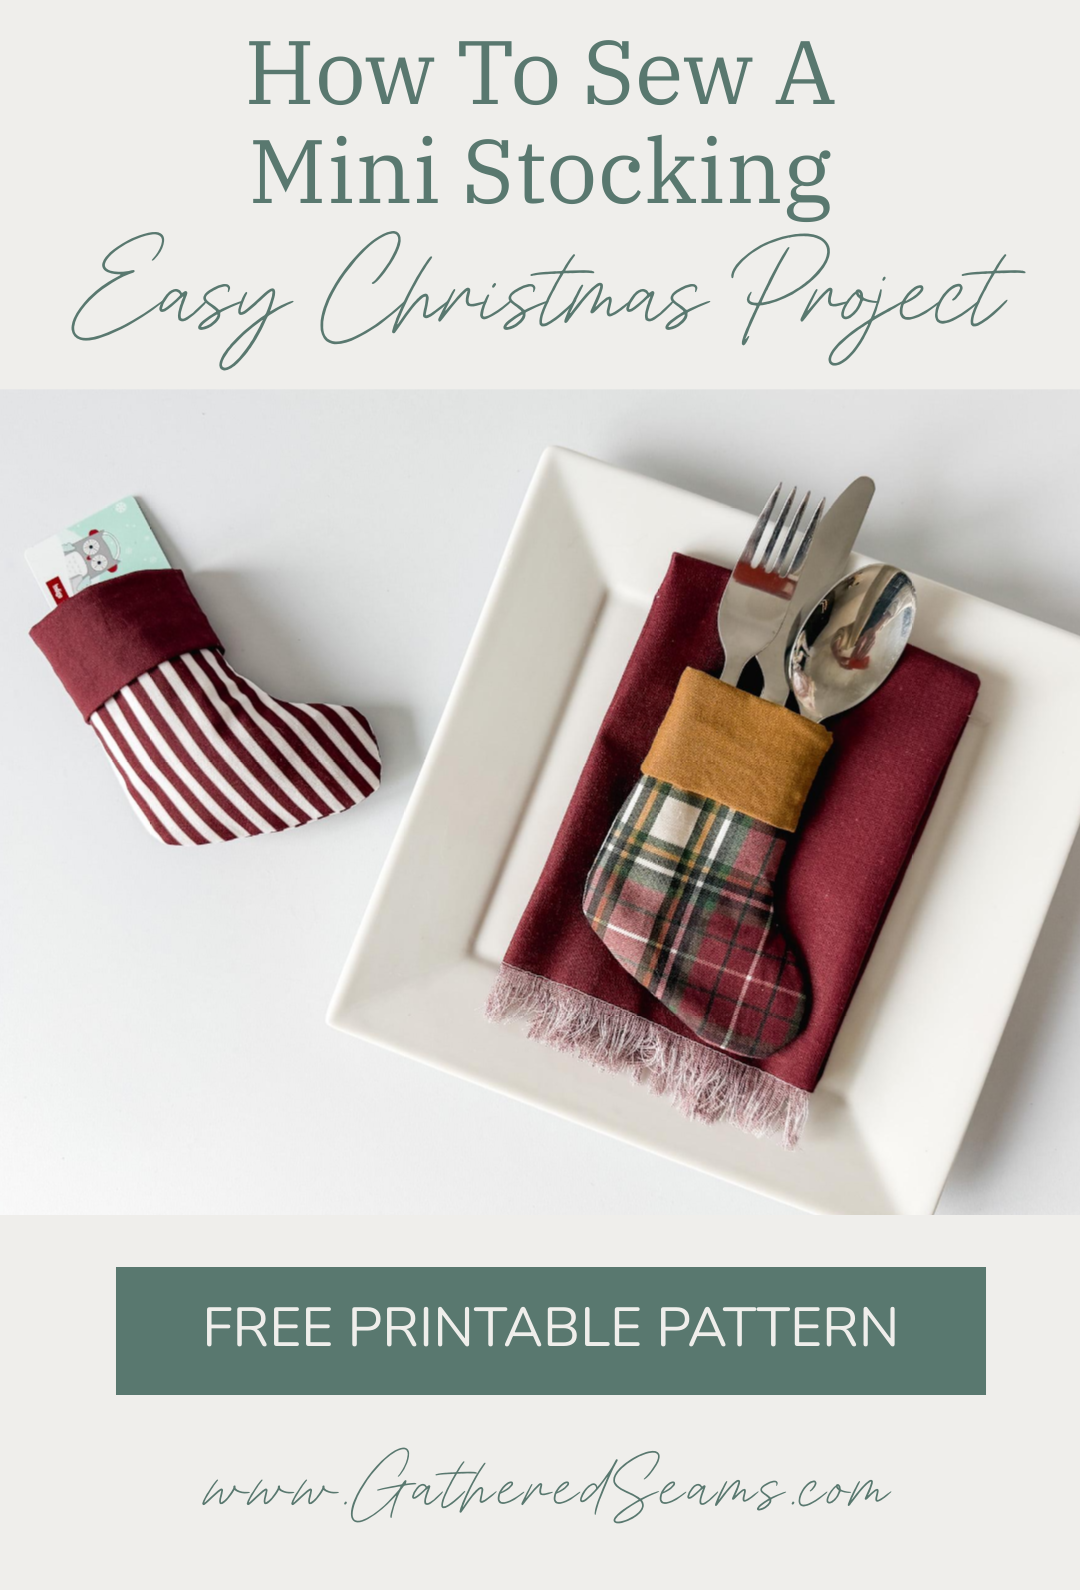
This is a quick and easy sewing project, perfect for using up your scraps of fabric. I created this pattern based on a mini stocking that a retailer is selling, designed to hold flatware.
However, it can also be used to hold a gift card or smaller items such as:
Self-Care & Beauty Items
- Lip balm
- Mini hand lotion
- Nail file or mini manicure tools
- Facial sheet mask (folded)
- Hair scrunchie or claw clip
Kids’ Mini Stocking Fillers
- Stickers
- Novelty pencils and an eraser
Food & Drink Treats
- Chocolates or smaller baked items
- Candy canes or candies
- Tea bags or hot cocoa packets (folded)
- Single-serve honey sticks

Materials
- outer fabric
- lining fabric
- ribbon (optional for hang tab)
- thread
Tools
- sewing machine
- clips or pins
- iron
- point turner
How to sew a mini Christmas stocking
Step 1
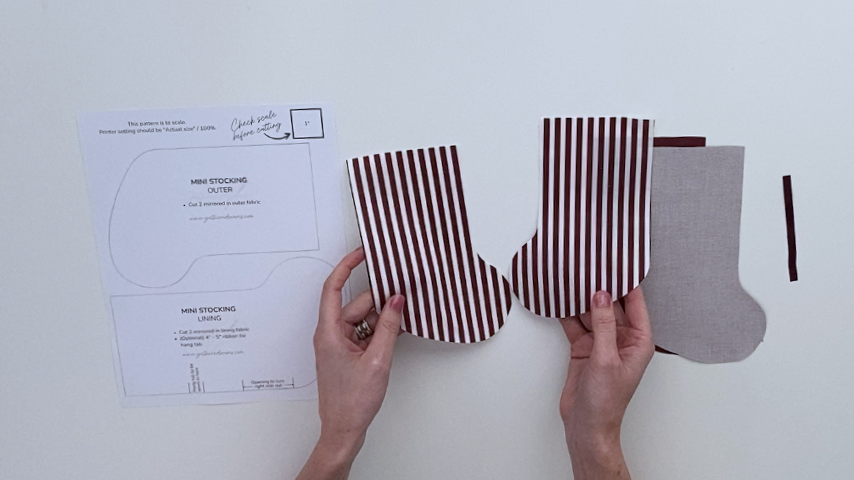
Cut out your pattern pieces, ensuring they mirror each other.
Use a temporary fabric pen to mark where you’ll add your hang tab (if you’re adding one) and where you’ll leave an opening in the lining, as indicated on the lining pattern piece.
Step 2 (optional)
Sew your hang tab between the two lines indicated on the pattern and to the right side of one of your lining pieces. Make sure the cut ends of the ribbon line up with the edge of your lining.
Step 3
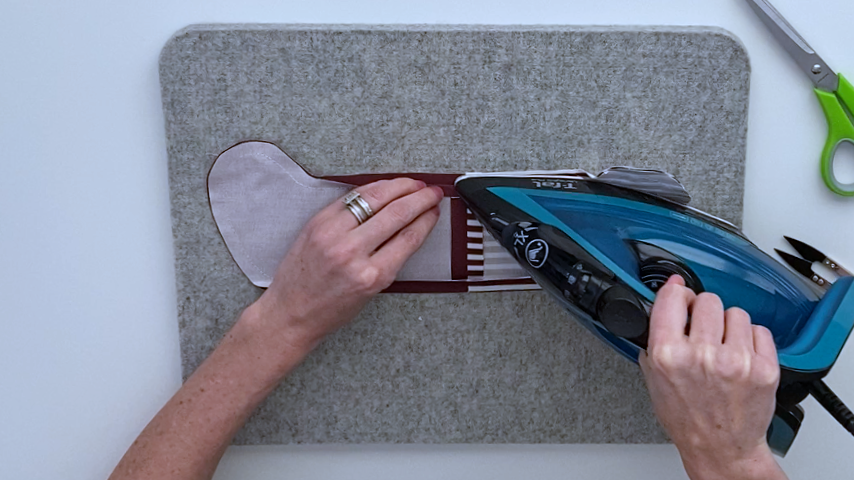
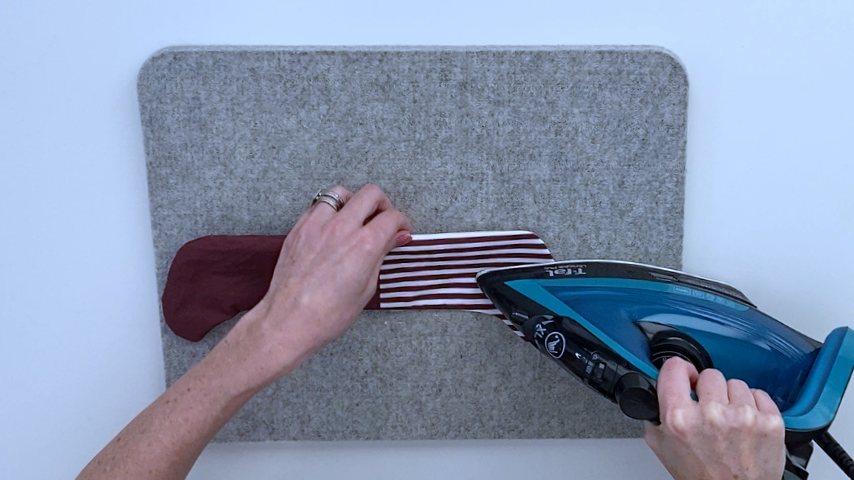
Layer your lining and outer pattern pieces with right sides together, matching up the top edges.
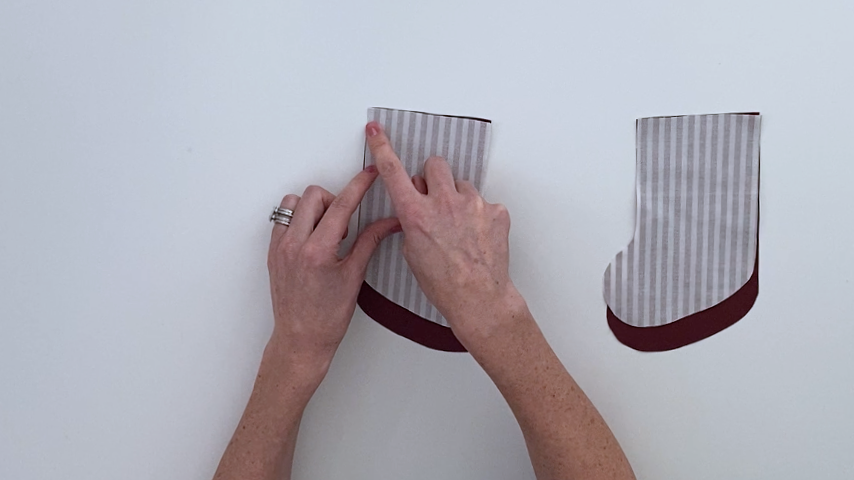
Using a 1/2″ seam allowance, stitch along the top, then press the seams open.
Step 4
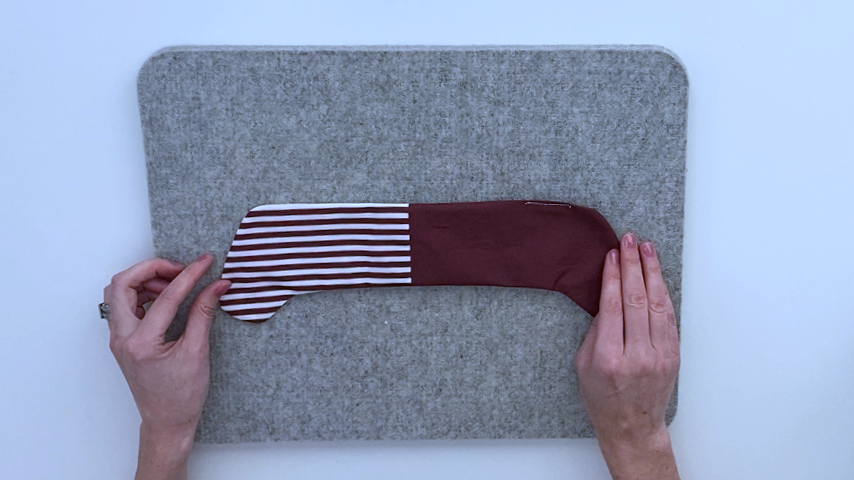
Place your two pieces together, matching up the seams and clipping into place.
Using a 1/2″ seam allowance, sew all around the stocking, leaving the opening in the lining to turn right side out.

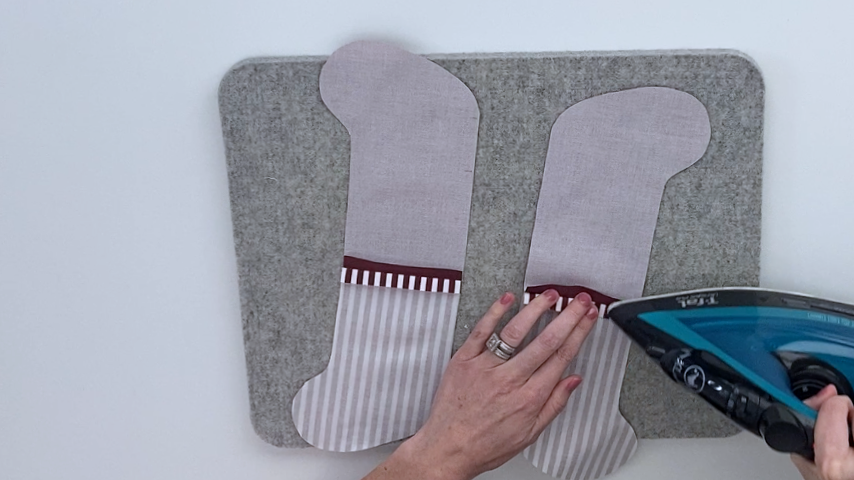
Step 5
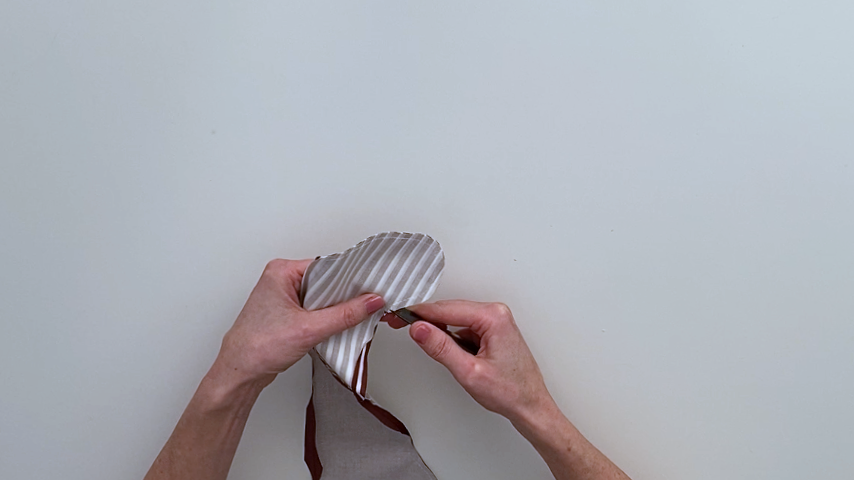
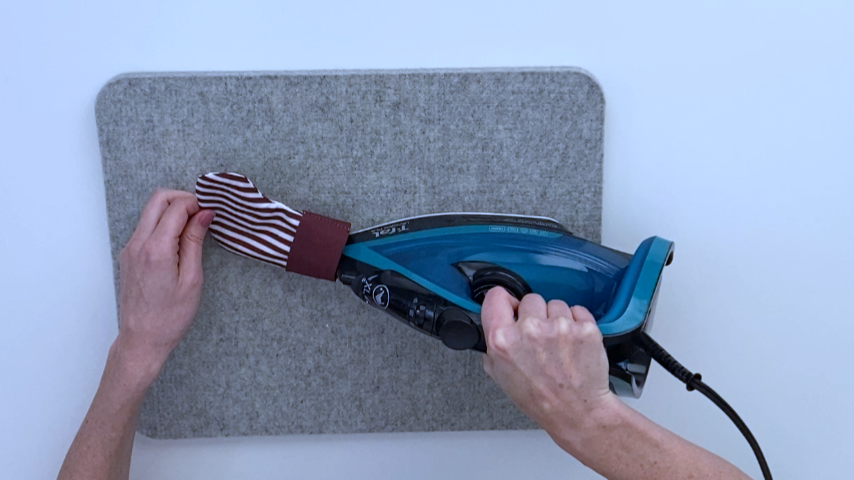
Press the seam open along the straight sides only.
Trim the seam allowance to about 1/4″ away from your stitching. Don’t trim the seam allowance where the opening is.

Then cut a few notches to the front of the ankle and make clips around the toe and heel, staying a couple of millimetres away from your stitching.
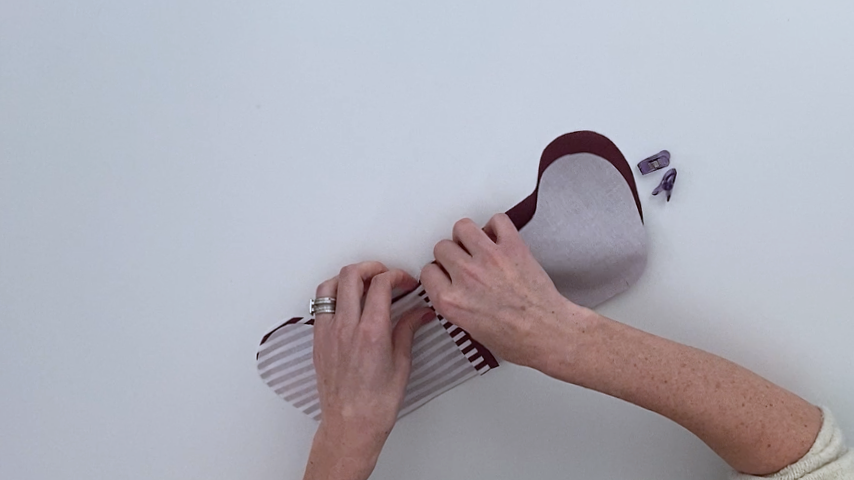
Step 6
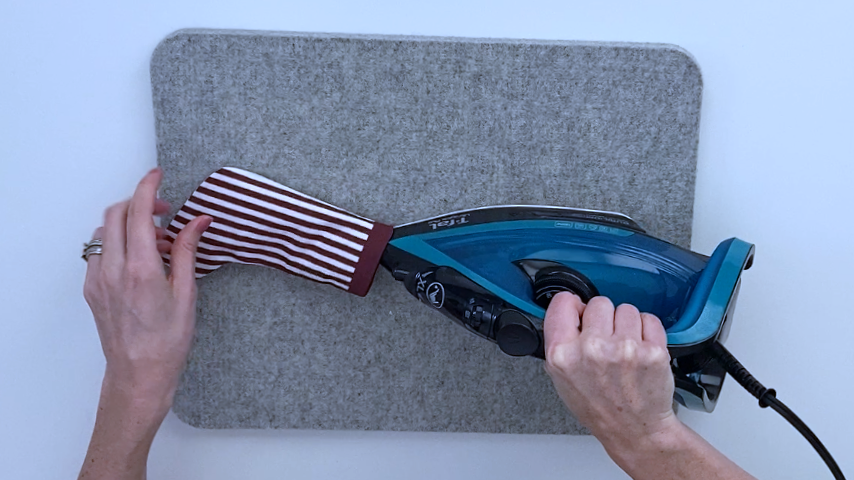
Use the opening in the lining to turn your stocking right side out. Press the outer portion of your stocking and the hem of your opening.
Step 7
Sew the opening closed, stitching close to the edge of the fabric.
Step 8
Push the lining into the outer part of the stocking, using a point turner to get the toe and heel into place. You’ll have about a 1/2″ cuff of the lining showing at the top.
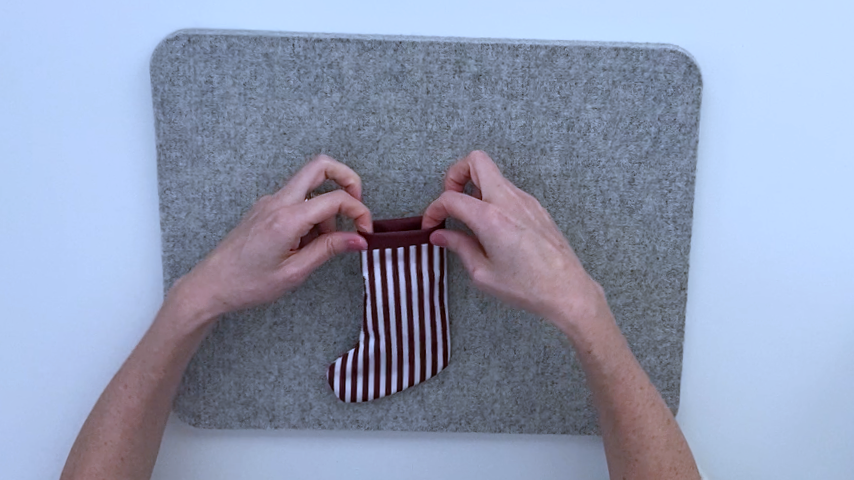
Press the top of the lining.
Step 9
Fold the cuff down. It should be about a 2″ cuff.
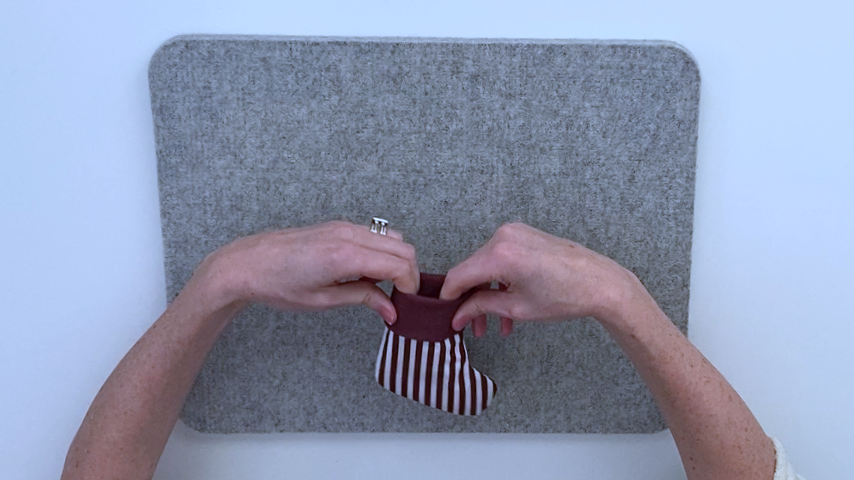
Press the top of the cuff.
Your mini stocking is complete!