How To Sew A Mini Oven Mitt | Free Printable Pattern
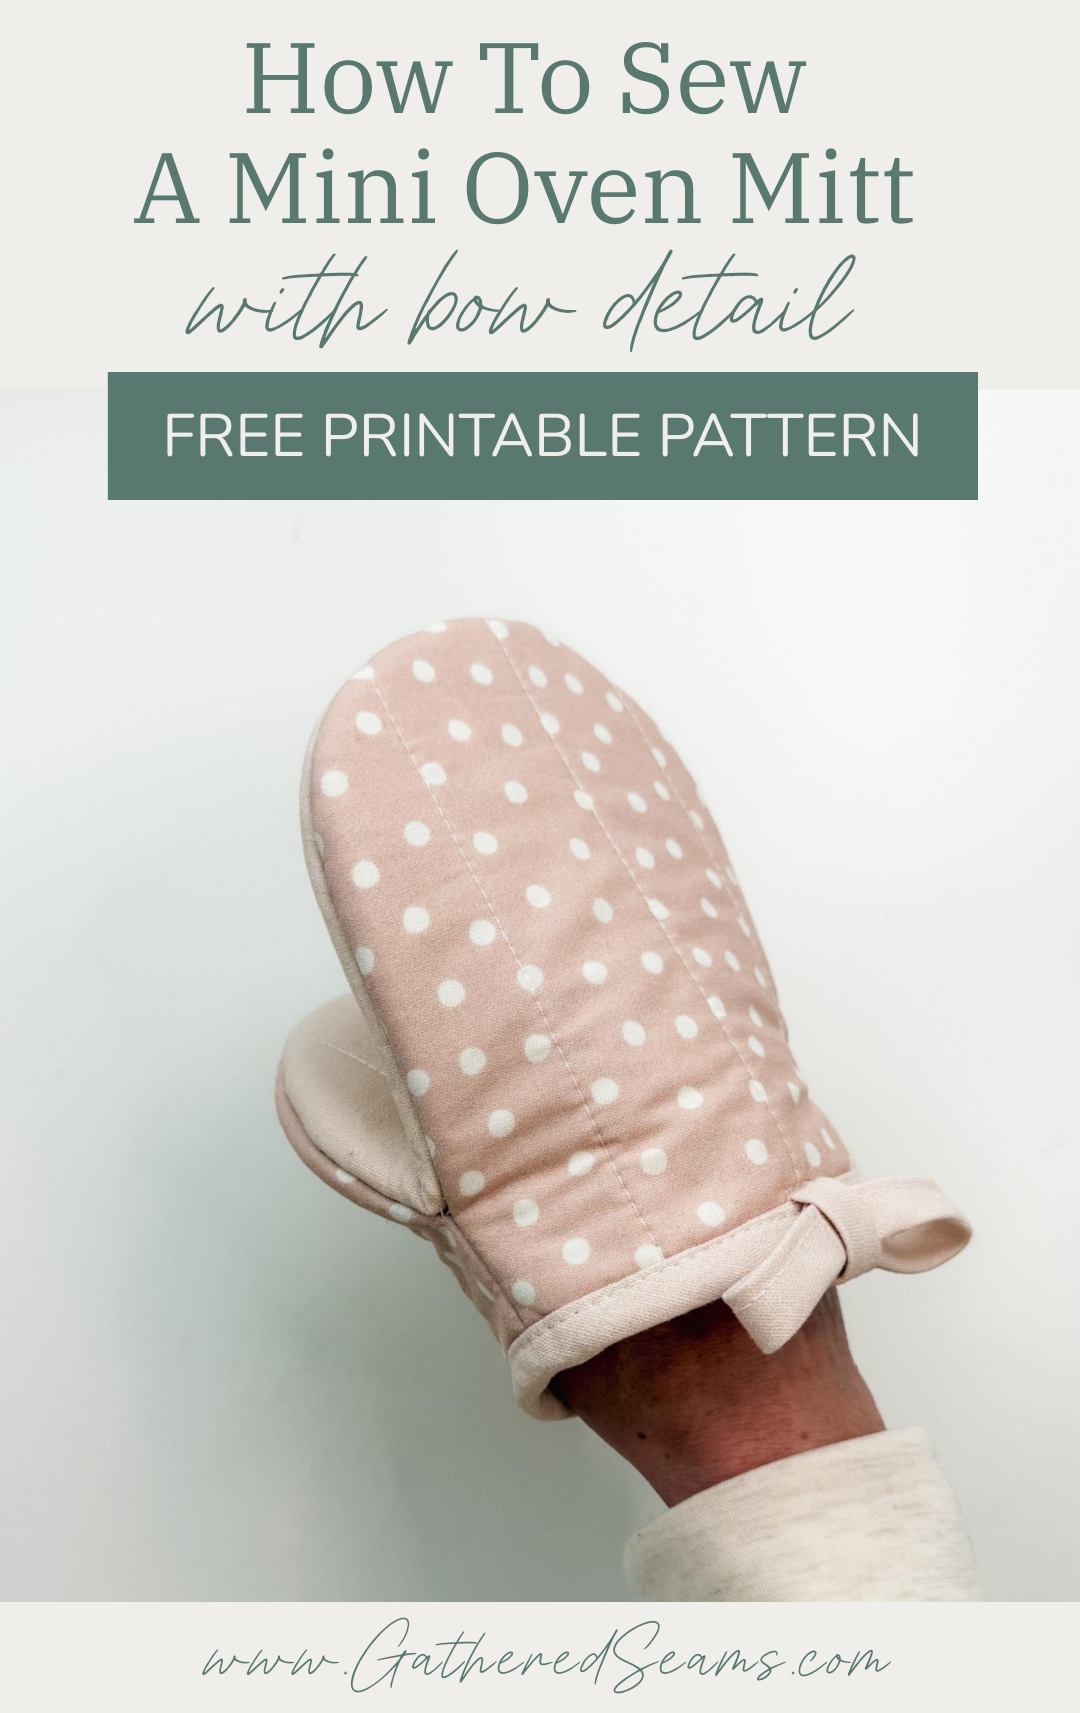
Mini oven mitts are a great item to sew and sell. They make a good entry-level product for shoppers who don’t want to splurge on a new set of full oven mitts.
Because they’re smaller and require fewer materials and time to make, they’ll be a lower price point than regular oven mitts.
They’re also cute and fun, making them a great gift.
Materials
- Outer fabric
- Lining fabric
- Thermal batting (such as Insul-Bright)
- Cotton batting (such as Warm & Natural cotton batting)
- Thread
- 1/2” double-fold bias tape
Tools
As an Amazon Associate, I earn from qualifying purchases.
- Sewing machine
- Walking foot (makes sewing layers of batting together much easier. This is the universal one I purchased for my Baby Lock, which is a different machine than what’s shown in the photos and video)
- Scissors
- Clips or pins
- Temporary fabric marker (these are the ones I use)

Steps to sew a mini oven mitt
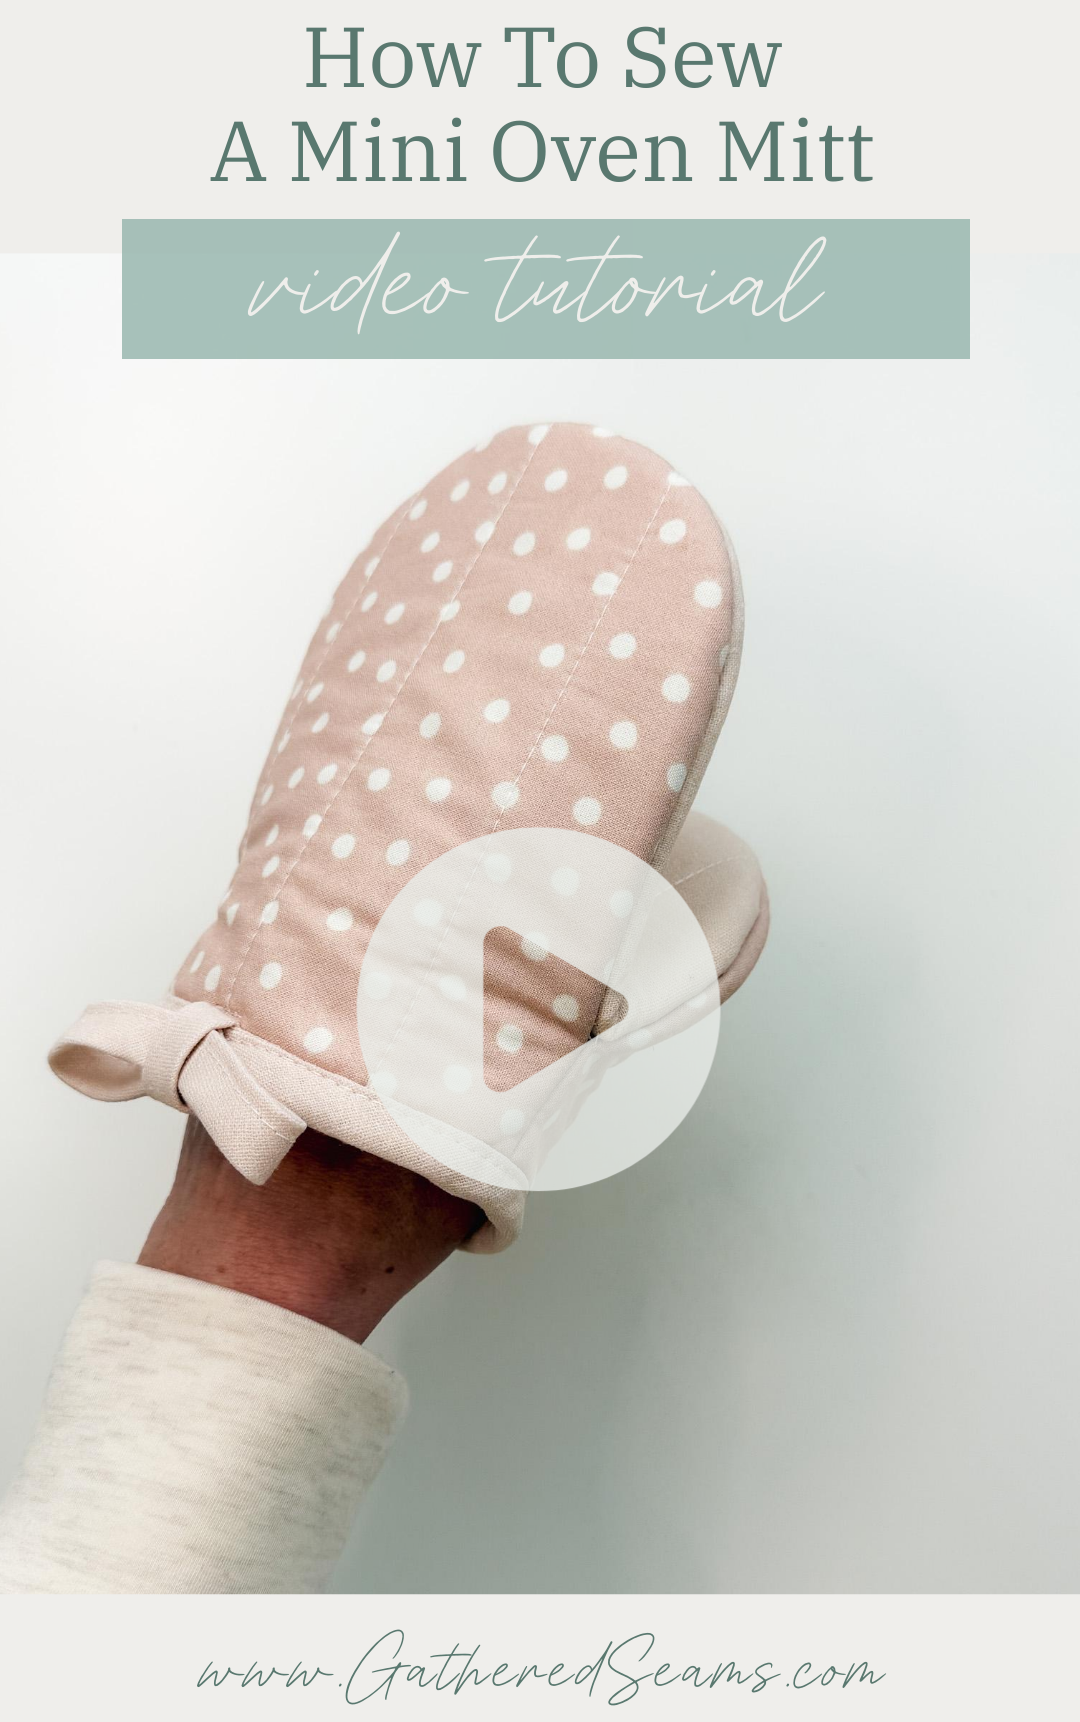
Video coming soon…
Step 1
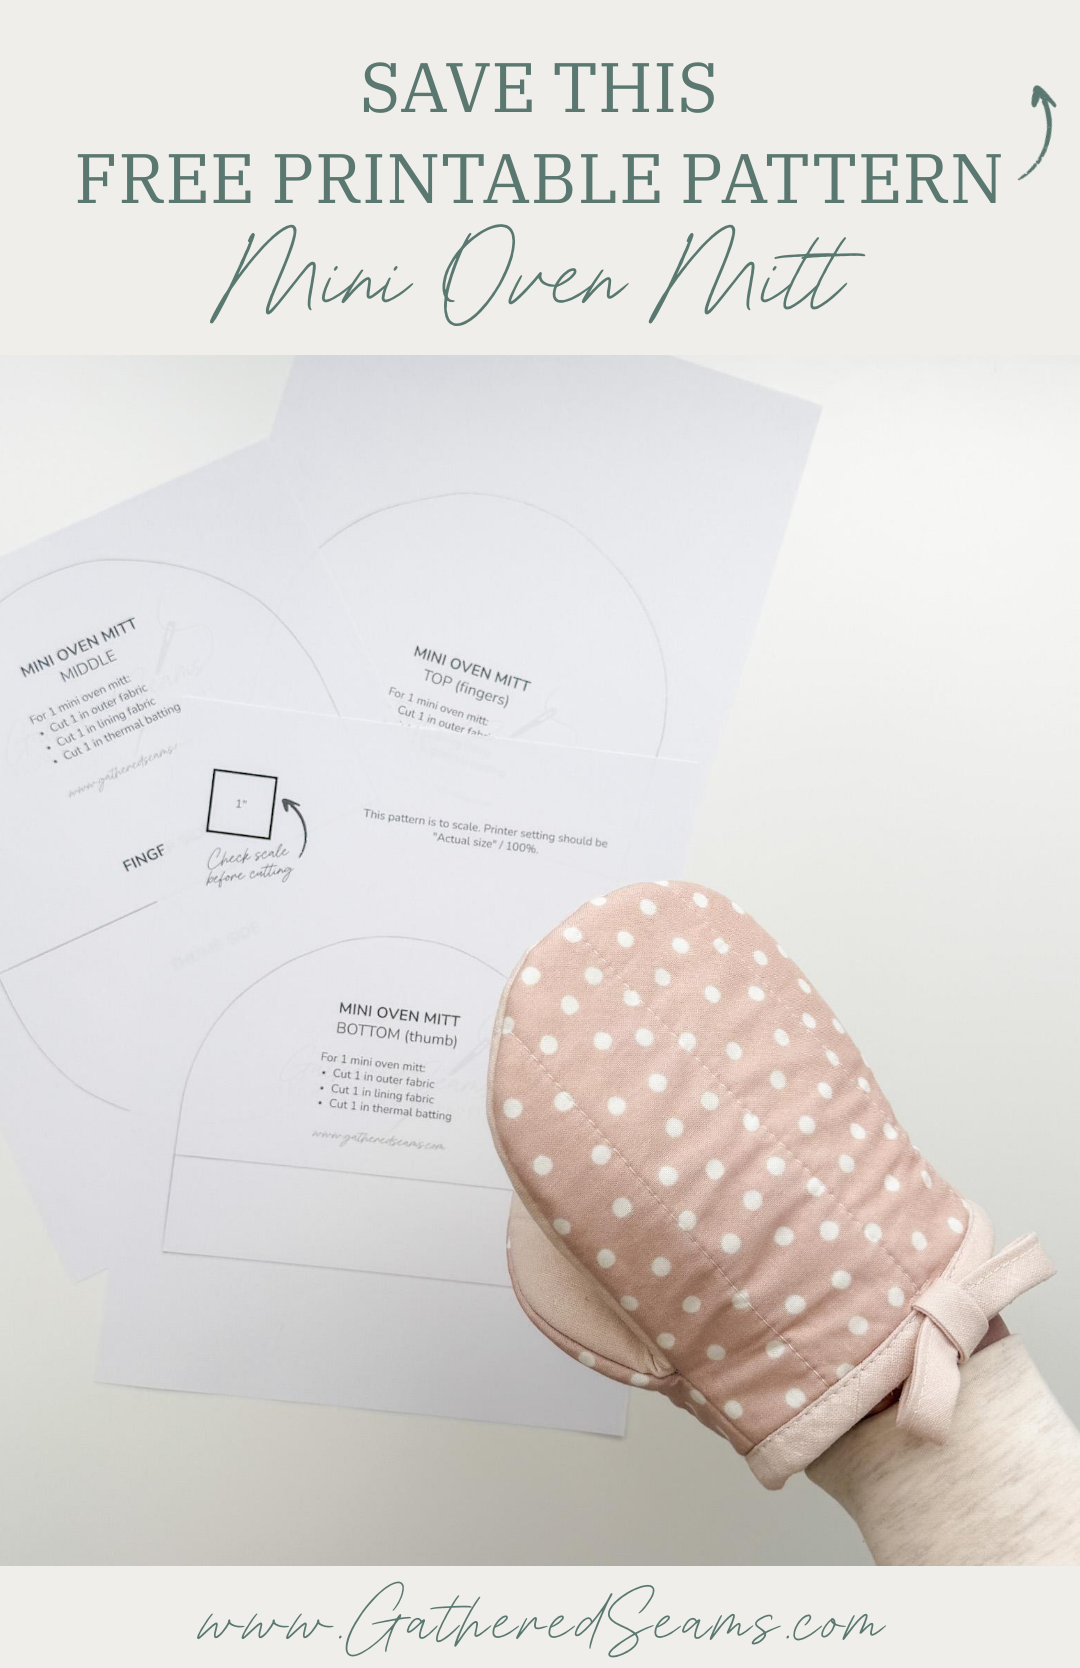
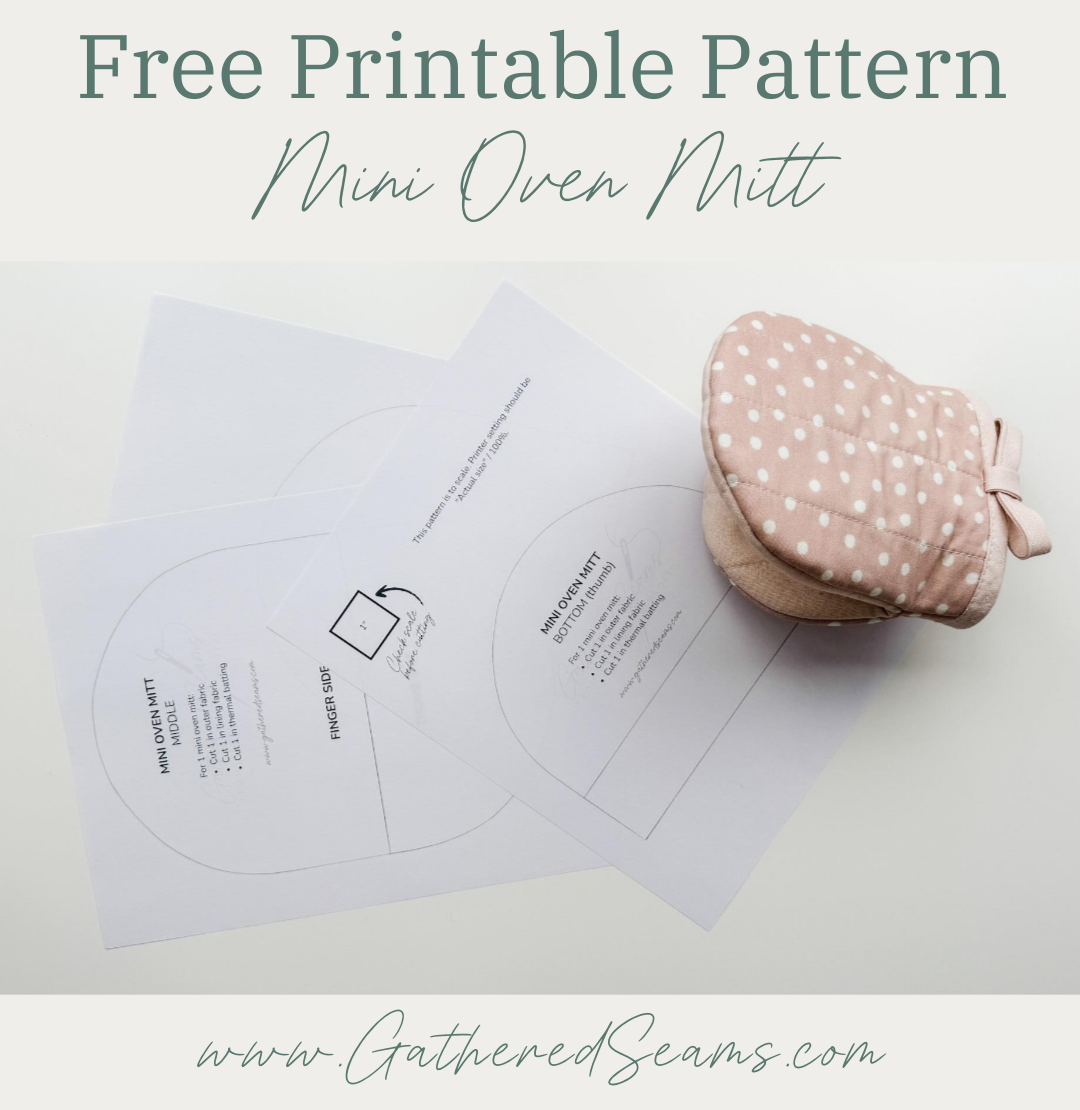
Download the free printable pattern and cut out the pattern pieces.
Please note: the number of pattern pieces to cut are for 1 mini oven mitt. Double the amount to make a set.
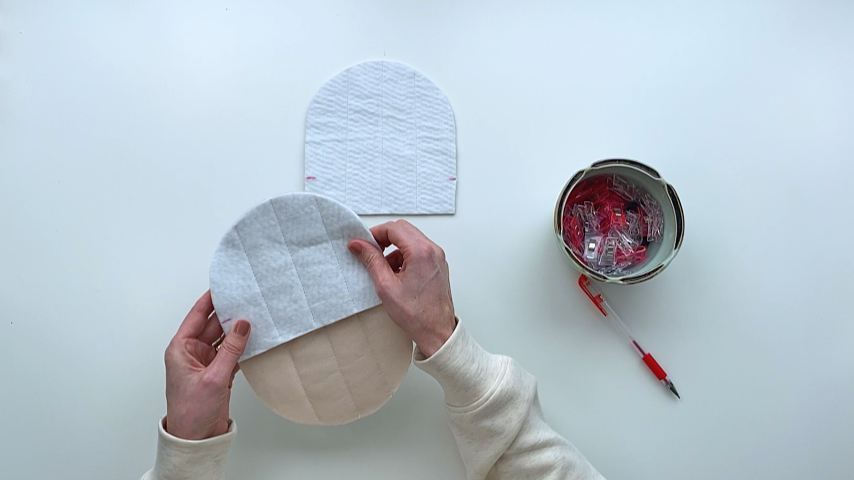
If you’re adding quilting stitches, cut your outer fabric and layers of batting slightly bigger, complete the quilting stitches, then cut to size.
If you don’t want to add quilting stitches, you can use a temporary fabric adhesive to secure the layers together during construction.
You will need to cut:
- Bottom/thumb piece:
- 1 piece in outer fabric
- 1 piece in lining fabric
- 1 piece in thermal batting
- Top/fingers piece:
- 1 piece in outer fabric
- 1 piece in lining fabric
- 1 piece in thermal batting
- Middle piece:
- 1 piece in outer fabric
- 1 piece in lining fabric
- 1 piece in thermal batting
- 1 piece in cotton batting
*I add an extra layer of cotton batting to the middle piece as that’s the part that will touch hot dishes. It helps with heat protection.
You will also need to cut:
- 1/2” double-fold bias tape (here’s how to make your own bias tape)
- 22” long
- 3” long for the bow’s centre loop
1/2” seam allowance unless mentioned otherwise.
Step 2
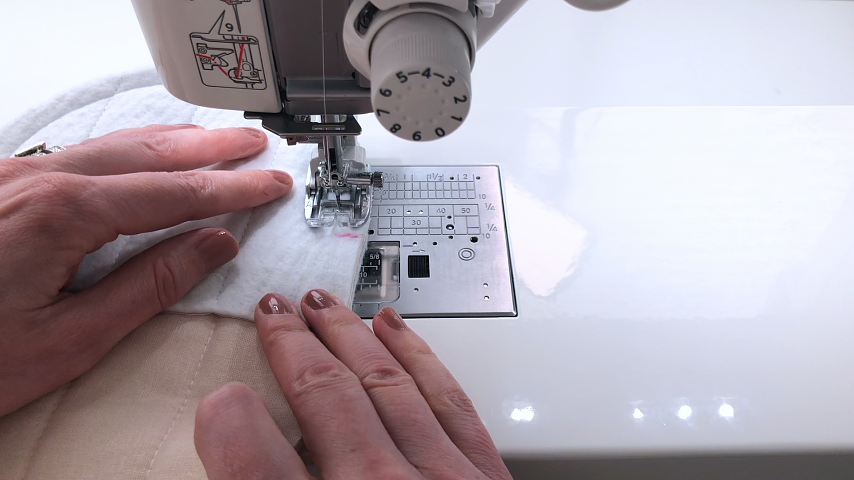
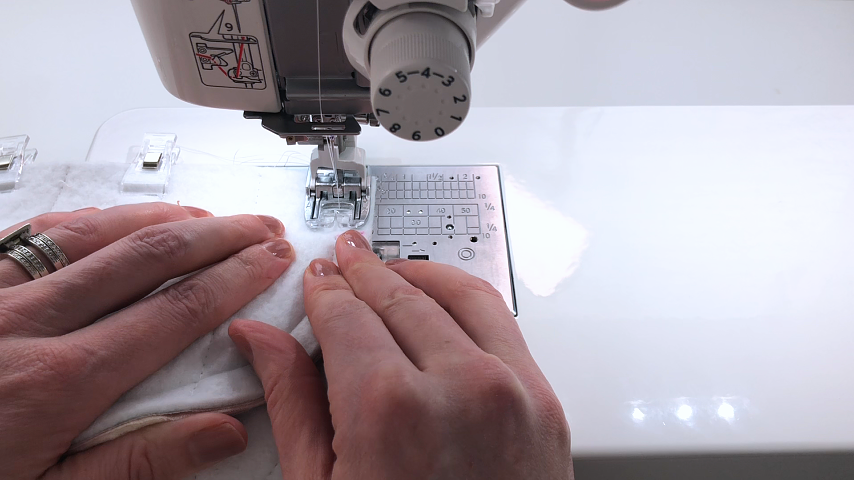
Once your outer fabric and layers of batting are basted/stitched together, you can mark the “stop” lines (as indicated on the pattern pieces) on the wrong side of each piece.

Place the bottom/thumb piece right sides together with the middle piece, making sure the “stop” lines match up.
Start sewing at the first line and stop at the second line, backstitching at the start and end.
Fold the bottom of the thumb piece back and clip into place so it’s out of the way.
Then place the top/finger piece right sides together with the other half of the oval.
Start sewing at the top of the oval and sew towards the “stop” line, backstitching at the line (it’s easier to sew up to it than to start sewing on the line, due to all the bulk of the batting).
Then start at the top again and sew the other side, stopping and backstitching at the line.
Place the bottom of the top/fingers and bottom/thumb pieces together and clip along the bottom. Then sew from the bottom up to the line on each side, backstitching at the start and end.

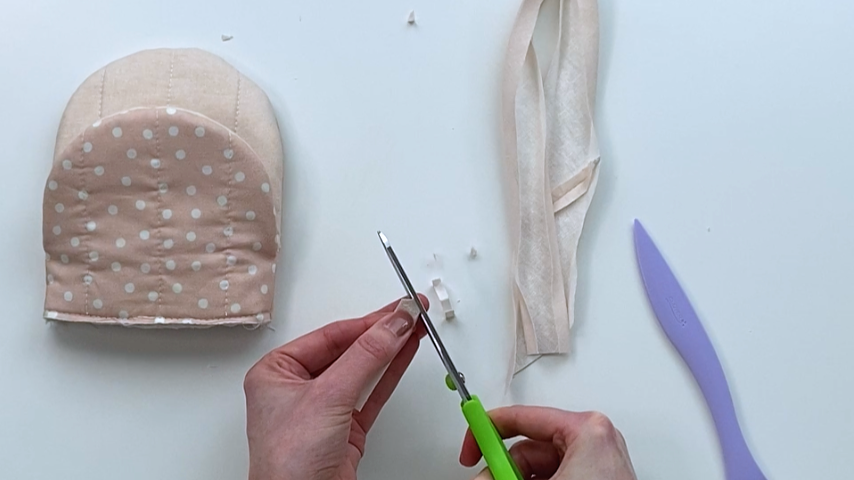
Trim your seam allowance in half.
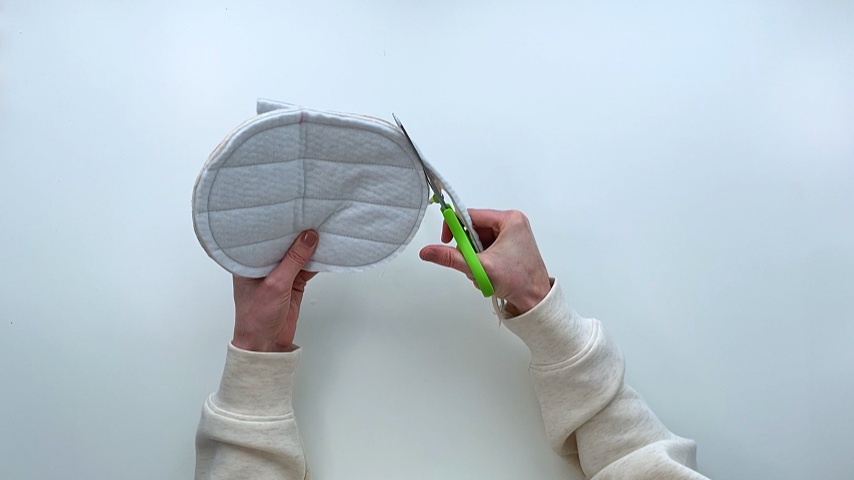
Then trim your batting by holding your scissors almost parallel to the fabric (tilted maybe 25 degrees) and going around all the seams on both sides.
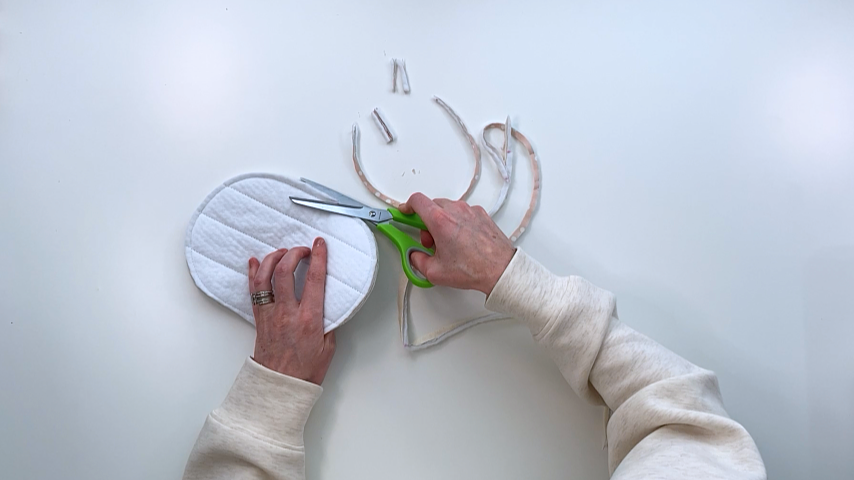
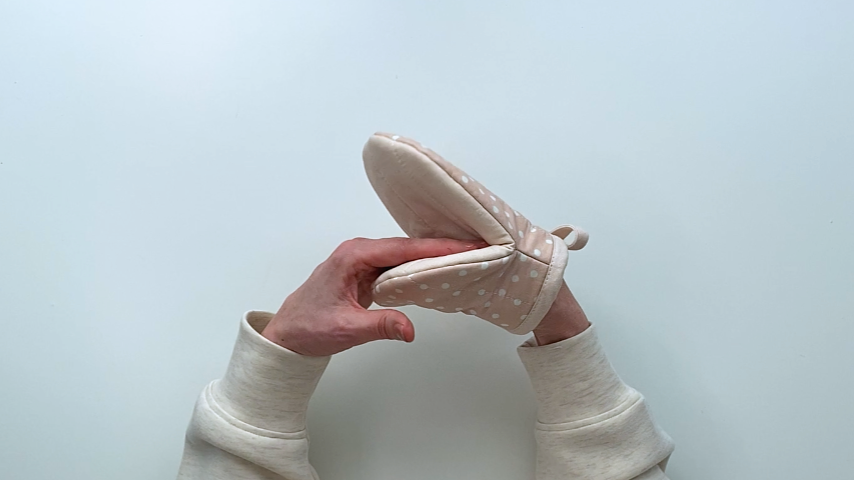
Turn your mini oven mitt right side out.
Step 3
Repeat all of the steps in “step 2” for your lining pieces, but using a 5/8” seam allowance (instead of 1/2” as you did for the outer pieces).
Because the outer pieces have so much bulk, using a bigger seam allowance will help the lining fit more smoothly inside.
Step 4
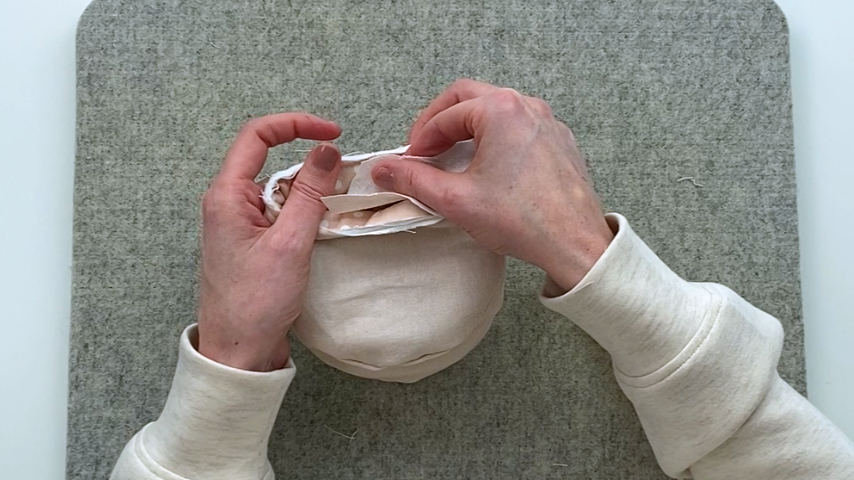
Place the lining inside the outer piece.
Due to the bulk of the batting, the lining piece may be slightly longer. Trim off any excess from the bottom.

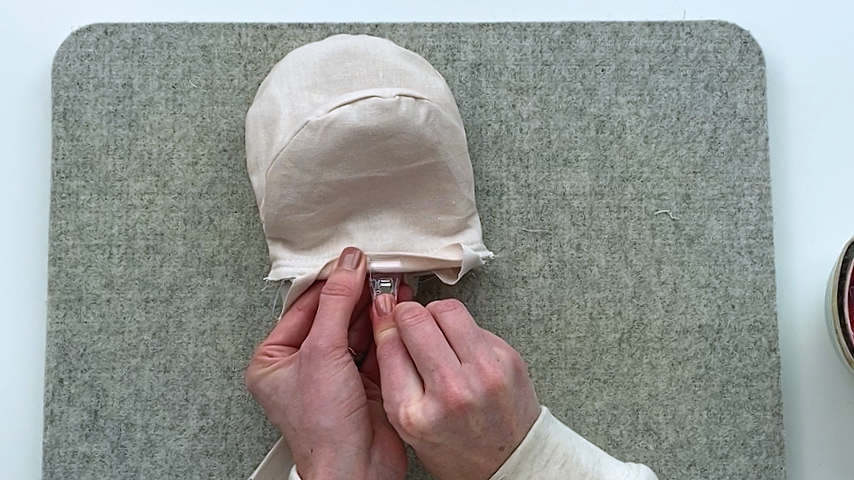
Line up the side seams and clip the bottom edges together.
Then baste the outer piece and lining together around the bottom (sewing with about a 1/4” seam allowance).
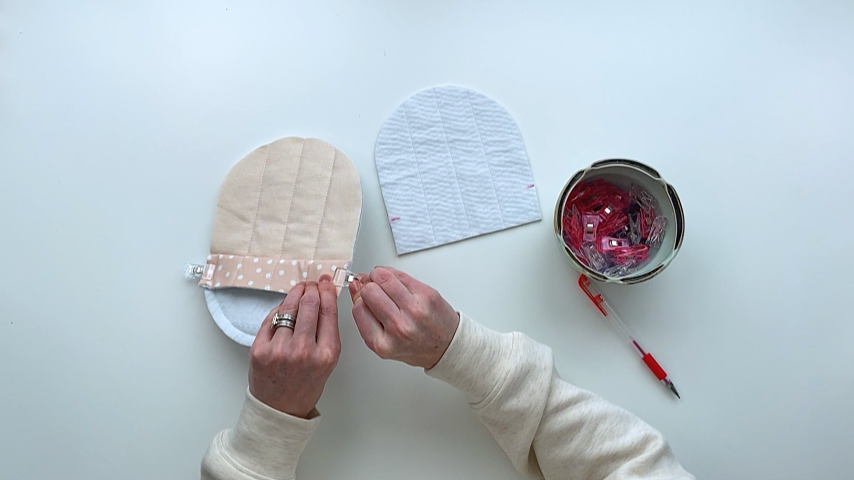
Step 5
Take your 3” piece of bias tape, with the edges folded in just once (the bias tape shouldn’t be double-folded) fold it in half lengthwise so right sides are together.
Using a 1/2” seam allowance stitch across one end.
Trim the seam allowance and cut each corner at an angle, then turn right side out, using a point turner to get the corner fully out.
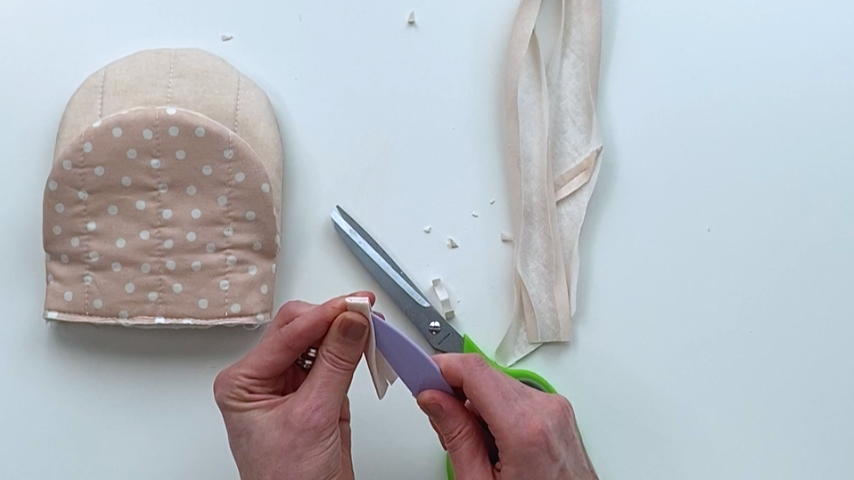
Press.
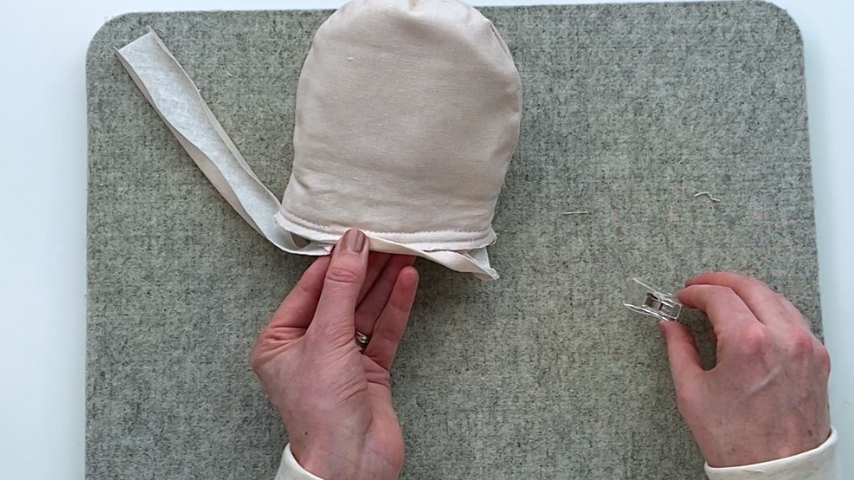
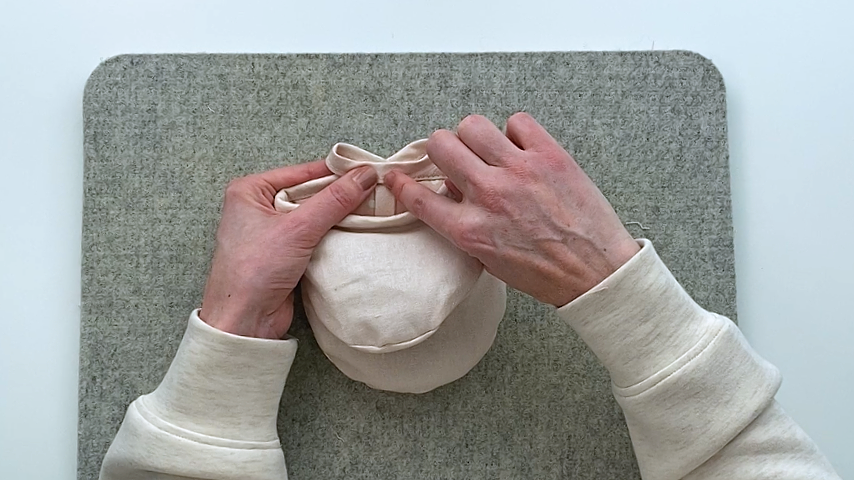
Baste it to the top centre of your mini oven mitt.
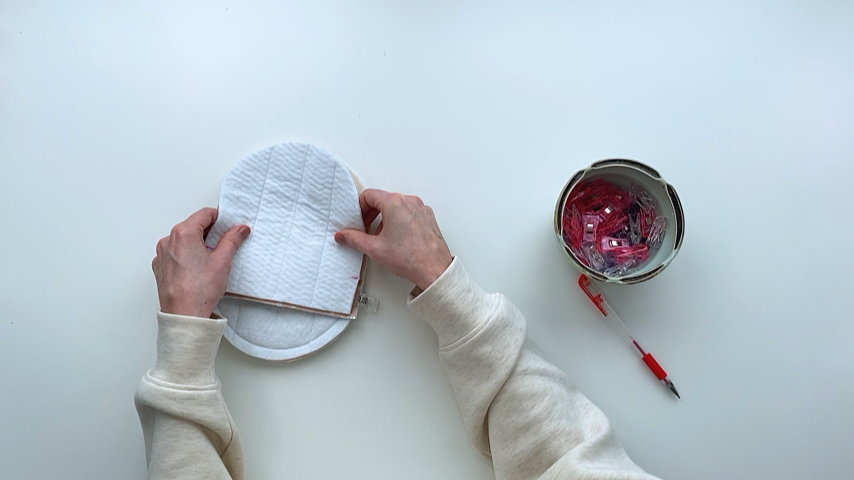
Turn your oven mitt inside out.
Step 6
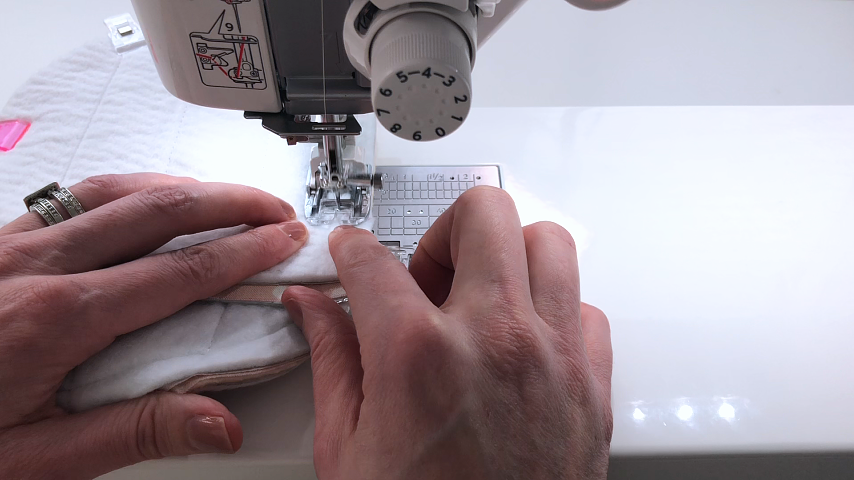
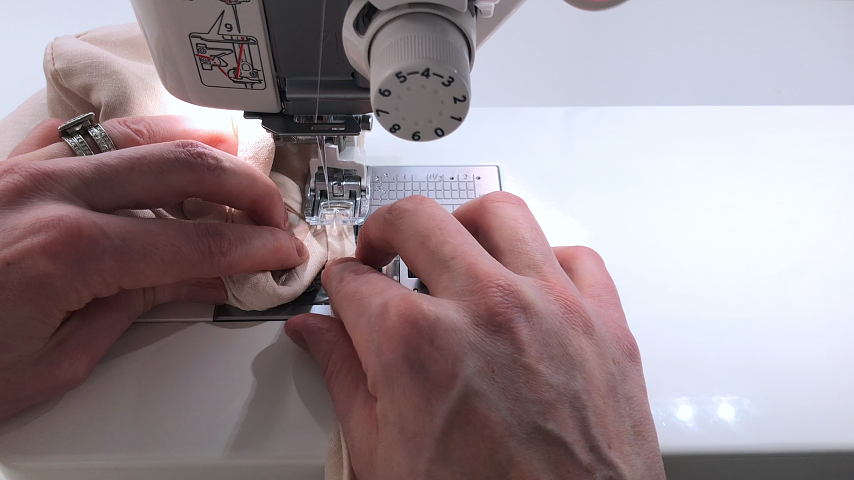
Cut one end of your bias tape at an angle (this helps spread out the bulk).
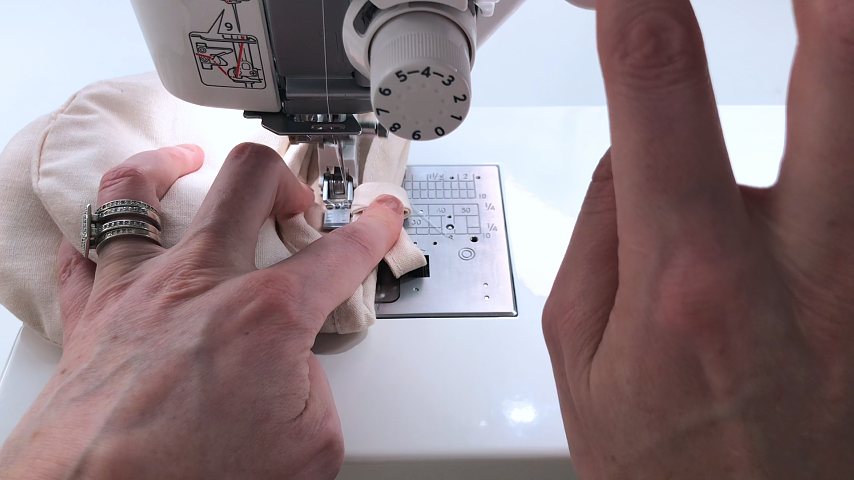
Sew the first side of your bias tape to the outside of your oven mitt (which will be on the inside since it’s flipped inside out). Start sewing your bias tape about 1/2″ before the center (right before where your center loop is).
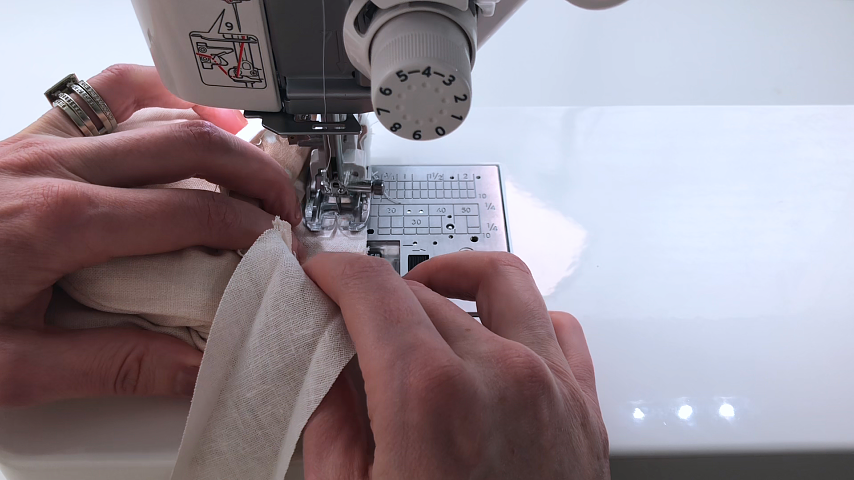
Stop sewing about 1/2″ before the start of your bias tape.
Flip the start of your bias tape over and fold it into place. Make sure it is inside the line of stitching (so that the start of your bias tape will be hidden by the end of your bias tape). Clip the start of your bias tape into place.
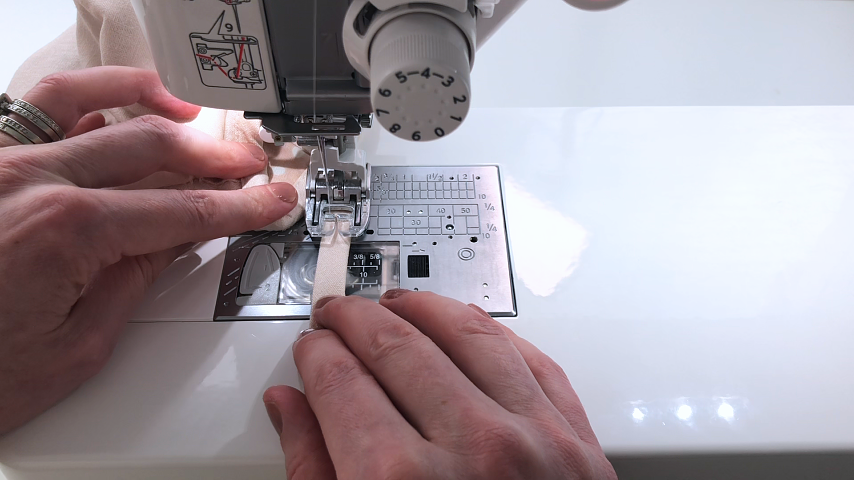
Then set the end of your bias tape over the top and finish sewing it on, up to the center point.
Flip your bias tape over and clip it into place, making sure it evenly covers the line of stitching.
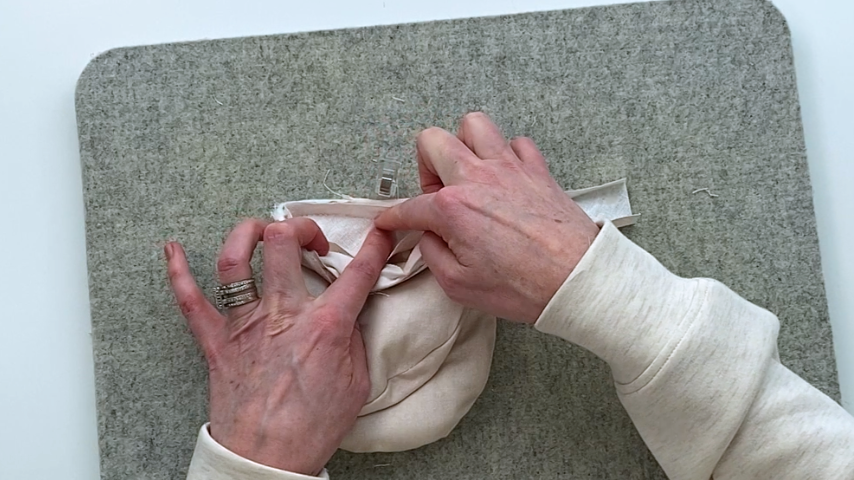
To finish off the end and sew your bow, you’ll sew all around your bias tape, about 1/8″ inside the bias tape seam, and when you come back around to the center, gently curve the tail off the bias tape off the oven mitt and continue sewing all the way to the end of your bias tape to stitch the two folded edges together.
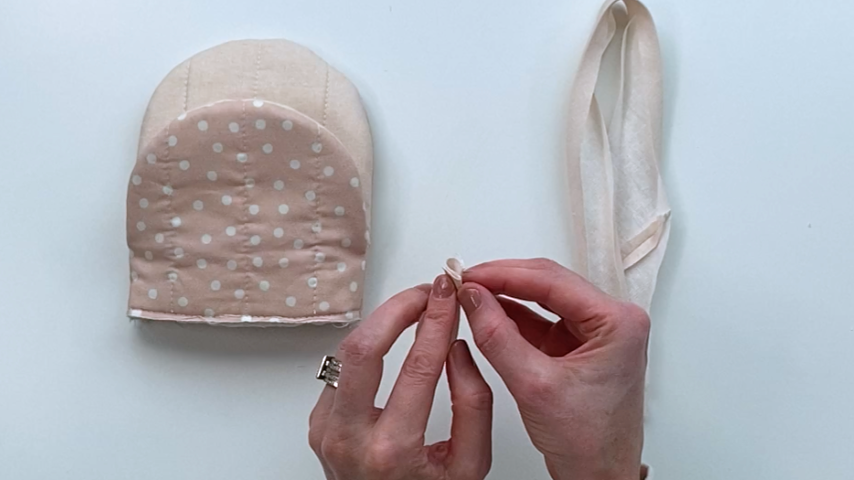
Cut the tail to 7″ long, then create a loop.
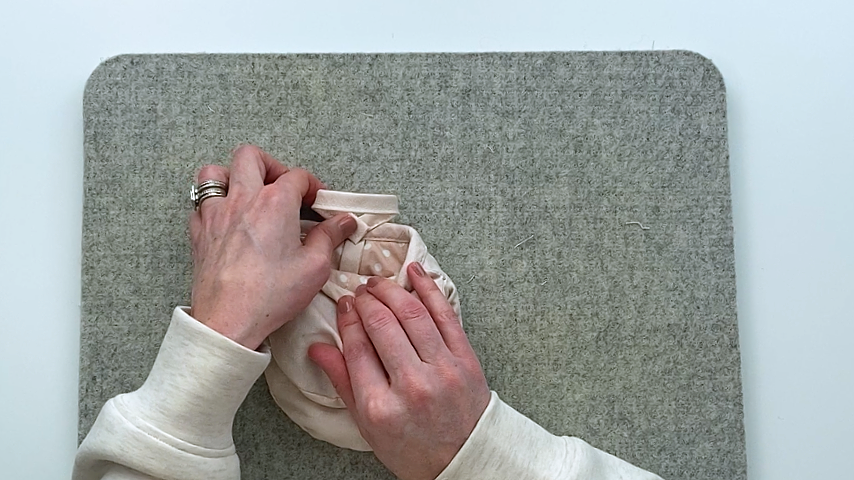
Find the center of that loop and place it on the center of your oven mitt and sew it into place (there are several layers here, so if your sewing machine struggles, you may need to hand-stitch or glue it into place.
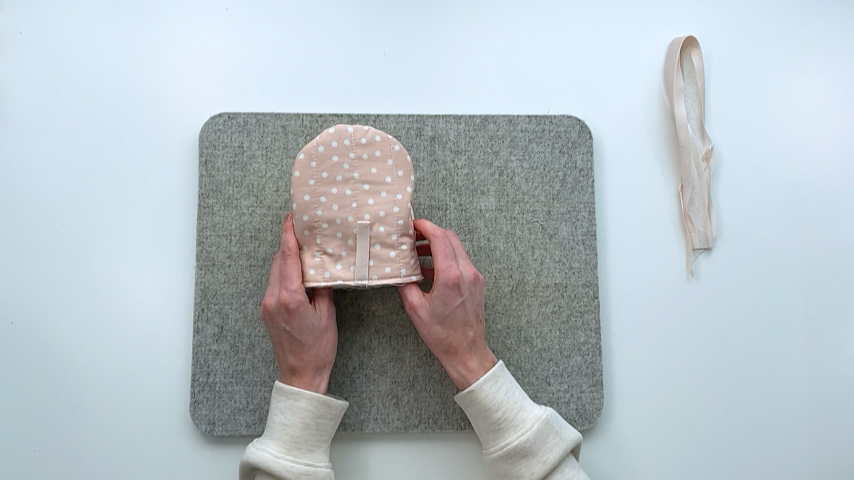
Flip the tab over the bow and line it up in the back. Leave a little bit of slack, so the center loop isn’t too tight, and when it relaxes after sewing, it will help cover the stitching in the front.
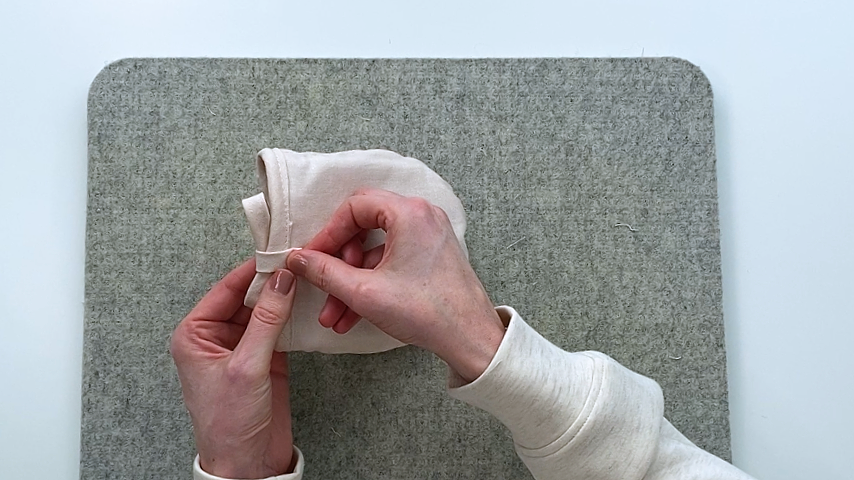
Use a zipper foot and reposition your needle so you can sew as close to the bottom of the tab as possible. Again, if your sewing machine struggles with multiple layers, hand-stitch or glue the tab into place.
Step 7
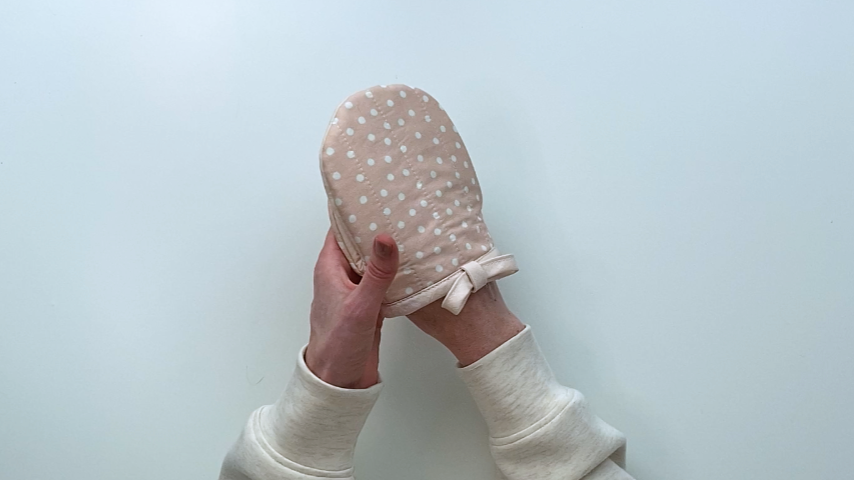
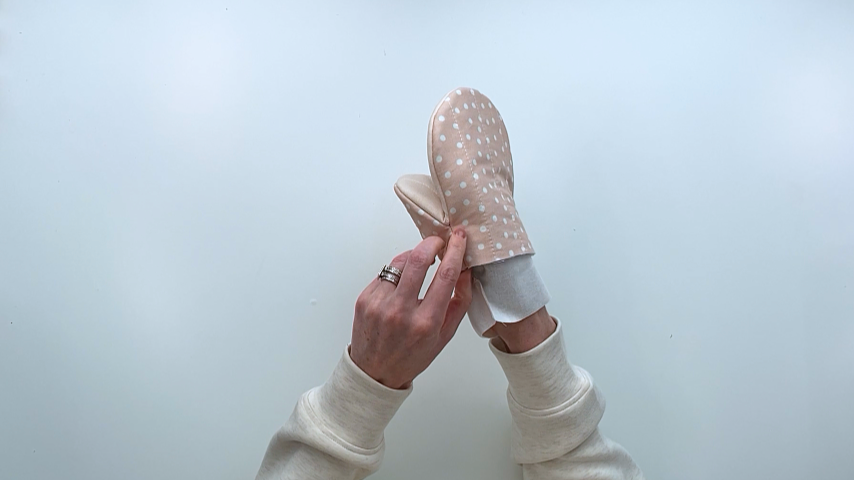
Turn your mini oven mitt right side out then gently press to remove creases.
Your mini oven mitt is complete!