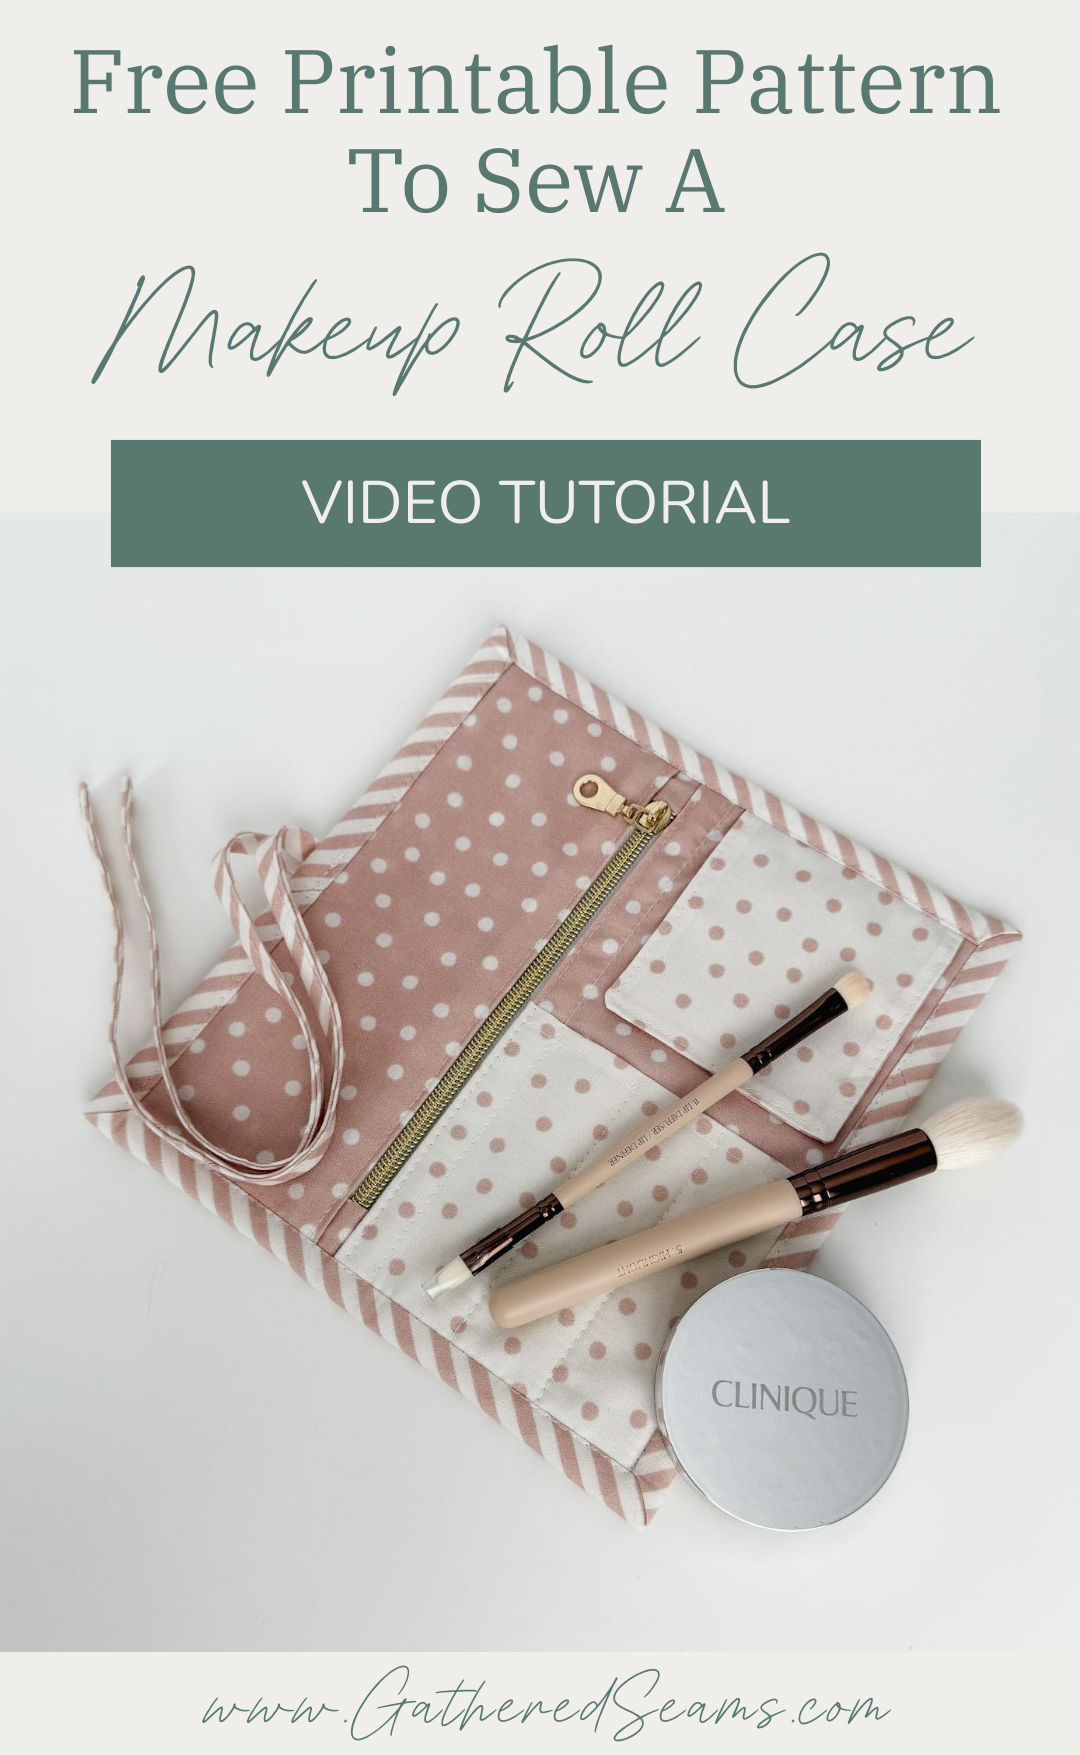
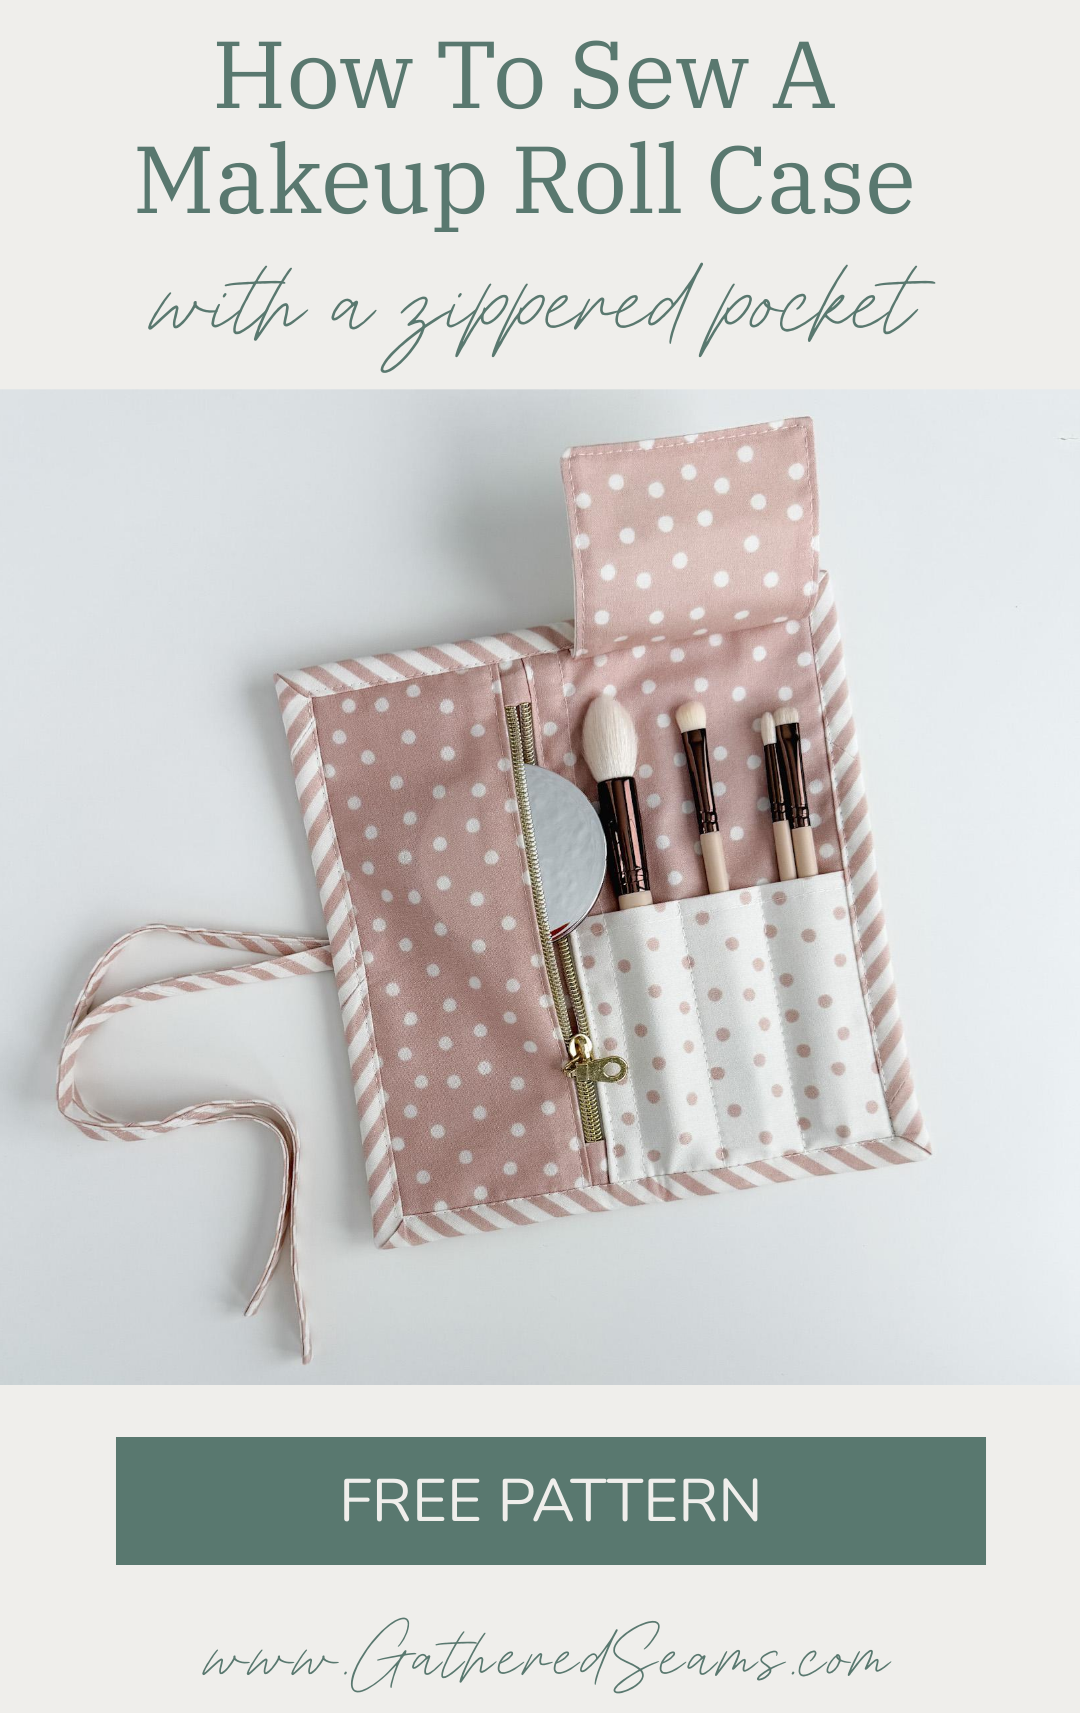
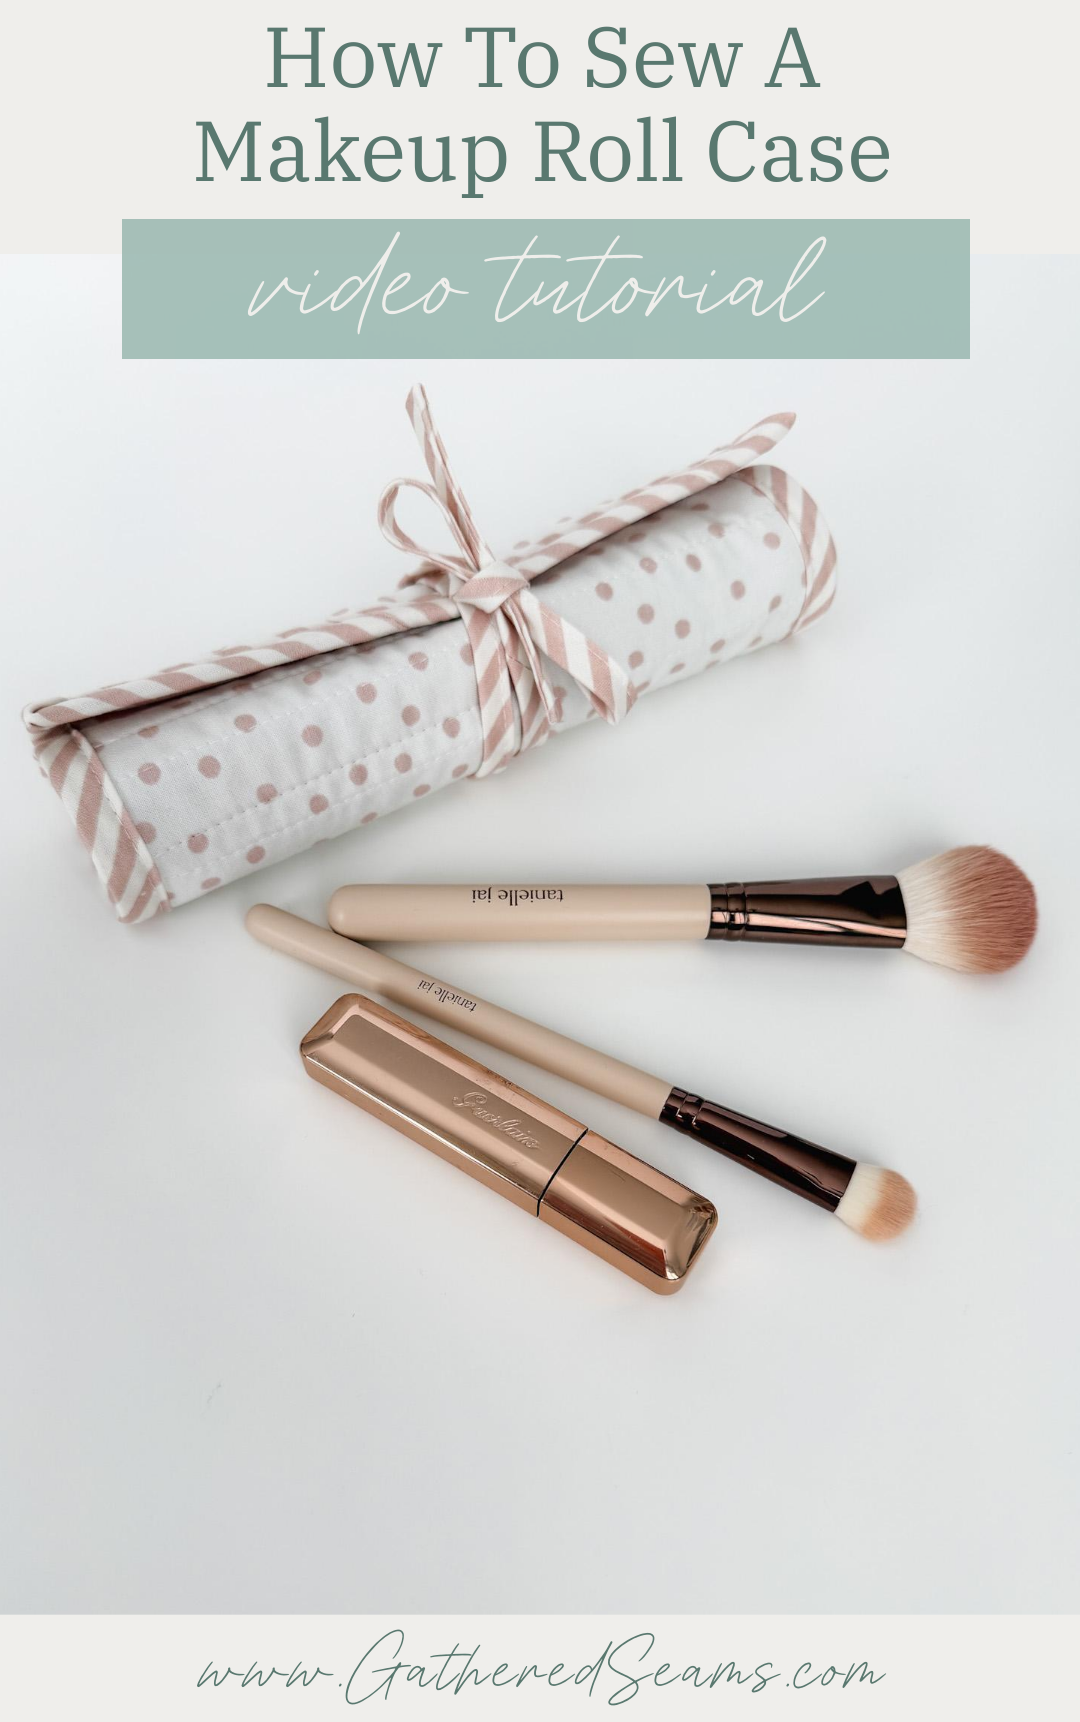
How To Sew a Makeup Roll Case | Free Pattern

This is a simple sewing project to organize a few pieces of makeup and makeup brushes. This isn’t a large makeup roll case, so it would be ideal for organizing everyday makeup essentials, keeping a few items in your purse, or for a weekend getaway.
The pattern can easily be adjusted to add more room for makeup and makeup brushes.
Sewing makeup roll cases to sell
This would be a great item to add to your product line if you currently sell, or plan to sell:
- makeup bags
- toiletry cases
- travel bags
- purses & bags (this is a good way to keep a few key makeup pieces in a purse)
- packing items (e.g. packing cubes, jewelry rolls, luggage tags, etc.)
Price
Most handmade makeup rolls on the market, with similar features and sizing, are between $20 – $30.
Your price may be on the higher end or lower end of that range (or outside of it) based on factors such as:
- cost of materials
- your hourly wage and how long it takes you to sew a case
- level of expertise
- branding
- packaging
- etc.
Materials
As an Amazon Associate, I earn from qualifying purchases.
- Fabric (medium-weight fabric such as a dogwood denim, canvas. You could also use a quilting cotton and add a layer of fusible fleece or batting)
- To make this bag stainproof, you can use a waterproof fabric for the lining (such as PUL or vinyl)
- Thread
- 1/2″ wide double-fold binding (or bias tape) (You can make your own following these instructions)
- #5 Nylon zipper (teeth are 5mm wide when closed)
Tools
- Sewing machine
- Walking foot or Teflon foot (if you’re working with PUL/vinyl, this type of foot will make it easier to sew. Alternatively, you can add a piece of Scotch tape to the bottom of your sewing machine foot to help it glide along the fabric.
- Fabric scissors or rotary cutter and mat
- Seam roller (if you’re working with PUL/vinyl since you can’t iron it)
- Temporary fabric marker
- Iron
How to sew a makeup case roll
The video is for my cutlery roll pattern, however the steps are exactly the same to sew the makeup roll case.
Step 1
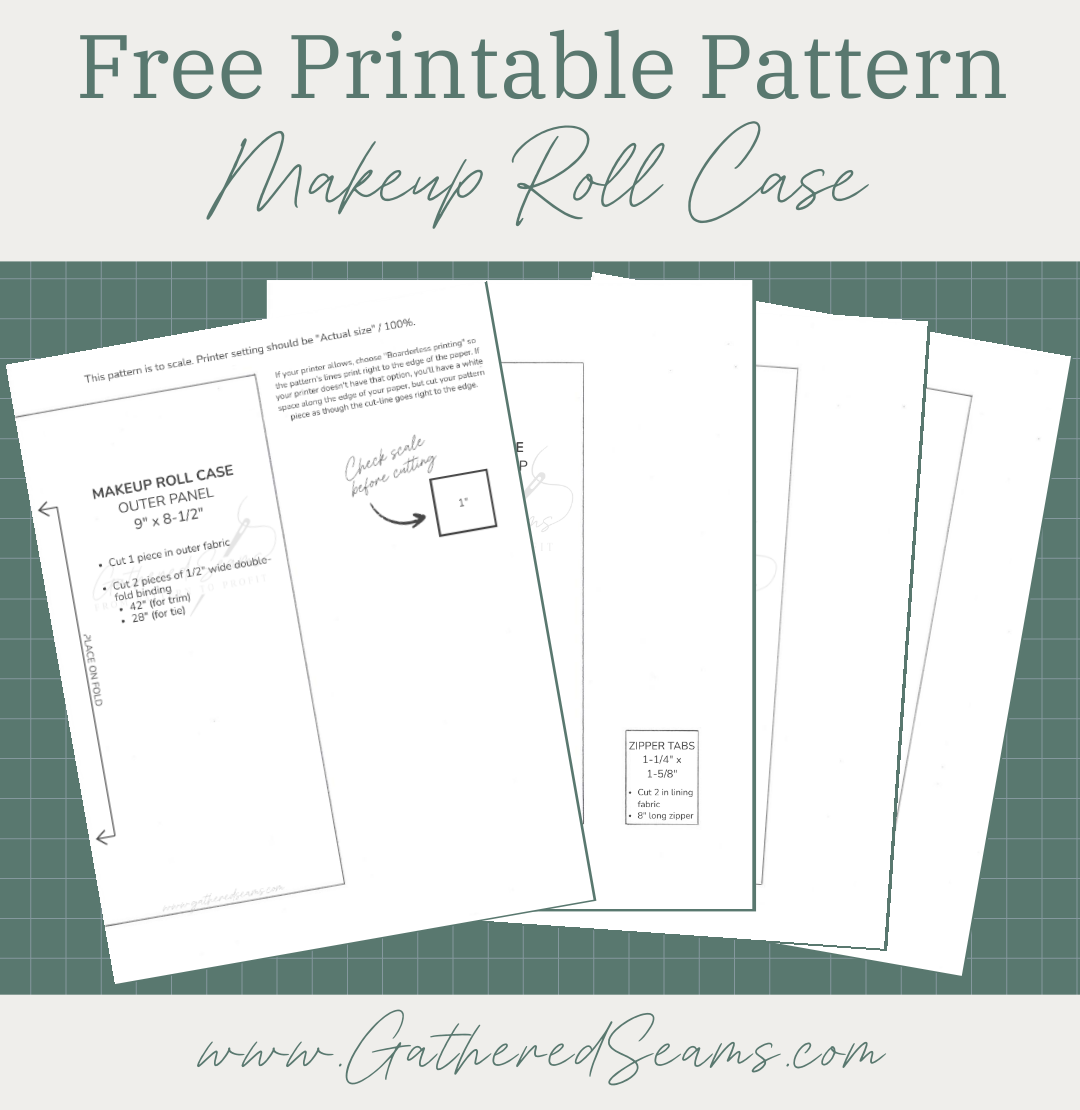
Print the free pattern and cut your fabric.
You can also make this project without the pattern. The pattern pieces you’ll need are as follows:
- Makeup brush flap: 8″ x 4-1/2″ (in lining fabric)
- Makeup brush pocket: 9″ x 5-1/4″ (in lining fabric)
- Lining panel right: 9″ x 5-1/4″ (in lining fabric)
- Lining panel left (zipper pocket): 9″ x 4″ (in lining fabric)
- Outer panel: 9″ x 8-1/2″
- Zipper tabs: 1-5/8″ x 1-1/4″ (x 2)
You’ll also need:
- #5 nylon zipper cut to 8″ long
- 1/2″ wide double-fold binding or bias tape
- 42″ long for binding the edges
- 28″ long for the tie closure
Step 2
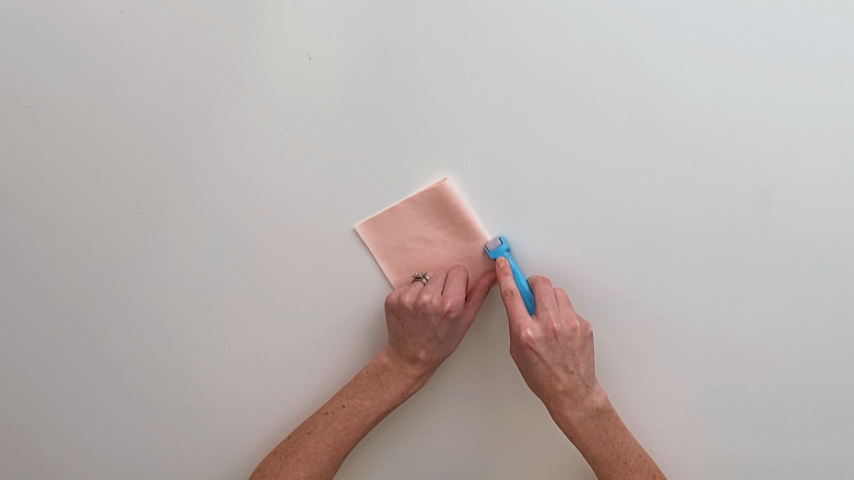
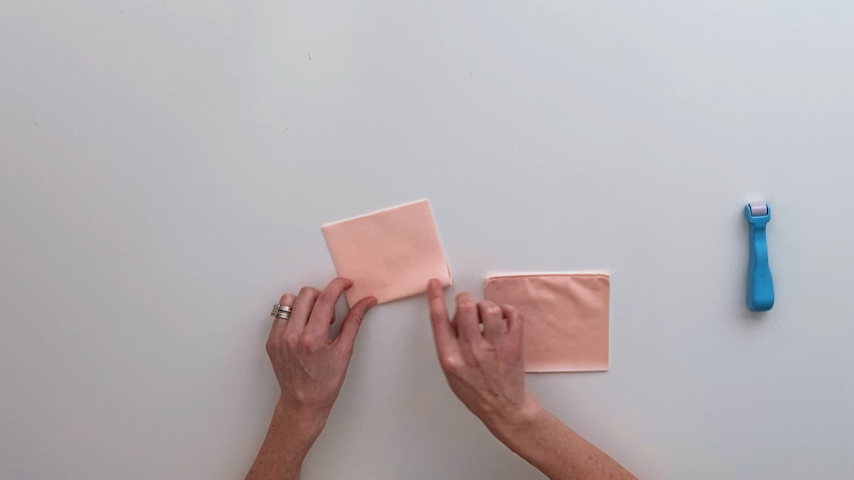
Sew the makeup brush pocket by folding the pattern piece in half, lengthwise, with wrong sides together.
Use a seam roller to crease the folded edge, then topstitch along it. (You can use an iron if you’re using quilting cotton for the lining).
Step 3
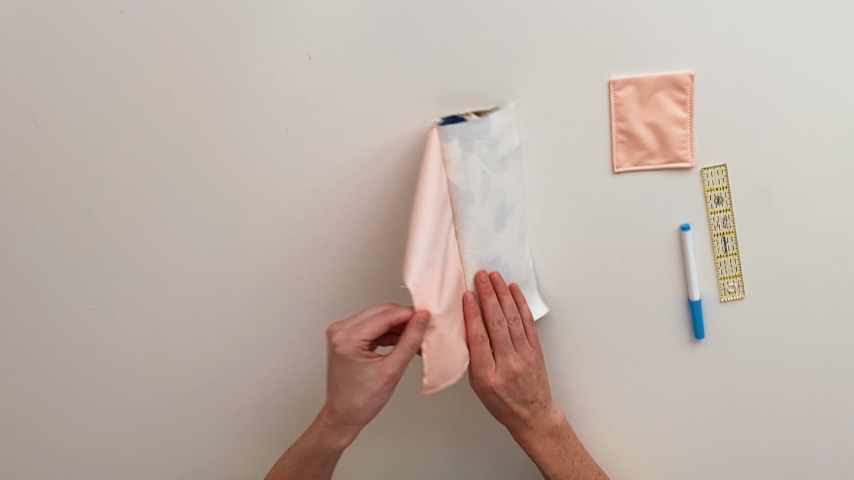
Sew the makeup brush flap by folding the pattern piece in half, lengthwise, with right sides together.
Sew down both sides, using a 1/2″ seam allowance.
Trim the seam allowance and clip the corners, then turn right side out and top stitch along the sides and folded edge.
Step 4
Baste the makeup brush pocket to the right lining panel. We won’t sew the pocket dividers yet.
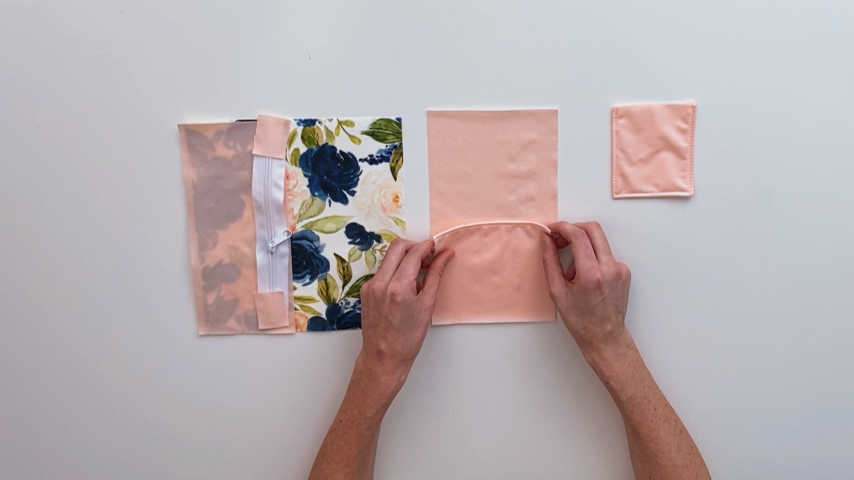
Step 5
Sew the tabs to the ends of the zipper using a 1/2″ seam allowance.
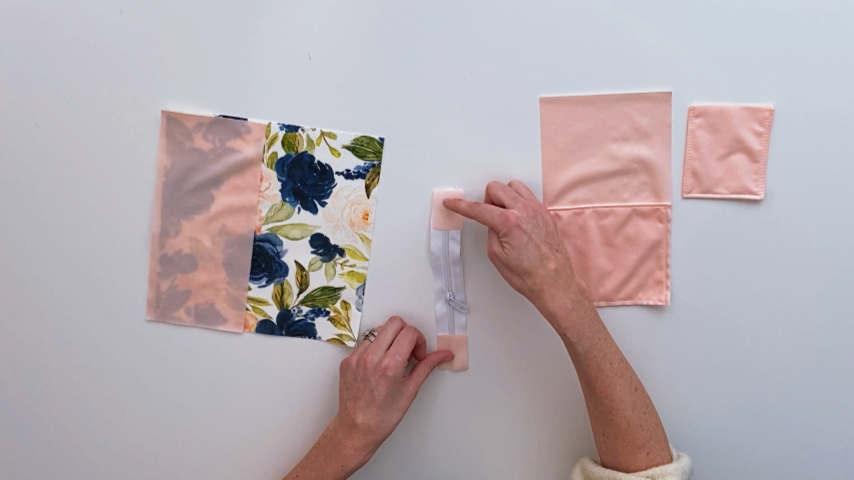
Sew the left panel and right panel to the zipper.
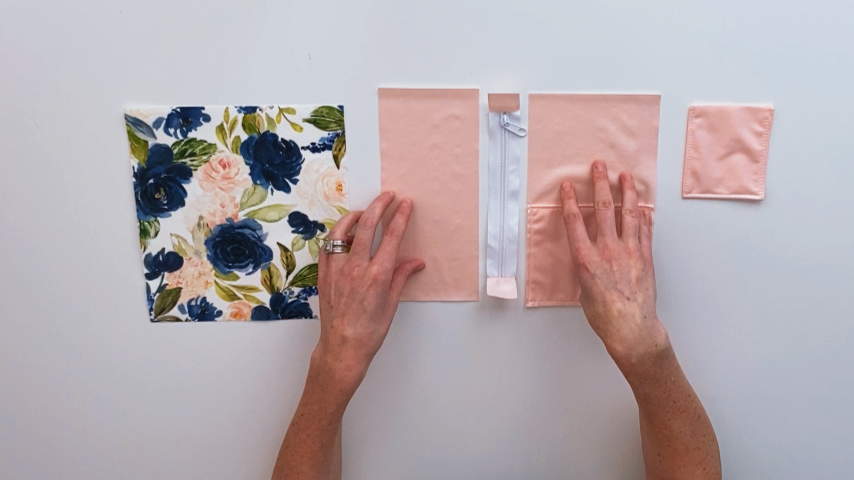
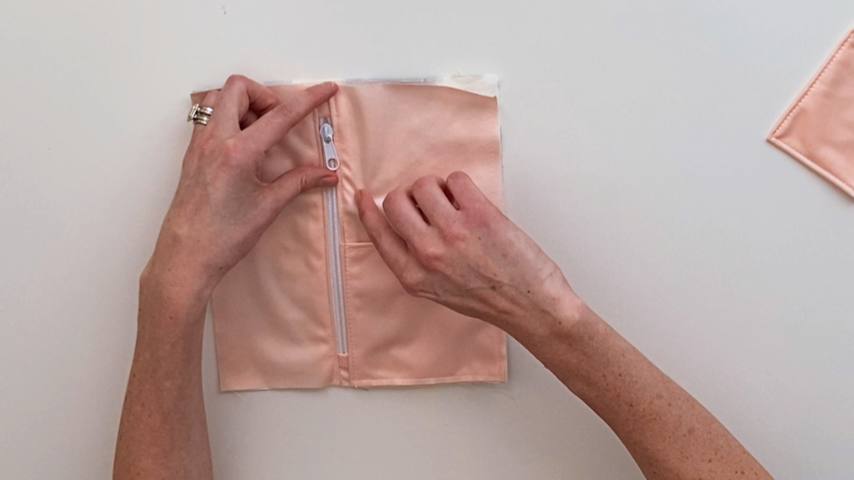
Step 6
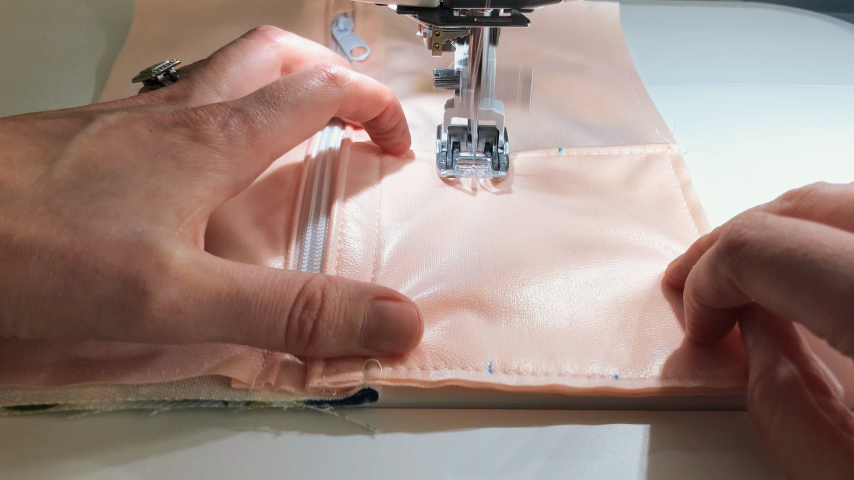
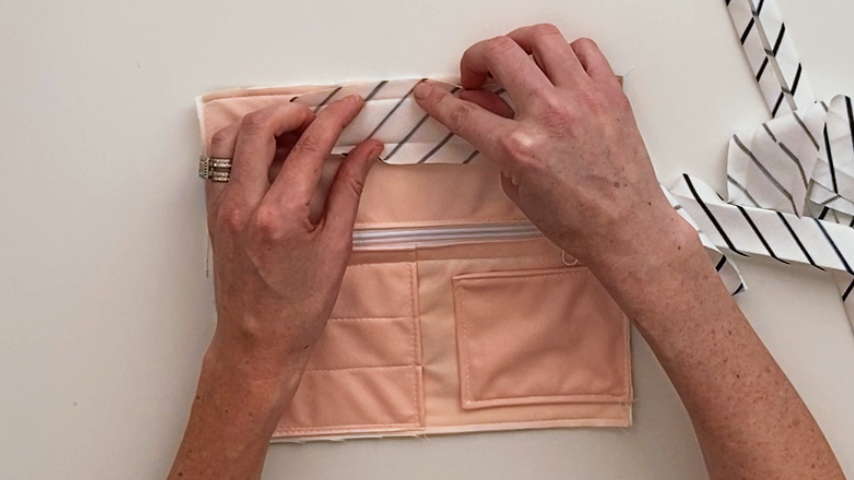
To close the right side of the zipper pocket, place the lining and outer panel wrong sides together. Then stitch a line just to the right of your zipper tape.
Step 7
Now we can sew the pocket dividers. Each pocket will be 1-1/4″ wide, starting from the middle seam you just stitched (the last pocket will be bigger, because we’re accounting for the binding, which will make the last pocket 1-1/4″ once it’s sewn on).
Using a temporary fabric marker, mark a line 1-1/4″ away from the center line of stitching, then mark a second line 1-1/4″ away from that. Repeat along the bottom edge, so you have a guideline for your stitching.
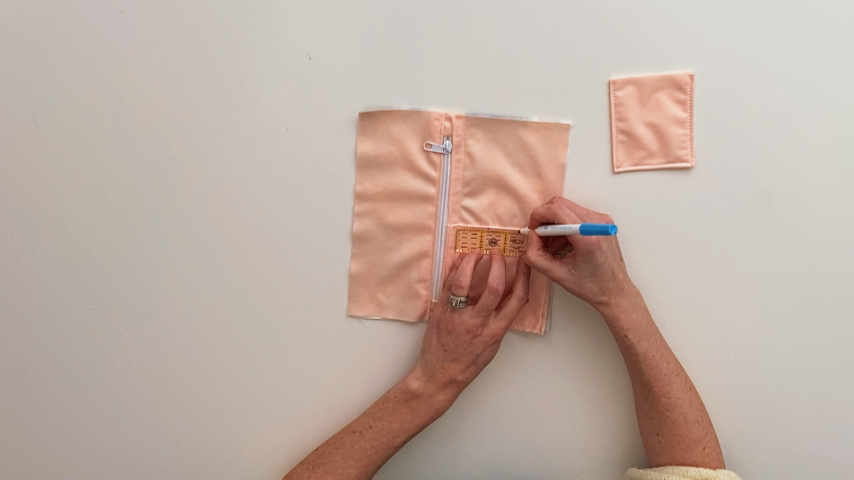
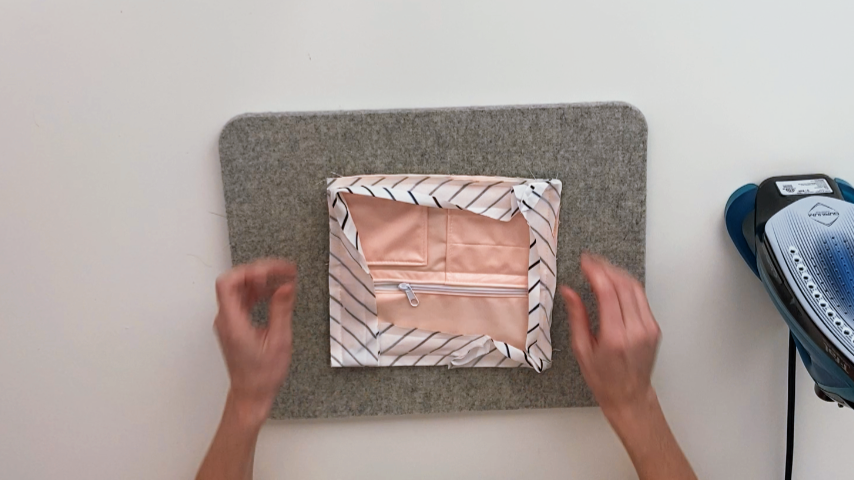
Before you start sewing, fold the outer panel back, so you’re only sewing through the lining.
Step 8
To add the makeup brush flap, mark where your binding will come to along the right edge (1/2″ in), then center your flap between that mark and your center line of stitching.
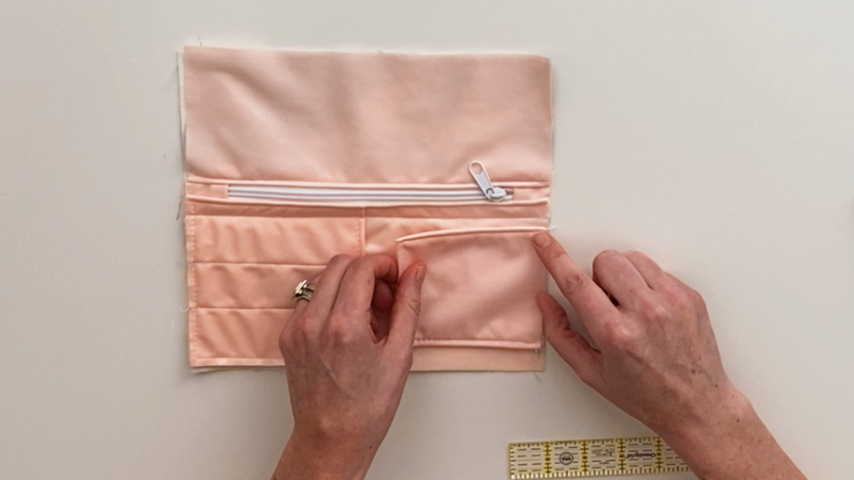
Baste around all 4 edges of the case (the flap will only be basted on along the top edge).
Step 9
*If you’re not familiar with how to sew binding on and how to join the ends, please watch the video for detailed steps.
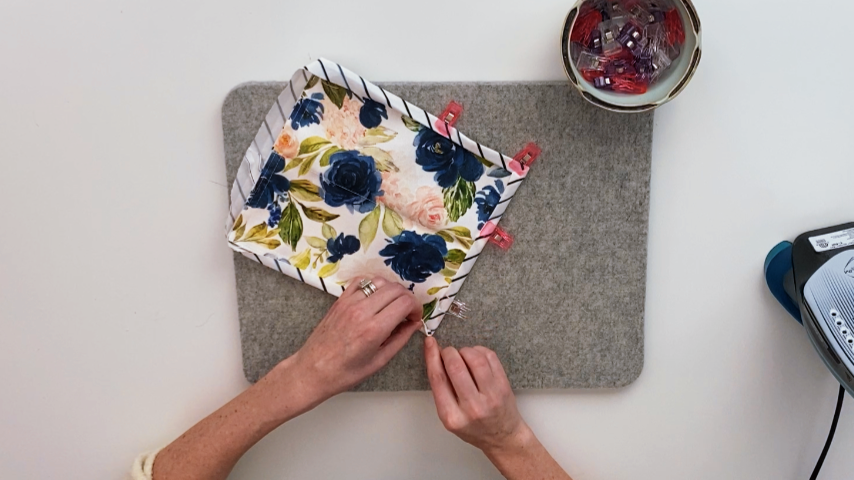
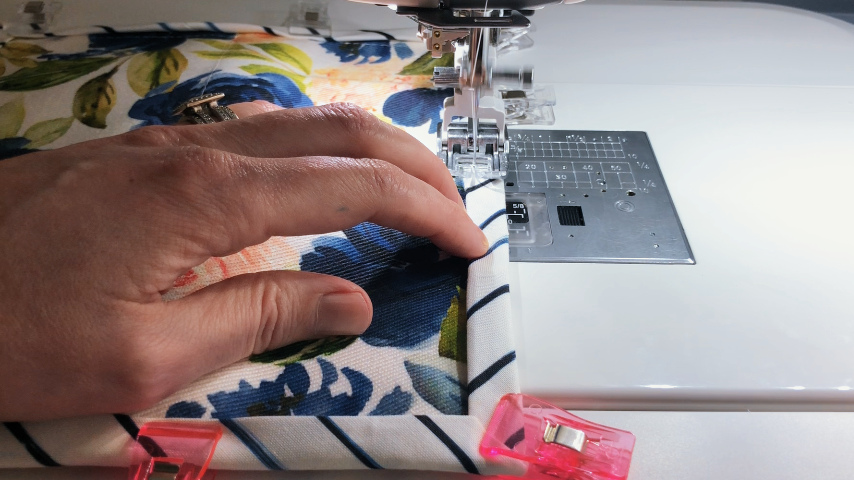
Sew the binding to the lining side.
Then flip the binding to the other side, clip into place, ensuring it covers the line of stitching, and sew.
Step 10
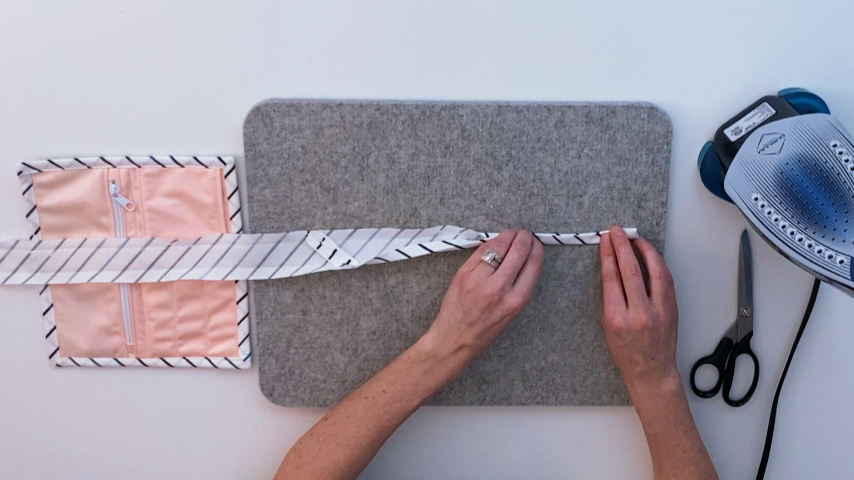
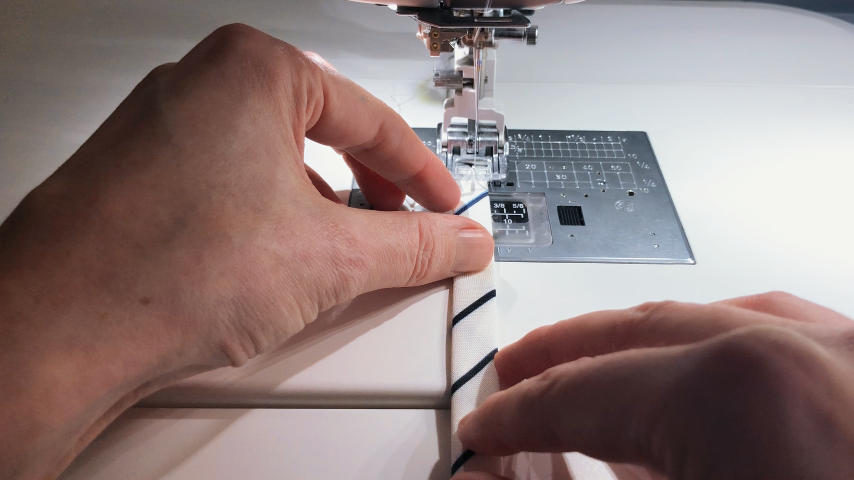
Double-fold your 28″ long piece of binding, press, then sew along the top, sides, and bottom, to create the tie for your makeup roll case.
Step 11
Find the center of your tie, place it at the center of the left side of your makeup roll case (on the outside of the roll) and sew into place.
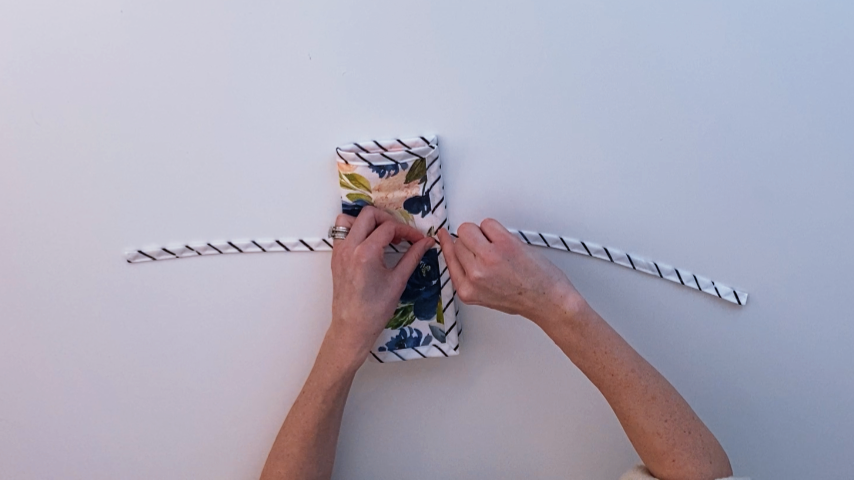
Your makeup roll case is finished: