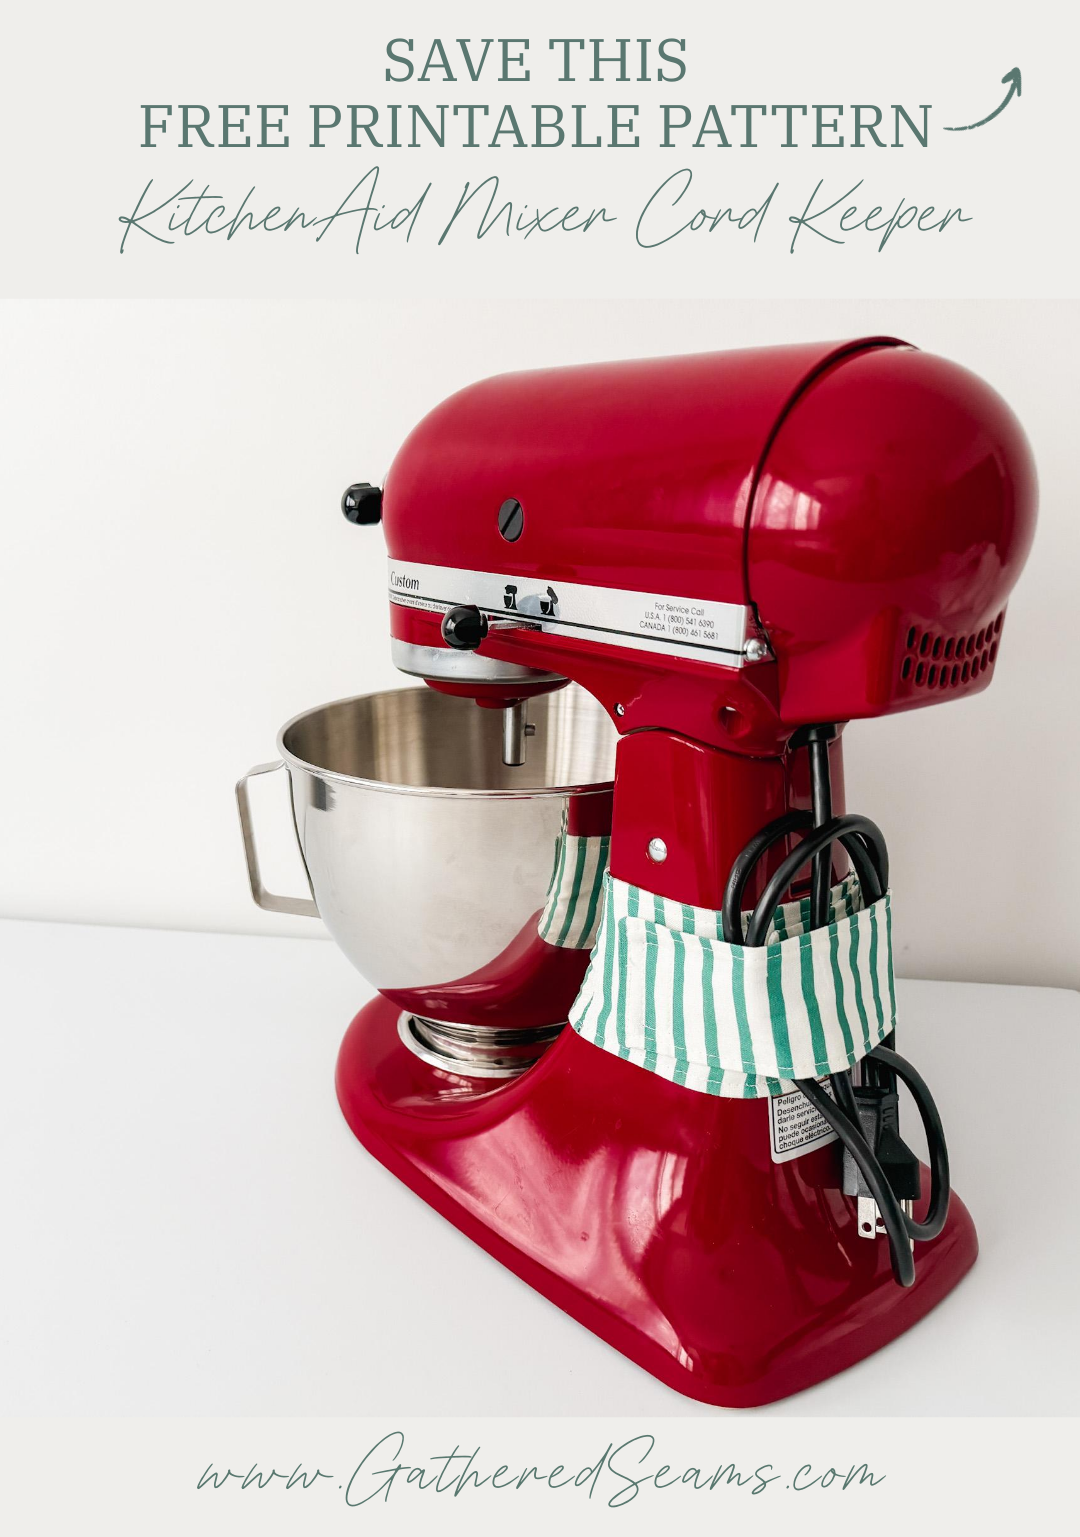
How To Sew a KitchenAid Mixer Cord Keeper
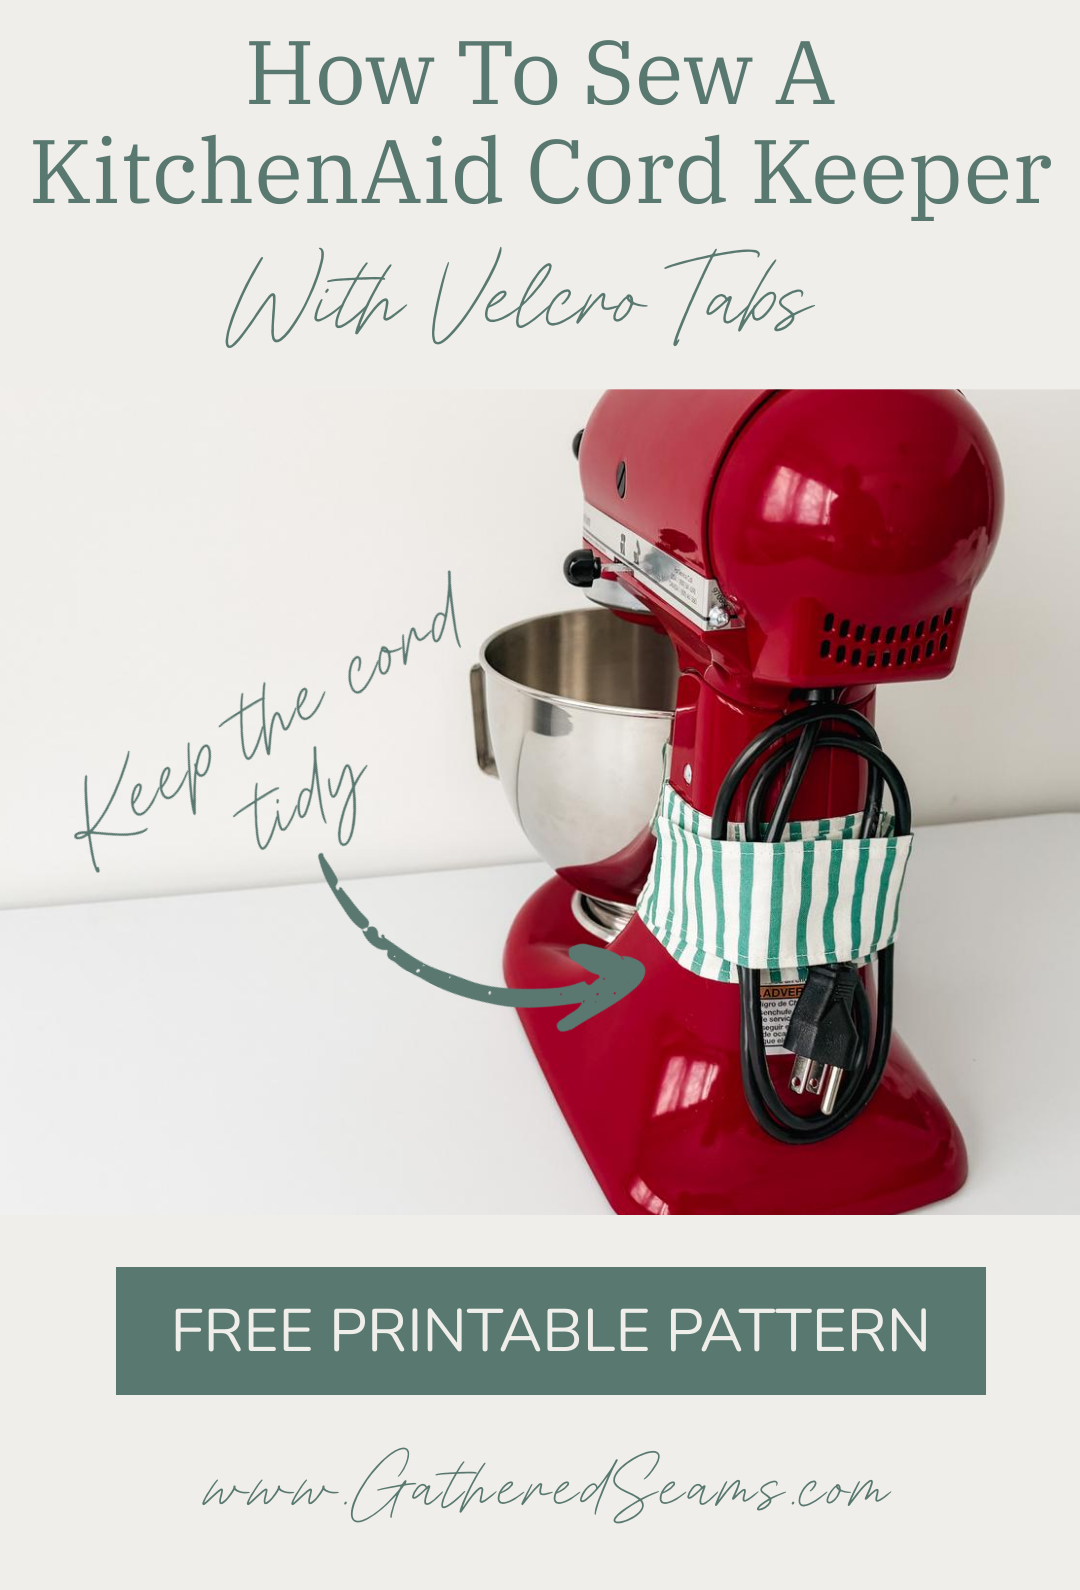
A KitchenAid Mixer Cord Keeper will neatly wrap and store your mixer’s power cord. It keeps the cord from dangling, getting tangled, or dragging on the countertop.
This pattern for a cord keeper is designed with these features:
- Size & fit – Designed to wrap around the base of a standard KitchenAid Mixer (not designed for the “bowl lift”, or “mini” model) with an additional tab to wrap around the cord.
- Closure – it secures the cord in place using a Velcro closure, allowing for adjustment to fit snugly.


Materials
- Fabric (most types of non-stretchy fabric will work)
- Thread to match
- Sew-on Velcro
- (Optional) Lightweight fusible interfacing for extra structure
Tools
- Sewing machine
- Iron & ironing board
- Rotary cutter + ruler (or good fabric scissors)
- Point turner
- Pins or sewing clips
- Seam ripper (just in case)
How to Sew a KitchenAid Mixer Cord Keeper
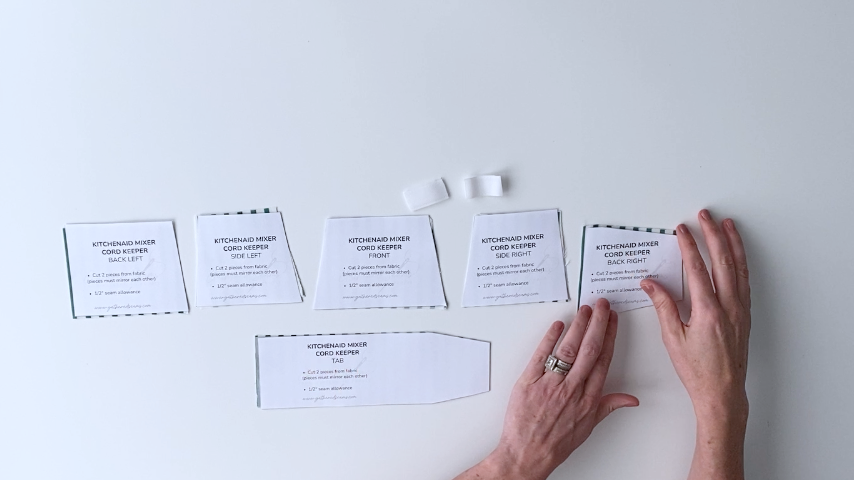
Step 1
Print your free pattern and cut it out.
Press your fabric before cutting to ensure accurate cuts.
You’ll need to cut each pattern piece in your outer fabric and lining fabric. The pieces must mirror each other.
The easiest way to do this is to set your fabric wrong sides together and cut out each pattern piece. If you’re working with scraps of fabric, then make sure you cut one set with the writing on the pattern piece facing up and one set with the writing facing down.
If you want to add extra structure to your cord keeper, you can also cut a set in fusible interfacing and fuse them to the wrong side of your fabric pieces.
Cut 2 pieces of Velcro that are 1-1/2” long.
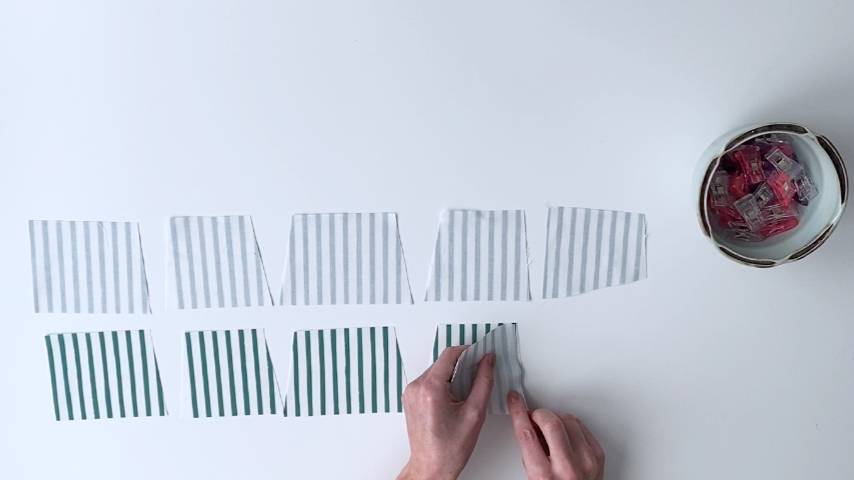
Step 2
Line up your fabric pieces so that, left to right, you have:
Back left, side left, front, side right, back right.
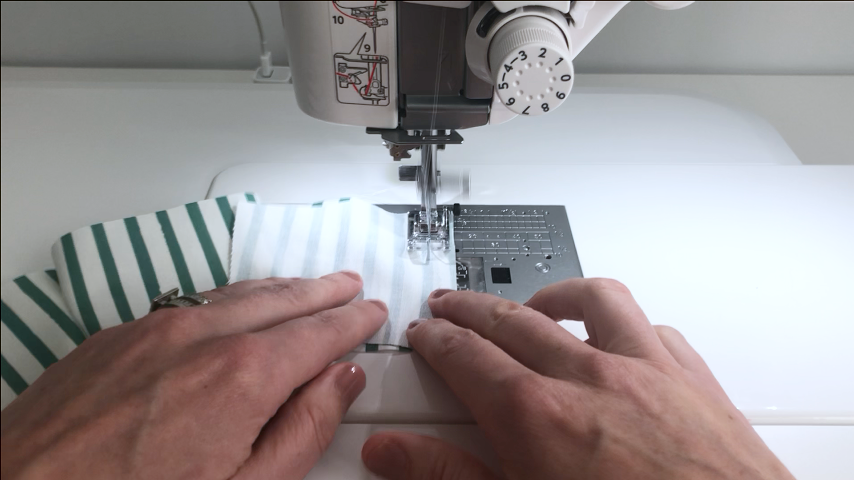
Place each piece right sides together and sew along the seam using a 1/2″ seam allowance. Repeat for the lining pieces.
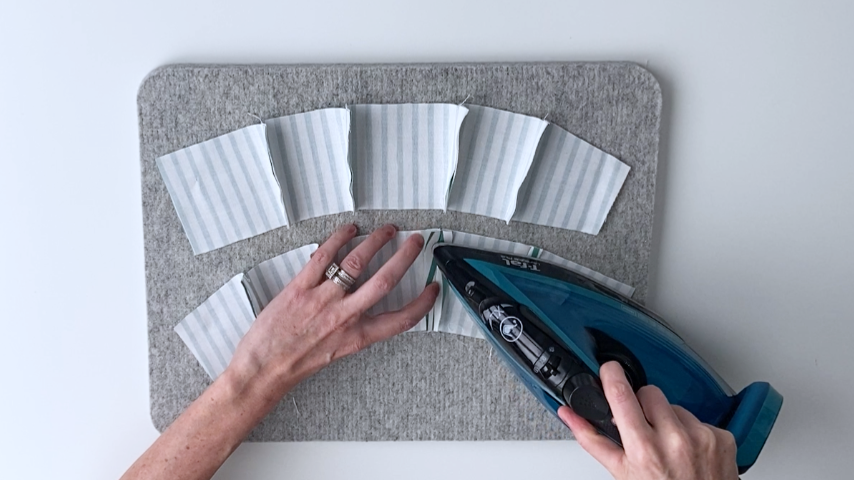
Step 3
Press each seam open
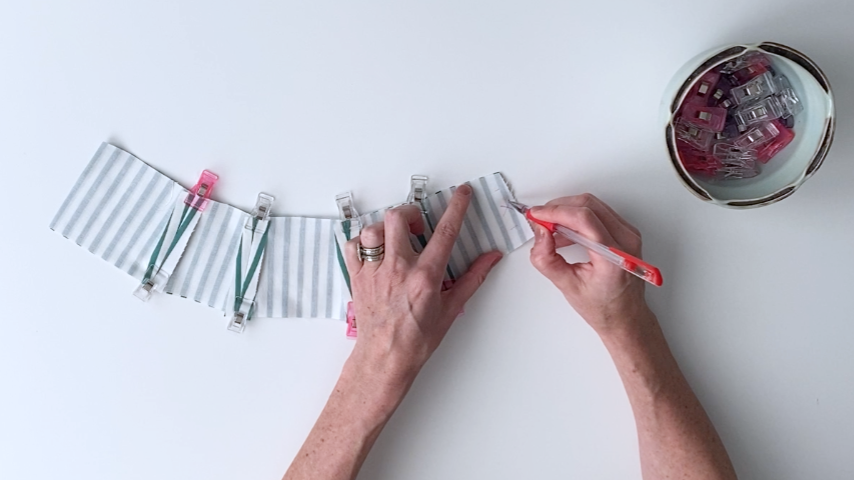
Step 4
Place your two pieces right sides together, lining up the seams and edges and clipping in place.
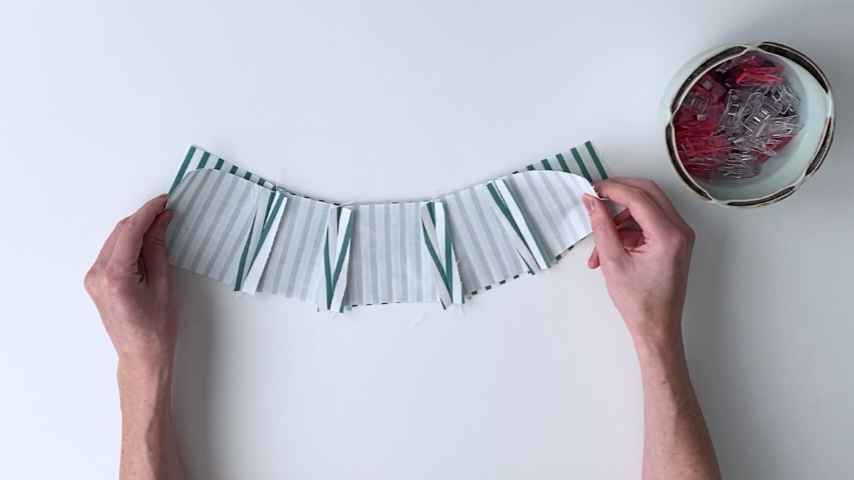
Sew around all four edges using a 1/2″ seam allowance and leaving a 1/5″ – 2″ opening at the end.
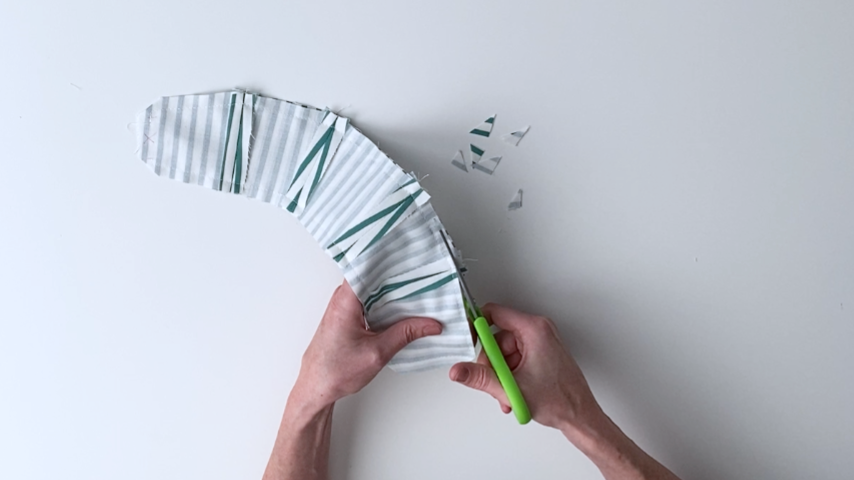
Step 5
Clip each corner and the seam allowance around each edge (except for the end with the opening), cutting 1/4″ away from your stitching.
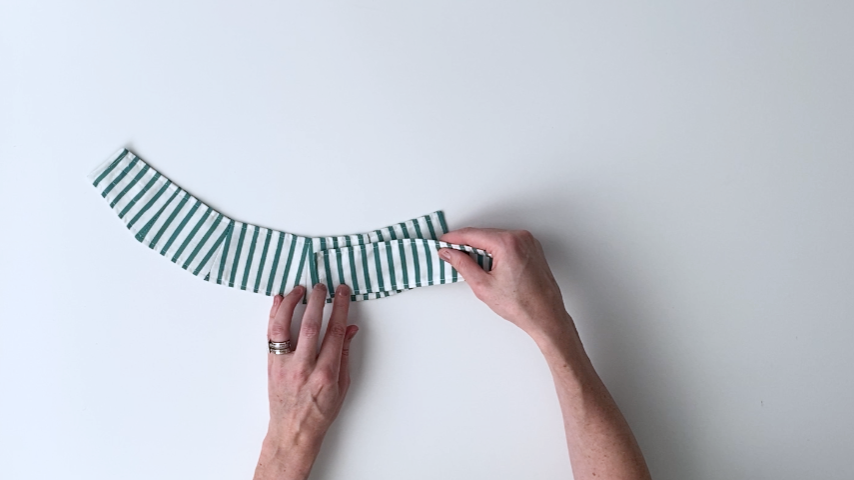
Step 6
Turn the tube right side out, press the seams, then top stitch around all four sides, sewing about 1/4″ away from the edge.
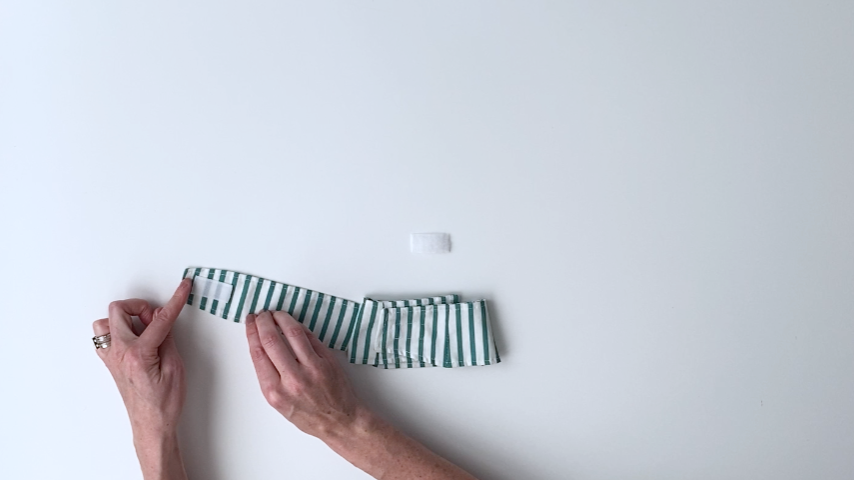
Step 7
Sew your Velcro tabs onto the front side of the back left panel and the back side of the back right panel.
Place your back left Velcro tab about 1/2″ away from the seam and your back right Velcro tab about 1/2″ away from the edge.

Step 8
Place your 2 tab pieces right sides together.

Sew around all four edges using a 1/2″ seam allowance and leaving an opening (about 1.5″ long) on the one end.

Step 9
Clip the fabric on all four corners and trim the seam allowance on all edges except for the end with the opening. Cut about 1/4″ away from your stitching.

Step 10
Turn the tab right side out, press the seams, then top stitch on all four sides about 1/4″ away from the edges.

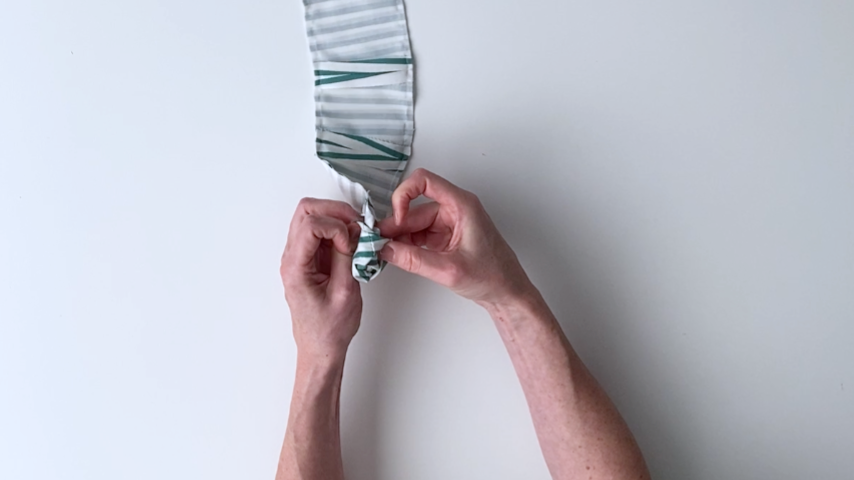
Step 11
Sew your tab to the front side of your left side panel. Place the top corner of the tab about 1/2″ away from the seam.
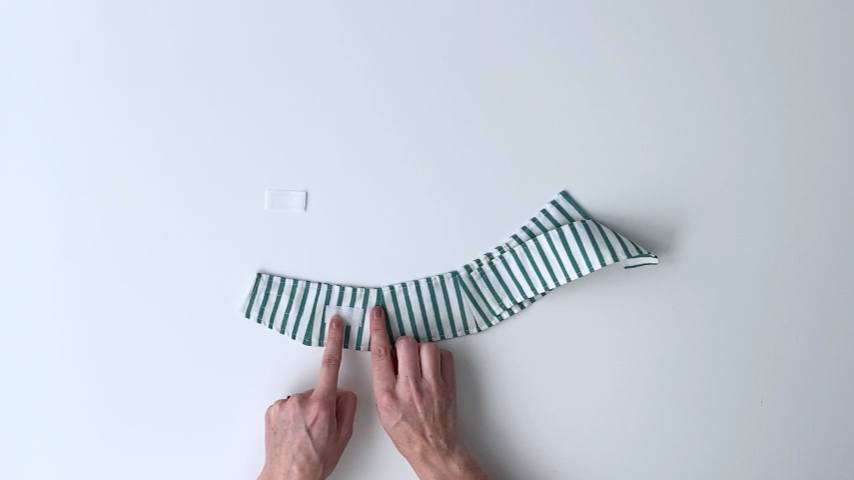
Step 12
Sew your Vecro tabs onto the back side of the tab and the front side of the right side panel.
Place your Velcro tab about 1/2″ away from the end of the tab and centre the Velcro tab (left to right and top to bottom) on the right side panel.
I hope you like this free pattern! Happy sewing 🙂