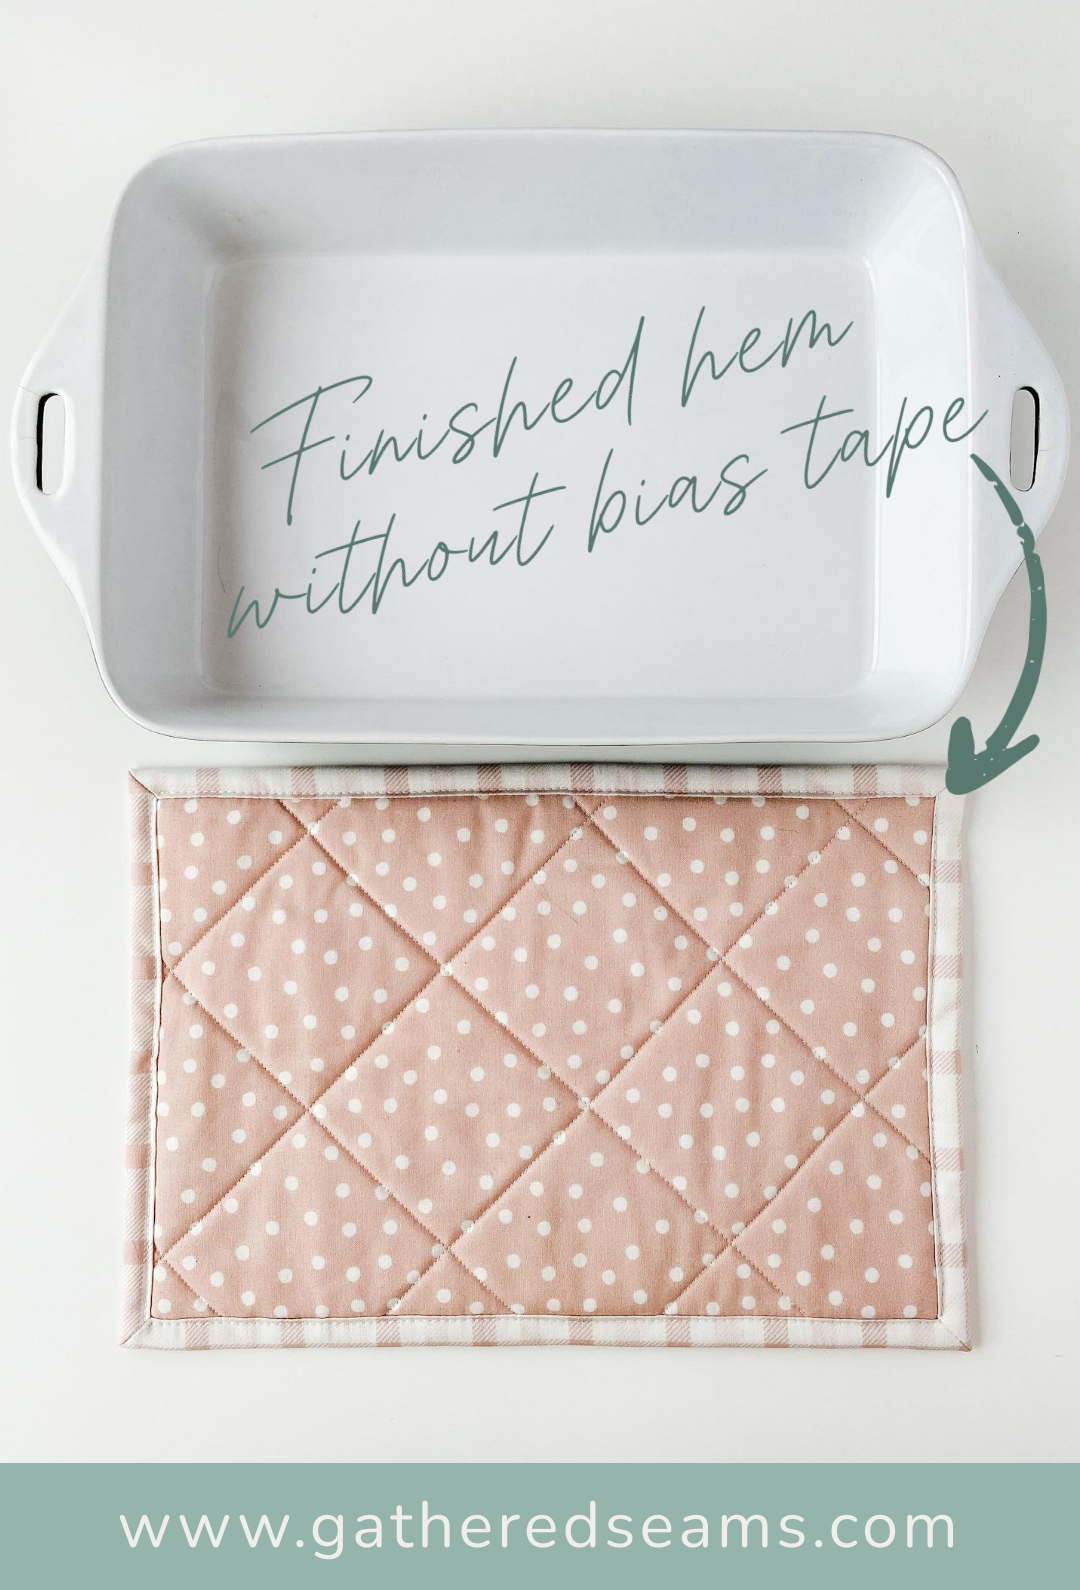
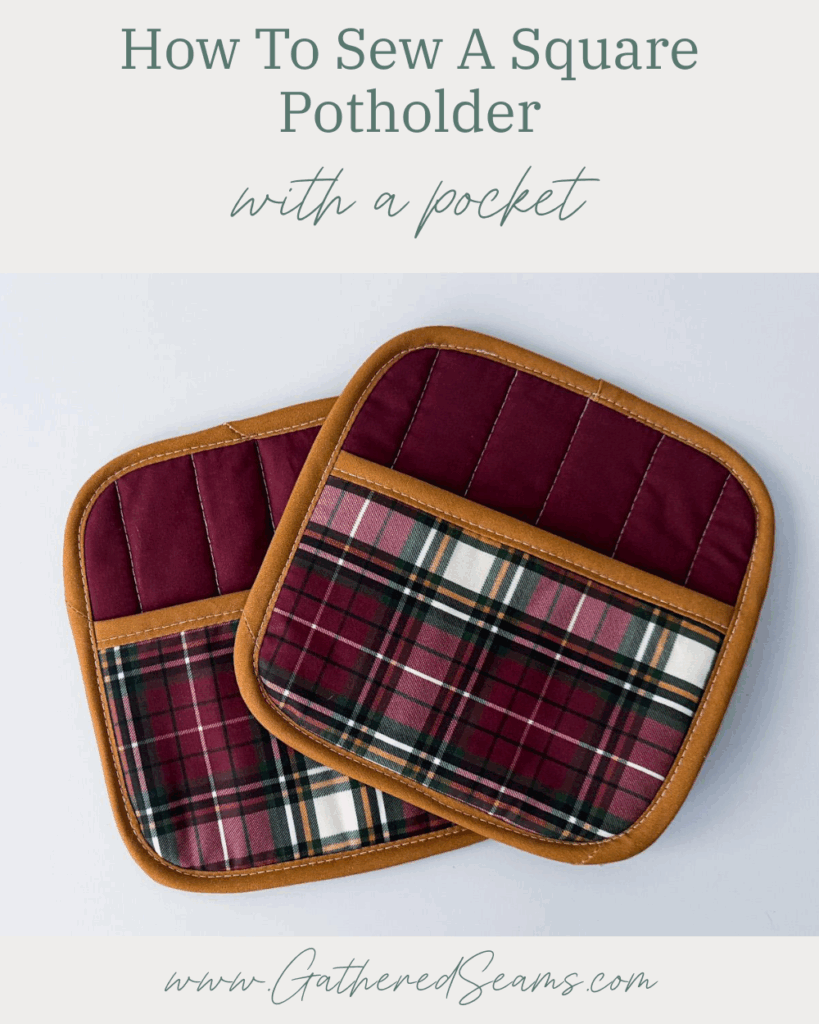
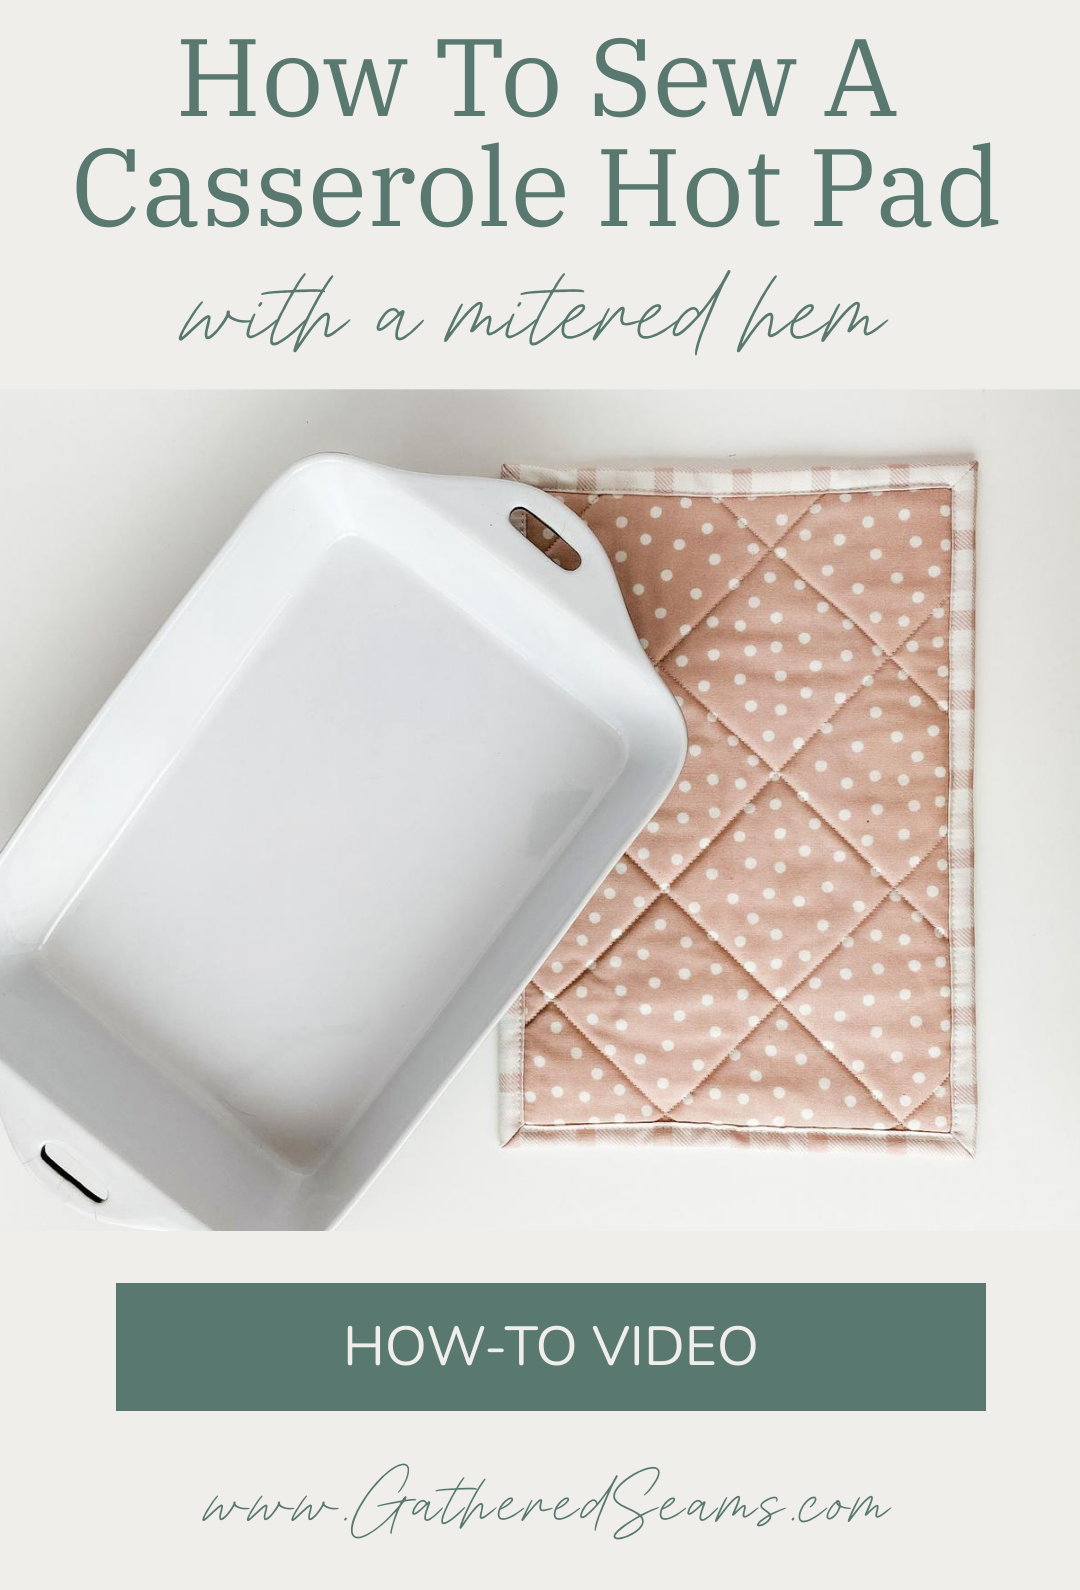
How To Sew A Casserole Hot Pad with a Mitered Hem
This technique creates a finish that looks like you used bias tape, but is much easier to do. Hot pads are a commonly used item and many people like them to match their table decor, so they require more than one set; making them a good product to sell.
Although some people use hot pads as potholders, they are different in that they’re designed to sit under a hot dish to protect the surface of a countertop or table. They don’t have pockets on them to fit them onto their hands.
Materials
As an Amazon Associate, I earn from qualifying purchases.
- Top fabric – use a natural fibre such as cotton or linen
- Bottom fabric
- Thermal batting
- Cotton batting
- Thread
Tools
- Sewing machine
- Walking foot (this is highly recommended when sewing with batting)
- Temporary fabric marker
- Ruler
- Scissors
- Fabric clips
- Point turner
- Iron
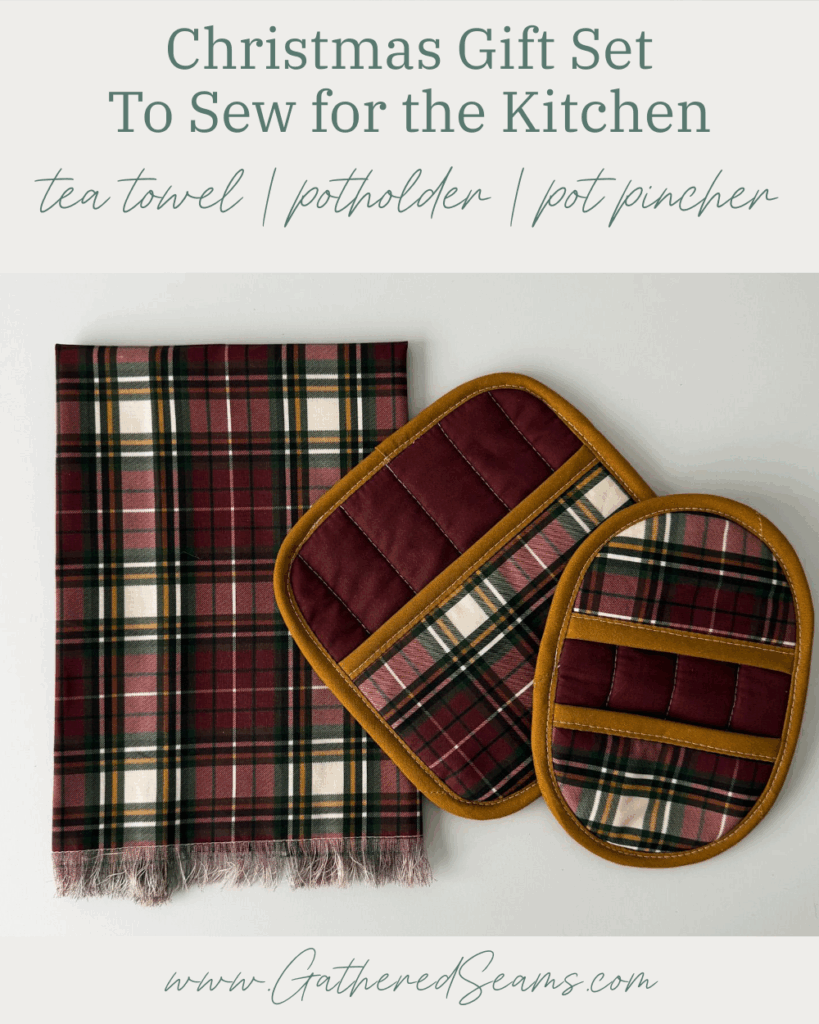
Sewing hot pads to sell
Hot pads are a great item to sell at craft shows or on Etsy
- Everyday item – hot pads are commonly used and used frequently. Meaning they often need to be replaced or updated to match a season.
- Small and affordable – these items are small and light; perfect for shipping or carrying around a craft show. They don’t require a lot of material or time to make; especially if you batch your work.
- Bundle-friendly – most people need more than one hot pad for their table or kitchen, making these a great item to sell in sets of two or 3.
How to sew square hot pads with a mitered hem
Step 1 – Press fabric and cut pattern pieces
Print your free patterns and cut them out. You can also follow these same instructions, cutting your fabric to any size you like.
Iron your cotton fabric first so you can be sure your cuts are accurate.
Cut the bottom piece of fabric 2″ larger than you want your finished hot pad to be.
Your bottom piece of fabric wil be: 11″ x 15″.
For the top, you’ll need 3 pieces that are 9″ x 13″ in:
- cotton or linen fabric
- thermal batting
- cotton batting
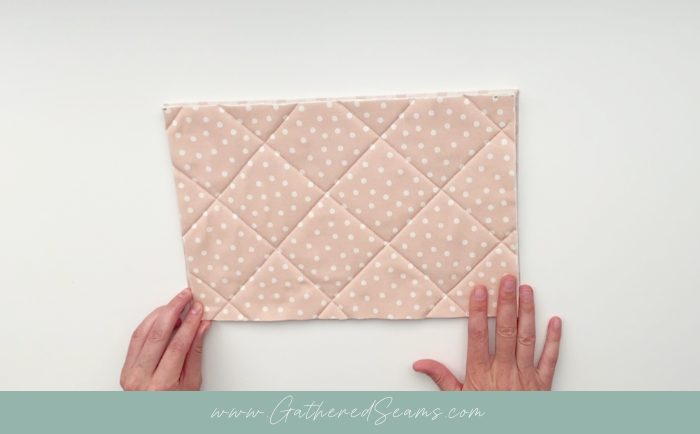
Step 2 – Sew batting to fabric
Use a quilting stitch to sew together your top fabric, thermal batting, and cotton batting. You can use any design you prefer; I stitched diagonal lines.
It’s important to use a walking foot when sewing thicker layers of fabric together.
Step 3 – Fold and press mitered hem
Take your bottom piece of fabric and, using your ruler and temporary fabric pen, mark a line 1″ away from each edge.
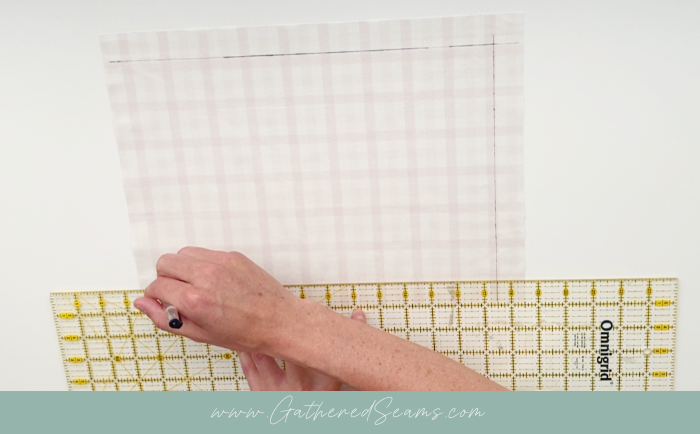
Fold the edge to meet that line and press into place.
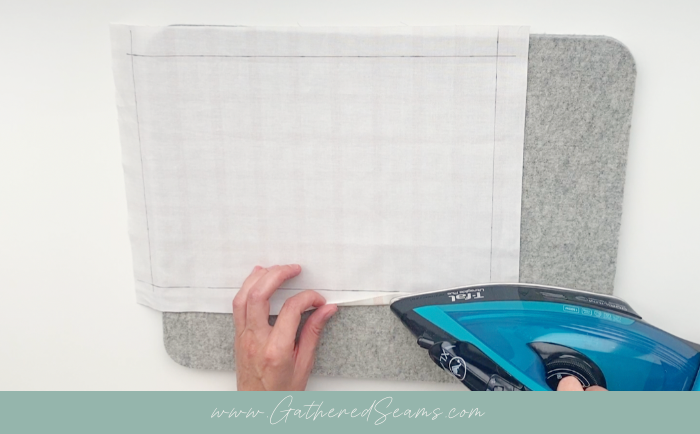
Repeat this on all four sides.
Step 4 – Mark a 45-degree angle
Keep your 1/2″ hems folded in.
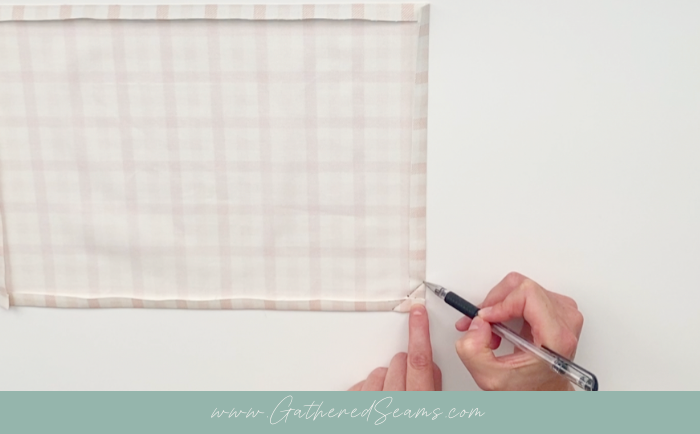
Fold each corner in so that it creates a 45-degree crease that runs right through the point where the raw edges of the two folded hems meet.
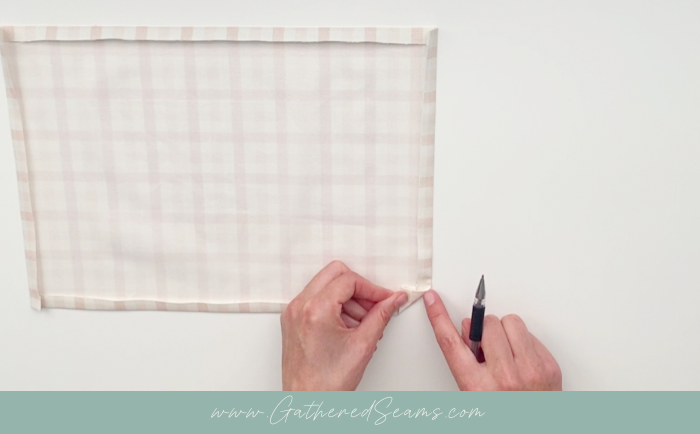
Using a temporary fabric marker, draw a line across that 45-degree crease.
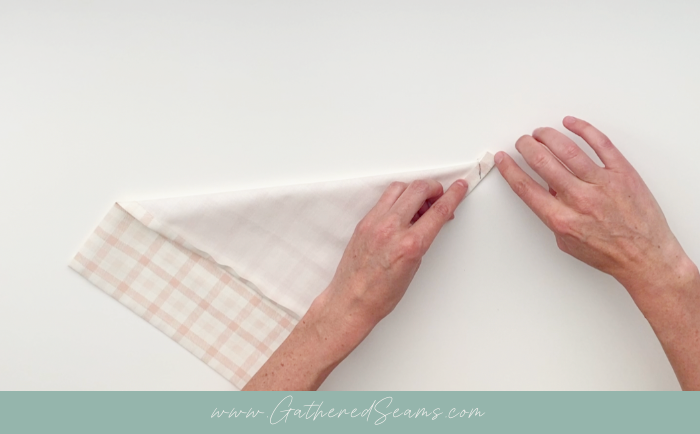
Step 5 – Sew 45-degree corners
Keep the 1/2″ hem folded in and fold your piece of fabric diagonally, placing right sides together.
Make sure your edges are lined up and you have a perfect point at the top.
Sew along the 45-degree line you drew.
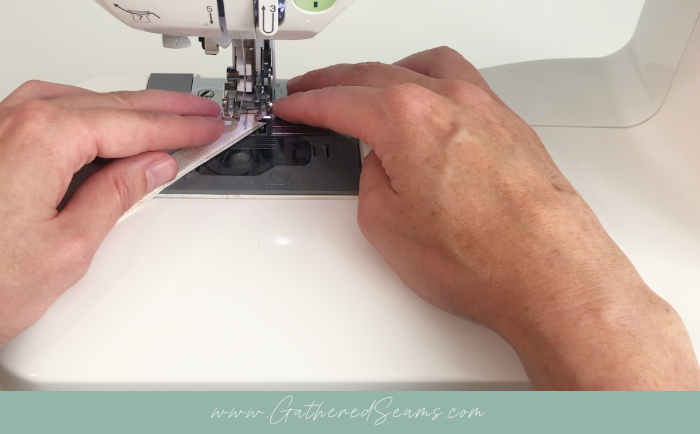
Use a shorter stitch and start with your needle on the fabric, then backstitch to sew to the first edge. This will ensure your thread doesn’t get knotted and your fabric doesn’t bunch.
Sew along the line, then backstitch at the end.
Repeat this on all 4 corners.
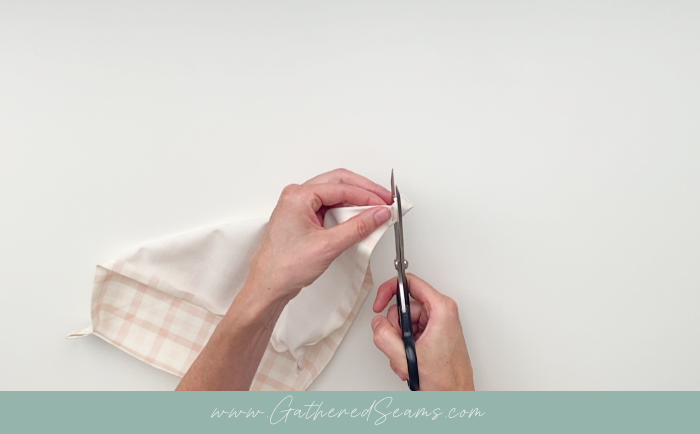
Step 6 – Snip corners and turn
Cut off the excess fabric in the corners, leaving about 1/8″ seam allowance to reduce the bulk inside the corners.
Turn the corners right side out and use a point turner to fully push the corners out.
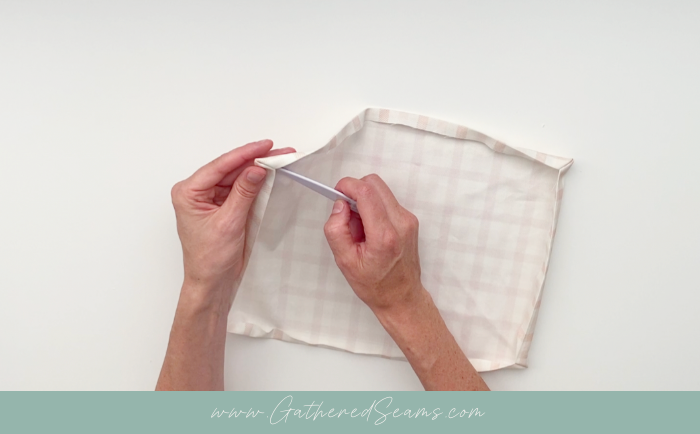
Fold your hem over 1/2″ for a second time and press the hem and corners into place.
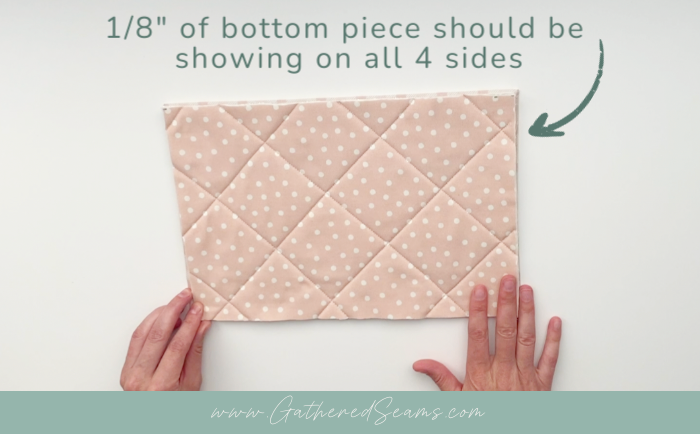
Step 7 – Cut top piece to size
Take your quilted top piece and place it on top of your bottom piece with wrong sides together.
You want to be able to see about 1/8″ of the bottom hem on all four sides.
Mark how much you must cut off the top piece so it is about 1/4″ less wide and tall than your bottom piece, then cut to size.
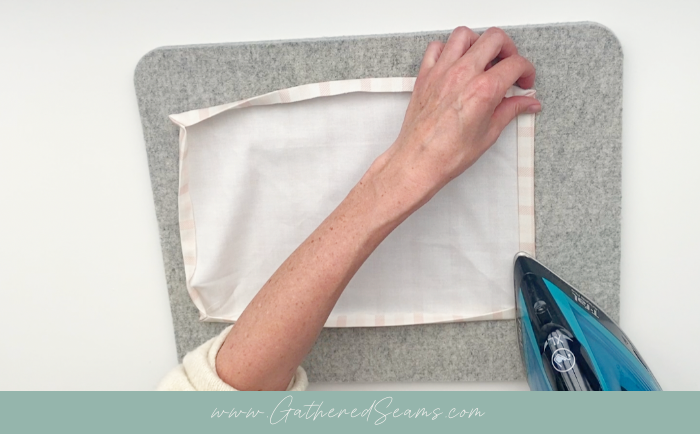
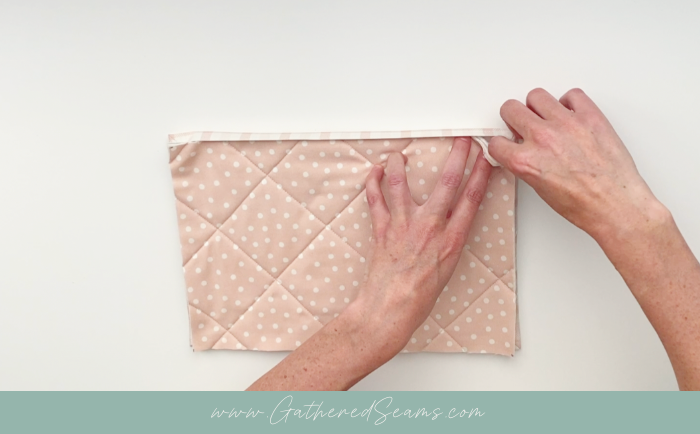
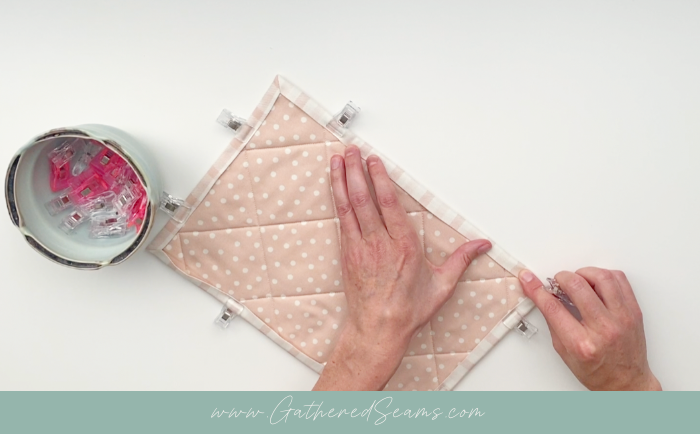
Step 8 – Set top piece inside mitered hems
Center your top piece on your bottom piece.
Unfold the bottom hem and tuck the top piece under it and into the corners. Use a point turner to ensure the corners are tucked in.
You can press the mitered hem, which will make it easier to topstitch, then clip/pin it into place.
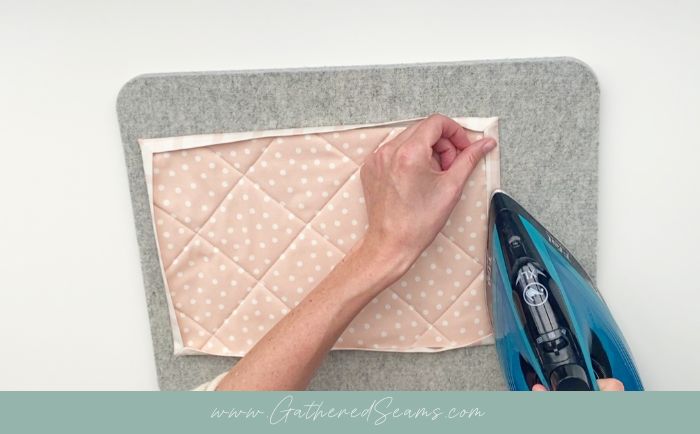
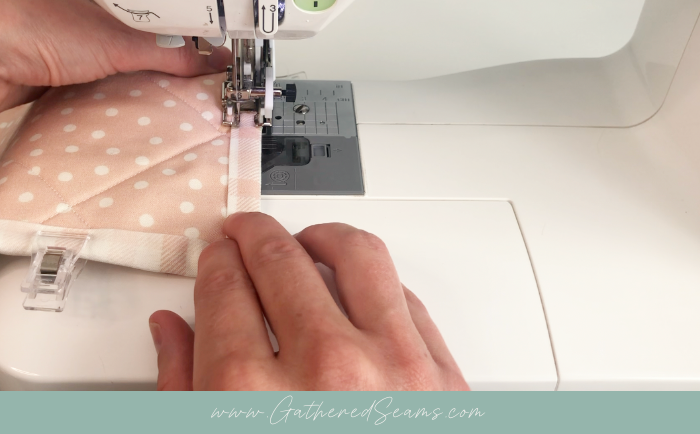
Step 9 – Topstitch
Topstitch around the inner edge of the hem, with your needle running about 1/8″ inside of it.
I use a longer stitch for this step and my walking foot to ensure the fabric doesn’t bunch as I sew.
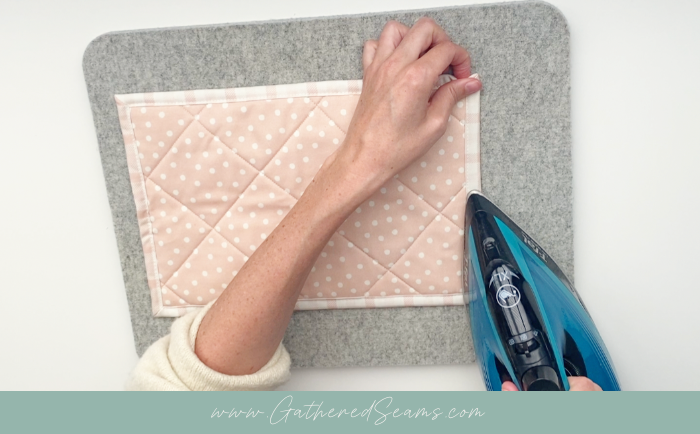
Press the hem once finished and your hot pad is done.
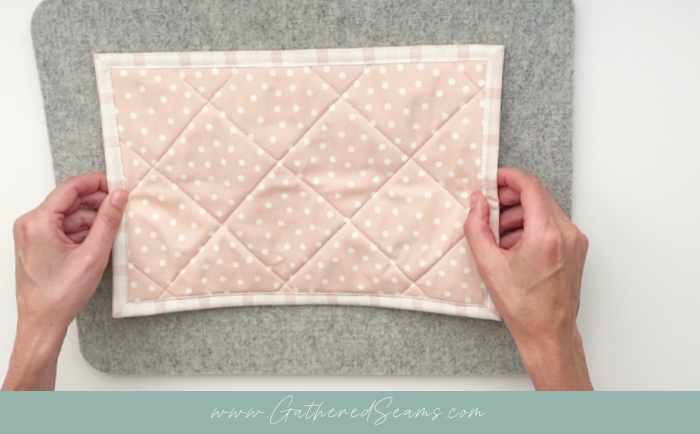
Now it’s time to sell your hot pads! Next steps: