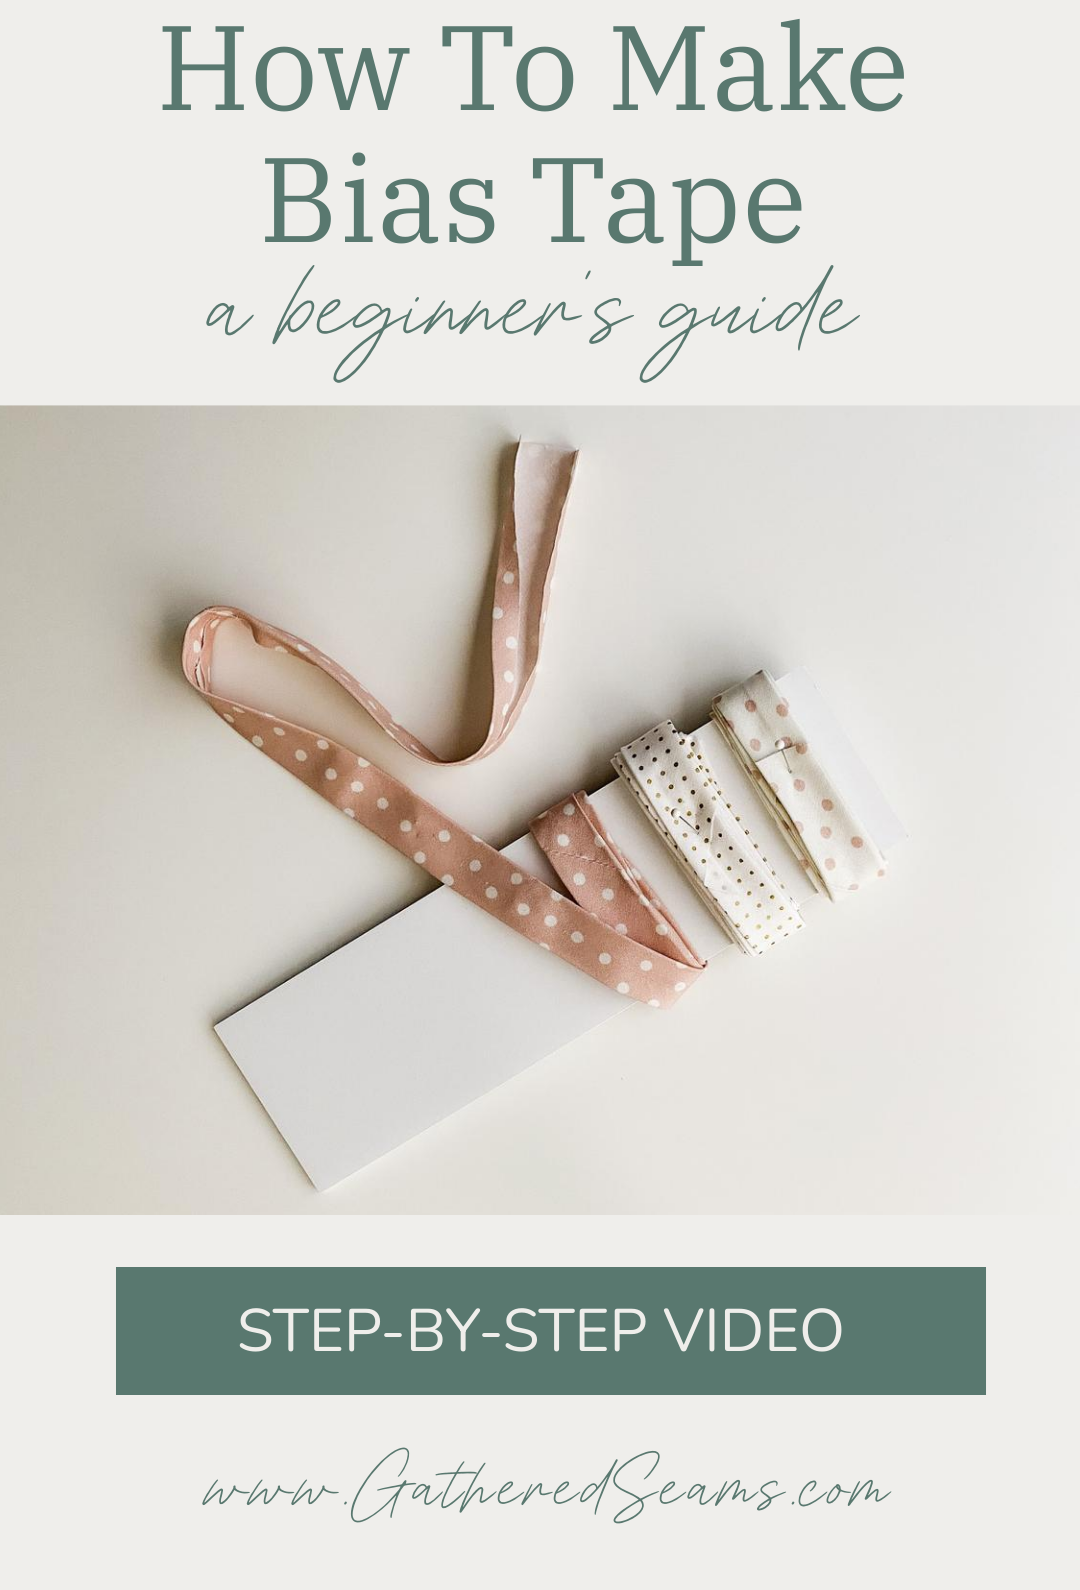
How To Make Bias Tape
I love making my own bias tape because you have more creative freedom. Color options are limited when purchasing pre-made bias tape, and it’s very rare to find bias tape in patterned fabric.
It can also be cheaper to make bias tape.
You can get 4 – 5 yards of bias tape from one fat quarter piece of fabric (18″ x 22″).
If you pay $3.50 for a fat quarter, your bias tape will be about $0.70/yard.
Materials & Tools
As an Amazon Associate, I earn from qualifying purchases.
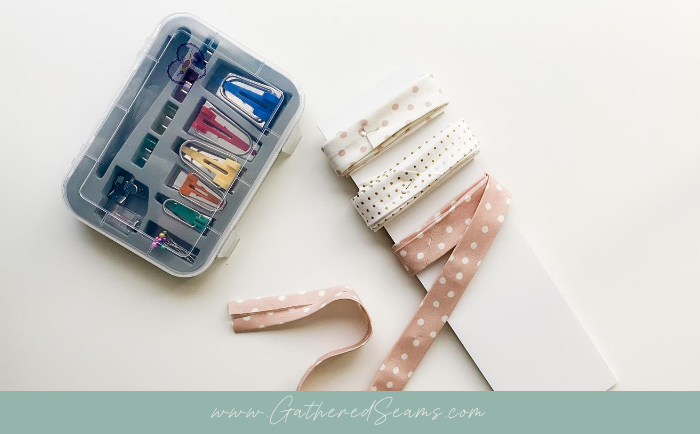
- Fabric – You can make bias tape out of most woven materials; you need a woven material so that the fibres can stretch. Stick to lightweight or medium-weight fabric. Thicker fabrics will be harder to work with and will add too much bulk to seams. The bigger the piece of fabric you use, the longer your pieces of bias tape will be and the fewer seams/joins you’ll have. Fat quarters are a good size to use when making bias tape.
- Ruler & rotary cutter
- Iron
- Bias Tape Maker (optional) – I purchased this bias tape maker set, which makes it quick and easy to fold your fabric and press. You can make bias tape without a bias tape maker, it just requires a little more time and attention to get the folds in the right place.
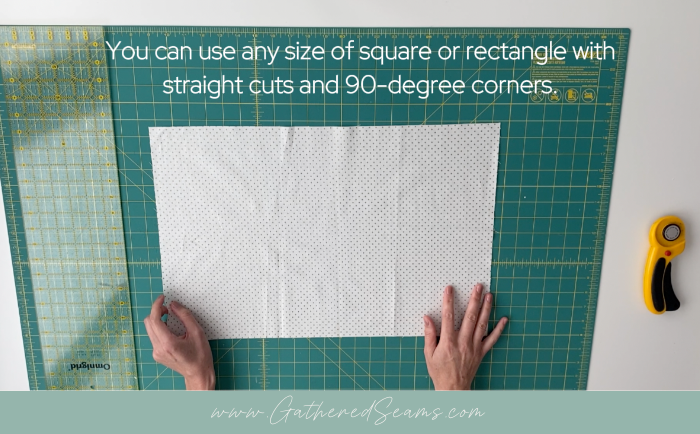
Step 1 – Press your fabric
It’s essential to begin with flat fabric, free from creases.
You can use any size of square or rectangular with straight edges and 90-degree corners.
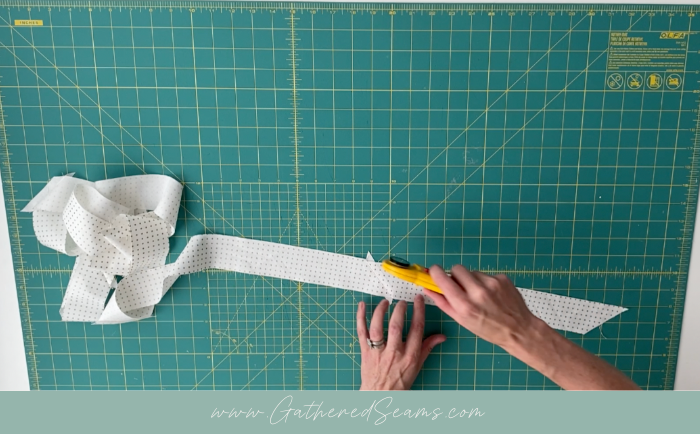
Step 2 – Cut your first 45-degree line
If you have a quilting ruler, it will have a 45-degree line marked on it and you can use that as a guide to cut your strips at a 45-degree angle.
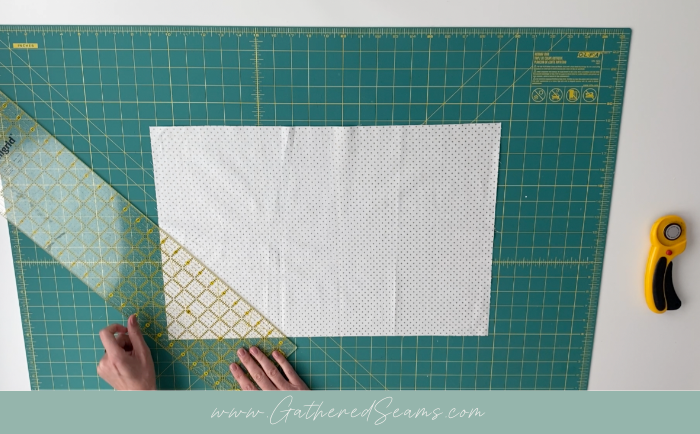
Alternatively, you can fold your piece of fabric diagonally, match up a side edge with a top edge, then press the folded edge (you can finger-press this) to create a 45-degree angled crease.

Cut along that 45-degree crease.
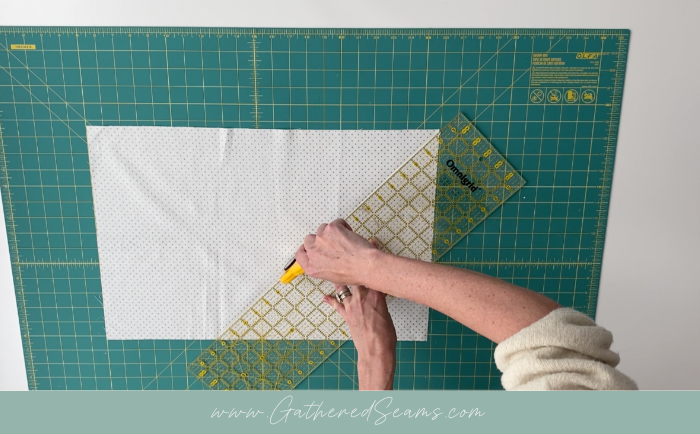
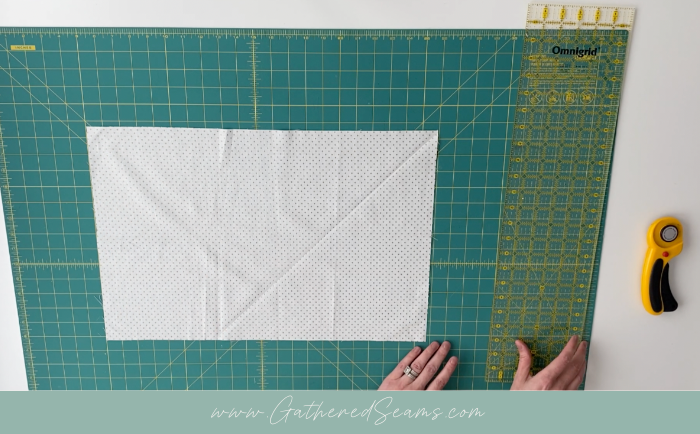
Use that cut edge as the guide to cut the rest of your strips.
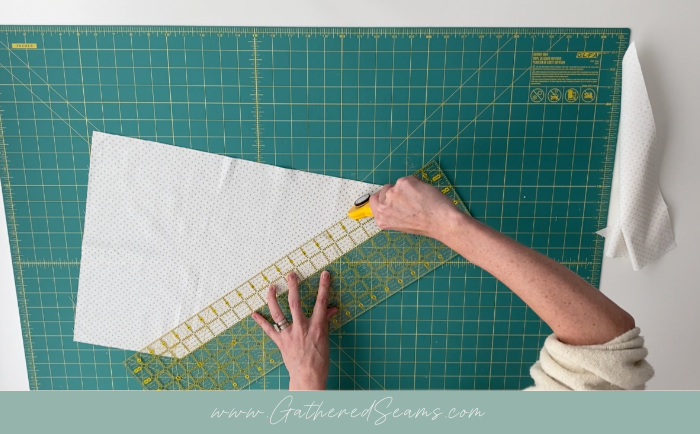
The width of your strips will depend on the width of bias tape you want to make. I cut 2″ wide strips to create bias tape that is 1/2″ wide once folded around the edge of a project.
Cut as many strips as you can out of your piece of fabric, following that 45-degree line.
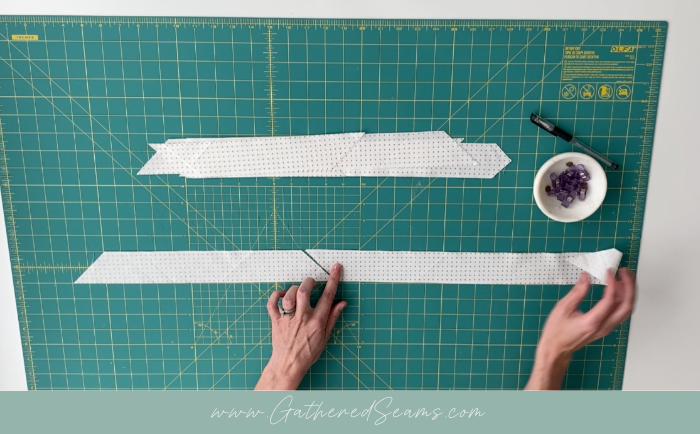
Step 3 – Sort your strips
Next, I like to layer my strips of fabric to get them ready to sew. I alternate longer pieces and shorter pieces so that I don’t get a bunch of joining seams in a short run of bias tape.
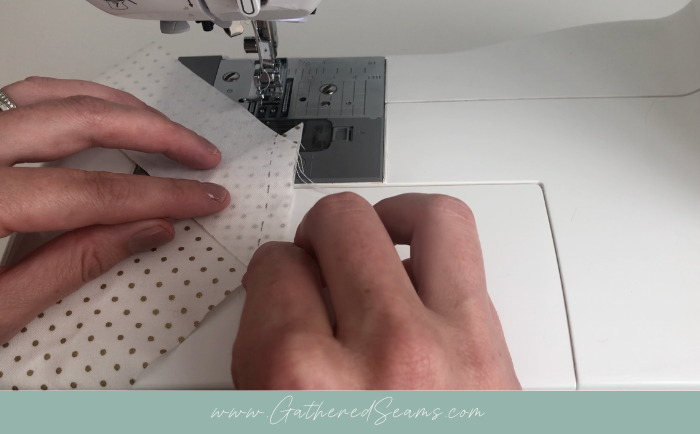
Step 4 – Pin ends together
As you get used to this step, you can skip it and just line your ends up at the sewing machine and stitch.
Line two ends up so the cuts are going at the same angle.
Flip one piece of fabric on top of the other, so right sides are together and they are 90 degrees to each other.
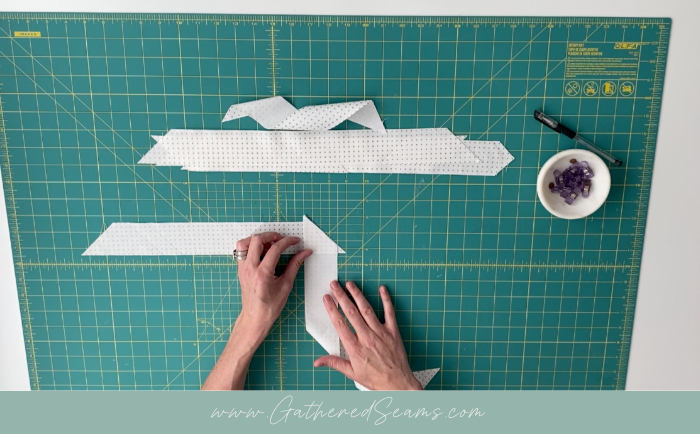
Line up the ends and shift the top piece up or down to see a triangle at the end of your bottom piece. The size of this triangle doesn’t matter; the bigger the triangle, the wider your seam allowance.
Clip/pin the ends together and continue joining all the pieces in the same way.
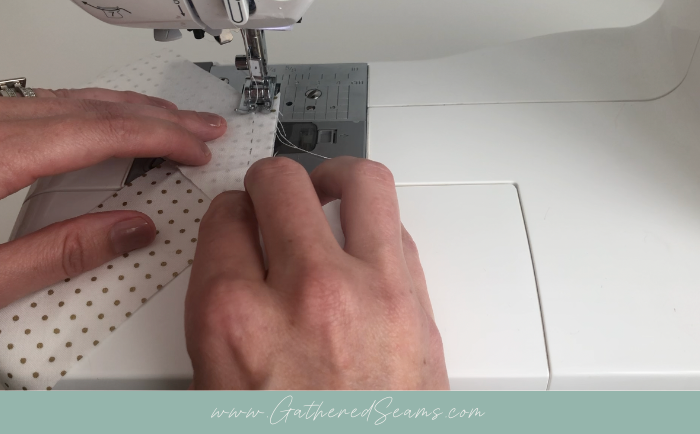
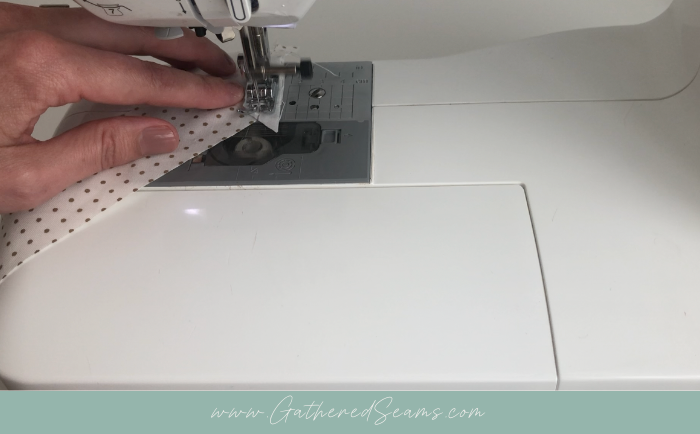
Step 5 – Sew ends
Start your stitching at the point where the two edges of fabric meet.
And end your stitching at the point where the two edges of fabric meet on the other side.
Step 6 – Press seams open & cut “ears”
With the wrong side of the fabric facing up, use your iron to press open each seam.
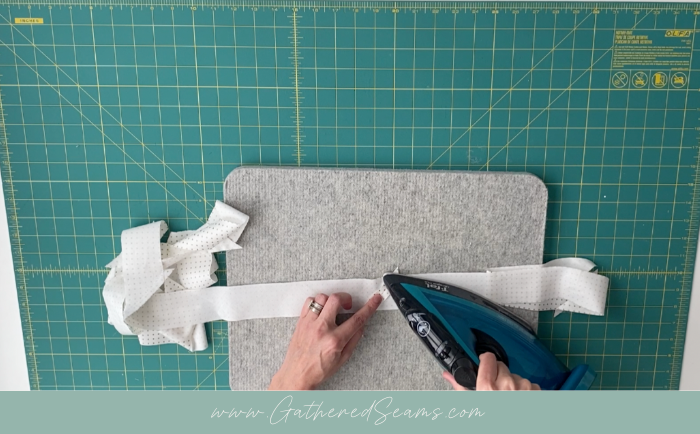
You’ll now notice small notches of fabric extending beyond your strip at each seam. Cut those off.
Step 7 – Press folds
If you don’t have a bias tape maker, complete the following steps:
- Fold your strip in half lengthwise and press
- Unfold the strip and then press one raw edge down to line up with the center fold and press.
- Then fold the other edge in to line up with the center fold and press.
- If you want double-fold bias tape, you’re done
- If you want single-fold bias tape, you can press the strip again, with the two edges folded in to the center, to remove the center crease.
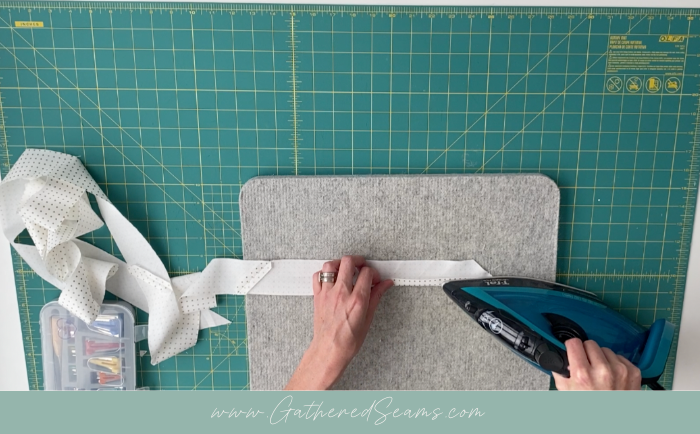
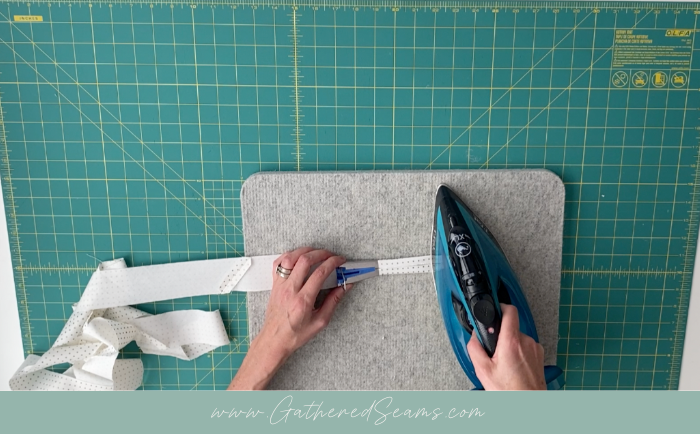
If you have a bias tape maker, you can:
- Feed the strip of fabric into the wide end of the tool; use a pin to push it out the smaller end
- The tool will fold the two edges into the center.
- Run your iron behind the tool as you pull it back.
- When you get to a seam, make sure the seam is open, and you may need to pull a little harder to get it through the tool
- If you want single-fold bias tape, you’re done.
- If you want double-fold bias tape, you can now fold the strip in half and press.
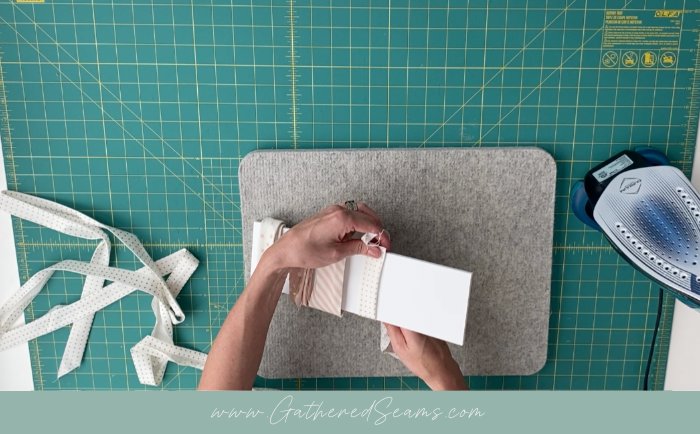
To store your bias tape, you can wrap it around a piece of cardboard to ensure the creases stay crisp.
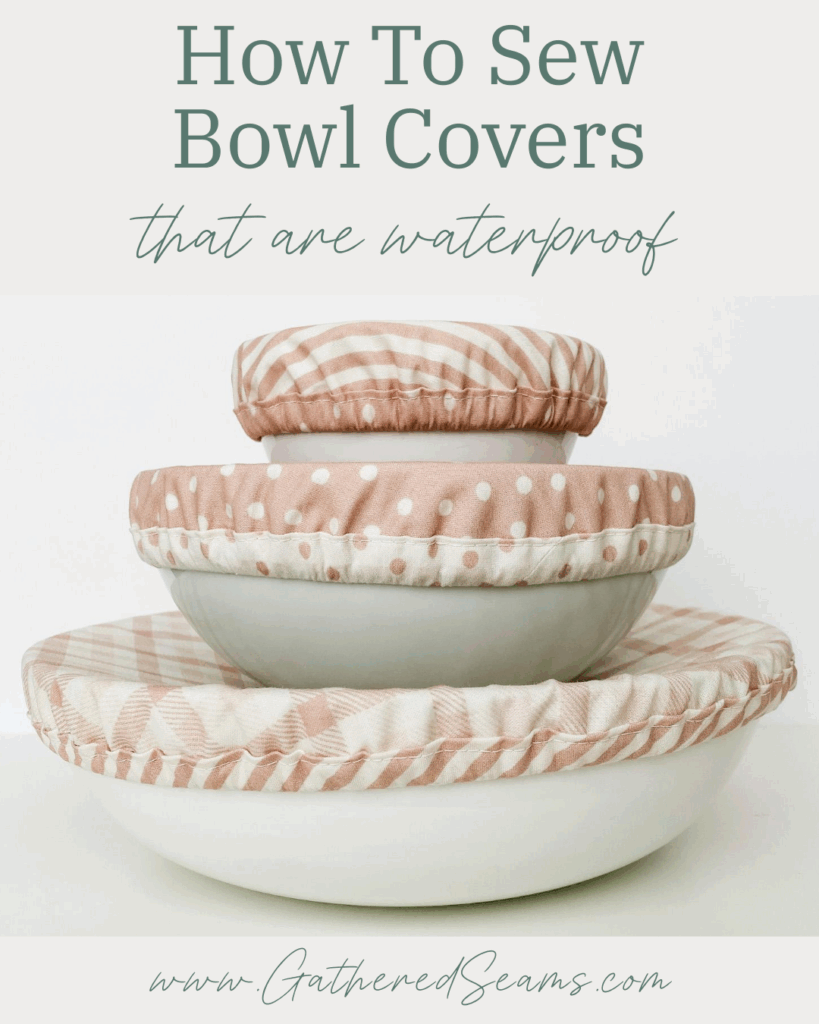
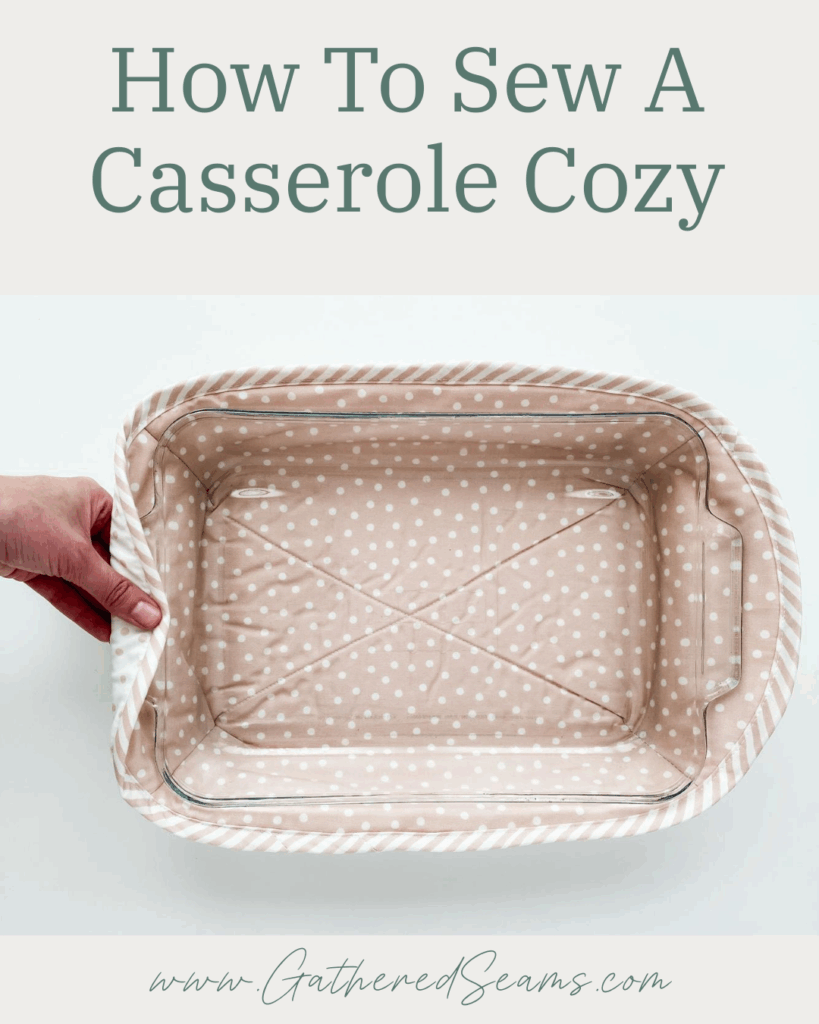
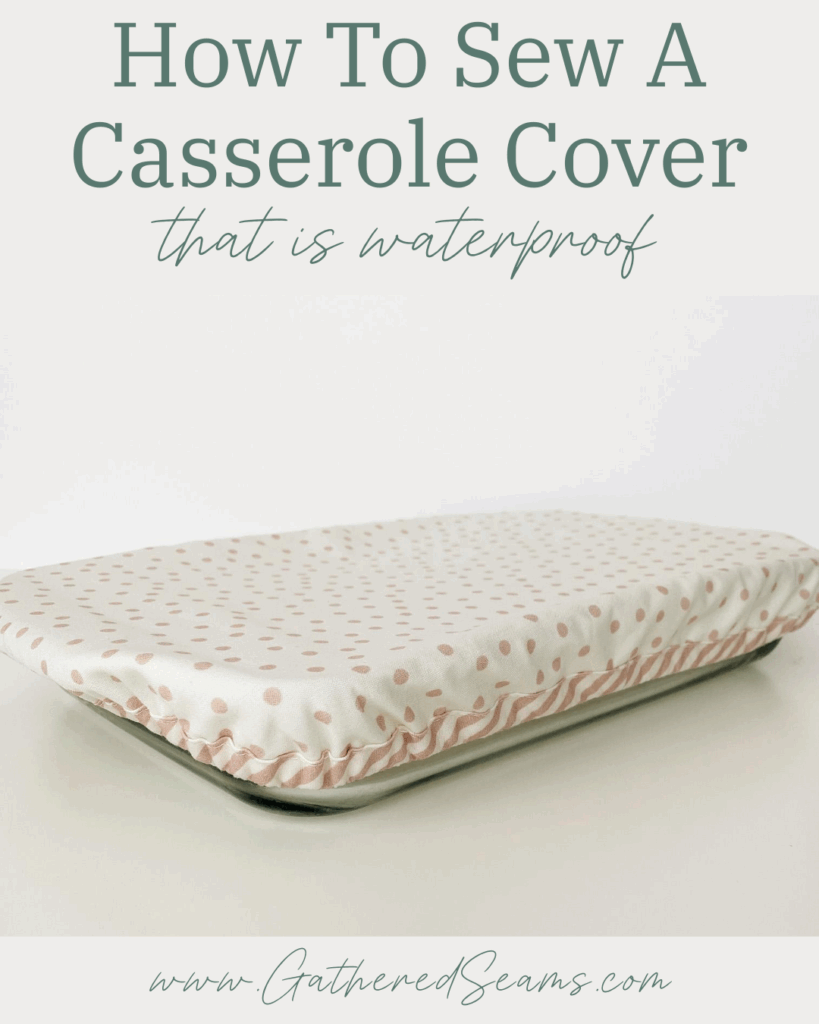
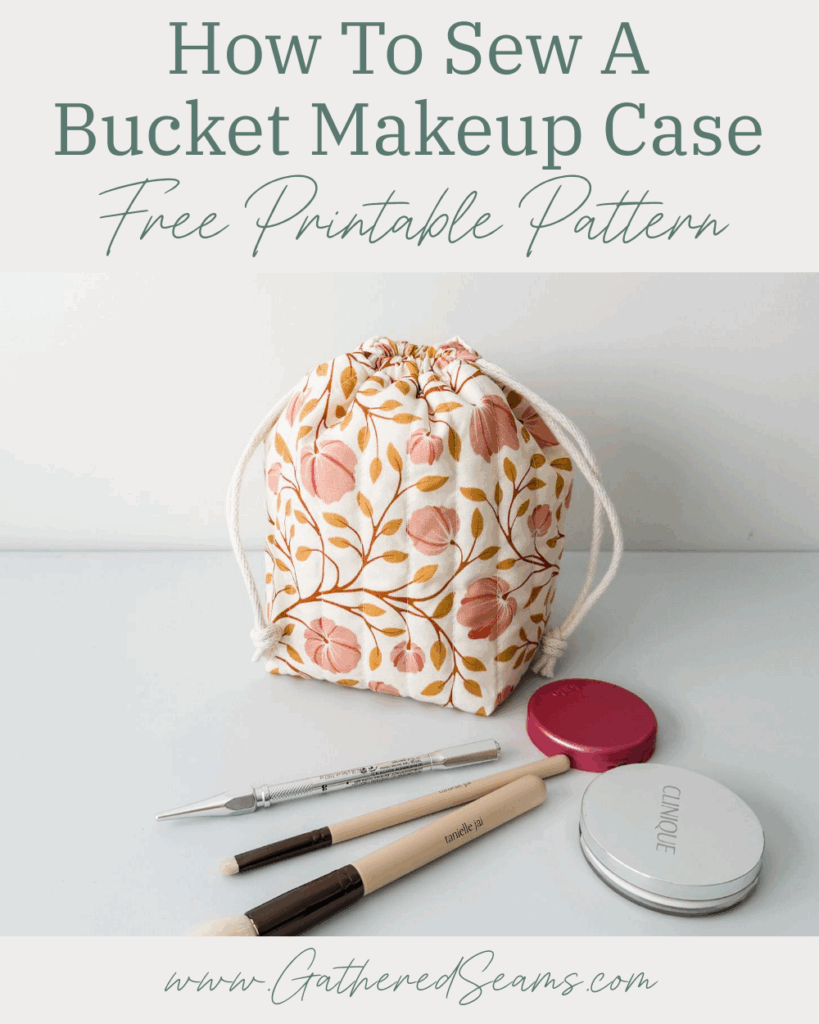
Here are some projects you can make with your bias tape: